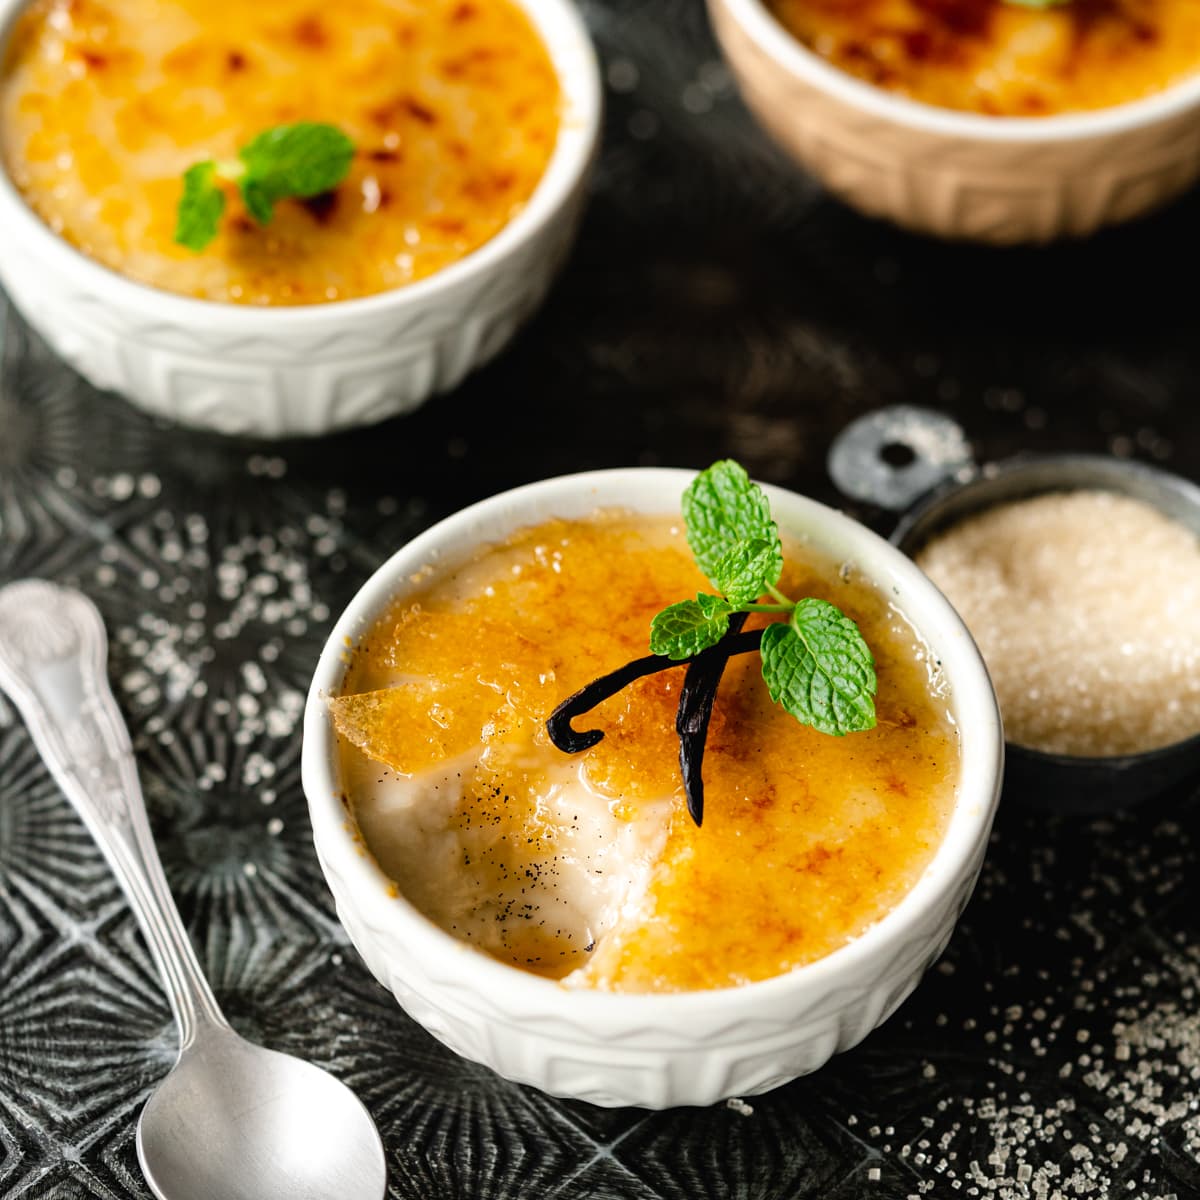
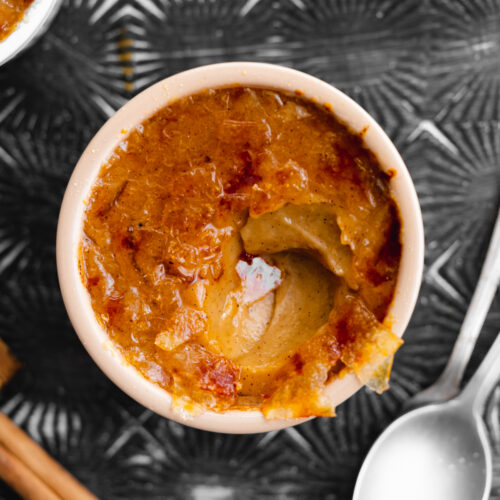
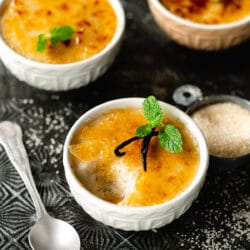
If you're a fan of custard-based desserts then this vegan crème brûlée is something you'll want to try. Similar to my pumpkin creme brulee and vegan creme caramel recipes, this recipe is based on an easy coconut custard.
With a rich and creamy vanilla-speckled custard underneath a shell of crackling caramelized sugar, you'll have a delicious fancy dessert with very little effort!
What is creme brulee?
Crème brûlee is a French custard-based dessert with a layer of hardened caramelized sugar. Traditionally creme brulee (translating to "burnt cream") is made using eggs and cream. But, it is surprisingly easy to make vegan, and perhaps even easier than the traditional version as there is no baking involved.
What to expect from this recipe
- Creamy and light
- No-bake and easy to make
- Made with only 6 ingredients
- Caramel and vanilla flavor
- Eggless, dairy-free, and gluten-free with a nut-free option
- A guaranteed crowd-pleaser
- Perfect for special occasions (Christmas, Valentine's day, etc.)
Ingredients overview
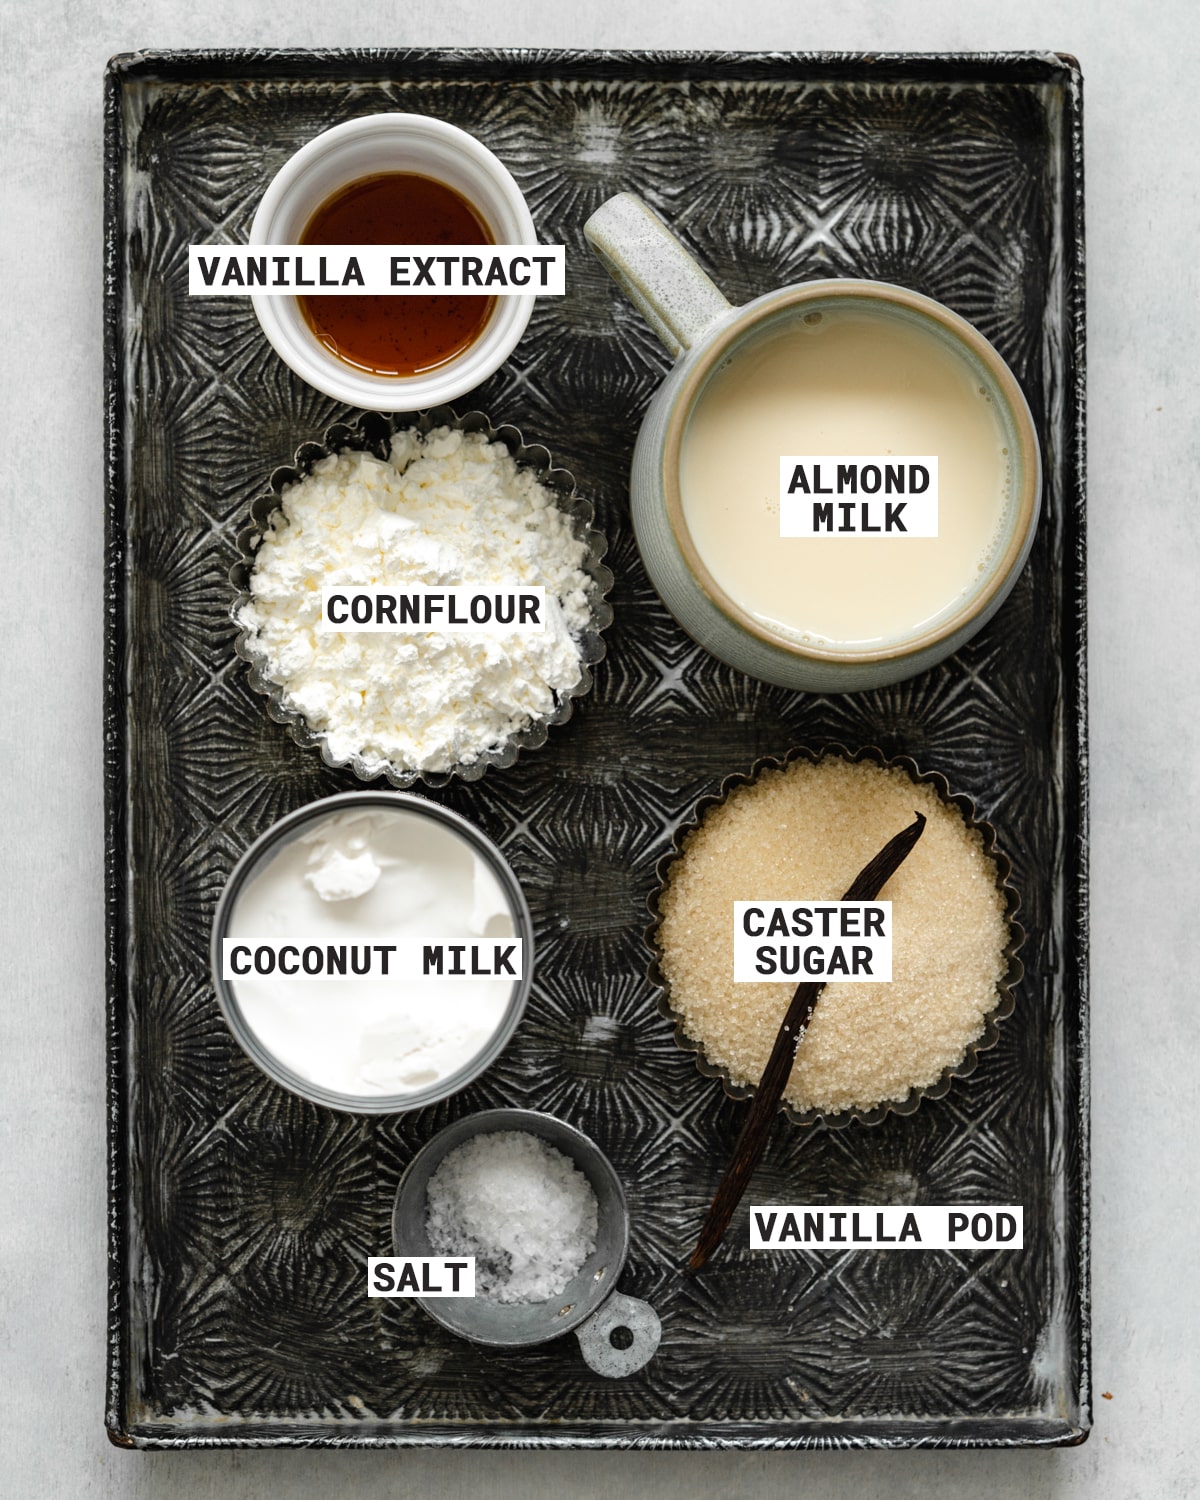
- Almond milk: I use almond milk because of its neutral flavor and creamy consistency.
- Coconut milk: For this recipe, you will need full-fat canned coconut milk. As well as adding richness and creaminess to the dessert that would usually come from egg yolks, and coconut milk sets when chilled helping to thicken the custard.
- Cornflour, or cornstarch if you live in the US is an egg replacement for vegan recipes. This is thanks to its thickening properties. Together with full-fat coconut milk, it creates a creamy and thick custard base for this recipe.
- Sugar: You can use caster sugar (superfine sugar) or cane sugar depending on what you have available to you. The sugar is dissolved into the custard to sweeten it. It also forms a layer on top of the puddings which is caramelized before serving.
- Vanilla: I recommend using both vanilla extract and a vanilla pod to get an intense vanilla-y flavor for the custard. The vanilla bean creates beautiful vanilla specs in the creme brulee while the extract adds an extra punch of flavor and a slightly beige color.
- Sea salt: This helps to enhance the vanilla flavor of the custard while balancing the overall sweetness of the dessert.
How to make vegan crème brûlée (with step-by-step images)
(Full ingredient quantities and instructions are in the recipe card at the end of this post)
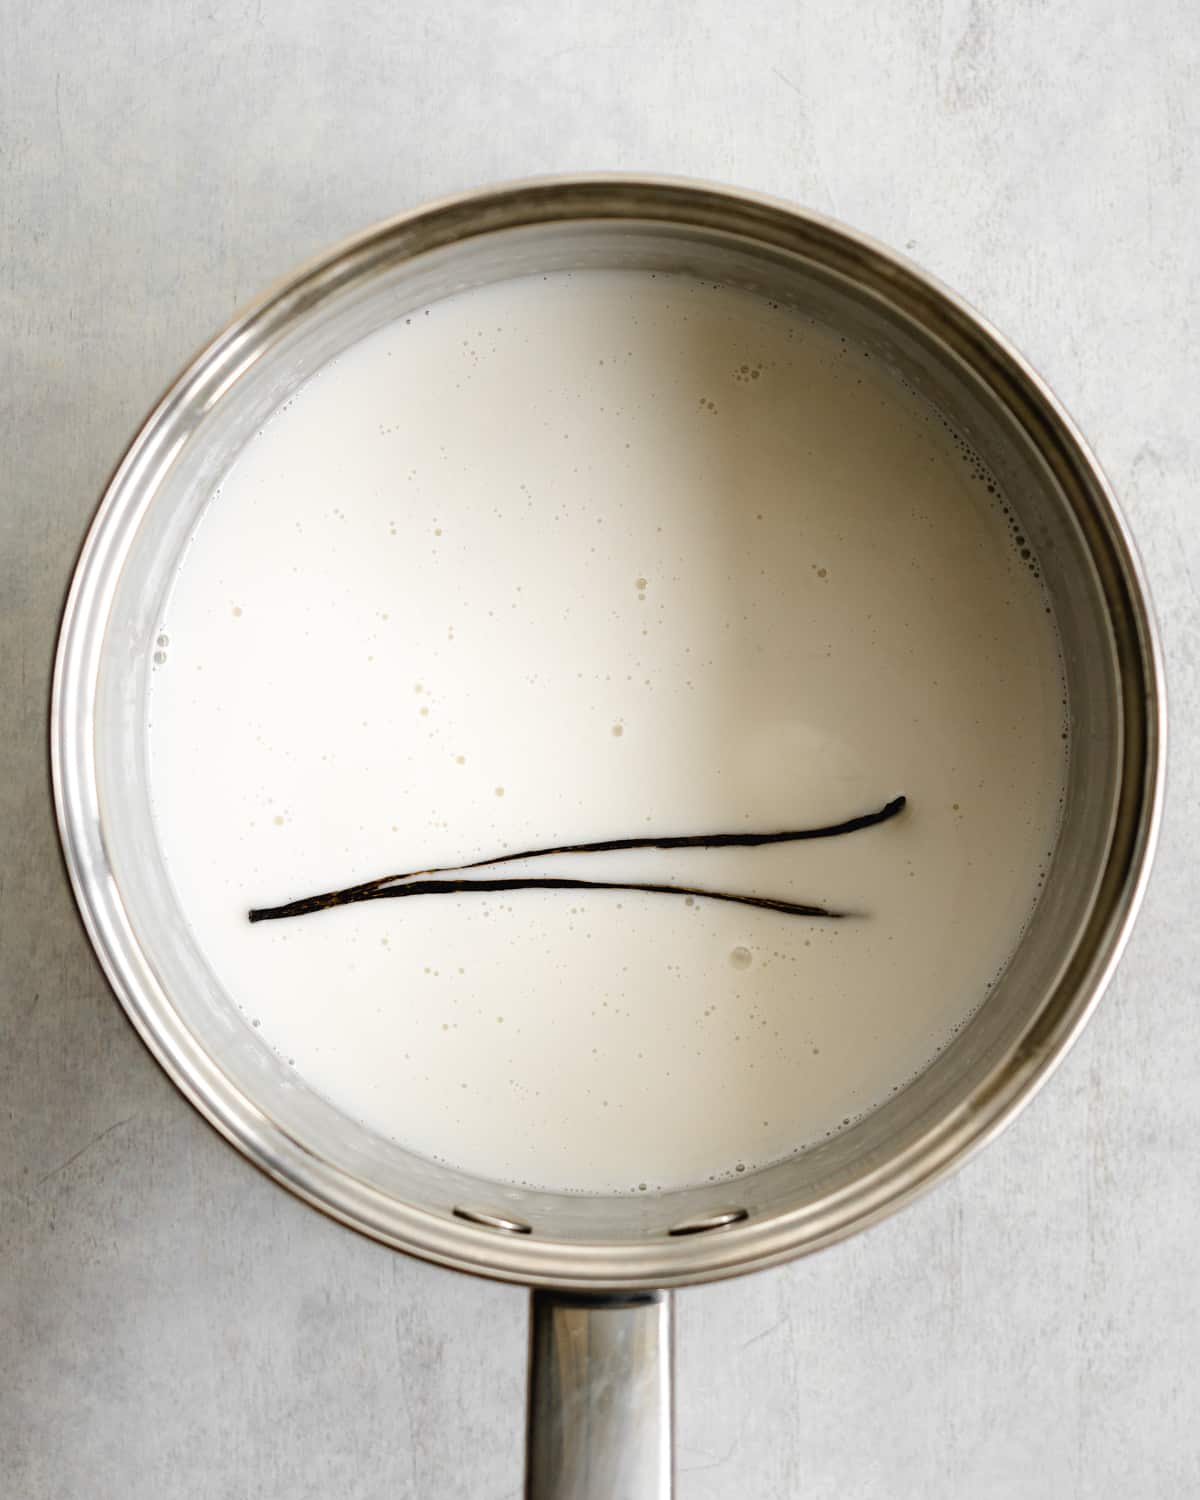
The first step to making this delicious vegan creme brulee is preparing the custard base. Add the almond milk, sugar, and cornflour to a saucepan and give everything a good whisk over low heat. Continue to whisk until the sugar has dissolved into the almond milk.
At this point add the remaining ingredients for the custard (vanilla pod, vanilla extract, and sea salt) and increase the temperature to medium-high. Continue to simmer the custard for 5 minutes, this will cook out the cornflour and thicken the mixture.
Make sure you're constantly whisking the custard as it tends to stick to the bottom of the pan.
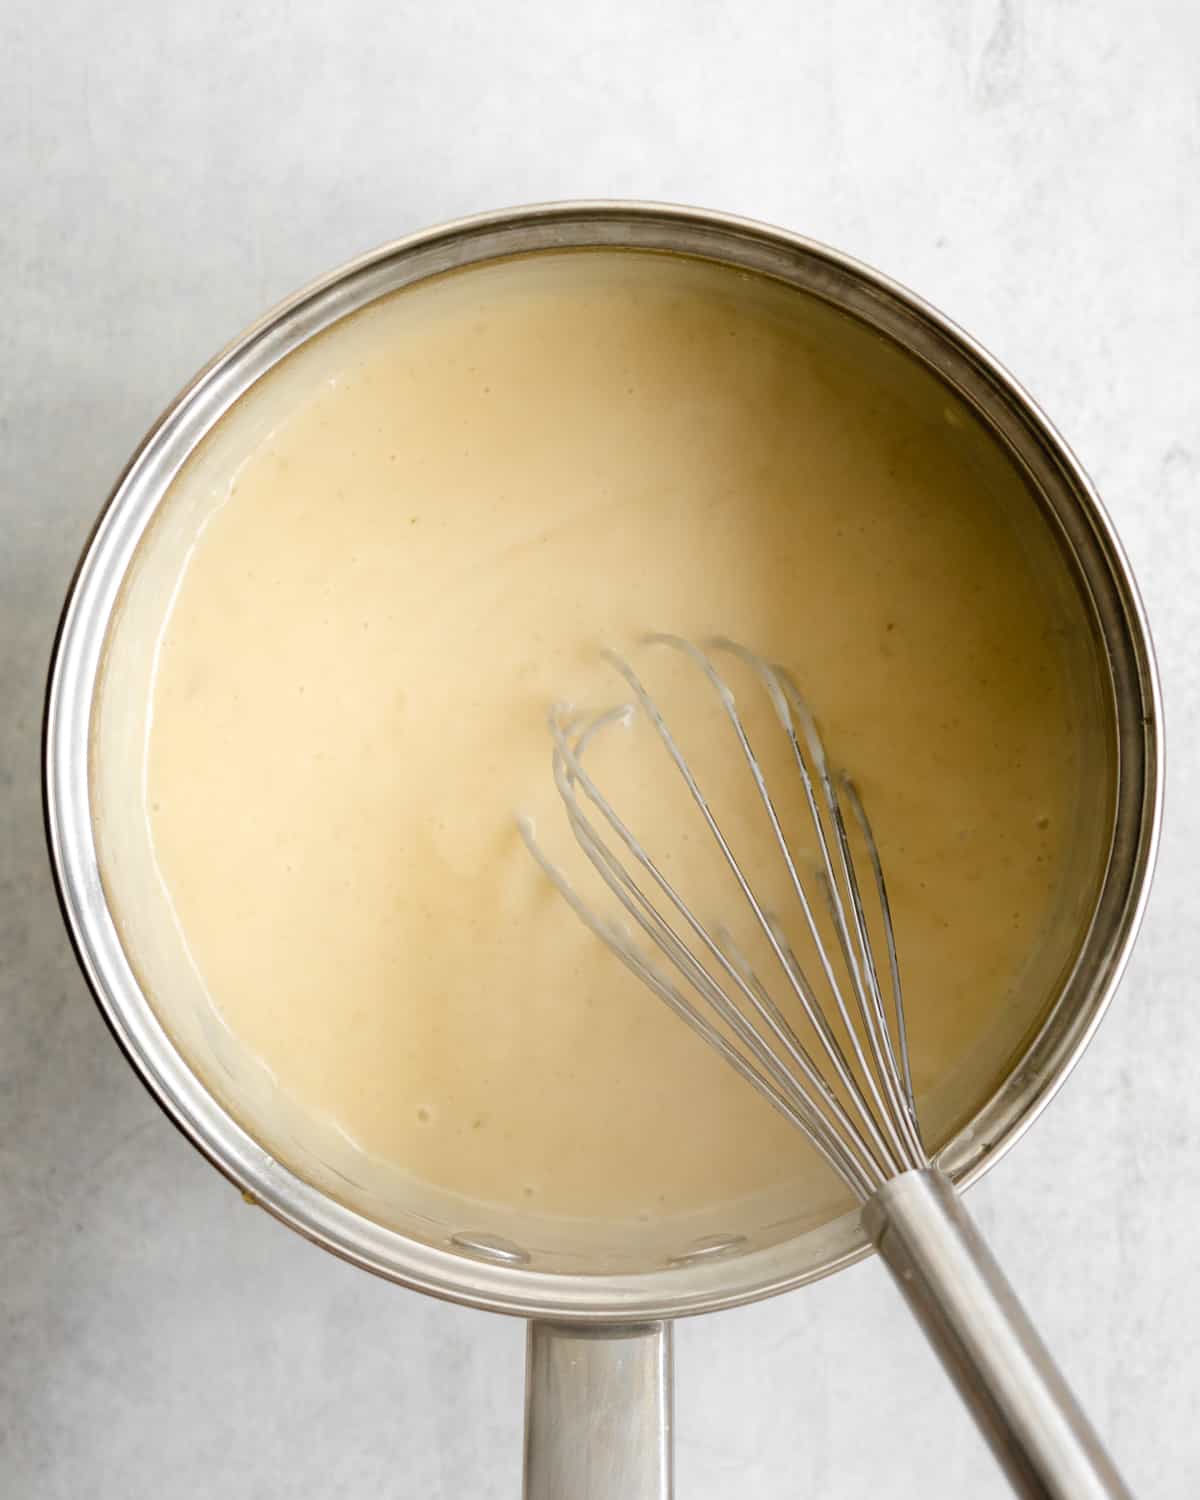
Pass the custard through a fine-mesh sieve to remove the vanilla pod along and allow it to cool slightly for around 5 minutes.

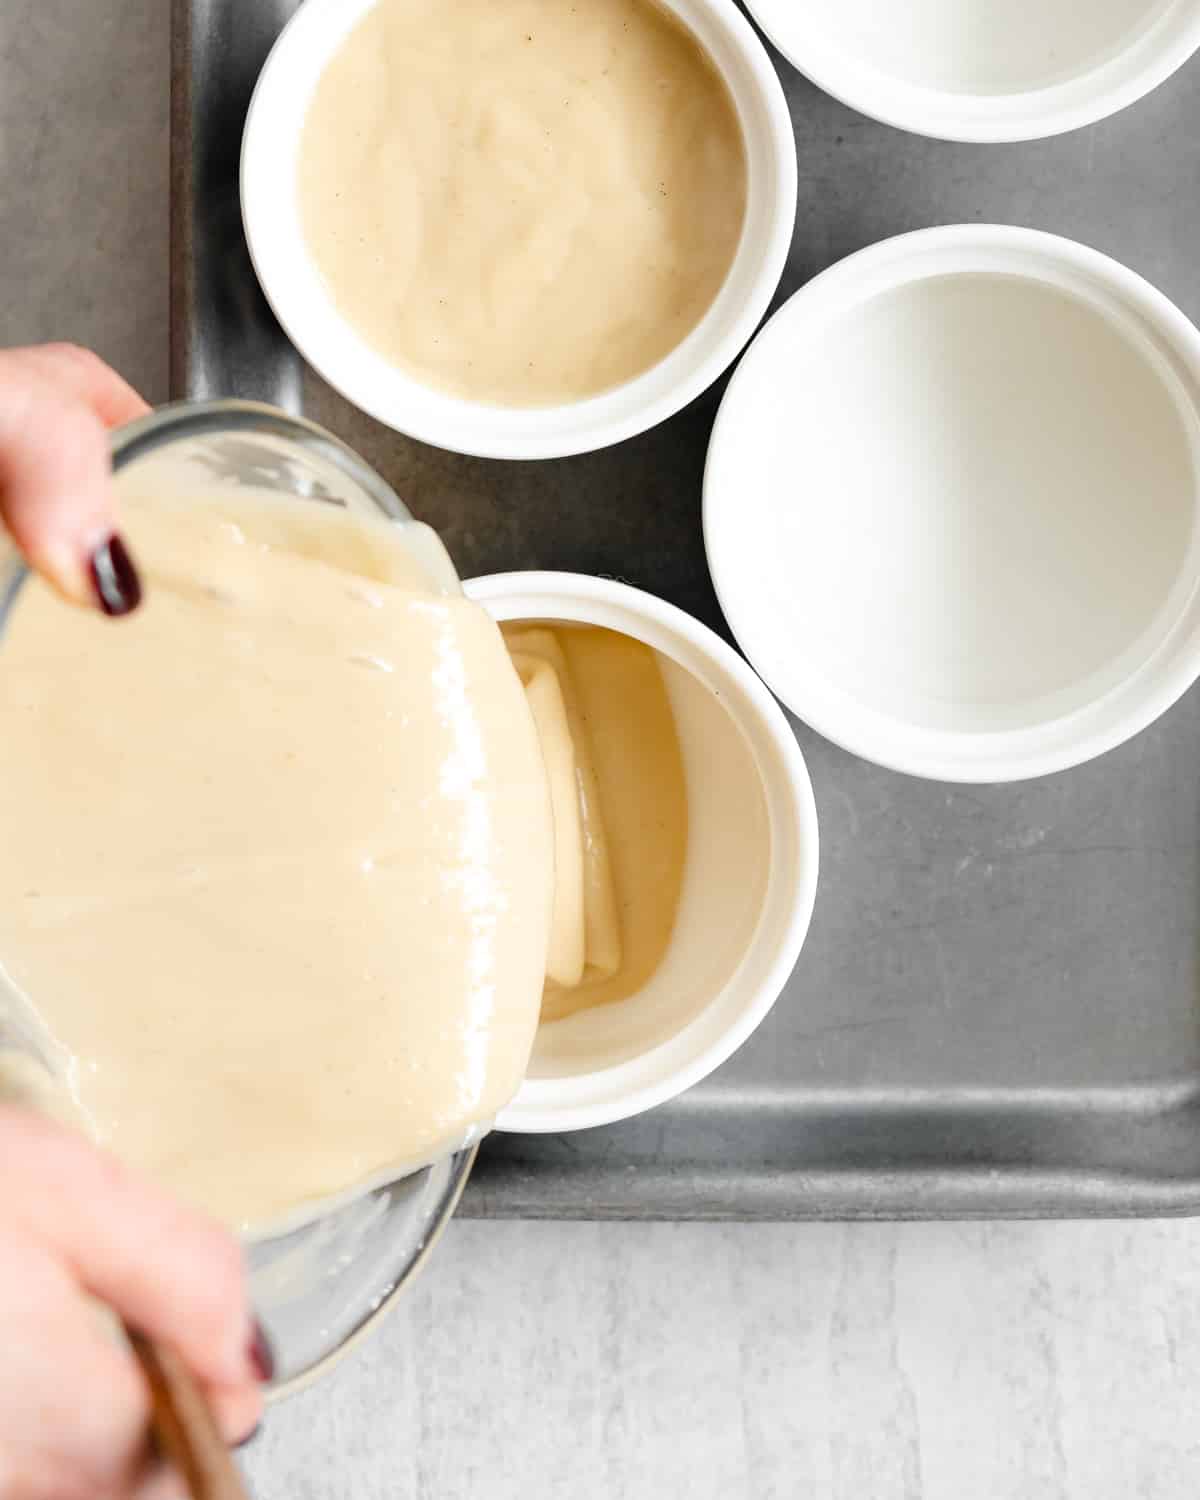
Next, distribute the custard between the serving ramekins and chill in the fridge for a couple of hours.
How to caramelize creme brulee
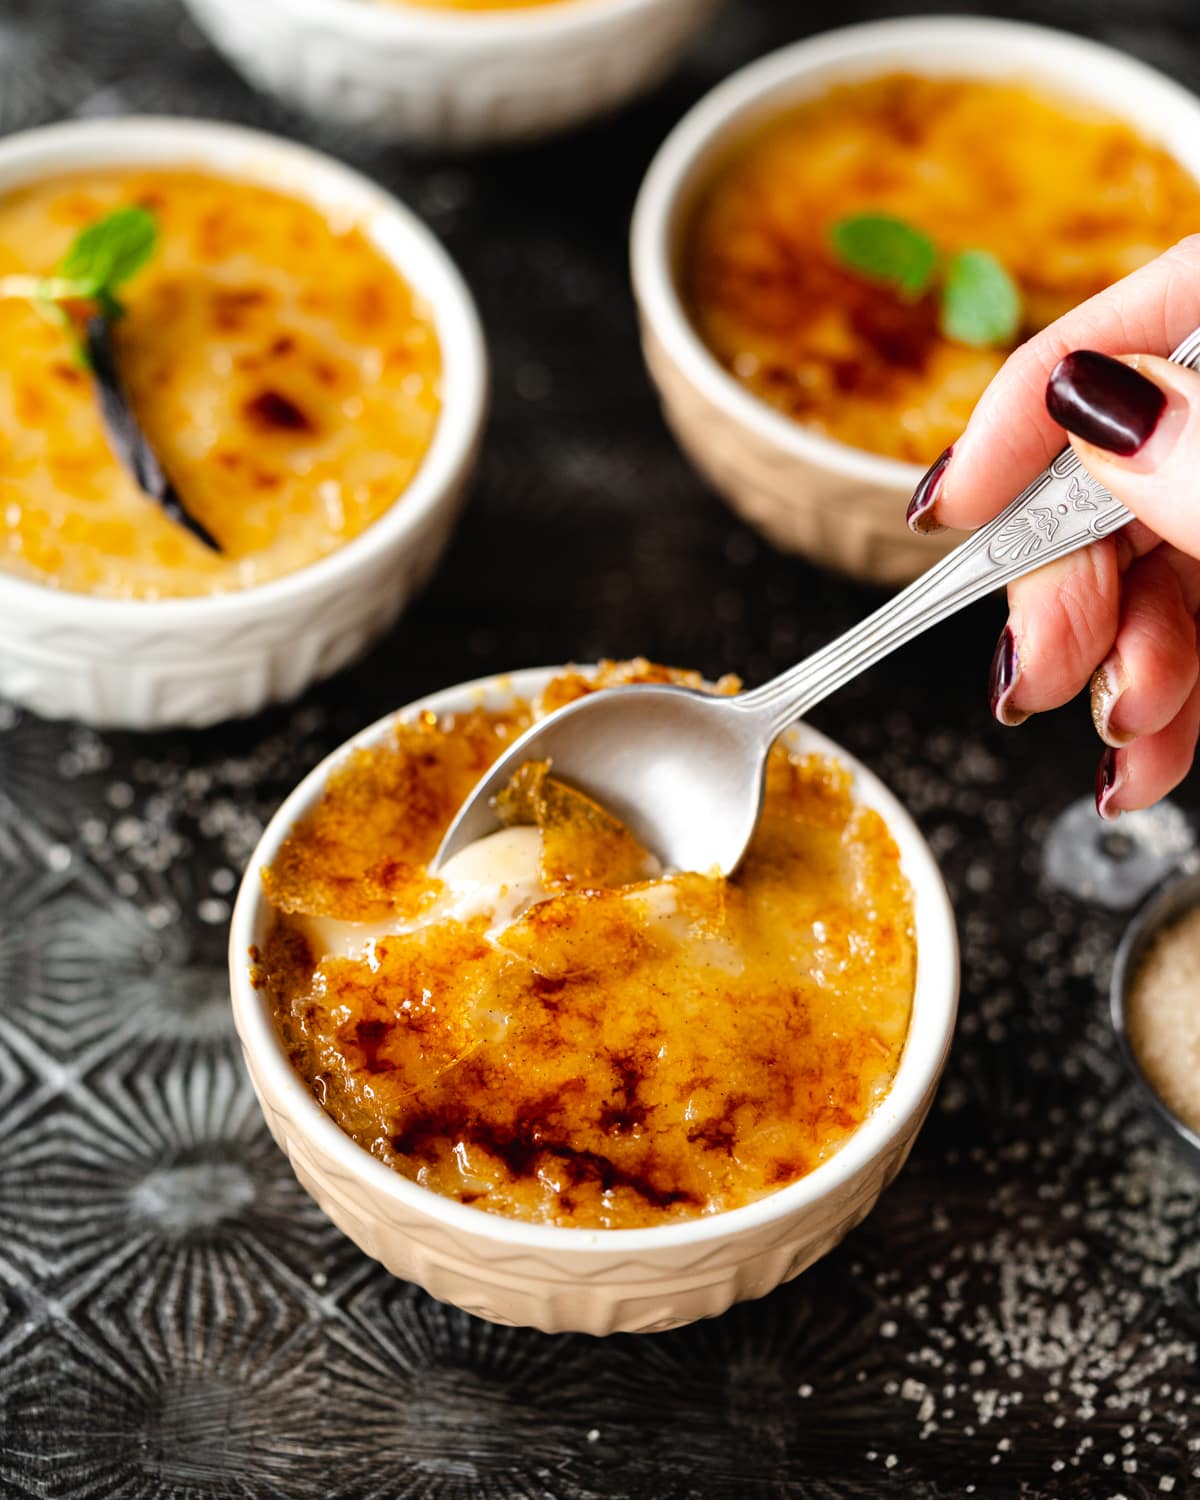
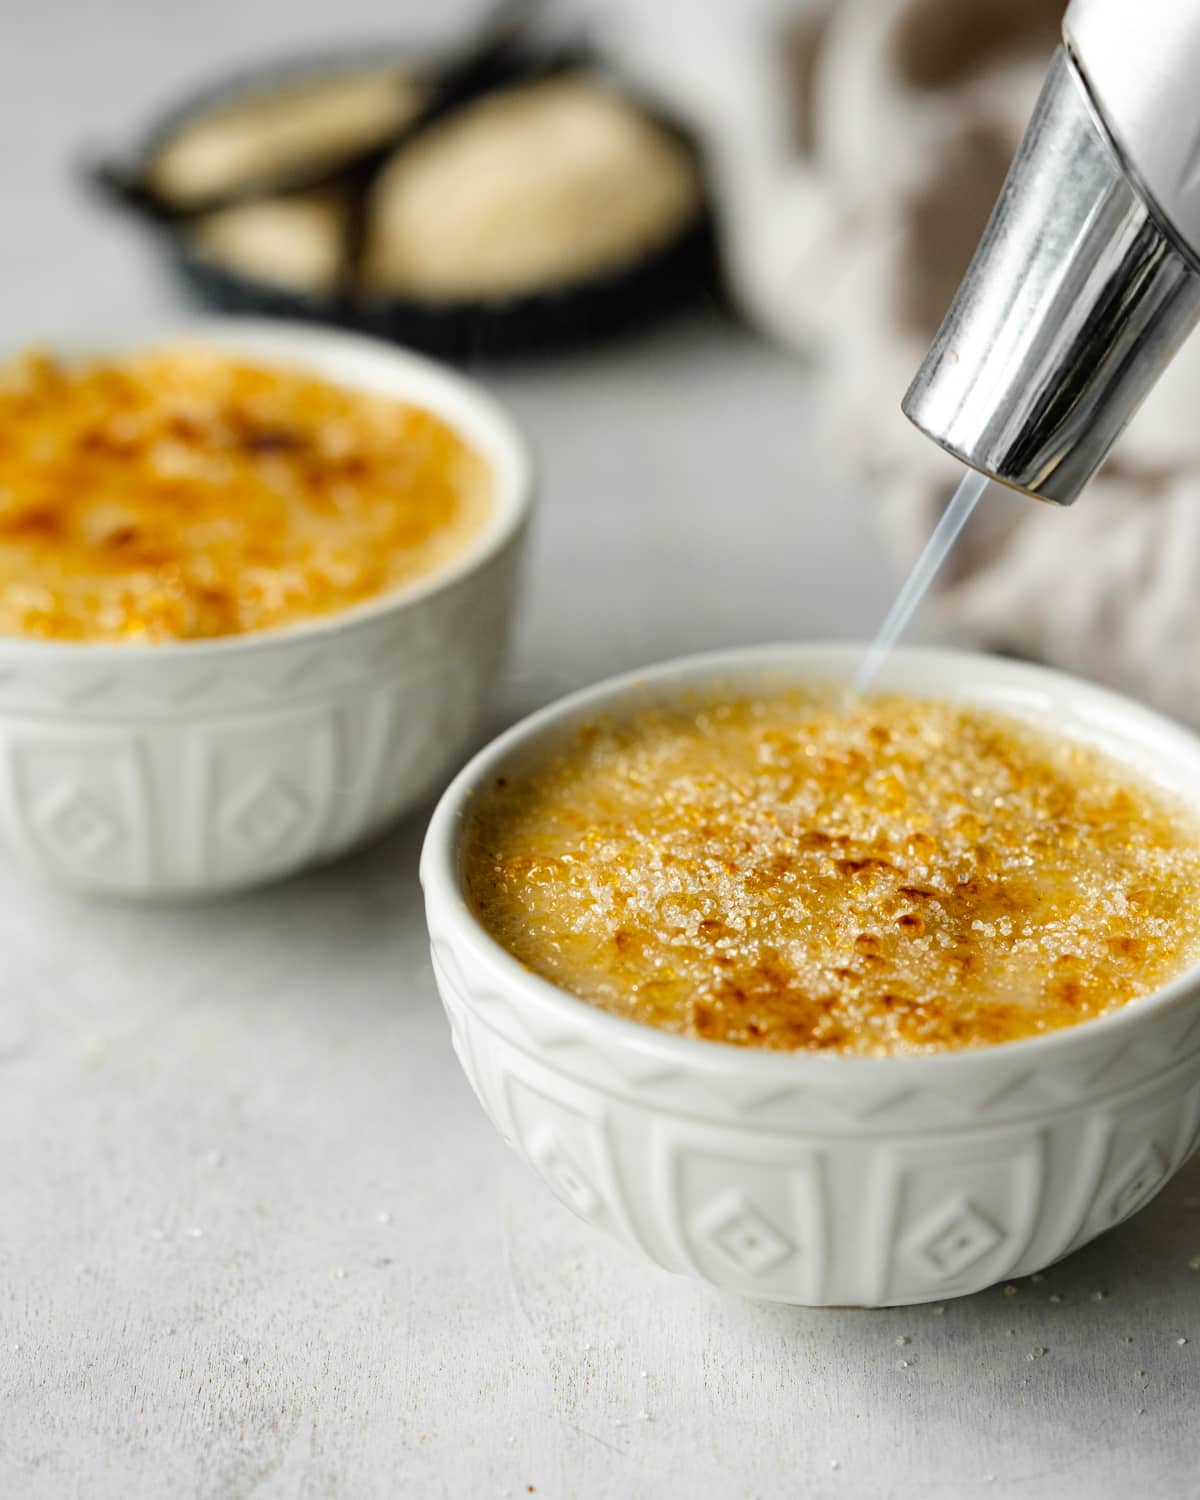
The easiest way to get that beautiful crisp shell on top of your egg-free creme brulee is with a kitchen torch.
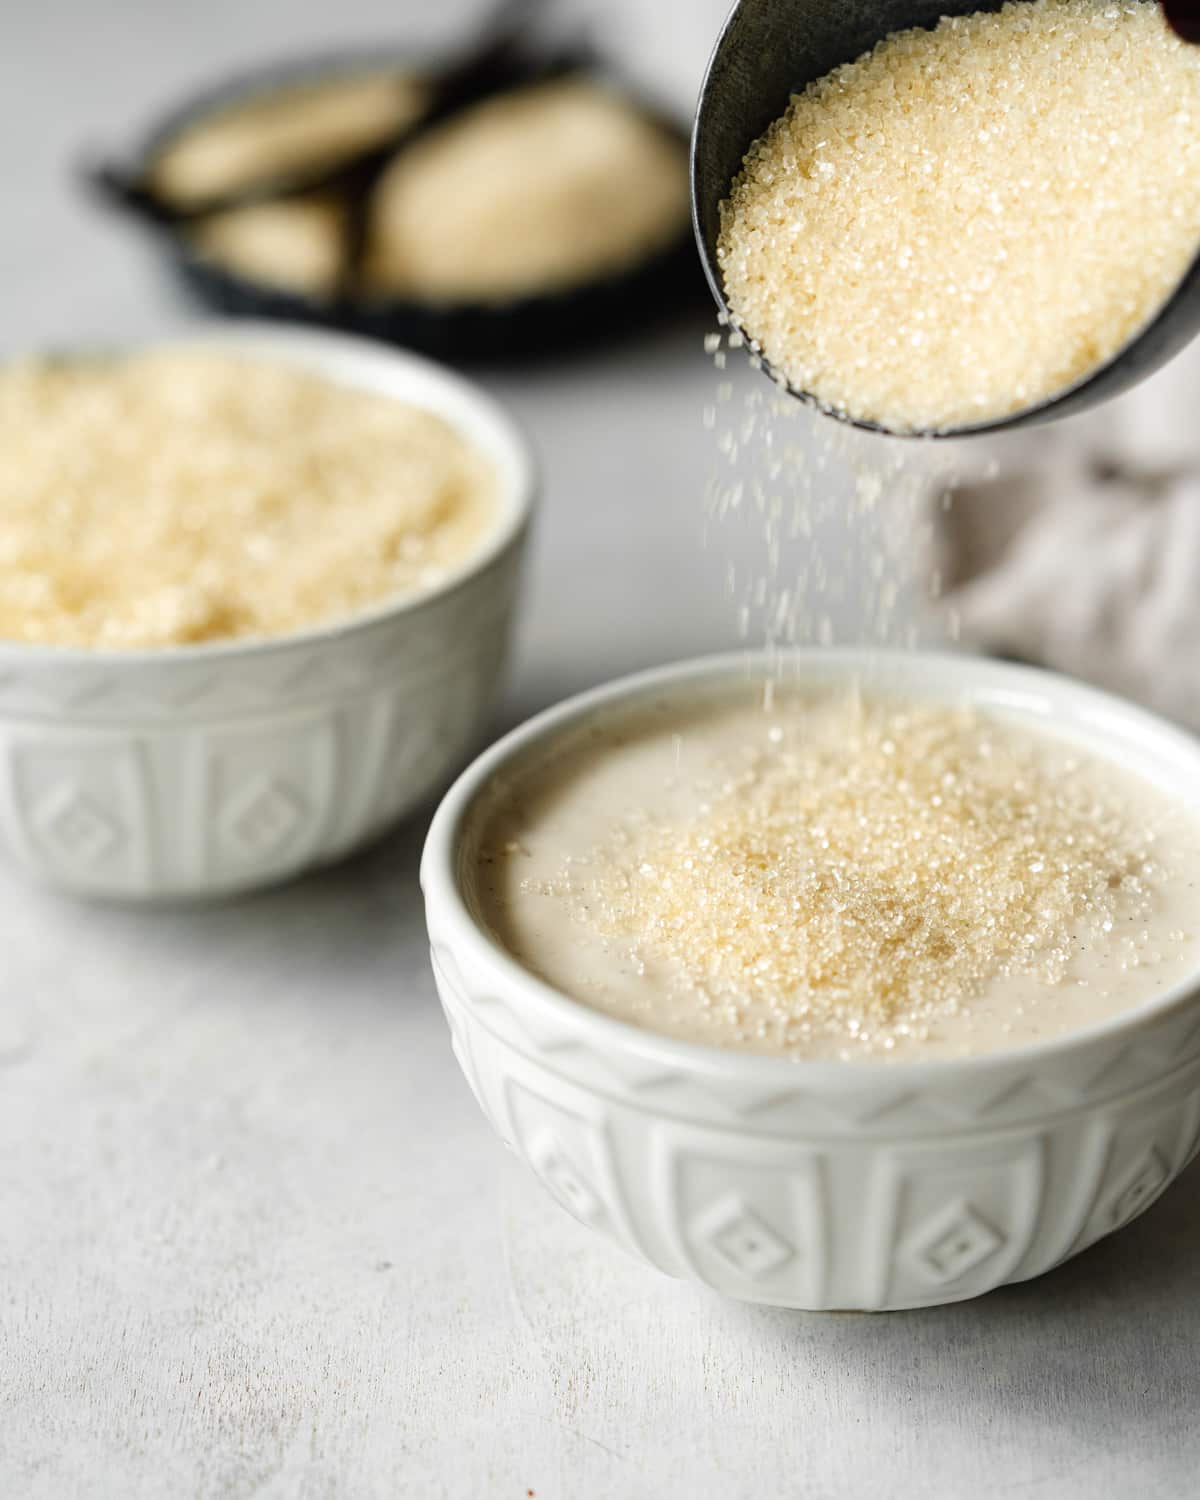
Do this just before serving. Add a little sugar on top of each creme brulee and use a blowtorch to caramelize the sugar until browned. Being hygroscopic, sugar attracts liquid. Humid environments are not good for your creme brulees once they have been blow-torched. If you caramelize the sugar before refrigerating, it will soften and turn into a caramel sauce!
Storage instructions
Store this vegan creme brulee in the fridge before caramelizing the top. Make sure they are airtight by sealing them with some cling film until ready to serve. They will keep for 3-4 days in the fridge.
I do not recommend freezing vegan creme brulee.
Frequently asked questions
You can caramelize the sugar under the grill provided that you've used heat-resistant ramekins. You just need to make sure it is very hot, as you don’t want to leave them under there for too long as this could melt the pudding underneath.
Yes, you can substitute the almond milk for soy milk or oat milk to make this creme brulee nut-free.
Yes, this vegan creme brulee is also gluten-free.
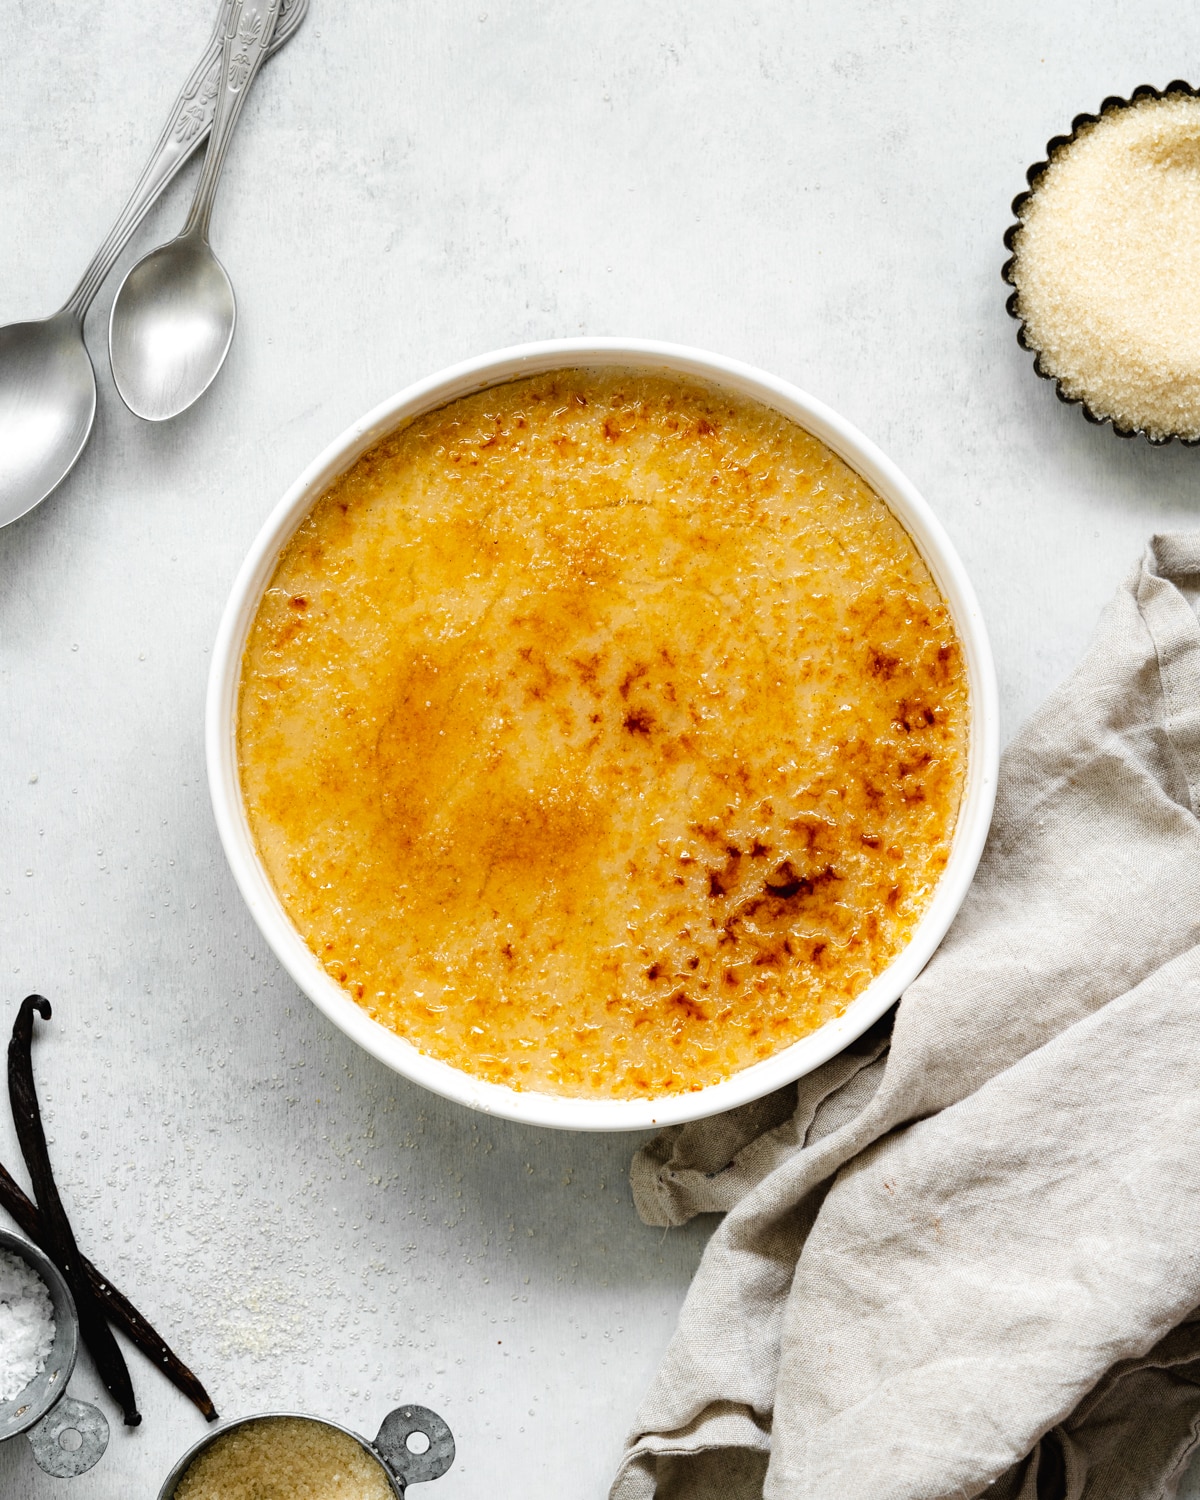
You can use another heat-resistant cup or bowl to make these puddings. I also tested the recipe as a large creme brulee "to-share" (pictured below).
More custard-based desserts
Love this recipe? Please leave a 5-star 🌟🌟🌟🌟🌟rating in the recipe card below and consider leaving a comment as well, thanks!
Stay in touch with me through social media @ Instagram, Pinterest, TikTok, and Facebook. And if you like one of my recipes, tag me
📖 Recipe
Vegan Crème Brülée
Ingredients
- 250 ml (1 cup) unsweetened almond milk
- 70 g (⅓ cups) caster sugar (superfine)
- 40 g (⅓ cup) cornflour (cornstarch)
- 400 g (14.11 oz) chilled full-fat canned coconut milk *see recipe notes
- 1 vanilla pod optional
- 2 tsp (2 tsp) vanilla extract
- ¼ tsp (¼ tsp) sea salt
- 50 g (4 tbsp) cane sugar or caster sugar
Instructions
- Place 4 large 180ml ramekins on a tray and set them aside.
- Add the almond milk, caster sugar, and cornflour to a saucepan and place on it a low heat. Whisk vigorously for a couple of minutes until the sugar has dissolved. Slice the vanilla pod in half and scrape out the seeds. Add the seeds and pod to a saucepan along with the coconut milk, vanilla extract, and sea salt.
- Turn up the heat to medium-high and bring the mixture to a simmer, while continuously whisking. Continue to simmer for 5 minutes, the custard will start to thicken. Make sure you are constantly stirring the custard to avoid it burning to the bottom of the pan. I recommend alternating between a whisk and rubber spatula.
- Remove the saucepan from the heat. Pass the mixture through a sieve to remove any large particles from the vanilla pod. Allow it to cool slightly for 5 minutes. Distribute the custard between the serving ramekins, cover with clingfilm or a plate. Refrigerate for at least 2 hours until set.
- Just before serving, add 1 tablespoon of cane sugar or caster sugar in an even layer on top of each dessert. Use a blowtorch to caramelize the sugar until browned. Serve immediately.
Notes
Storage instructions
© addictedtodates.com. All content and images are protected by copyright. If you want to share this recipe, please do so using the share buttons provided. Do not screenshot or republish the recipe or content in full. Instead, include a link to this post for the recipe. Thank you!

