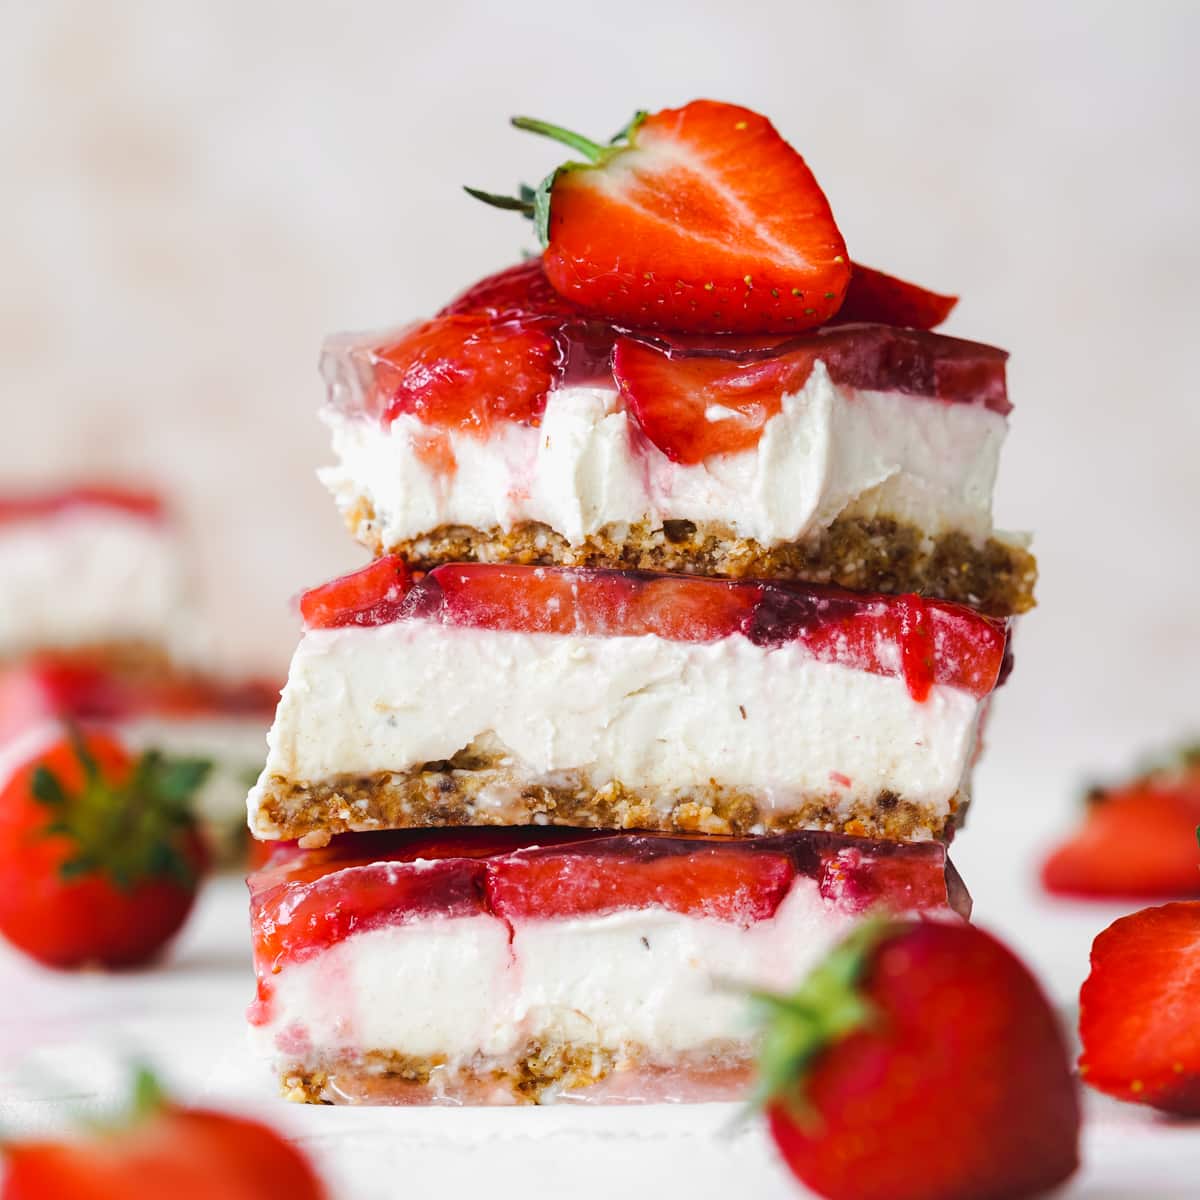
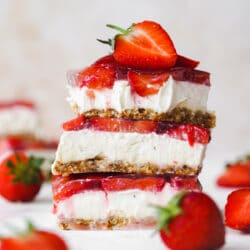
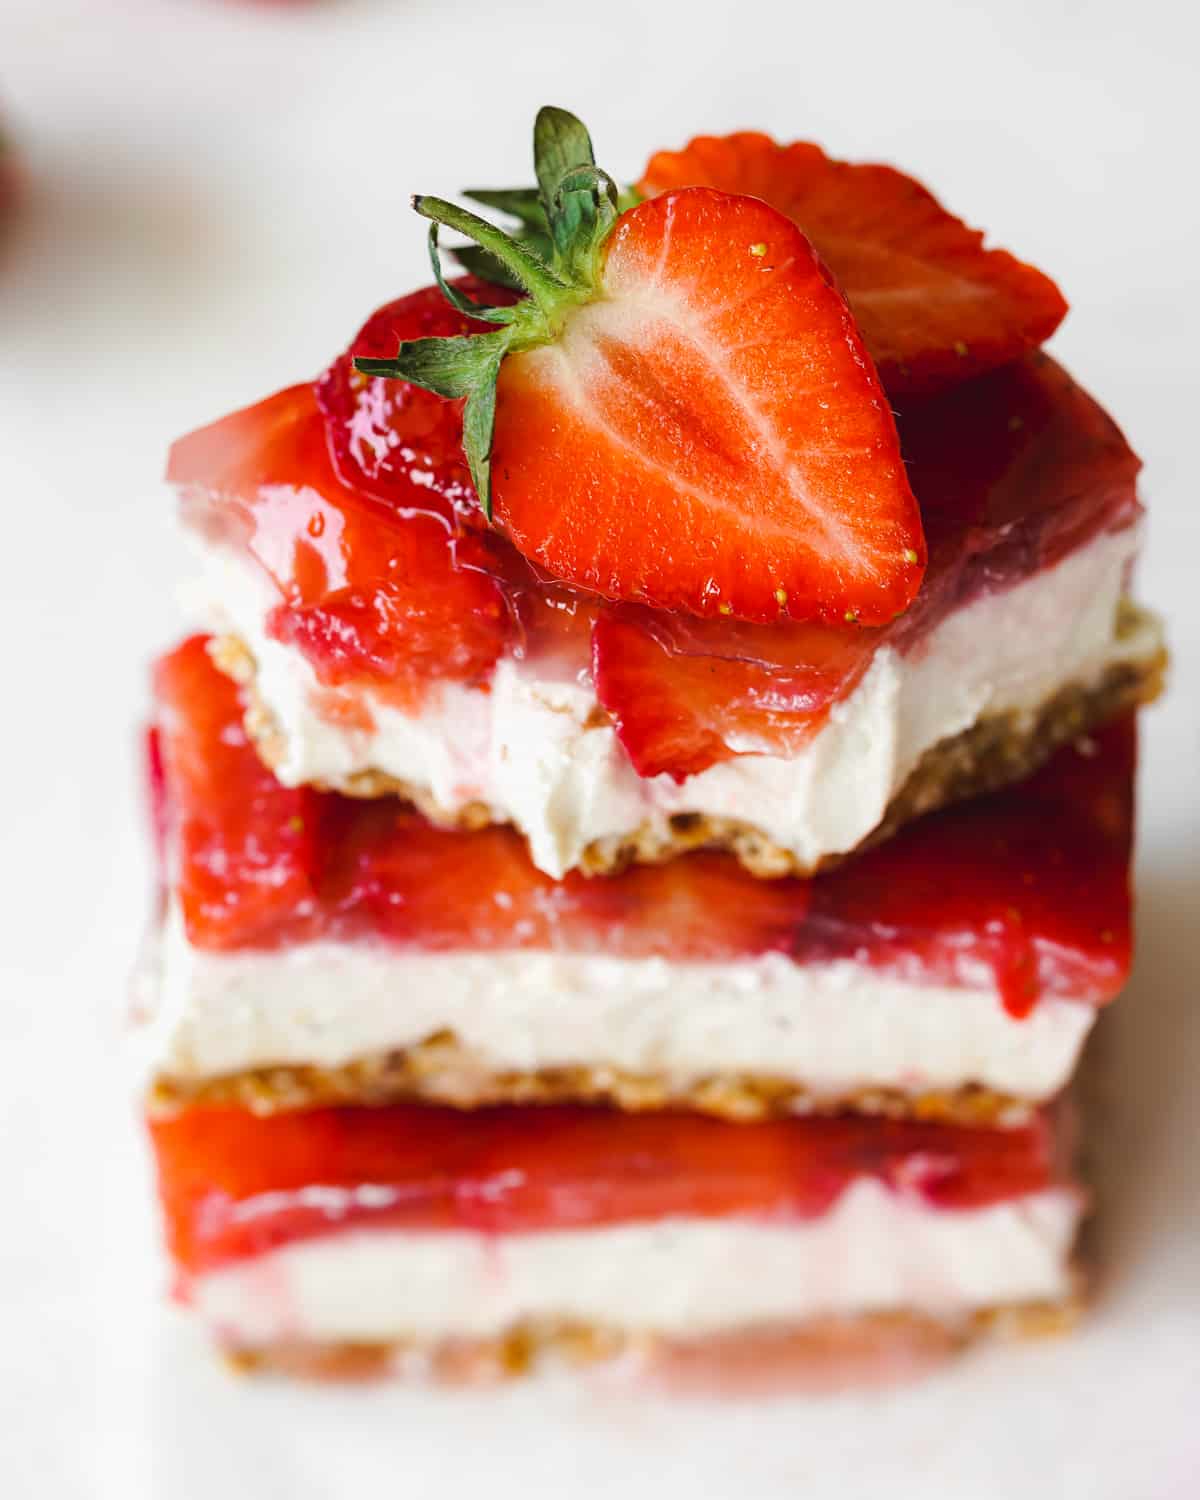
The creamiest vanilla cheesecake on an oaty coconut crust topped with sweet and fragrant macerated strawberry jelly. These vegan strawberry cheesecake bars are easy to put together and don't require any baking.
They've got an intense strawberry flavor thanks to the layer of sweet macerated strawberries and strawberry jelly.
Similar to my vegan lemon cheesecake and mango cheesecake bars, this no-bake vegan cheesecake is perfect for spring and summer!
Jump to:
📖 Recipe Overview
- Fresh and fruity flavor and creamy and light consistency.
- Easy to make with no baking required.
- Completely eggless and dairy-free, and gluten-free.
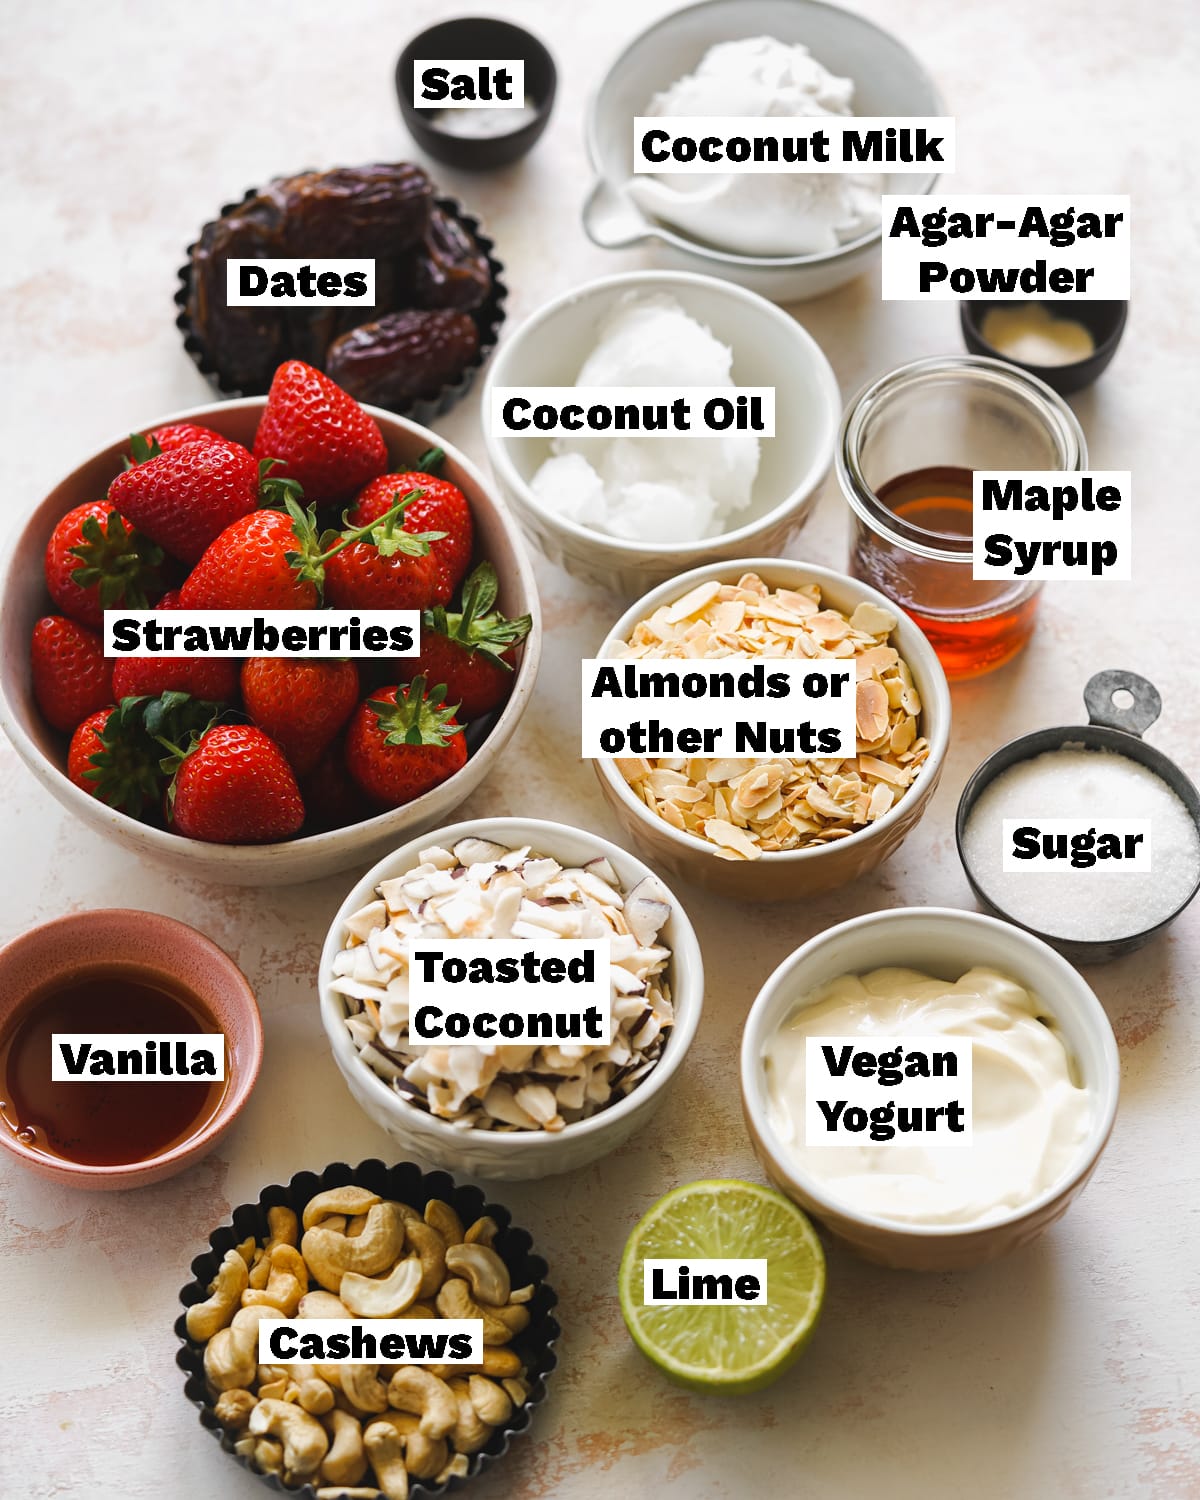
🍓 Ingredients Needed
Ingredient Notes
- Toasted coconut flakes give a deliciously malty flavor to the base of this vegan strawberry cheesecake. You can also buy raw coconut flakes, and toast them until slightly browned under your grill. Or you can substitute it with desiccated coconut.
- You can use any soft dates for this recipe, I love using Medjool dates for their soft texture and sweet caramel flavor. If your dates are hard/tough, try soaking them in some hot water for 30 minutes to help soften them up first!
- Coconut milk gives the dessert a rich and creamy texture. Make sure you go for full-fat canned coconut milk and use only thick cream from the top of the cans. You can also use coconut cream or vegan cream cheese.
- Vegan yogurt helps to lighten this no-bake dessert. You can use a vanilla-flavored one for an extra pop of flavor, or plain soy or coconut yogurt.
- Cashews give the cheesecake filling that ultimate creamy texture and slightly tangy flavor.
- Lime juice compliments the strawberry flavor so well and the acidity adds a tangy cheesecake flavor to the filling. You can also use lemon juice.
- These cheesecake bars call for fresh strawberries. However, don't worry if they aren't the sweetest you've ever tried. They are going to be macerated in caster sugar, which will create a sweet strawberry syrup.
- Agar-agar powder is the setting agent used to set the strawberry layer of the cheesecake bars. Make sure you use the powdered variety, or if using agar-agar flakes, convert the quantity according to the brands' instructions. If you can't find agar you can always skip the jelly layer and top them with a batch of homemade strawberry coulis instead.
Get Your Free E-Book!
Sign up to the Addicted to Dates newsletter for your FREE Guide To Vegan Cheesecakes!
🥣 How To Make GF Cheesecake Bars
Find the complete list of ingredients, quantities, and instructions in the recipe card at the end of this post.
No-Bake Crust
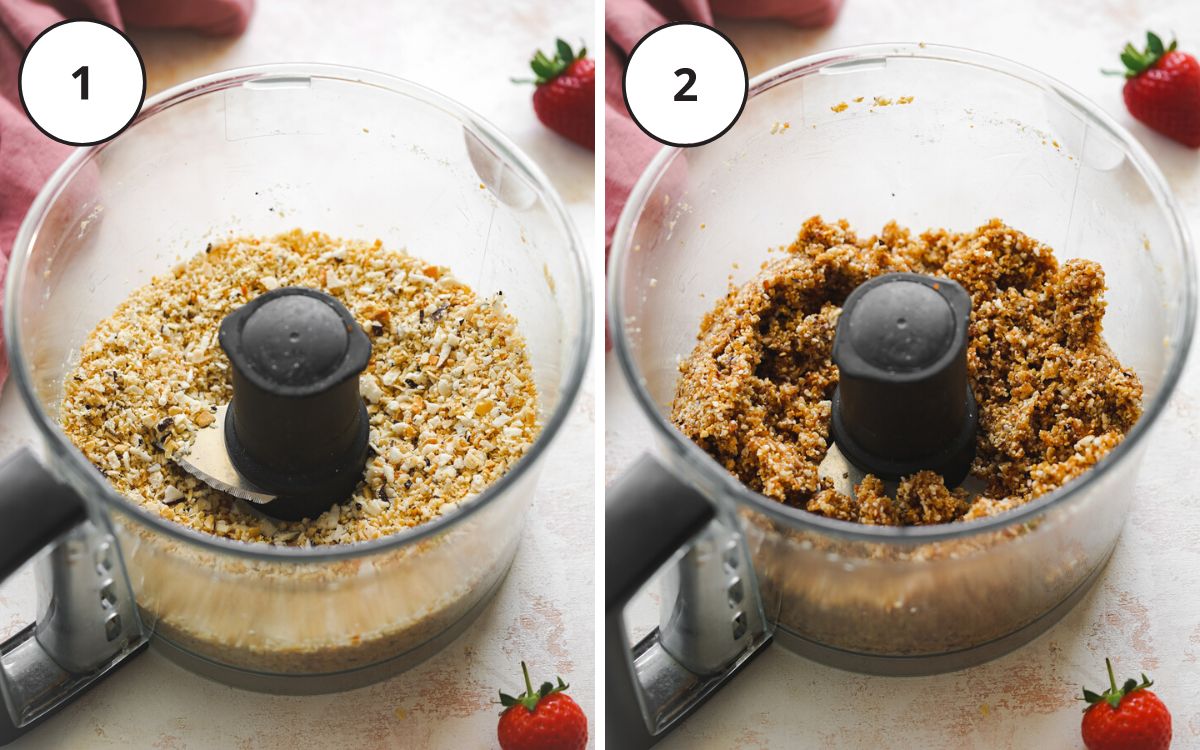
(1) Roughly pulse the dry ingredients in the food processor (that's toasted coconut, almonds, salt). A few visible pieces of nuts or coconut in the mixture are fine, as this will add some crunch.
(2) Add in the dates and pulse again until the ingredients stick together.
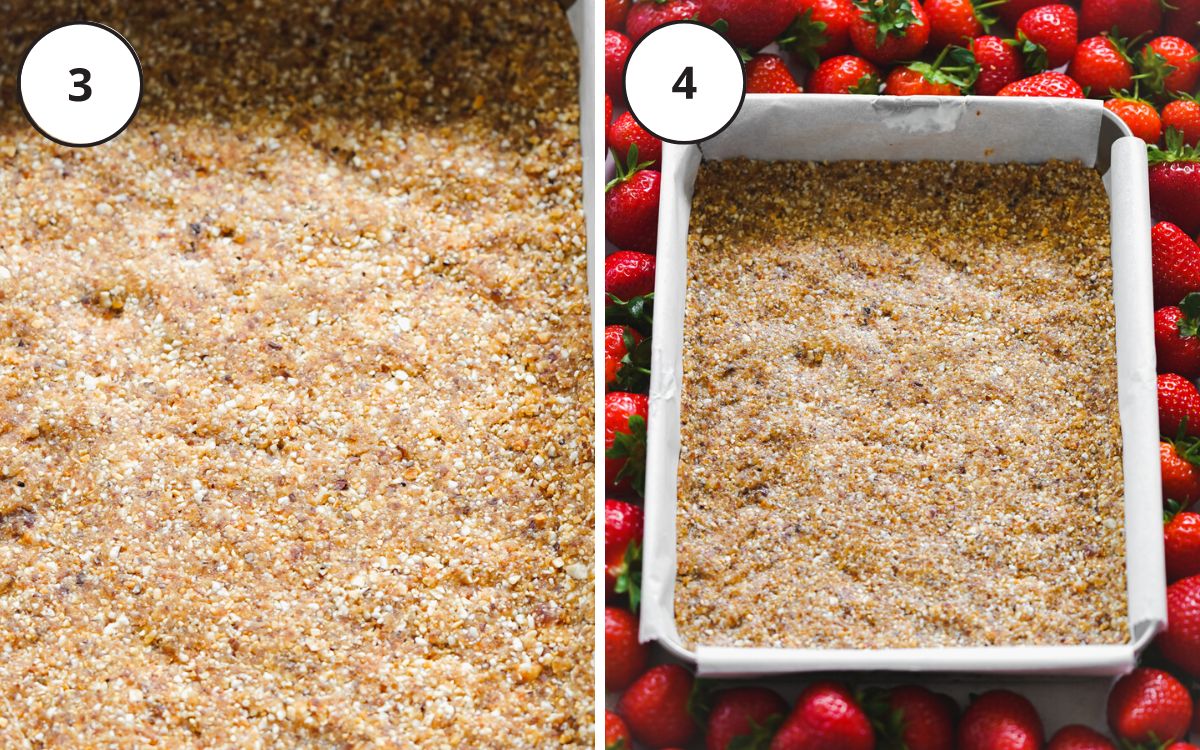
(3+4) Press the crust into the base of an 8-inch square pan or an 8 or 9-inch rectangular pan pre-lined with parchment paper.
The best way to get a nice even crust is to use flat-bottomed glass to compact and smooth it out in an even layer.
Cheesecake filling
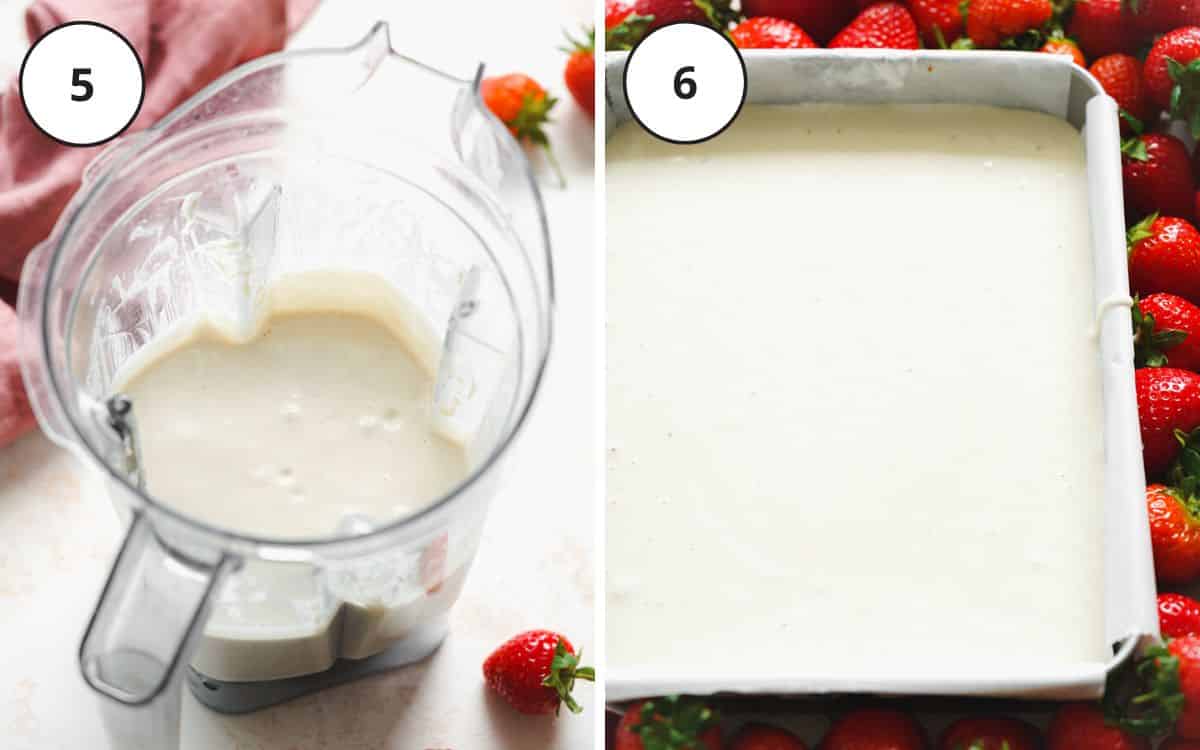
(5) Blend together all of the filling ingredients in a high-speed blender until smooth and creamy.
(6) Pour the filling into the pan and gently tap it on your work counter to remove the air bubbles.
Next, pop it into the freezer for about an hour so that it sets enough to take the strawberry layer without having them sink into the batter. You can prepare the strawberry topping while you wait for it to set.
Strawberry topping
(7+8) To make the strawberry layer, marinade the hulled and quartered strawberries in some sugar, otherwise known as macerating. When sugar is added to fresh strawberries, it pulls the moisture out of them resulting in a sweet syrup that infuses and softens the berries.
Add the fresh strawberries to a bowl and sprinkle with sugar, cover the bowl and allow them to sit for at least 30 minutes.
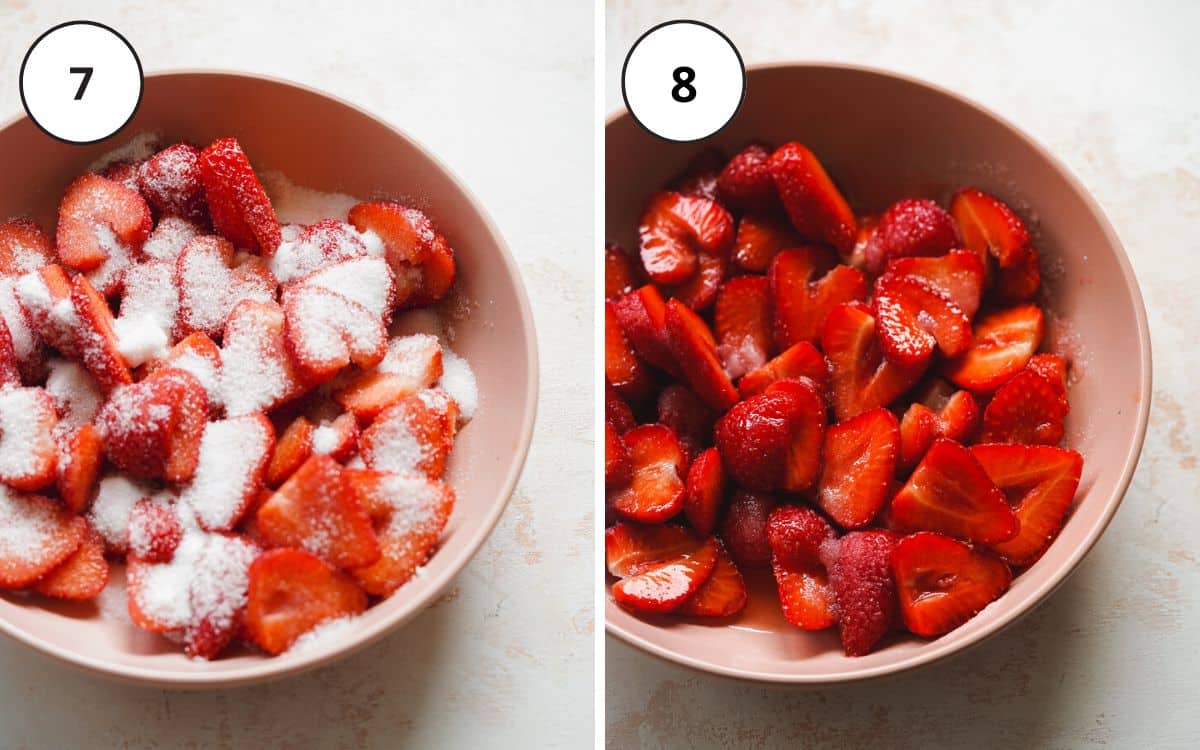
(9) Once the strawberries are nice and syrupy, place them in a fine-mesh sieve over a saucepan to separate out the juices.
(10) To the saucepan with the strawberry syrup, add water and agar-agar powder, and stir well until dissolved. Bring the mixture to a boil and cook for 3-5 minutes whiles whisking continuously.
Agar-agar is the setting agent and it needs to be heated in order to activate it.
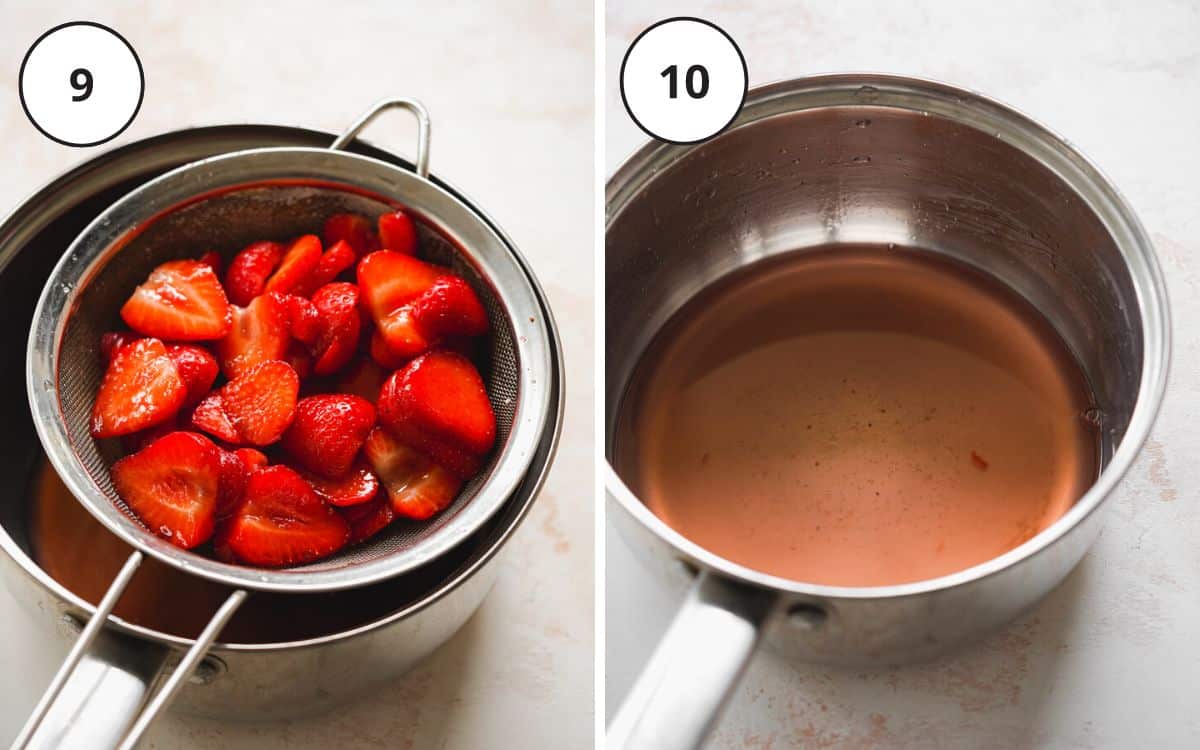
(11) Arrange the strawberries in an even layer on top of the cheesecake. Make sure that the cheesecake is set enough to hold them. Simply test it with the tip of your finger.
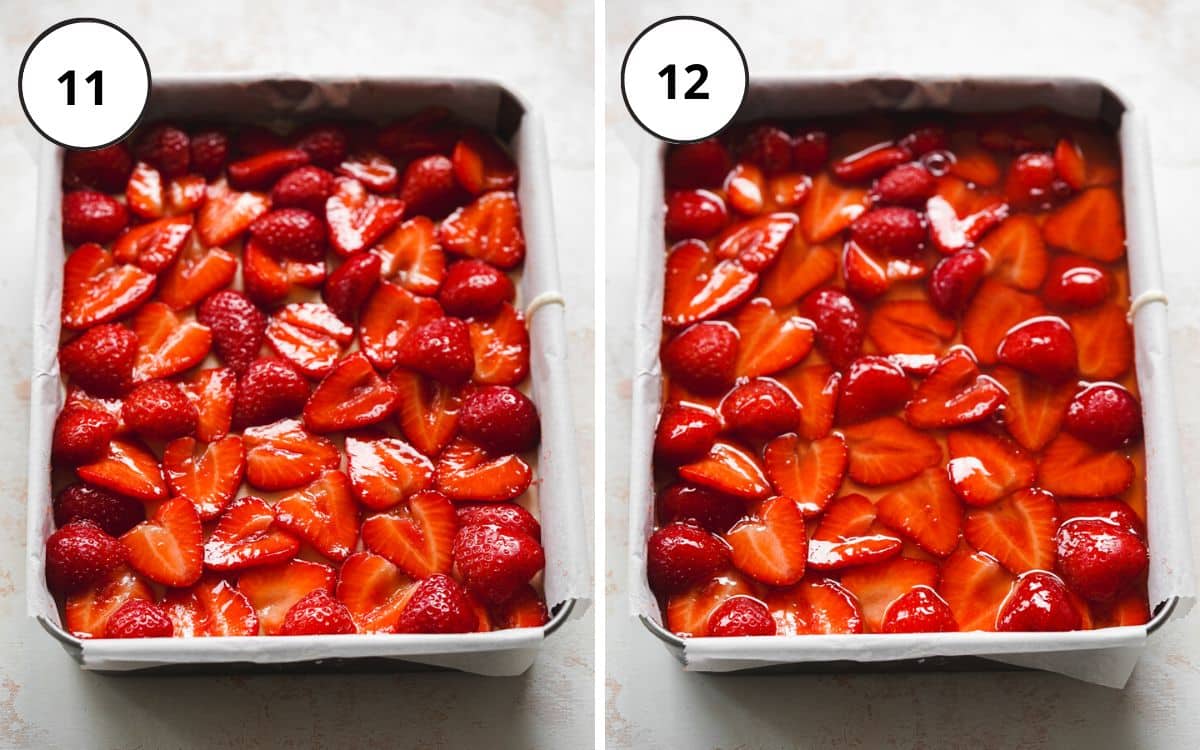
(12) Pour the jelly mixture over the strawberries and place it in the fridge to set for at least 4 hours.
📝 Recipe Tips
Quick soak the cashews if you're short on time. You can quick-soak them in boiled water for an hour ahead of time. I sometimes soak them for just 30 minutes in simmering water, which also works.
Make sure you refrigerate the cans of coconut milk in advance (overnight works well). Chilling the cans will separate the coconut cream from the water. You can then simply scoop out the thick coconut cream from the top of the can. The left-over water in the bottom of the can makes a nice addition to curries, soups, or porridge, so don’t throw it out!
Line the base and sides of the cake pan with parchment paper, thereby you create a sling to make it easy to lift out the cheesecake once set.
Blend the filling ingredients until completely smooth without any lumps or grit.
Make a small batch by halving the recipe and instead use a loaf pan lined with parchment paper.
💬 FAQs
Place the cheesecake in an airtight container and refrigerate. It'll stay fresh in the fridge for up to 5 days.
You can freeze it in an airtight container for up to a couple of months. I recommend first slicing the cheesecake into individual bars so that you can defrost them as needed. Then just allow them to sit at room temperature for an hour before serving.
Please note, that the strawberries in the topping may lose their shape a little once defrosted, so if at all possible, it's best to store this one in the fridge.
Absolutely, you can sub the cashews with sunflower seeds or macadamia nuts (by the same weight). Soak them as you would with cashews.
Coconut milk can be swapped for vegan cream cheese in this recipe.
The coconut oil helps to set the filling, without it the cheesecake layer will set much softer. If you don't mind a less set consistency, simply swap out the coconut oil for extra coconut milk or vegan cream cheese.
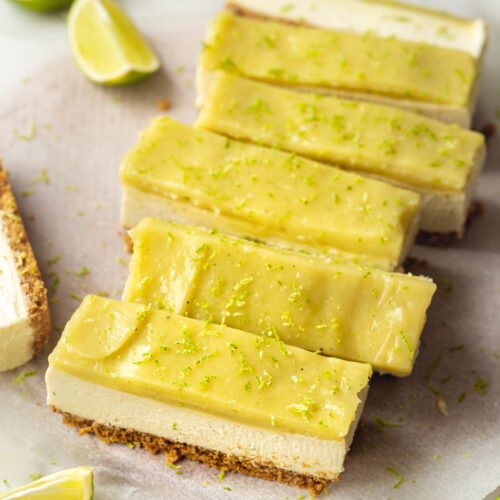
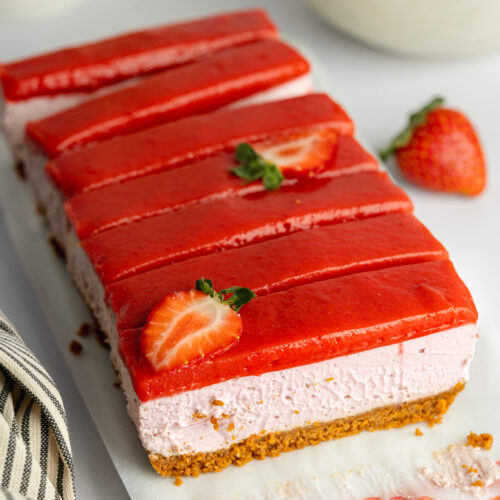
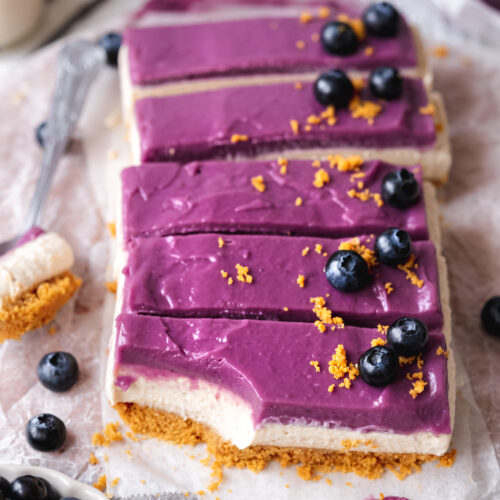
🍰 More Vegan Cheesecakes

Love this recipe? Please leave a 5-star ★★★★★ rating in the recipe card below and consider leaving a comment as well, thanks!
Stay in touch with me through social media @ Instagram, Pinterest, TikTok, and Facebook. And subscribe via email to get all our new recipes!
📖 Recipe
Gluten-Free Strawberry Cheesecake Bars
Ingredients
Crust
- 100 g toasted coconut flakes or raw coconut flakes/desiccated coconut
- 100 g toasted almond flakes or regular almonds/cashews
- ½ teaspoon sea salt
- 7 medjool dates pitted
Filling
- 200 g cashews soaked *see notes
- 240 g chilled full-fat coconut milk or coconut cream/vegan cream cheese *see notes
- 120 g plain soy or coconut yogurt
- 60 ml pure maple syrup
- 55 g coconut oil solid
- 1 tablespoon lime juice
- 1 tablespoon vanilla extract
Strawberry Topping
- 400 g fresh strawberries hulled and quartered
- 4 tablespoons granulated sugar
- 120 ml water
- ½ teaspoon agar-agar powder NOT agar flakes
Instructions
Crust
- Add the toasted coconut flakes, almonds, and salt to your food processor and blitz for 1-2 minutes. Add the pitted dates and blend again until everything is evenly mixed and sticks together like a dough.
- Line the base and sides of an 8-inch square pan or an 8 or 9-inch rectangular pan with parchment paper and press the dough into the base of the pan using a spatula, spoon, or flat-bottomed glass. Set aside.
Filling
- To make the filling, add all of the ingredients to your high-speed blender and blend until smooth and creamy. Pour the filling into the pan and gently tap it on your work counter to remove the air bubbles. Place in the freezer to set for about an hour while you prepare the strawberry topping.
Topping
- Add the hulled and quartered strawberries to a bowl and sprinkle the sugar on top. Cover the bowl and allow it to sit for at least 30 minutes to an hour, stirring every so often.
- Pass the strawberries through a sieve and add the collected juice to a saucepan. Set the strawberries aside in a bowl.
- Add the water and agar-agar powder to the saucepan with the strawberry juices and stir well until dissolved. Bring the mixture to a boil. Reduce the heat to medium and simmer for 3 minutes, whilst whisking continuously.
- Arrange the strawberries on top of the set cheesecake layer. Pour the strawberry jelly on top of the strawberries. Cover the cheesecake with plastic wrap and place in the fridge to set for 4 hours (or overnight).
- Set the cheesecake in the fridge for at least 4 hours (or preferably overnight).
Serving and Storage
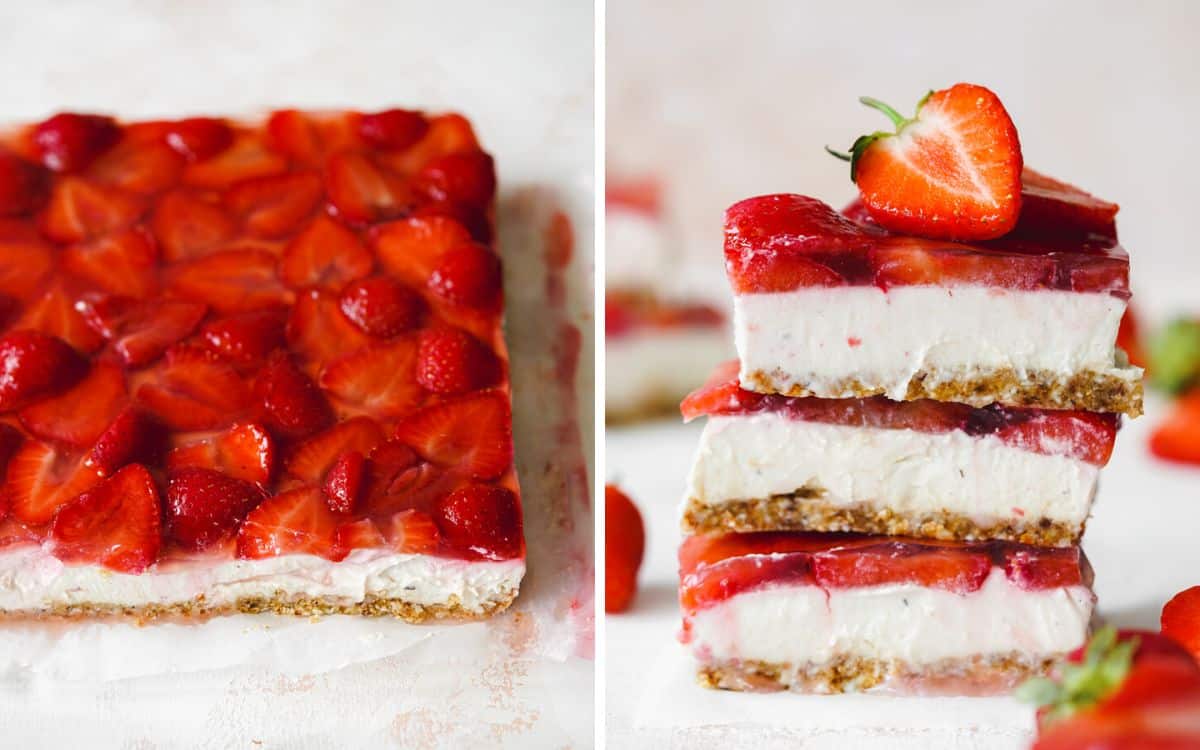
- Once set, use a hot wet knife to slice the cheesecake into portions. Place the cheesecake bars in an airtight container and refrigerate. They'll stay fresh in the fridge for up to 5 days. You can also freeze them in an airtight container for up to a couple of months. I recommend first slicing the cheesecake into individual bars so that you can defrost them as needed. Then just allow them to sit at room temperature for an hour before serving.
Notes
- Soaked cashews: Soak the cashews in water for 4 hours, rinse and drain. You can also quick-soak them in boiled water for 30 minutes to an hour ahead of time.
- Refrigerate the cans of coconut milk overnight, then only use the thick cream from the top of the cans. Then scoop out the thick coconut cream from the top of the can. The left-over water in the bottom of the can makes a nice addition to curries, soups, or porridge, so don’t throw it out!
- Line the base and sides of the cake pan with parchment paper, and create a sling to make it easy to lift out the cheesecake once set.
- Make a small batch by halving the recipe and instead use a loaf pan lined with parchment paper.
- If you can't find agar-agar you can top the cheesecake with strawberry coulis instead of jelly.
© addictedtodates.com. All content and images are protected by copyright. If you want to share this recipe, please do so using the share buttons provided. Do not screenshot or republish the recipe or content in full. Instead, include a link to this post for the recipe. Thank you!
*This recipe was originally published in February 2021. The recipe has since been improved and updated to simplify the ingredients and include more detailed instructions.

