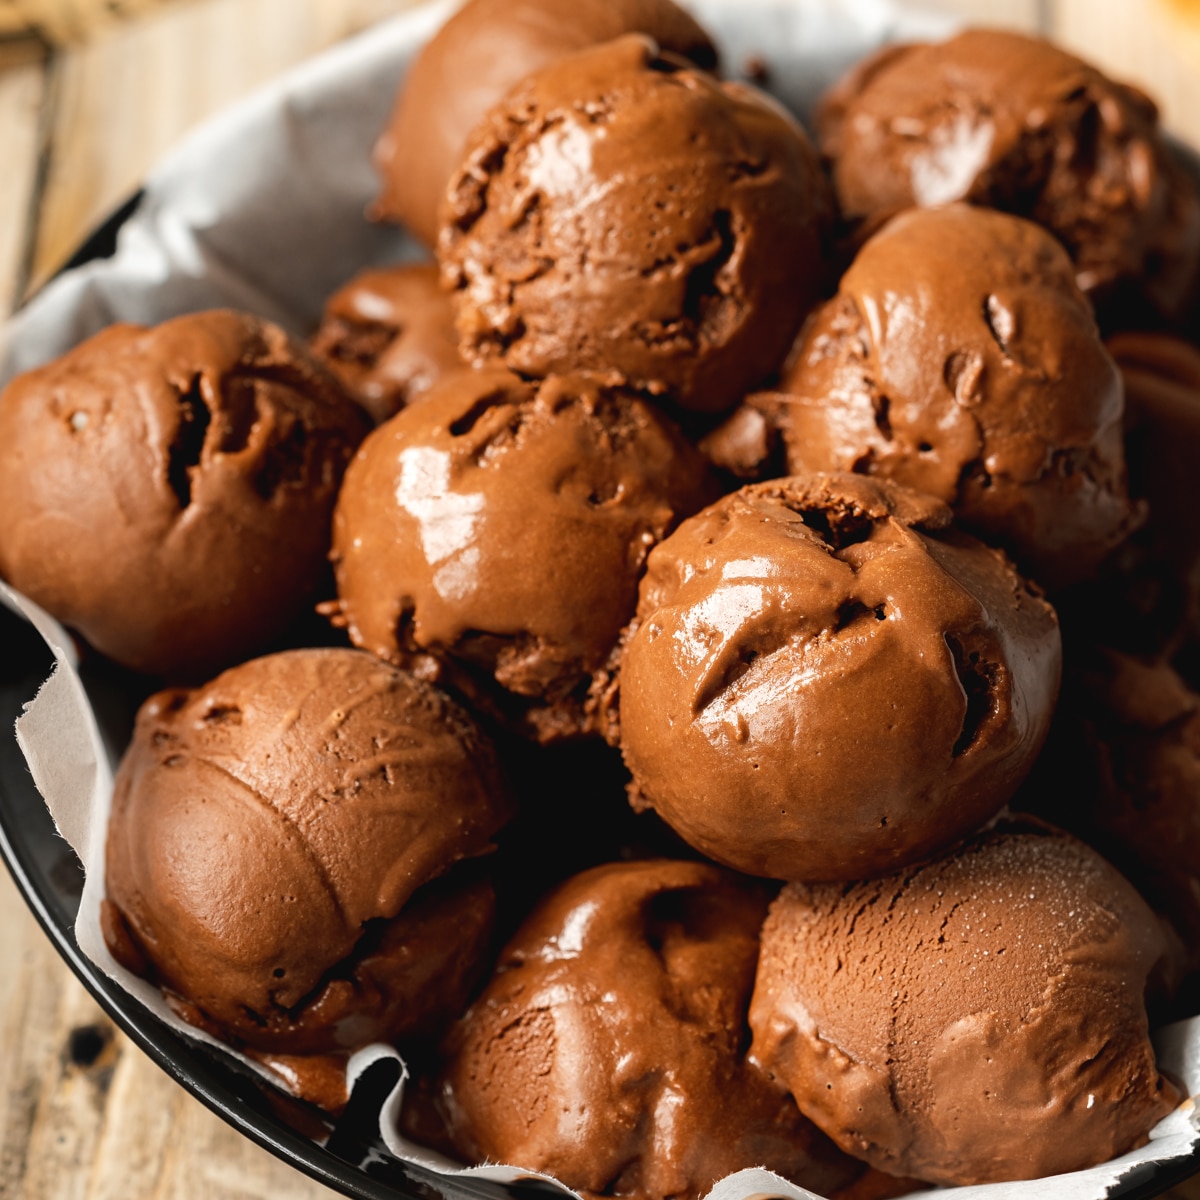
This recipe is based on my vegan phish-food ice cream from my book, which is a coconut milk-based ice cream.
Along with this and my chocolate soy ice cream, I created this oat milk version for anyone who avoids soy or coconut, or just prefers oat-based options.
🧾 Ingredients
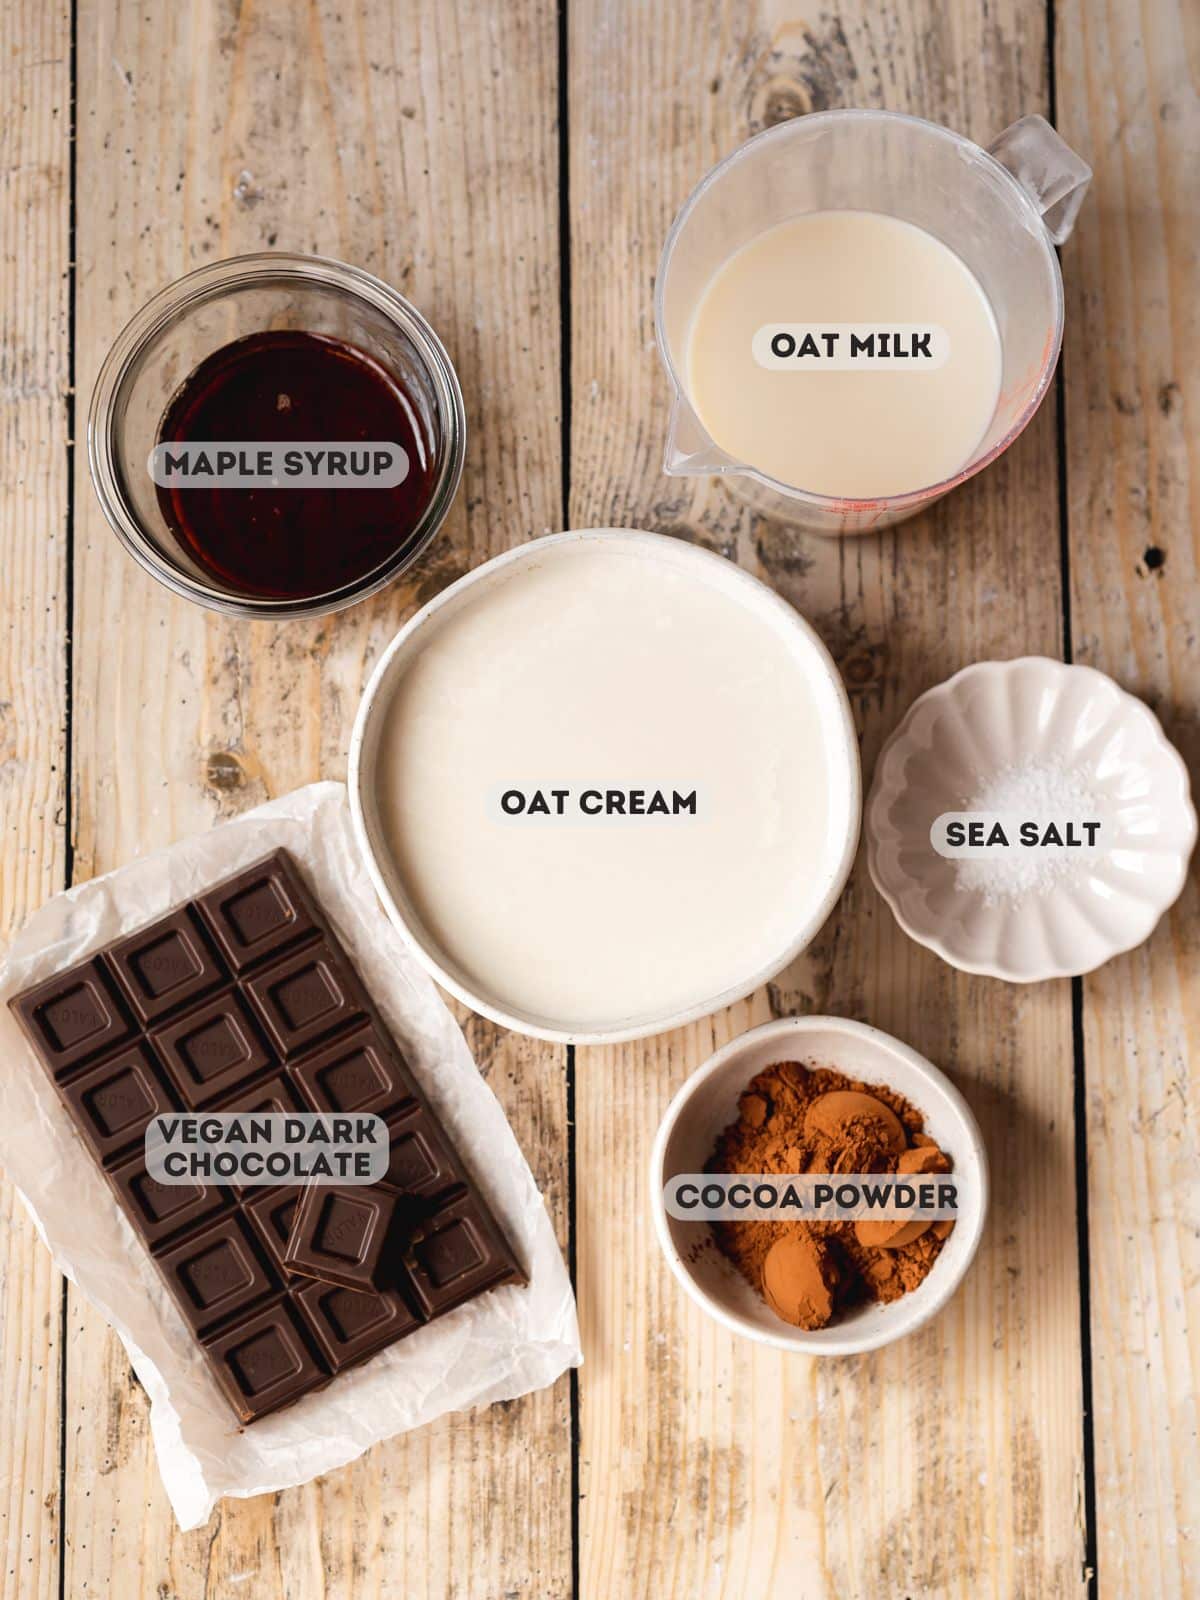
Ingredient Notes
Here's everything you need to make this non-dairy ice cream. Find the complete list of ingredients, quantities, and instructions in the recipe card at the end of this post.
- Vegan Dark Chocolate: Opt for a minimum of 70% cocoa solids for the richest chocolate flavor. If you're avoiding refined sugar, go for pure chocolate or sugar-free chocolate, and let the maple syrup do the rest of the work!
- Unsweetened Oat Milk: If possible, try and find a Barista-style brand. These blends have been specially formulated for frothing up into gorgeous lattes, which also gives them the perfect consistency for this chocolate oat ice cream.
- Oat Cream: I use Oatly single cream, but you can swap this for single soy cream or coconut cream instead.
- Dutch-Processed Cocoa Powder: This cocoa has been alkalized, which results in a lighter color and smoother flavor. Feel free to swap in plain unsweetened cocoa powder or raw cacao powder for a slightly more bitter chocolate flavor.
- Pure Maple Syrup: To make this recipe completely refined sugar-free! In a pinch, you can swap in agave nectar, but I prefer the flavor of maple syrup here. Note that you should NOT try using a solid alternative like brown sugar, as you need the qualities of an invert sugar to prevent your homemade vegan ice cream from becoming unpleasantly icy in the freezer.
Get Your Free E-Book!
Sign up to the Addicted to Dates newsletter for your FREE Guide To Vegan Cheesecakes!
🔪 Instructions
Here's a visual overview showing how to make oat milk ice cream. Please refer to the detailed recipe card at the end of this page for full measurements and written instructions. You can also hit the jump to recipe button at the very top of this page to skip to the printable recipe card.

In a medium saucepan, combine oat milk, oat cream, cocoa powder, and sea salt. Whisk well to remove lumps and gently simmer over medium heat, stirring constantly. Do not let it boil.

Pour the warm chocolate oat milk over finely chopped dark chocolate and let it sit uncovered for 5 minutes.

Stir with a metal spoon until smooth, whisk in the maple syrup, then chill for 30 minutes until cool.

Transfer the mixture to your ice cream maker's frozen bowl and churn according to the manufacturer's instructions.

The ice cream is ready when it is super thick and sticks to the arm of the machine.

Transfer the ice cream to a loaf pan or sealable container and smooth the top. Freeze for 3-4 hours until firm, or serve immediately for soft-serve consistency.
🍫 Variations
- Milk Chocolate Ice Cream: Swap in dairy-free milk chocolate for a sweeter, lighter chocolate flavor.
- Chocolate Peppermint Ice Cream: Add peppermint extract to the warmed oat milk mixture for a choc mint twist. Likewise, feel free to add a touch of orange extract if you're a chocolate orange fan.
- Mix-Ins: You can get creative with adding your favorite mix-ins. Try vegan caramel sauce (or date caramel to keep it refined sugar-free), vegan marshmallows, cookie dough, chocolate chips, or chopped nuts.
💭 Expert tips
Freeze your ice cream drum at least 12 hours (and preferably 24 hours) in advance!
Homemade ice cream freezes harder than store-bought. Let it sit at room temperature for 10 minutes before scooping.
To store vegan ice cream, press parchment or plastic wrap directly on the surface before sealing. This helps prevent ice crystals. Use freezer-safe containers, not old takeaway tubs, which can crack in the cold.
For the best flavor, enjoy it within 2 weeks. It doesn't have the preservatives found in store-bought versions. Remember, this isn't store-bought ice cream that's stabilized with a bunch of weird emulsifiers and artificial preservatives.

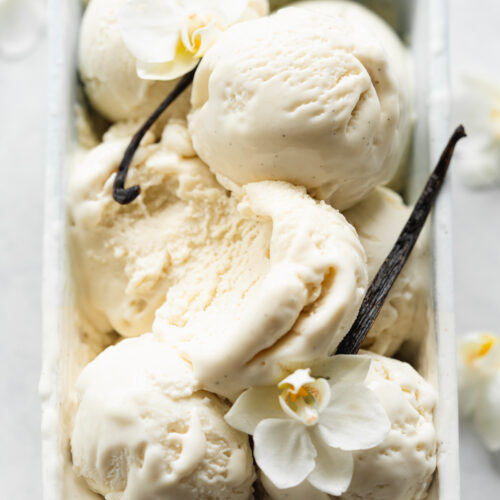
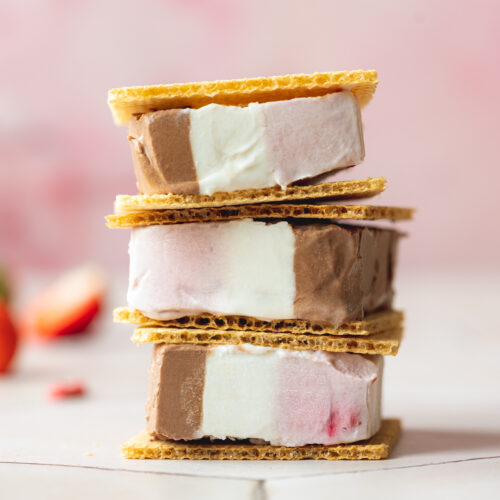
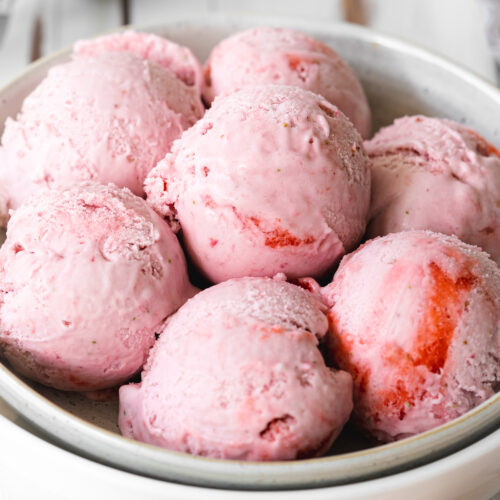
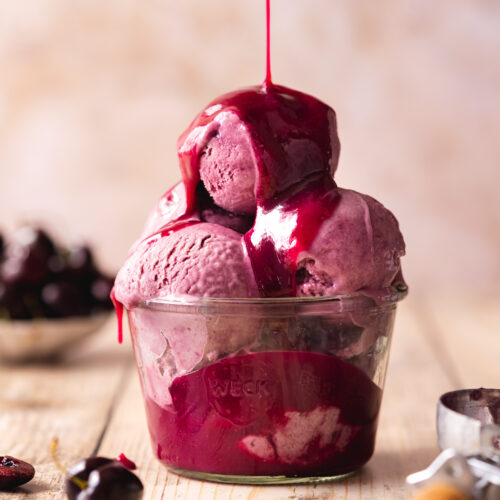
🍨 More Dairy-Free Ice Cream
📖 Recipe
Chocolate Oat Milk Ice Cream
Equipment
Ingredients
- 200 g (7 oz) vegan dark chocolate minimum 70% cocoa solids
- 360 ml (1½ cups) unsweetened oat milk Barista-style if possible
- 400 ml (1⅔ cups) oat cream *see note 1
- 25 g (5 tbsp) Dutch-processed cocoa powder *see note 2
- ½ teaspoon sea salt
- 180 ml (¾ cup) pure maple syrup
Instructions
- Prepare: Freeze your ice cream maker bowl for at least 12 hours (ideally 24 hours) prior to making the recipe. Finely chop the chocolate using a serrated knife and place it in a large mixing bowl and set aside.
- Heat: Add the oat milk, oat cream, cocoa powder, and sea salt to a saucepan and whisk out any lumps. Place over medium heat and bring to a gentle simmer whilst stirring - do not allow it to boil.
- Flavor: Pour the heated oat milk mixture over the chopped chocolate and allow it to sit uncovered for 5 minutes.Stir the mixture with a metal spoon until completely smooth. Then whisk in the maple syrup. Set it aside to cool to room temperature then chill for 30 minutes.
- Churn: Transfer it to the frozen bowl of your ice cream maker and churn according to the manufacturer's instructions (usually this can be 25-40 minutes). The ice cream is ready when it is super thick and sticks to the arm of the machine.
- Freeze: Transfer it to a loaf pan or sealable container and smooth out the top of the ice cream. Freeze for 3-4 hours until solid or for soft serve consistency you can serve it straight from the machine.
- Storage: Store it in an airtight container or loaf pan sealed with plastic wrap in the freezer. It is best served within 2-3 weeks. I also recommend taking it out of the freezer to rest at room temperature for 10 minutes before diving in for the perfect scoops!
Notes
- Oat Cream: I use Oatly single cream, but you can swap this for single soy cream or coconut cream.
- Dutch-Processed Cocao: Swap for plain unsweetened cocoa powder or raw cacao powder for a slightly bitter flavor.
© addictedtodates.com. All content and images are protected by copyright. If you want to share this recipe, please do so using the share buttons provided. Do not screenshot or republish the recipe or content in full. Instead, include a link to this post for the recipe. Thank you!
CAN I MAKE WITHOUT ANY CREAM ?
THANK YOU
Hi CJ,
You could replace it with extra oat milk, just note that the end result won't be quite as rich/creamy.
Are there any other substitutes you can think of that are not oatly, or soy based? Oatly is not gluten free and my son has celiac disease along with allergies to dairy, eggs, soy. I bought an ice cream machine so he didn't have to miss out on everything fun about being a kid related to treats and am trying to figure out a base recipe that I can make into different flavors or add different mixins that are safe for him. Thanks!
Sorry - to be more clear, I'm referring to the cream. He drinks GF oat milk and I have that, it's the cream in struggling to figure out.
Hi Lacey,
Absolutely! You can use any other plant-based single cream. For example soy, oat, coconut, or rice cream. Hope you enjoy the recipe 🙂
ТэыяЯЯЭПНЕПП. Яя не
Thanks Christina for sharing your ice cream recipe , my Daughter said it was scrummy so i`m going to make the rum and raisin next and maybee will get to taste it
Hi Dave,
So happy your daughter loved it! Thanks so much for your lovely feedback 🙂