




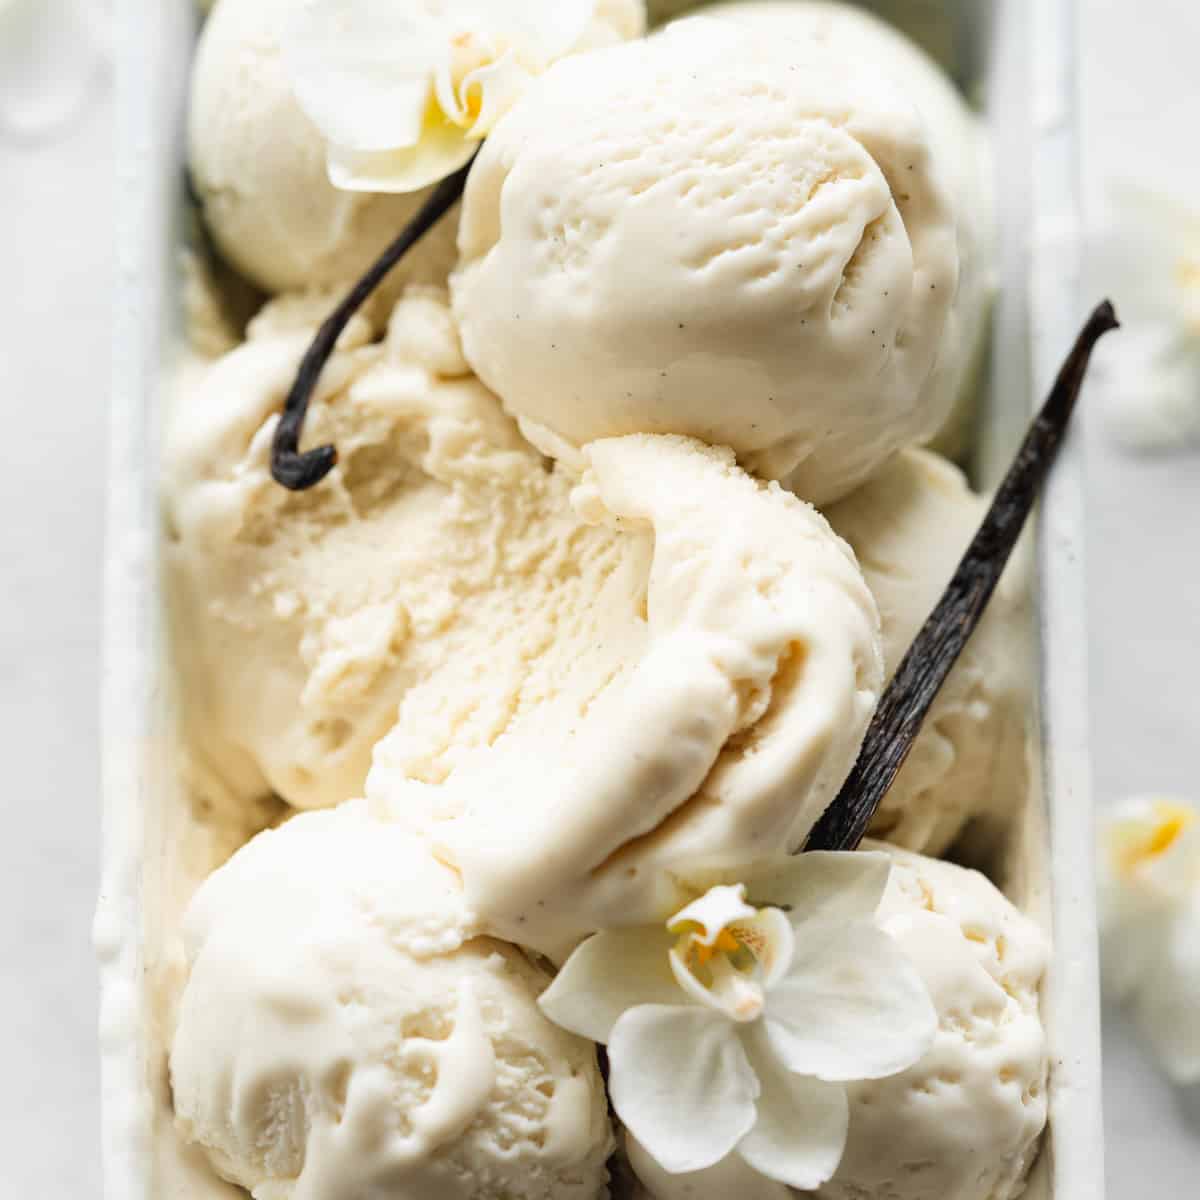
Instead of relying on plant-based milk alone, I build the ice cream from my vegan custard, then add vegan condensed milk and cream for a richer base. That combination is what gives the finished ice cream a softer, more scoopable texture and helps prevent it from turning icy in the freezer.
I've tested the custard with soy, oat, and almond milk, and soy gives me the best combination of color, flavor, and creamy consistency. Oat is a close second, while almond milk produces a paler and slightly more watery base.
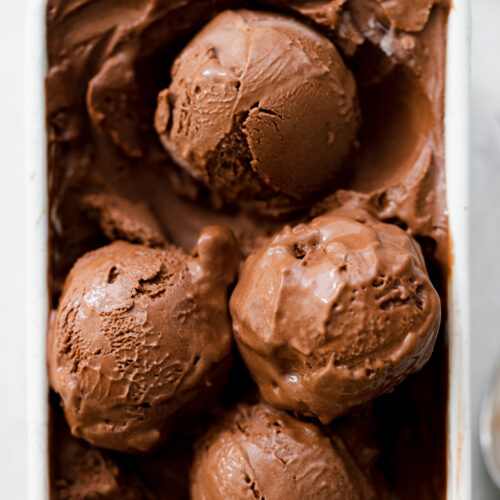
If you want a completely different style of homemade ice cream that doesn't need churning, try my no-churn vegan chocolate ice cream.
Jump to:
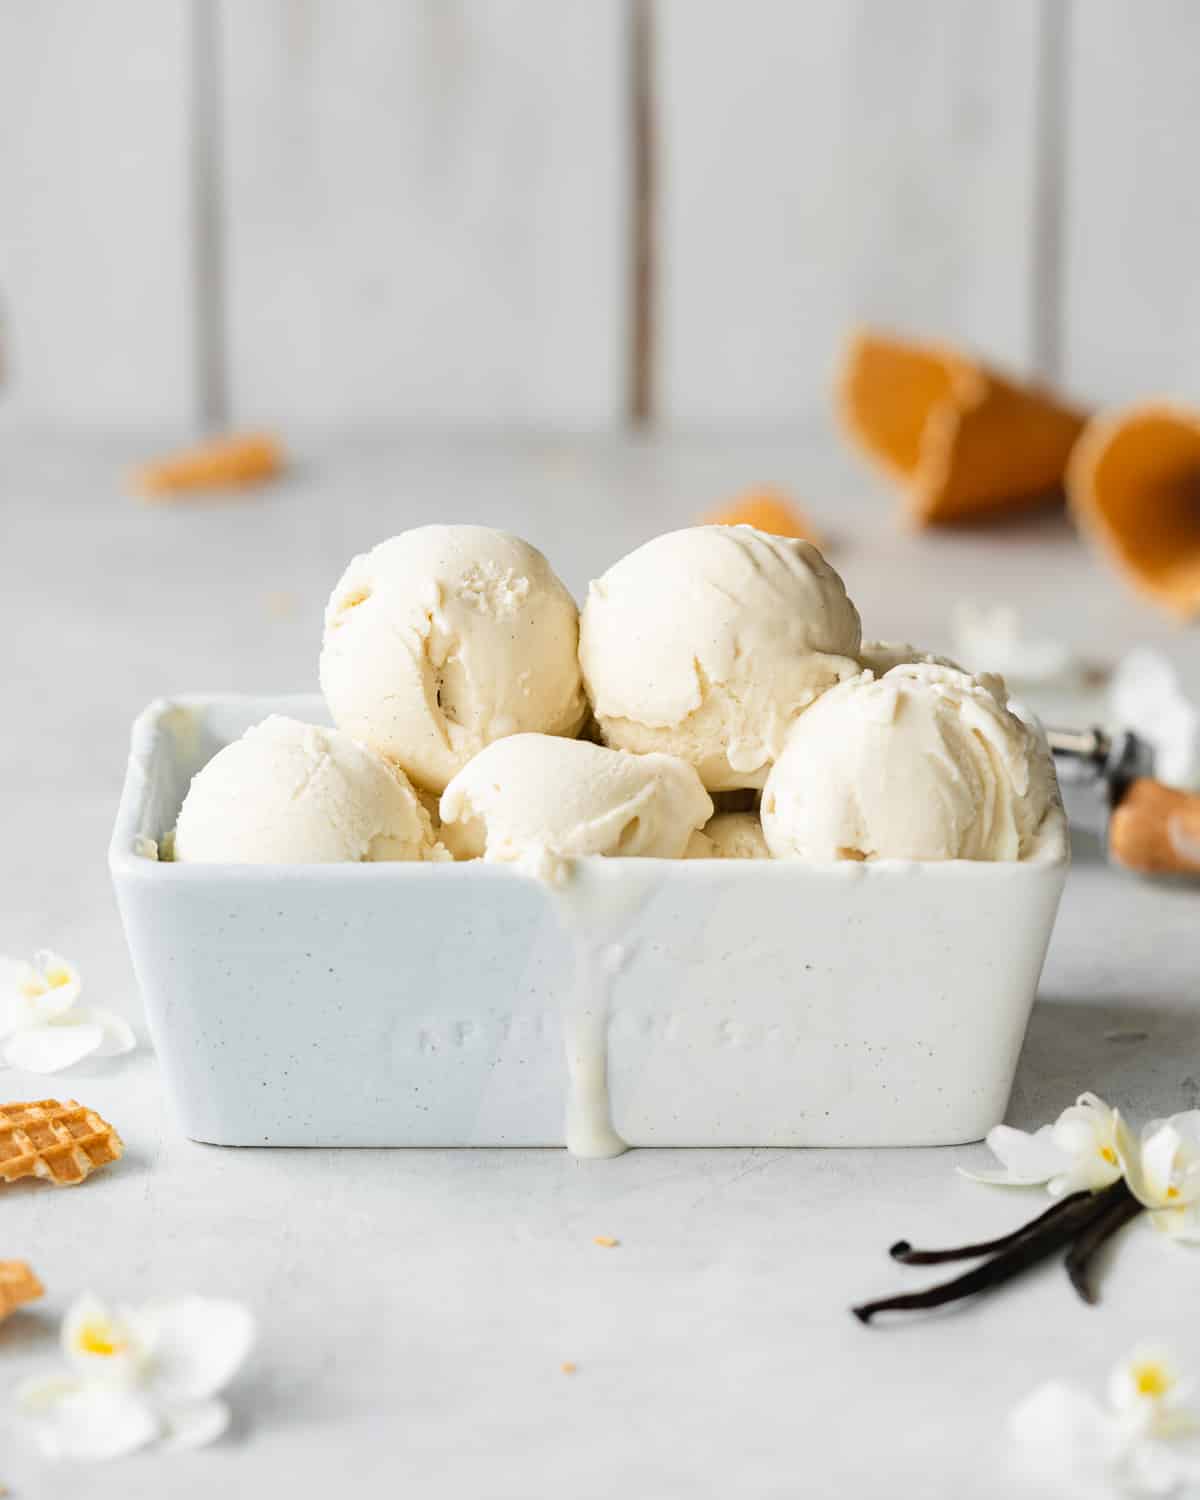
Why this recipe works
- Custard-based rather than milk-based. Cornstarch thickens the dairy-free milk before freezing, giving the base more body without eggs.
- Real vanilla flavor. A vanilla bean infuses the custard while vanilla extract strengthens the flavor in the finished ice cream.
- Designed to stay creamy. Vegan condensed milk and coconut cream add both fat and sugar, which help the frozen mixture stay softer than a simple plant-milk ice cream.
- Tested with different plant milks. Soy gives the creamiest result in my testing, followed closely by oat.
- No eggs required. You get the richness of a custard-style ice cream without making a traditional egg-yolk custard.
The basic method is inspired by French-style custard ice cream, but rather than thickening the base with egg yolks, I use cornstarch - the same approach as my eggless vegan custard.
Key ingredients
Find the complete list of ingredients, quantities, and instructions in the recipe card at the end of this post.
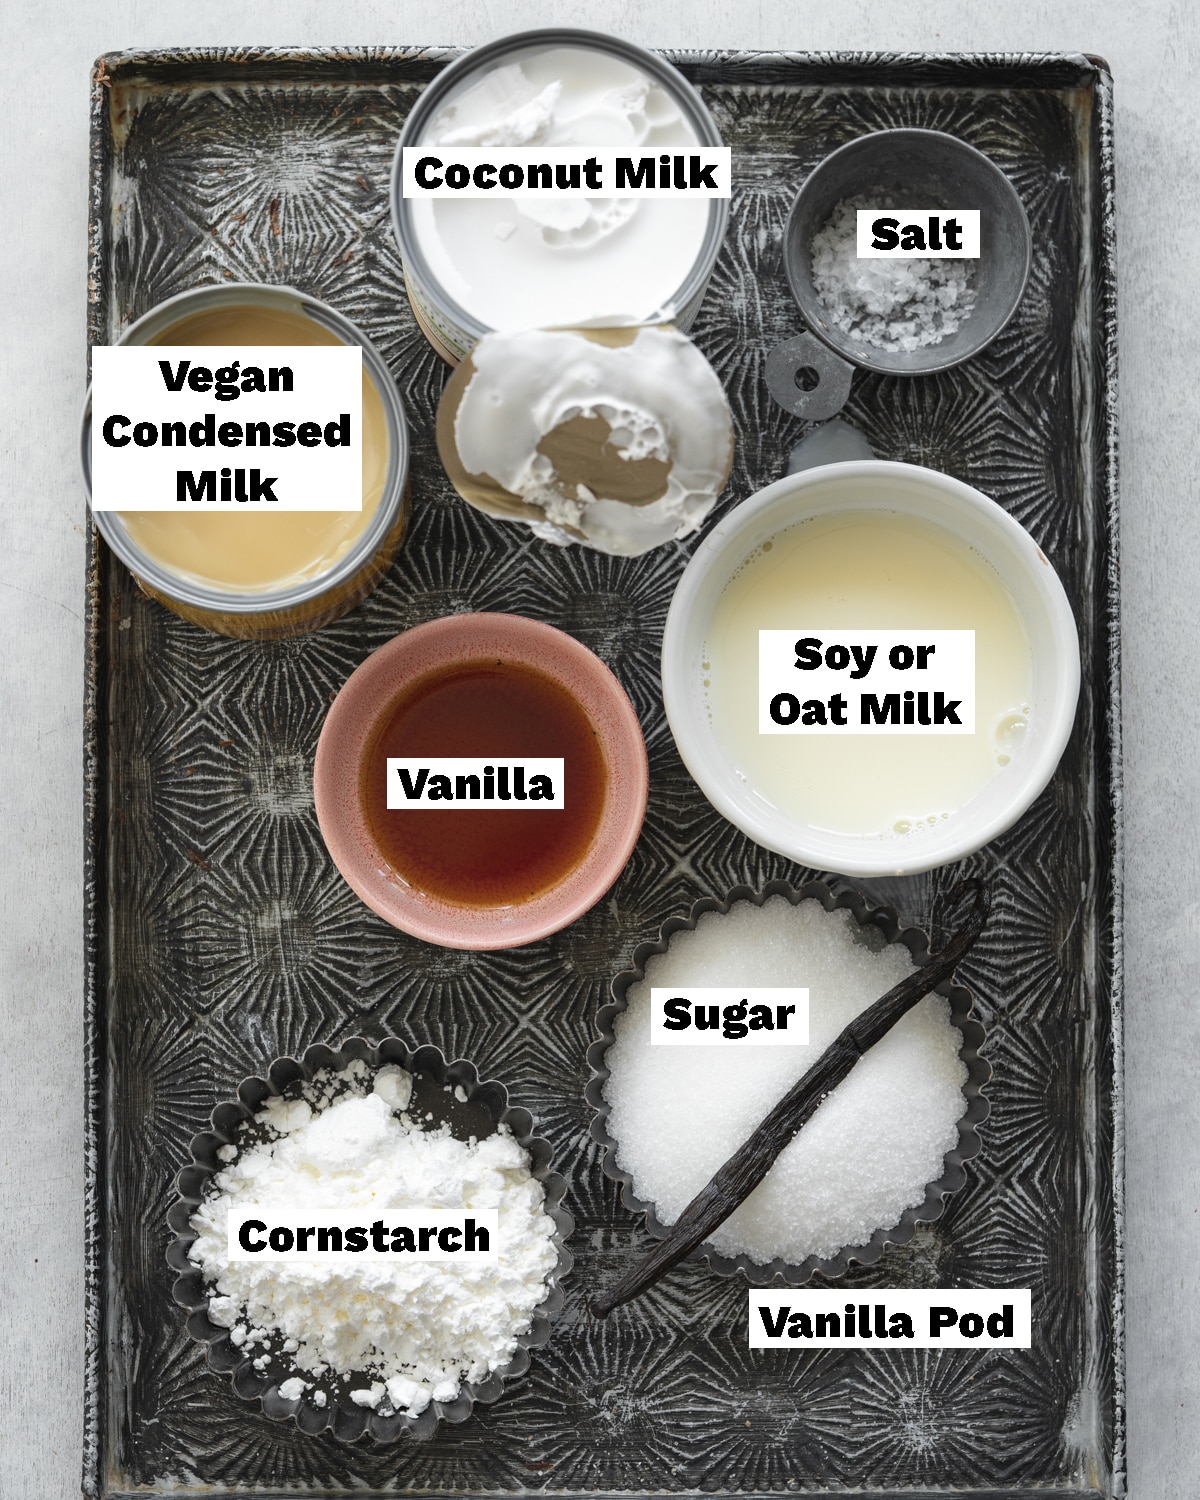
Soy milk: This is my first choice for the custard base. I've tested soy, oat, and almond milk, and soy gives the creamiest texture and richest color. Oat is a close second, while almond milk produces a slightly thinner, paler base.
Vanilla bean: Because vanilla is the main flavor, a real vanilla bean makes a noticeable difference here. Scrape the seeds into the custard and add the empty pod too, so the milk gets as much flavor as possible. Vanilla bean paste is the best substitute if you don't have a whole bean.
Cornstarch: This thickens the custard without eggs and gives the ice cream base more body. Always mix it into the cold milk before heating - once cornstarch hits hot liquid, lumps are much harder to fix.
Vegan condensed milk: This does more than add sweetness. Its lower water content helps keep the finished ice cream softer and creamier in the freezer. You can use store-bought or my homemade vegan condensed milk.
Coconut cream: Use only the thick cream from the top of a chilled can, not the watery liquid underneath. That extra fat is important for a creamy texture. If you want to avoid coconut, use a thick vegan whipping cream instead.
How to make the ice cream
Here's a visual overview of this recipe. Please refer to the detailed card at the end of this page for full written instructions.
The most important thing is to start cold. If you're using an ice cream maker with a freezer bowl, make sure the bowl is completely frozen before you begin. I usually give mine a full day in the freezer. A partially frozen bowl can leave you with a soupy base no matter how well the recipe itself is made.
When making the custard, whisk the cornstarch thoroughly into the cold soy milk before turning on the heat. Once the mixture starts warming, keep whisking and scrape right into the corners of the saucepan so nothing catches on the bottom.
You're looking for the custard to become noticeably thicker and coat the back of a spoon. It doesn't need to become extremely thick in the pan - it will continue to firm up as it cools. Overcooking it can give the base an overly gelatinous texture.
Once cooked, cover the surface directly with plastic wrap. This stops a skin forming while the custard cools.
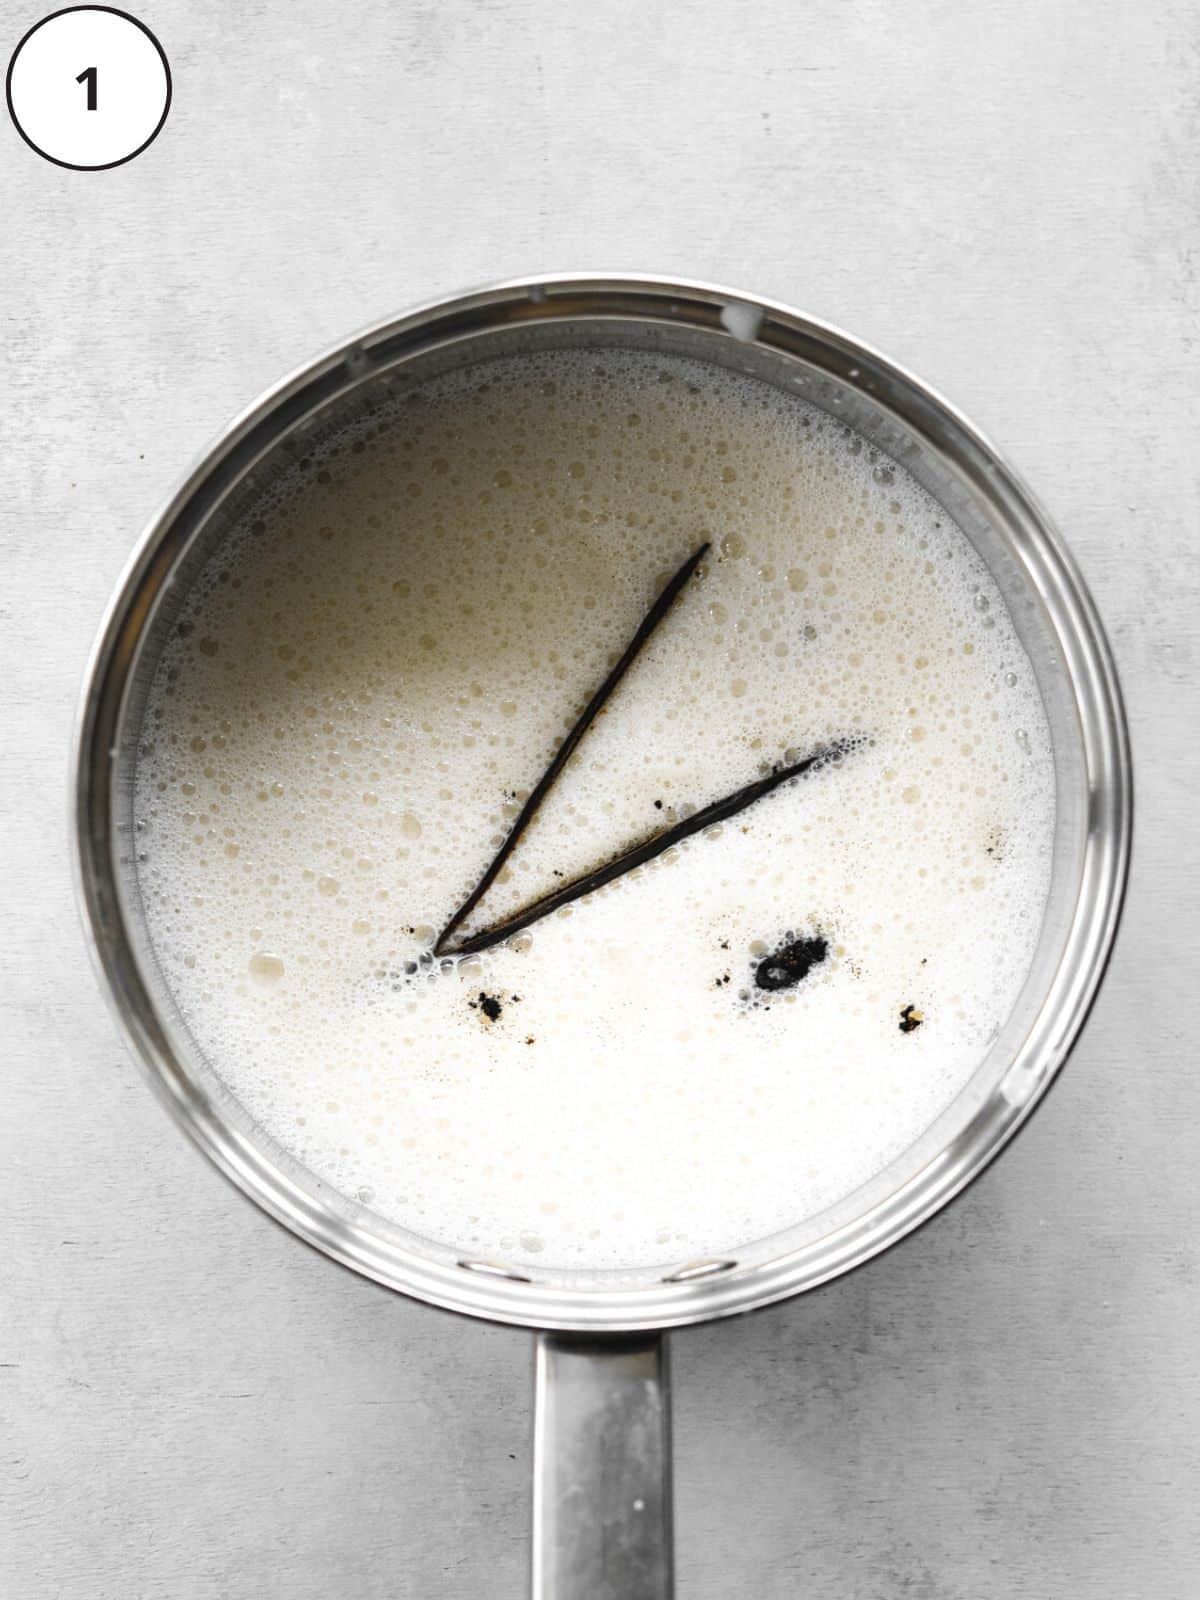
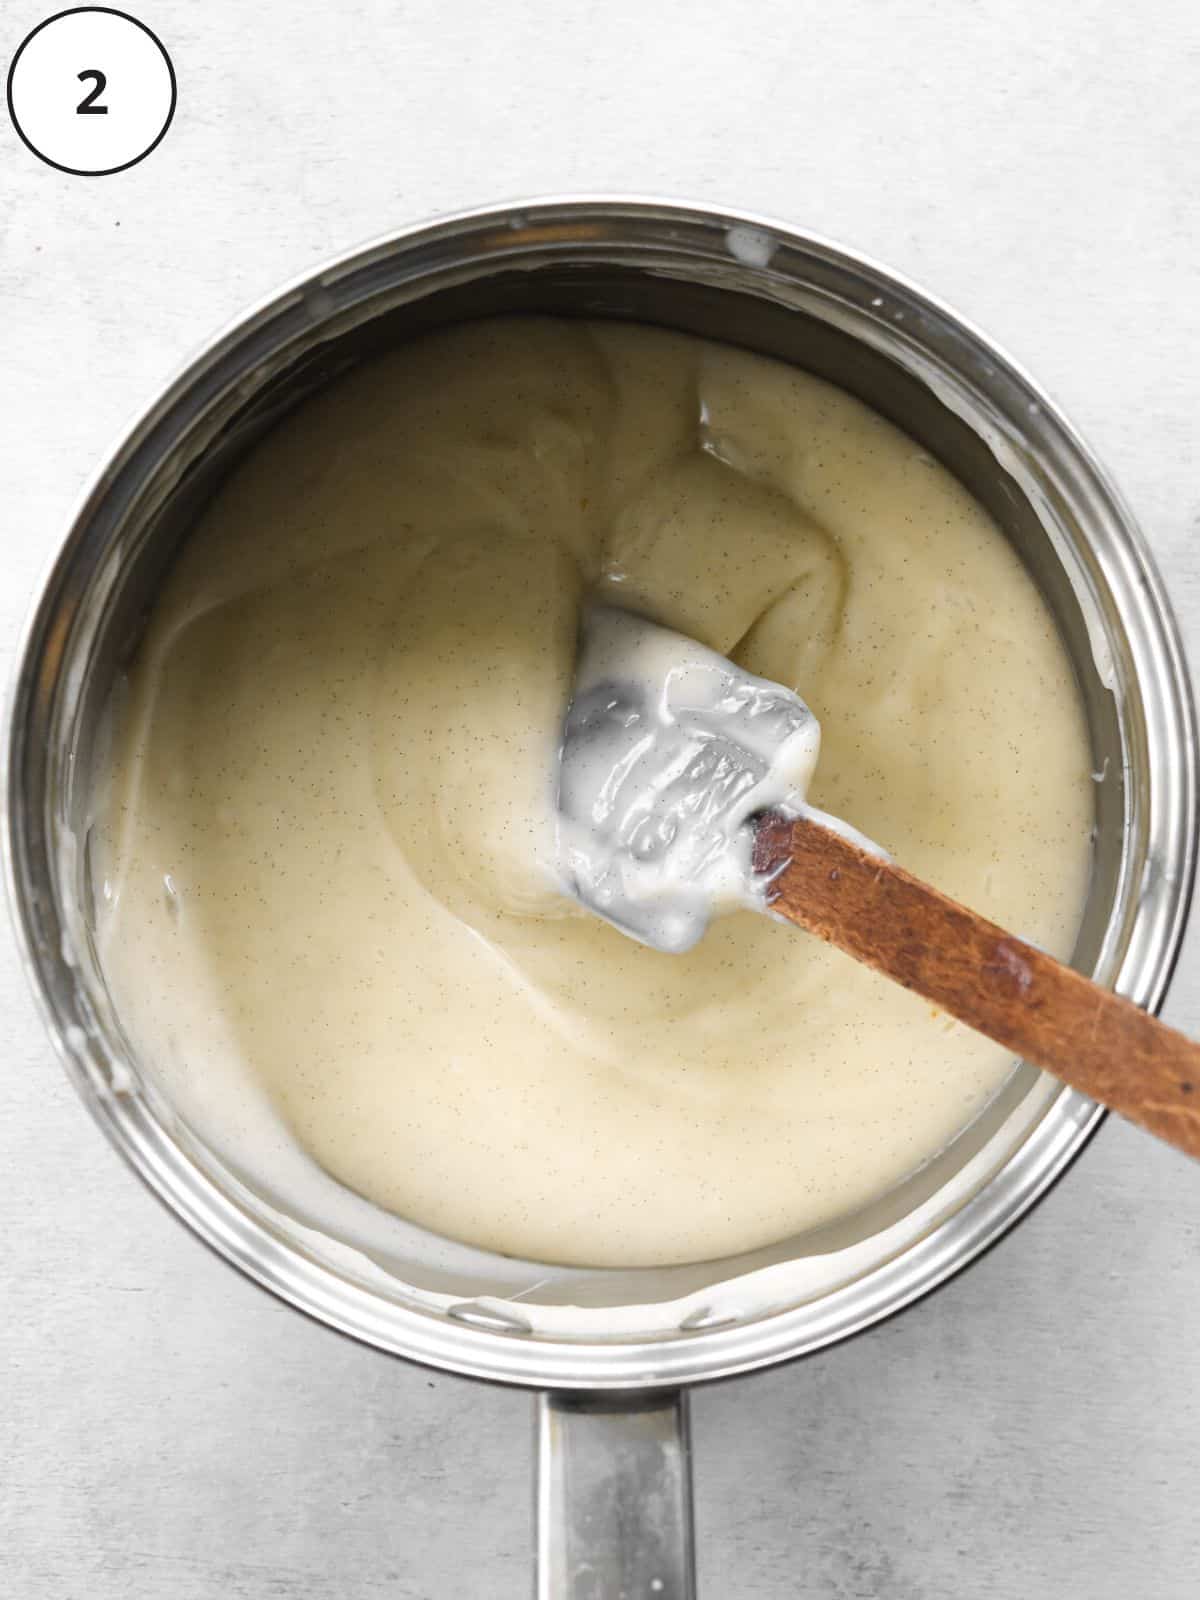
Don't rush the chilling stage. The custard should be completely cold before you combine it with the cream mixture. If the base is still warm, the ice cream maker has to spend valuable churning time cooling it down rather than freezing it, which can lead to larger ice crystals and a less creamy texture.
Before churning, whisk the chilled custard with the condensed milk, coconut cream, and vanilla until the mixture is completely smooth. If the custard has firmed up quite a lot in the fridge, whisk it well first rather than adding it in one solid piece.
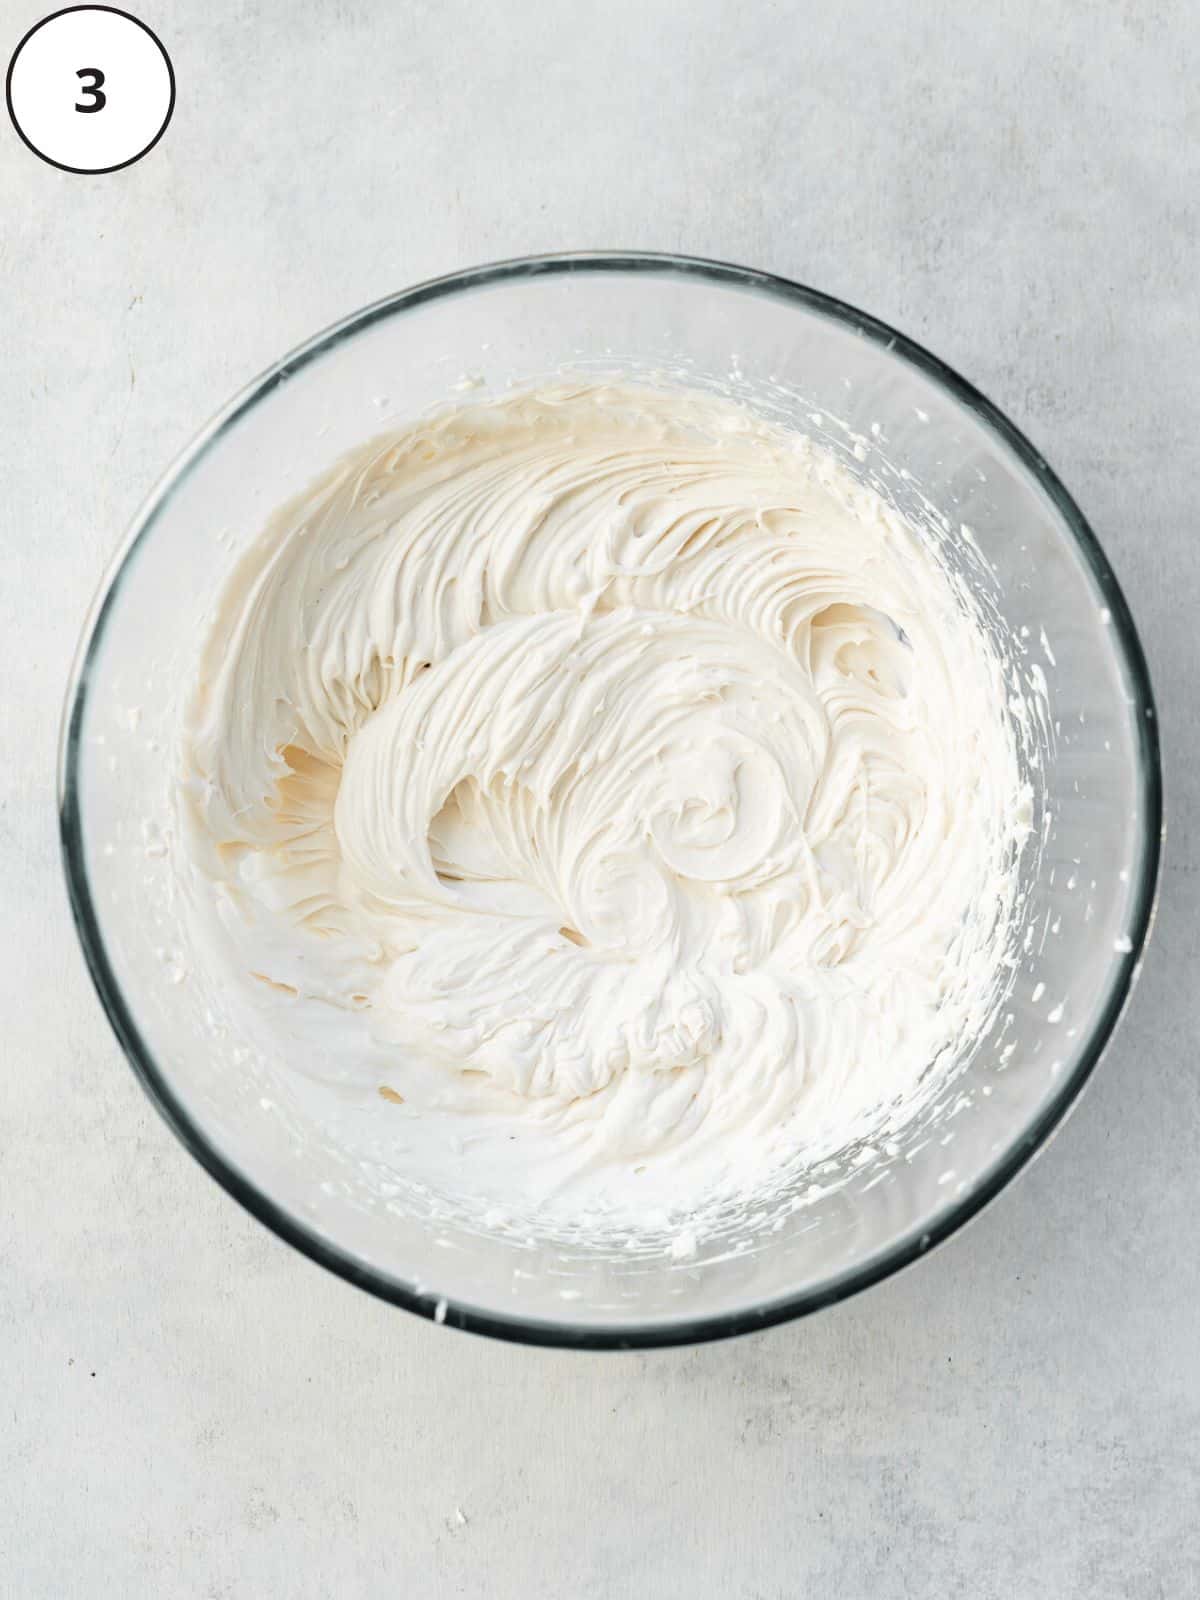
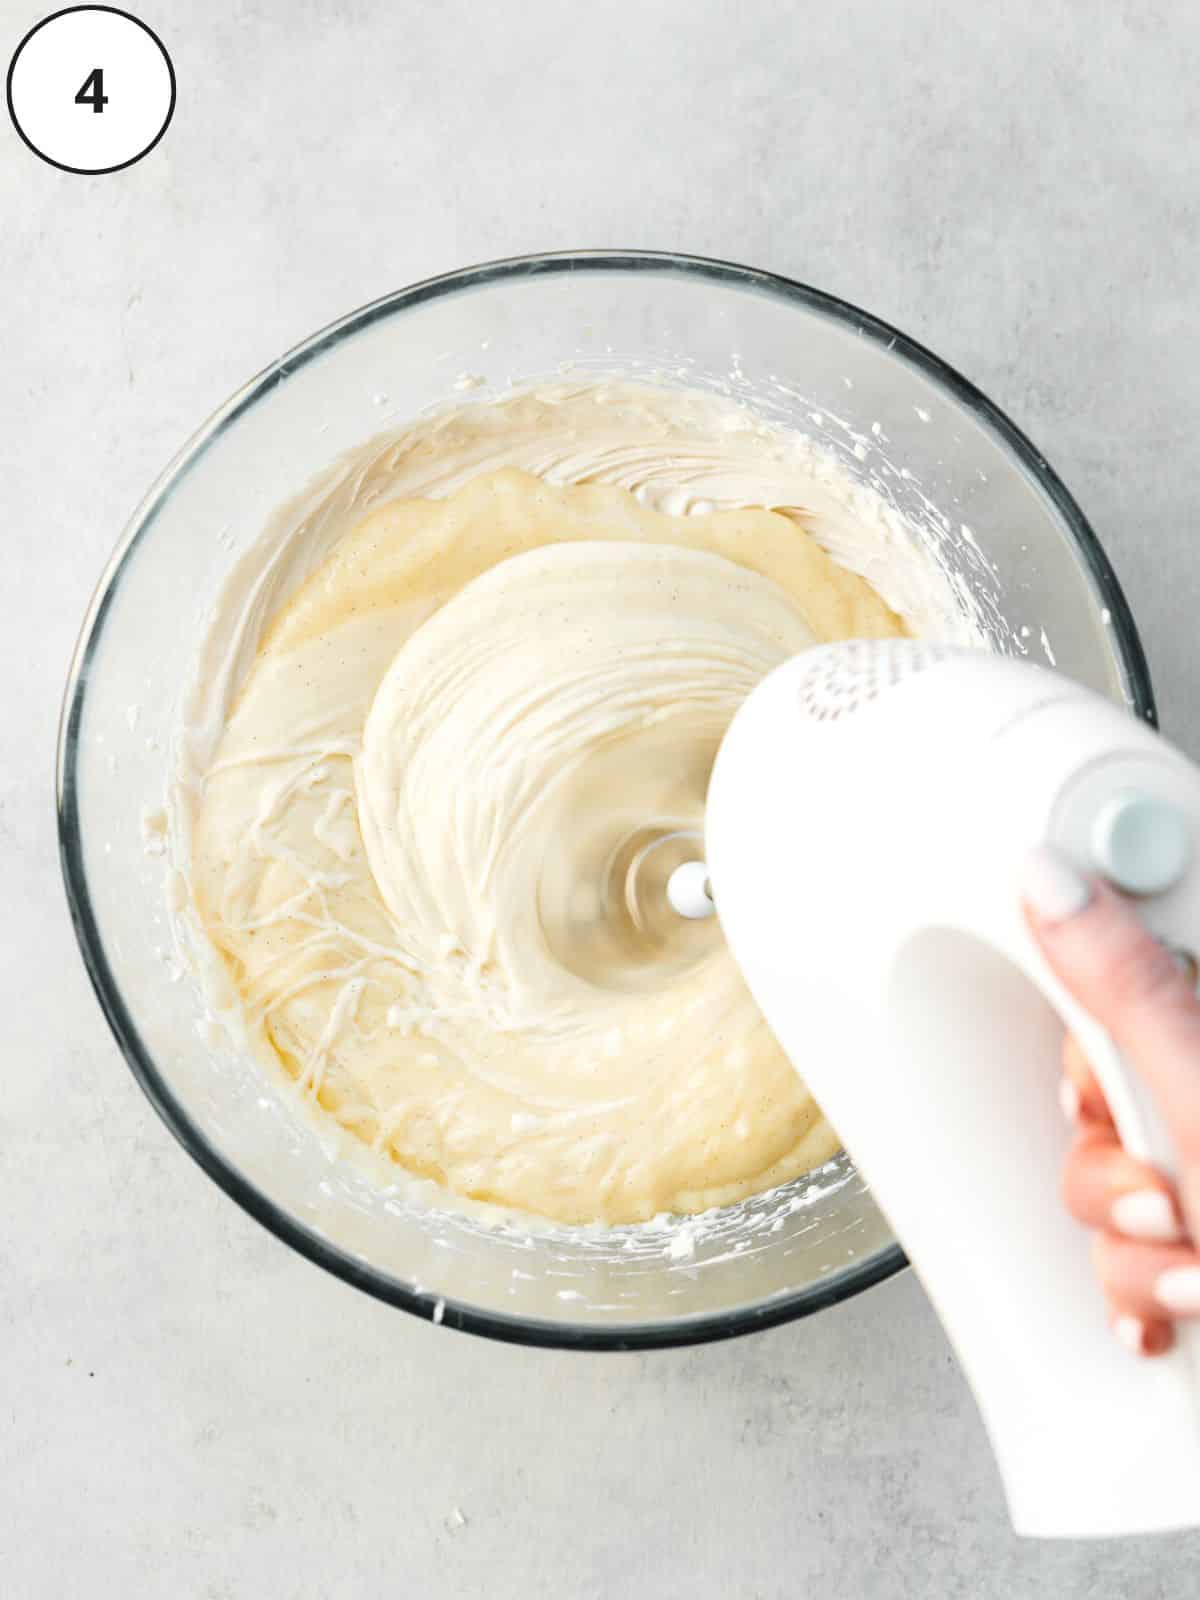
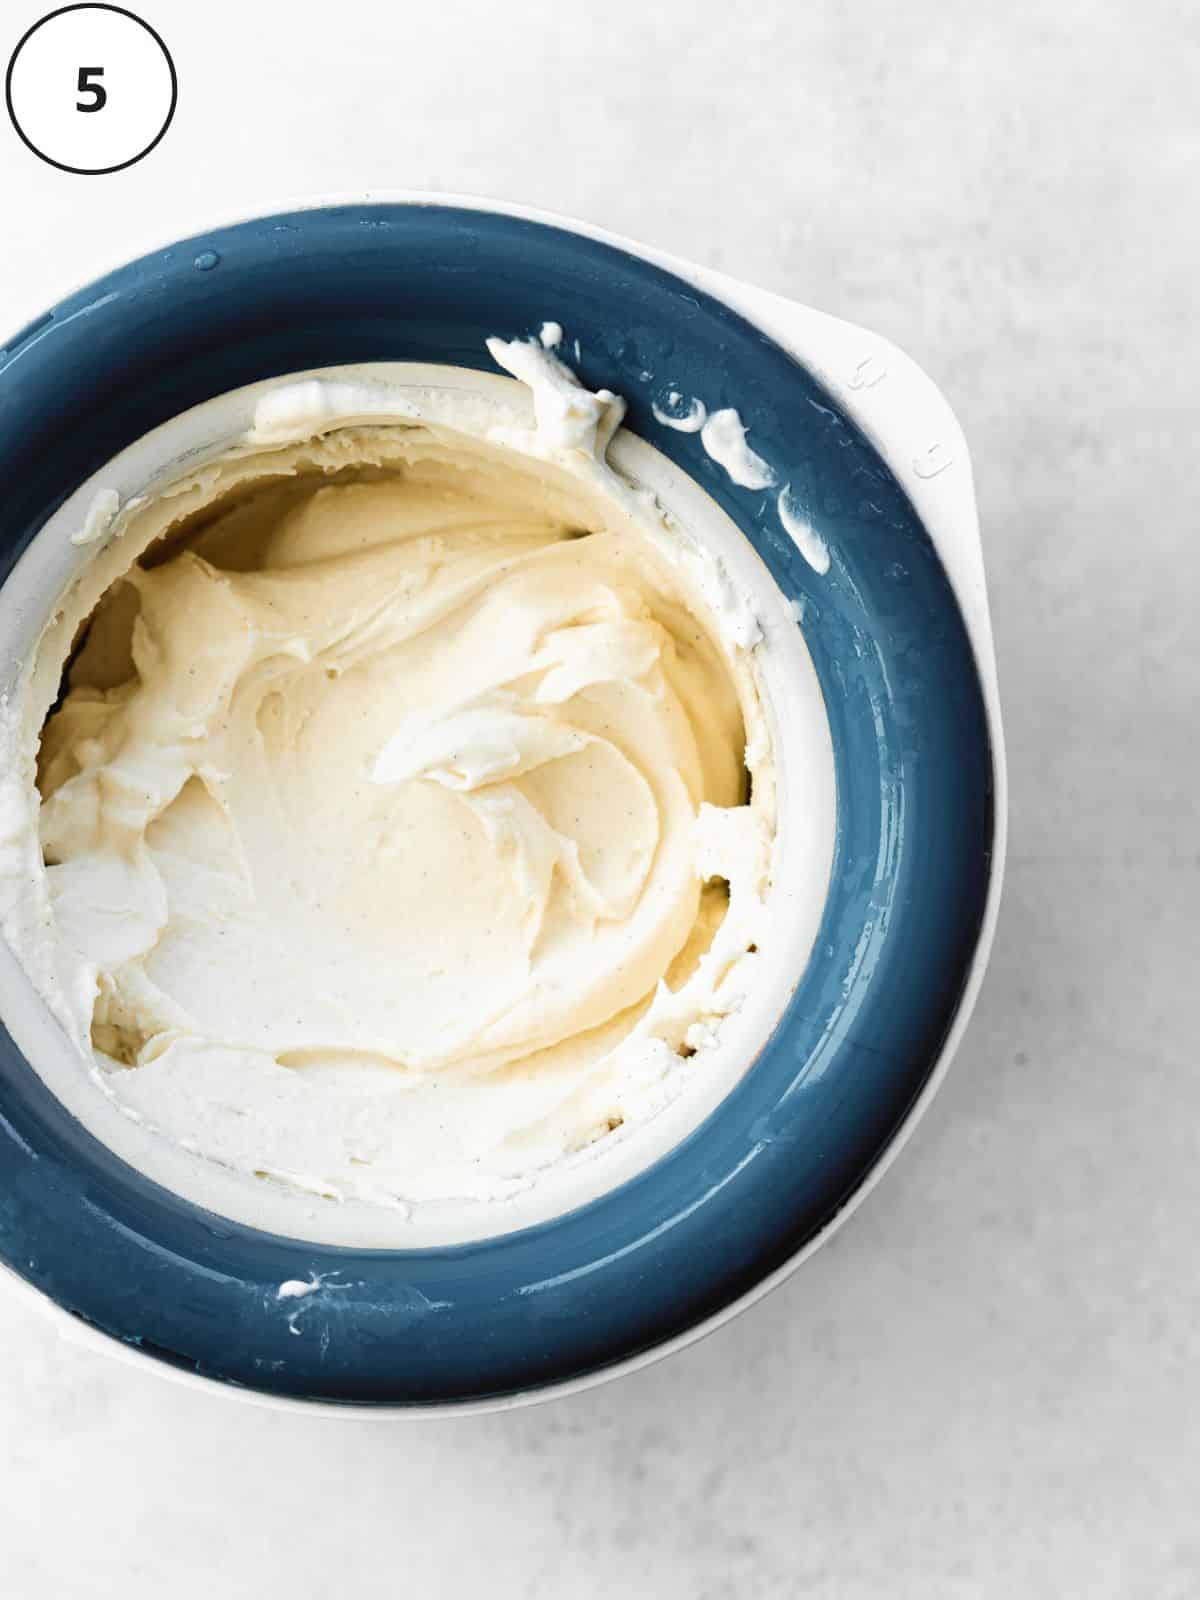
Once it goes into the ice cream maker, watch the texture rather than the clock. Churning times vary between machines. The ice cream is ready when it looks thick and aerated, pulls away from the sides of the bowl, and has the consistency of firm soft serve.
If it's still completely liquid after the manufacturer's normal churning time, the most likely issue is that either the base or the machine bowl wasn't cold enough.
Transfer it to a shallow freezer-safe container as soon as it's churned. A shallow container helps the ice cream freeze more evenly and makes it easier to scoop later.
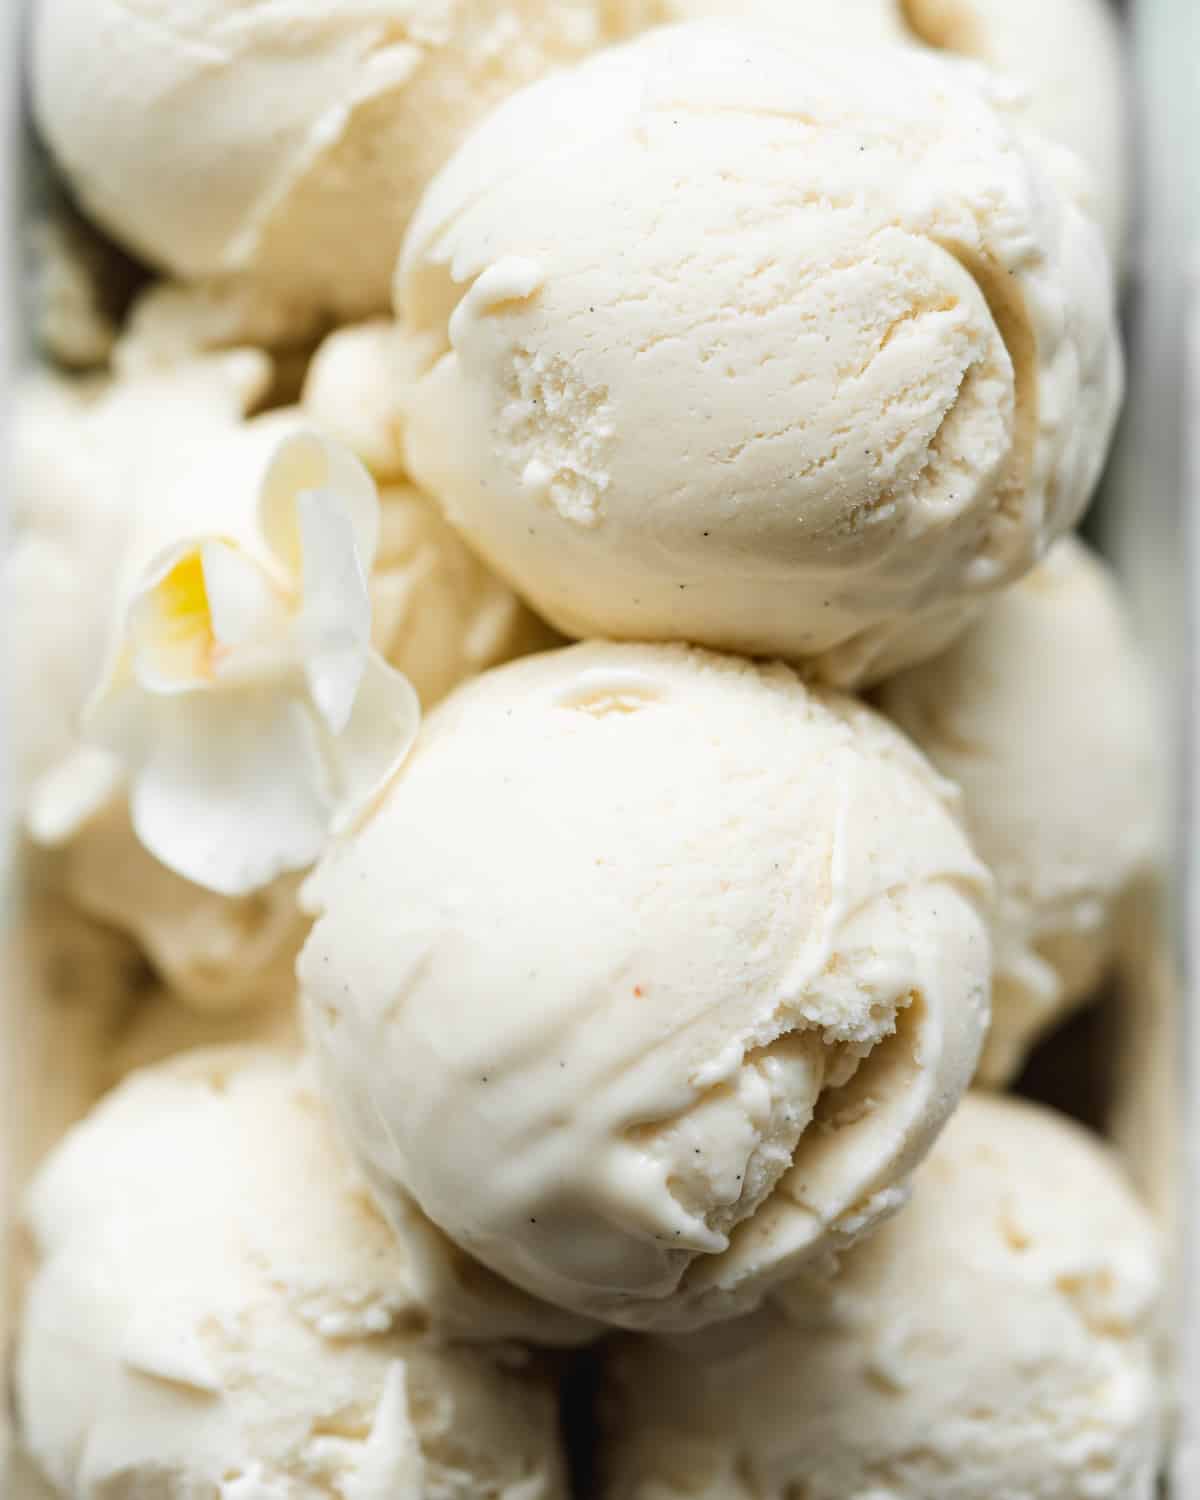
Give it a couple of hours in the freezer to firm up before serving. After longer storage, homemade ice cream will naturally freeze harder than commercial ice cream, so let it sit at room temperature for around 10-15 minutes before scooping.

Christina's Recipe Tips
Use soy milk if texture is your priority. Of the plant milks I tested, soy gave me the creamiest result, with oat a close second.
Keep water to a minimum. Use the thick coconut cream rather than the liquid from the can, and avoid swapping the cream for regular plant milk.
Chill everything properly. A cold base and fully frozen machine bowl are two of the biggest factors in getting small ice crystals and a creamy texture.
Don't churn by time alone. Your machine may take more or less than mine. Stop when the ice cream reaches a thick soft-serve consistency.
Store it tightly covered. Keep the ice cream in a shallow airtight freezer-safe container for up to 2 months. For the best texture, press plastic wrap against the surface before adding the lid to reduce ice crystals. Let it soften at room temperature for 10-15 minutes before scooping.
Serving ideas
Vanilla is useful precisely because it goes with almost everything, so I would keep this section-but make the links more deliberate rather than listing endless toppings.
For a classic sundae, drizzle it with my vegan caramel sauce or easy date caramel, then add chopped chocolate, berries, or toasted nuts.
It's also the ice cream I'd serve alongside warm desserts. Try a scoop with my vegan pecan pie or fudgy vegan brownies.
For a cookie-dough version, fold in pieces of my edible vegan cookie dough during the final few minutes of churning. Or make my dedicated vegan cookie dough ice cream if that's the flavor you're actually after.
You can also add finely chopped dark chocolate during the last 5-10 minutes of churning for a simple stracciatella-style variation.
Frequently asked questions
Homemade ice cream will naturally freeze firmer than many store-bought versions because it doesn't contain the same gums and stabilizers. The same issue comes up in your cookie dough ice cream guidance, where allowing the ice cream to soften before scooping solves the firmness.
For this recipe, the biggest things that help are starting with a completely chilled custard, making sure the ice cream-maker bowl is fully frozen, using the thick coconut cream rather than watery coconut milk, and storing the finished ice cream tightly covered.
Let it sit at room temperature for around 10-15 minutes before scooping. If it has visible ice crystals rather than simply being firm, check that the base was thoroughly cold before churning and that the container was airtight.
Soy milk is my first choice. I've tested this recipe with soy, oat, and almond milk, and soy gives me the creamiest texture and best color.
Oat milk is a close second and is the substitute I'd choose if you don't want to use soy.
Almond milk does work, but in my testing the base was paler and slightly more watery, so I wouldn't choose it if getting the richest texture is the priority.
More vegan ice cream recipes

Love this recipe? Please leave a 5-star ★★★★★ rating in the recipe card below and consider leaving a comment as well, thanks!
Stay in touch with me through social media @ Instagram, Pinterest, TikTok, and Facebook, and subscribe via email to get all our new recipes!
📖 Recipe
Vegan Vanilla Ice Cream
Ingredients
- 520 ml (2 ⅕ cups) soy milk *see note 1
- 100 g (½ cup) granulated sugar *see note 2
- 45 g (4 ½ tablespoons) cornstarch or arrowroot starch
- 1 vanilla pod
- ¼ teaspoon sea salt
- 200 g (7 oz) vegan condensed milk
- 200 g (7 oz) chilled full-fat canned coconut milk thick part from top of the can only, or coconut cream *see note 3
- 1 tablespoon vanilla extract
Instructions
- Freeze the ice cream bowl from your ice cream machine at least 12-24 hours ahead of making the recipe.
- Add the soy milk, sugar, and cornstarch to a saucepan and whisk well to remove any lumps. Cut the vanilla pod down the center and scrape out the seeds. Add the seeds and the pod to the saucepan and place on medium heat.
- Bring the mixture to a simmer and cook for 5 minutes whilst whisking. Alternate between using a whisk and rubber spatula to make sure the custard does not stick to the pan. The mixture will become thick once the cornstarch is cooked, remove it from the heat. Carefully remove the vanilla pod and stir in the sea salt.
- Cover the bowl with clingfilm to prevent a skin from forming and allow the custard to cool for 10 minutes before transferring it to the fridge to cool fully for an hour before the next step.
- Add the vegan condensed milk, coconut milk, and vanilla extract to a large bowl and mix with an electric whisk for a couple of minutes until creamy. Add in the chilled custard mixture and whisk for another minute to combine.
- Transfer the mixture to an ice cream machine and churn according to the manufacturer's instructions, mine usually takes about 30-40 minutes.
- Transfer the ice cream mixture to a loaf pan, cover with a lid or plastic wrap, and freeze for a minimum of 2 hours.
Storage and serving
- Store in the freezer in an airtight container for up to 2 months. Remove the ice cream from the freezer about 15 minutes before serving to allow it to thaw slightly and use a hot wet ice cream scoop to serve.
Notes
- Soy Milk: You can also use oat milk or almond milk (almond milk will be less creamy).
- Some white sugar in the US is not vegan, if in doubt use organic sugar.
- Full-fat canned coconut milk: Refrigerate overnight and only use the thick cream from the top of the can. I find Biona and Nature's Charm yield the best amount of coconut cream.
- Heat your ice cream scoop in hot water before scooping to get perfect scoops every time.
© addictedtodates.com. All content and images are protected by copyright. If you want to share this recipe, please do so using the share buttons provided. Do not screenshot or republish the recipe or content in full. Instead, include a link to this post for the recipe. Thank you!






I followed this recipe to the T, and I was not impressed. It tastes like mediocre coconut ice cream, vanilla is unrecognizable
I made it and I can't believe how creamy it was. I used oat milk because I am allergic to soy. And I used coconut sweetened condensed milk along with the vegan whipping cream by country Crock. I only added 1/3 cup of sugar and it turned out excellent. I made the custard the day before with vanilla paste (1 Tbsp) and used cornstarch and the other ingredients without changing anything. It was the perfect blend of sugar to salt for me. My husband and I are looking forward to ice cream, floats, etc. the sky is the limit for this
Wow, thank you so much for sharing! ❤️ I'm so happy it turned out so well for you. I love hearing about the substitutions you used, and it sounds like you really made it your own. Enjoy all those future ice cream floats and desserts!
Amazing recipe! We made this for a children's birthday party. I used vanilla bean paste, and the coconut whipping cream instead of the coconut milk. It was delicious. I'm trying mint chocolate chip next. Keeping the bean paste in the custard, then going for mint extract(bonus it's 90% alcohol) with df, gf chocolate chips.
Hi Rose,
That sounds amazing - and perfect for a children’s party 😊 Love the vanilla bean paste and coconut whipping cream swaps, and your mint chocolate chip idea sounds delicious too. The mint extract should work really nicely there, especially with the chocolate chips. So glad you enjoyed the recipe!
At the risk of sounding like one of those people who says they made a recipe and then details how they made a bunch of changes, I'm going to say that I made this recipe but with a bunch of changes to avoid the coconut. 😅
My coconut cream replacement:
6 liquid ounces of full fat oat milk (9 g fat/c)
48 g vegetable shortening
Combined in the microwave until the vegetable shortening was completely liquified, left to stand for a few minutes to ensure the entire mixture was the same temperature (same temp is vital for successful emulsification), then transfered to a quart mason jar, emulsified using an immersion blender, and cooled with the measuring cup in an ice water bath with periodic additional immersion blending.
Sweetened condensed soy milk
4 cups of unsweetened soy milk
600 g sugar
108 g vegetable shortening
Milk and sugar simmered/reduced for 30-45 min then the shortening added and whisked until combined.
I followed the recipe using the stated amounts of these coconut free subs for the cream and condensed milk and it worked very well. It took 17 minutes in my Cuisinart ice 21 to reach a consistency suitable for transferring to our little ice cream pint containers. I went with arrowroot as opposed to cornstarch, though next time I'll be trying 30 g as opposed to the stated 45. I did add a little extra vanilla bean paste and an extra pinch of salt.
I'd say my first time making ice cream was very much a success thanks in large part to this recipe. Thank you so much!
Honestly… I love comments like this 😄
Thank you so much for taking the time to write all of this out. Even though it’s a coconut-free workaround, it’s incredibly thoughtful, well tested, and will be genuinely useful to other readers who can’t do coconut either.
Great recipe 🙂
I was wondering what brand of vegan condensed milk you use in your recipe if not standard coconut condensed milk?
As well wondering if the Flora Thickened Plant Cream can be used instead of the Soy milk? How would you work out how much cream to substitute for the milk - same quantities?
Hi Andre,
For the condensed milk, I usually use Nature’s Charm sweetened condensed coconut milk - it’s the most reliable one I’ve found for both flavour and consistency.
As for the Flora Thickened Plant Cream: I haven’t tested this recipe with it, so I can’t say for certain how it will behave. It’s much richer than soy milk, so while you could try using the same quantity, the texture may turn out heavier or richer than intended.
If you do experiment with it, I’d love to hear how it goes!
Even though this was a new recipe for me, the instructions made it easy to execute and I ended up with a great finished product. I used a an oat milk that had protein added to it, I made my own condensed coconut milk, and I used a teaspoon or two of vanilla paste in place of the vanilla bean. I also reduced the corn starch slightly and added a 1/4 tsp of xanthan gum during the mixing process after the custard mixture and condensed coconut milk sat overnight in the fridge. I only added it bc I had it and have been experimenting with using it in vegan baking/ice cream.
Hi Dana,
So glad to hear the instructions were easy to follow and that it turned out so well for you! I love the sound of your tweaks, the xanthan gum addition is an interesting touch too, and it’s great you’re experimenting with it in vegan baking and ice cream. Thanks for sharing your process!
Very nice recipe. I used coconut condensed milk, but I'm wondering if you used something different since you didn't specify coconut. Can you please share?
Hi Lesley,
Thank you! I’m so glad you enjoyed it. I do use sweetened condensed coconut milk — my go-to is Nature’s Charm.
5/5 10/10 100/100 star recipe! I tried this recipe twice with scrumptious results each time. For the base I went with Chobani extra creamy oat milk. The first time, I used coconut condensed milk with Oatly double cream and it was wonderful! This second time I used a quarter oatly double cream and 3/4 coconut cream with oat condensed milk which made it more earthy. Been a hit each time! Great recipe and will be a staple for me and my friends this summer.
Hi Rosie,
Ahh I love this, thank you so much! I'm thrilled it's been a hit both times, and I really appreciate you sharing the details of your variations. Sounds like you found a couple of perfect combos!
I enjoyed it, but my hubby says it has too much of a caramel flavor. Could it be from the custard mixture? Cooking the sugar and milk?
Hi Crystal,
Thank you so much for your feedback. Oh that's interesting, could you share what type of sugar and condensed milk you used?
This. Was. Everything. I really don't have anything to add that others haven't already said but I couldn't taste this heaven and not leave a comment! I am not even vegan and this is now my go-to ice cream recipe. I was eating it straight out of the ice cream machine and had to force myself to put the spoon down! Props to this ice cream!
Hi Jordan,
Thank you so much for your wonderful review!
Can we use oatly cream rather than coconut cream?
Hi Frankie,
Yes, you can use Oatly double cream (the whipping one) but not the single cream (for cooking). I hope this helps!
Wow, I am so impressed by this recipe. The finished product was creamy, sweet, pure vanilla goodness. It coats your mouth just like dairy ice cream does, though the texture is of course a tad more icy (no way around that really) but seriously better than any store bough non dairy brand I’ve tried. I will substitute the coconut milk for non dairy heavy whipping cream next time and see how it comes out as I’m not a huge fan of the light coconut flavor. Well done!
Hi Victoria,
Thanks so much for the great feedback, so happy you enjoyed the recipe!
Wow, wow, wow!! This is amazing!! As good as some of my favourite non-vegan vanilla ice cream from those specialty shops. I followed the recipe as written except reduced the sugar by about 2 tablespoons and also the sweetened condensed milk by about 2 tbsp, since I am sensitive to sweet (and even more so when pregnant). I think this is the perfect sweetness for most people, but personally, I would prefer to further reduce the sugar, if possible. Do you think the recipe would work ok if I totally eliminated the sugar in the creme anglaise portion of the recipe?
Hi Carly!
Thank you for trying the recipe, I'm so happy that you were delighted with the result! As well as sweetness, sugar helps to reduce the freezing point of ice cream, which helps prevent it from freezing too solid. I would reduce the amount with caution, but I would imagine you could get away with cutting it by 20-50%. But bearing in mind that this may affect the consistency as well, I wouldn't eliminate it altogether for those reasons. I hope this helps x
Is there another sweetener that I could use instead of regular cane sugar? Do you think coconut sugar, date sugar, honey, maple syrup or a stevia blend would work?
Hi Carly!
Liquid sweeteners are a no as they will throw off the ratios, and with coconut or date sugar, you will end up with more of a caramel flavor and color as opposed to vanilla. Cane sugar is really the way to go with this recipe. I haven't tried it with a sugar alternative though, I think Erythritol would be your safest bet if you're giving it a go x
Wow! I have made lots of vegan ice cream and this one is by far the best! I was first hesitant to try it because of the coconut. However, the coconut is a nice light touch and does not overpower the flavor. It makes it taste like yummy cake batter flavor. My family LOVED it. We will definitely save this recipe. Thank you!
Hi Elizabeth,
I'm so happy to hear that you all loved the recipe so much! Thank you for trying it despite your reservations about coconut - it really does take the consistency to the next level! x
Hi Christina! I plan on making this today but wondered why I’m supposed to take it out of the ice cream maker and put it into a loaf in. Couldn’t I just scoop it out of the ice cream maker into my paper cups with lids for ice cream? Or could I leave it in the metal container that inserts into the ice cream maker and cover it with clingfilm and put in the freezer?
Hi Caitriona,
Yes you can place it directly into the paper cups.The key thing is just to cover it tightly so it doesn’t pick up freezer flavors or get icy on top. Other than that, go with whatever’s most convenient for you — both options work perfectly. Enjoy!
My boyfriend made this Ice Cream today (prepared it yesterday) in our Ice Machine and it was gorgeous 🙂 we had it with apple pic, pecan pie, brownies an caramell sauce (all recipes from this blog) for a big vegan dinner with friends 🙂
My boyfriend was afraid if the texture was good, because this was his first vegan ice cream, but it was perfect, so don't doubt, just make it 😀
Hi Nina,
I'm so happy to hear this! And thank you so much for trying all of my recipes, I'm so honored that you would choose them all from my blog 🙂
Wow wow wow I've been searching for a diary free nut free ice cream and I've found it. The mouth feel is rich and creamy and everything you'd ever dream of. I added salted caramelized pecans to the mix and just a tsp of vodka to keep it less hard.
Hi Susan,
Thank you so much for trying the recipe, I'm delighted to hear that you loved it! And the hint of alcohol is a great trick x
Hi! I'm always on the hunt for a good vegan ice cream that doesn't use nuts and this looks great. I wondered if I could cool the custard overnight, or does it need to be used the same day that it's made?
Hi Izzi,
Fantastic, I think you will love this one 🙂 Yes absolutely, just make sure it's covered airtight before refrigerating.
Oh my gosh. I made this today, followed the directions exactly and it is sooo good! I did add 1T Vodka to help keep it from freezing so hard, but that's pretty much not going to be an issue because it'll be gone tonight. 🙂 Seems like it could be a good base as well ..I'm already thinking to add chocolate chips next time. Thanks for such a super recipe!!
Hi Izzi,
Thank you so much for your amazing feedback! I'm delighted to hear that you loved the recipe, I'll have to try it with a bit of vodka as well at some stage 🙂
Hi, wondering if you can make this without an ice cream machine. Thanks
Hi Christina,
I've included some notes and tips for making it without an ice cream maker in the FAQ section above the recipe card 🙂