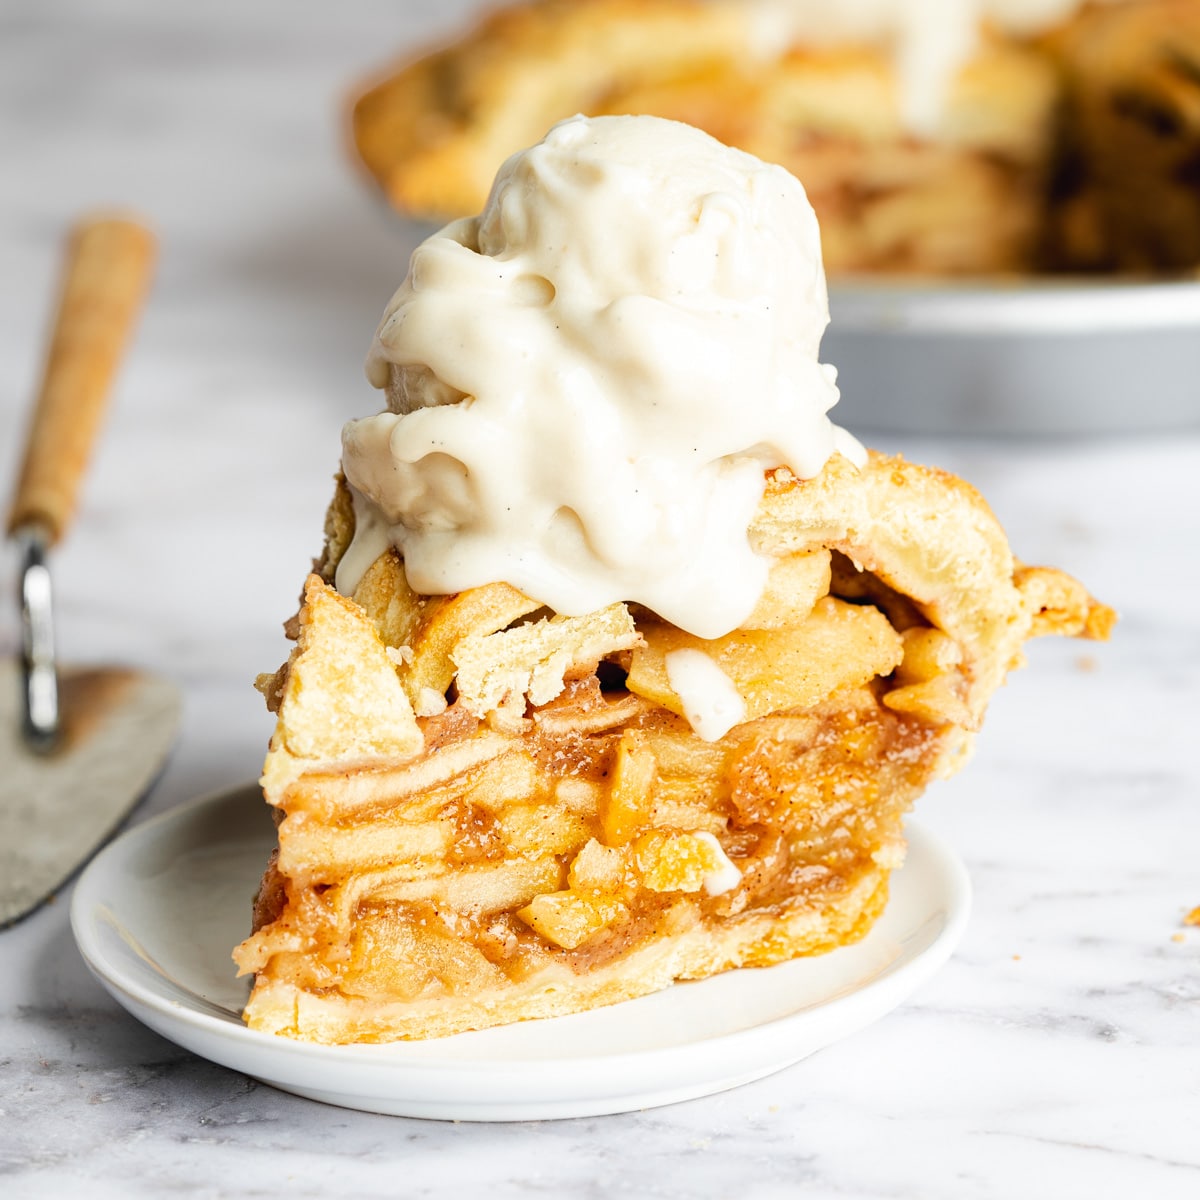
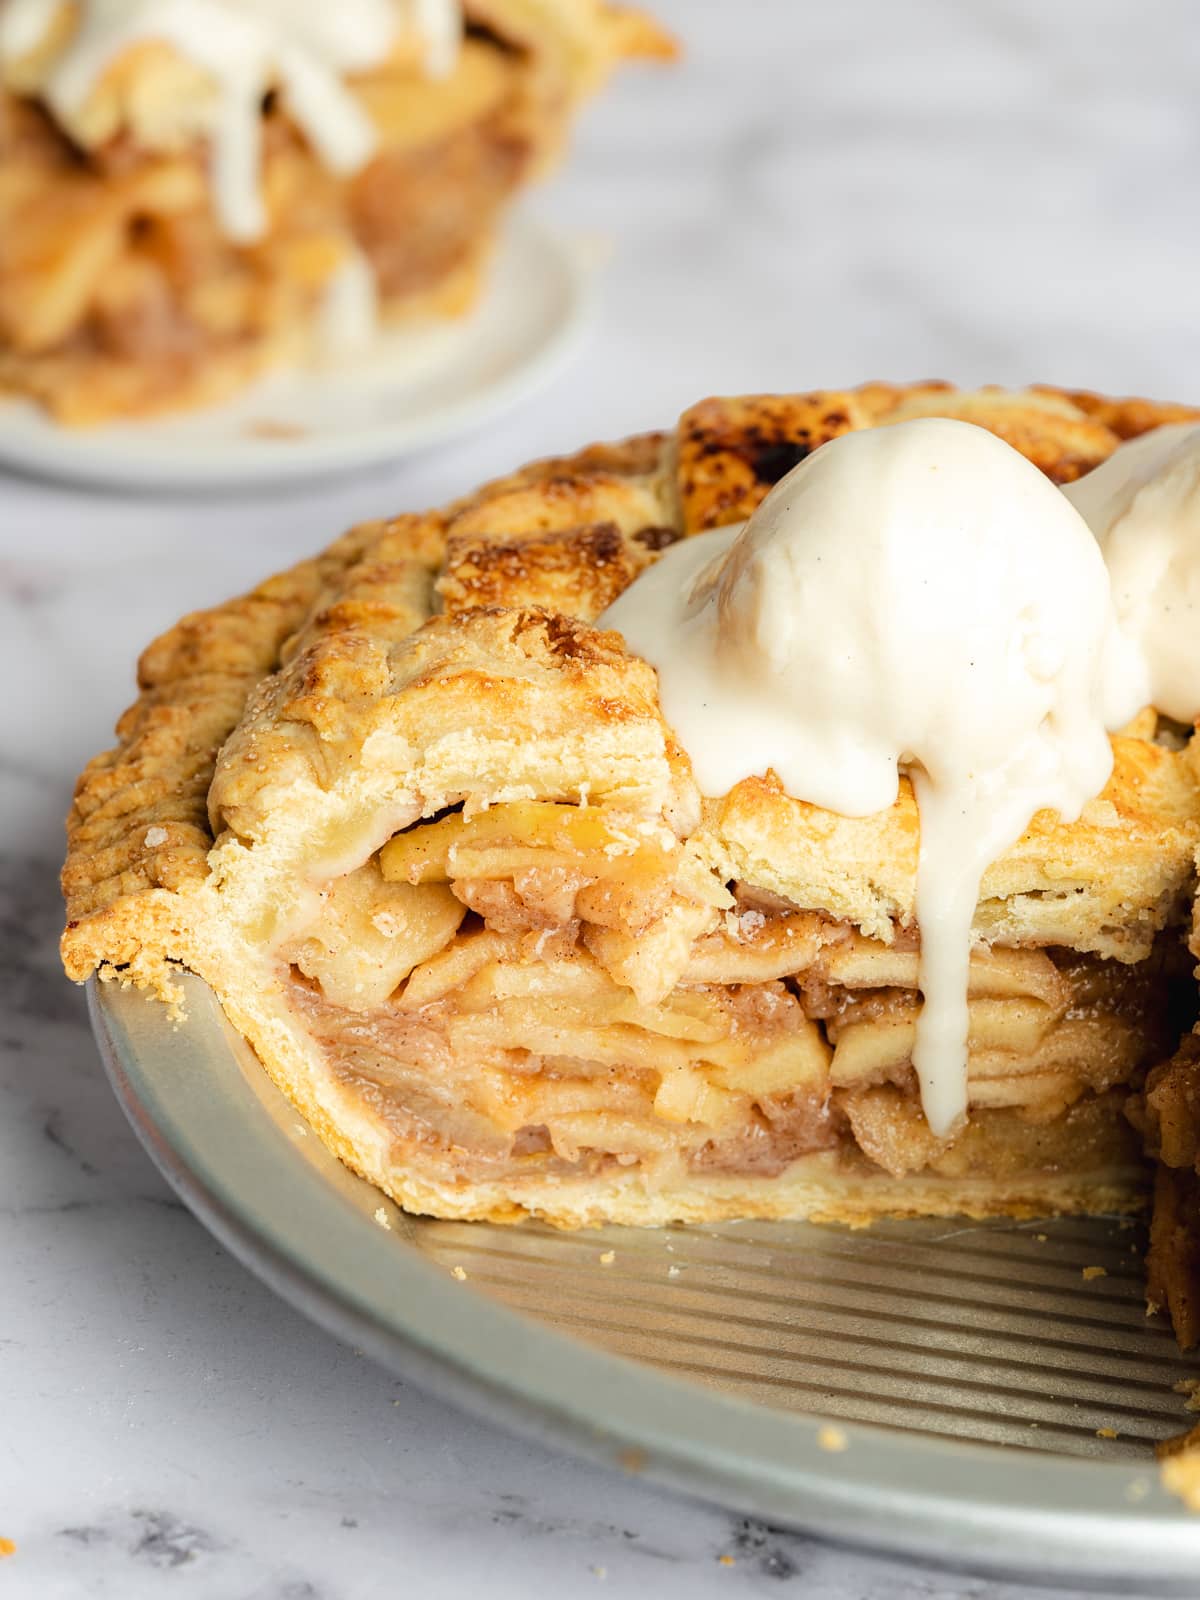
The homemade flaky pie crust is baked until golden and crisp (no soggy bottom pie crust here!), which beautifully balances the tender, flavorful filling.
The apples hold their shape beautifully, offering just the right amount of bite without turning mushy.
Update: This is a new and improved version of my original vegan apple pie recipe. If you loved the older version, just let me know, and I can send it to you!
🧾 Ingredients
Here's everything you need to make the perfect vegan apple pie. Find the complete list of ingredients and quantities in the recipe card at the end of this post.
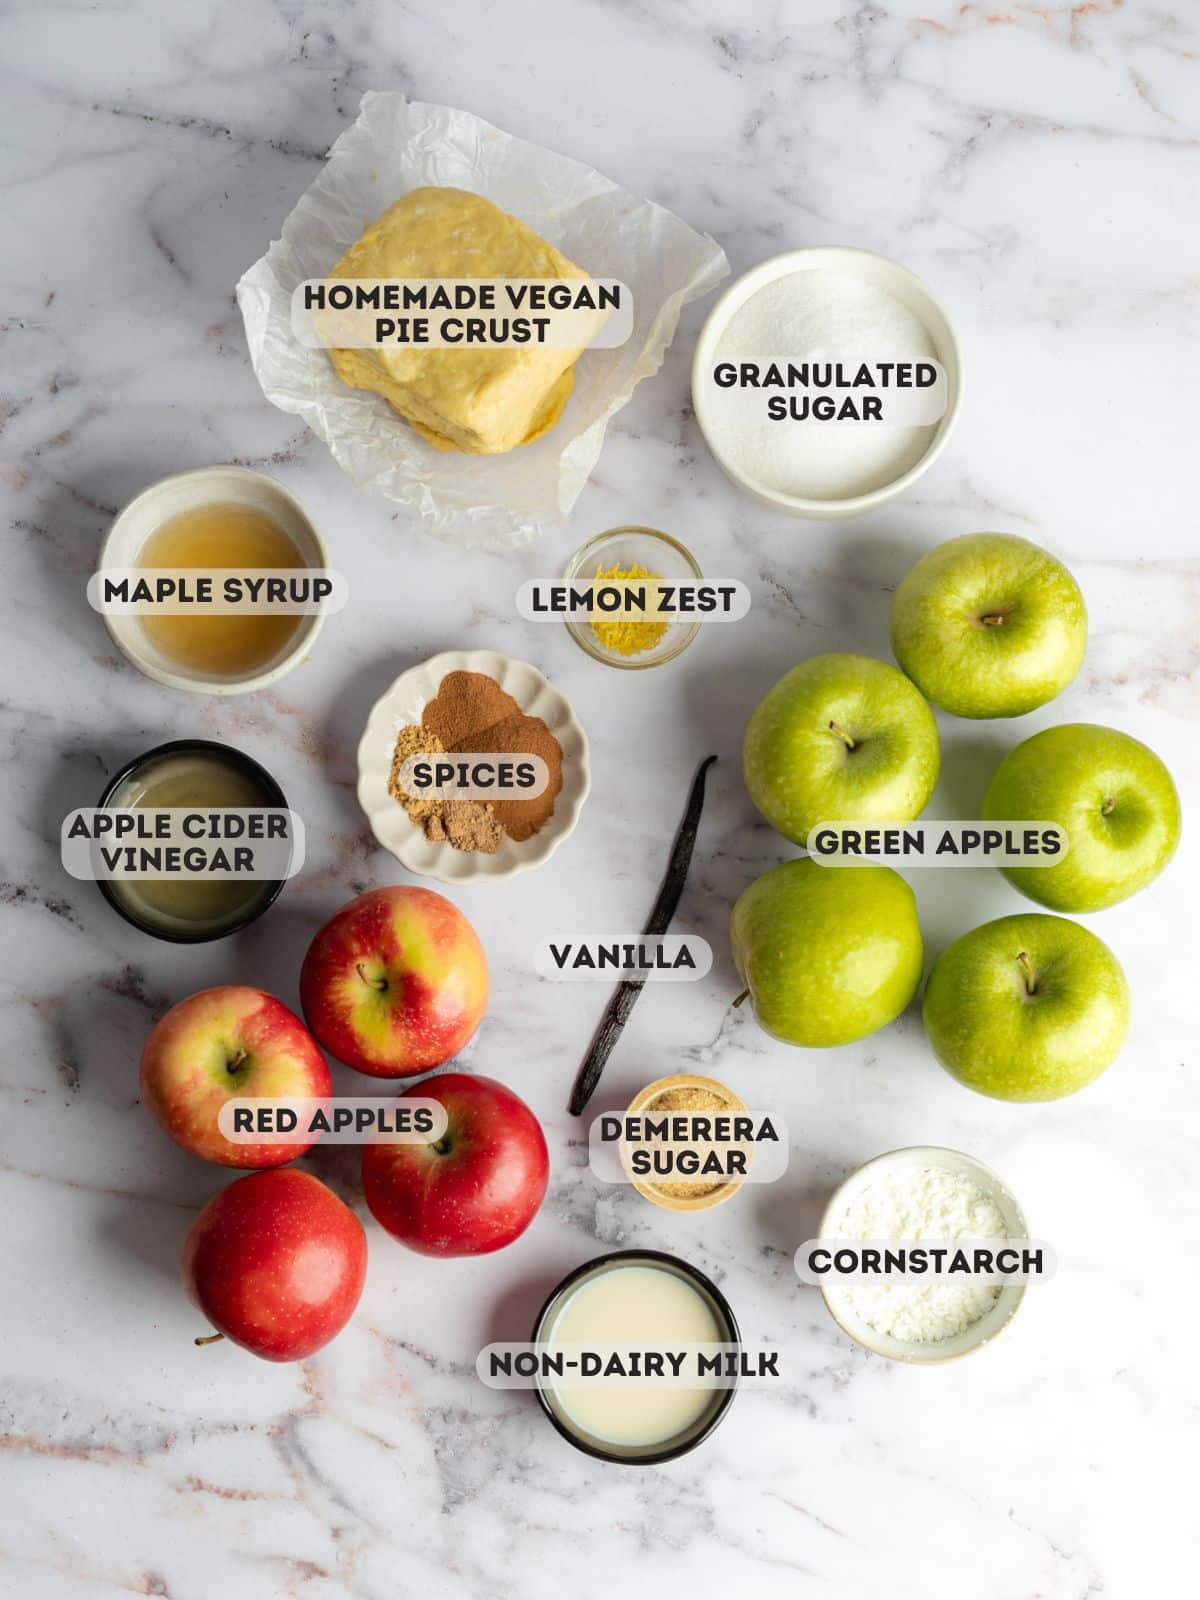
Ingredient Notes
Vegan butter: This pastry calls for vegan block butter, not the spreadable kind from a tub or shortening.
These vegan pie crusts come together quickly in a food processor, and they're great for making ahead. Wrap the uncooked dough discs and chill in the fridge for up to 3 days, or in an airtight container in the freezer for up to 3 months. Just thaw it overnight in the fridge before using.
Green & red apples: Using a mix of crisp apples, such as Granny Smith and Pink Lady, Gala, or Braeburn, gives the pie the perfect balance of tart and sweet. Granny Smith apples add a bright, tangy flavor and hold their shape well during baking, while Pink Lady or Braeburn apples bring natural sweetness and soften into a rich, juicy filling.
Spices: Ground cinnamon, ginger, and nutmeg for the perfect apple pie spice blend.
Cornstarch: Thickens the sauce for the vegan apple pie filling. You can also use arrowroot starch.
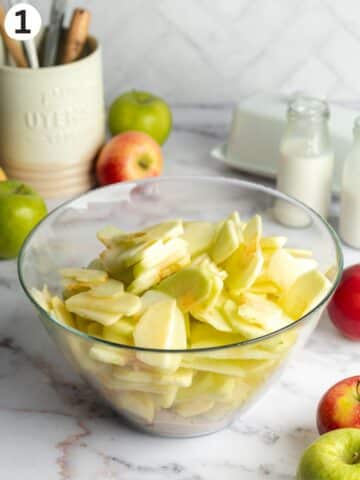
📷 Step-By-Step Images
Here's a visual overview of this vegan apple pie. Please refer to the detailed card at the end of this page for full written instructions.
Prep the filling
Start by prepping the apples: give them a good wash, peel off the skins, and remove the cores. When slicing, aim for around ½ cm thick. Keeping them slightly chunky helps them hold their shape and prevents them from going mushy during baking.
Infuse your sugar with flavor by rubbing in the lemon zest and vanilla - this helps release their oils and deepen the aroma. Don't skip this step if you want a more fragrant filling. Then mix in the spices to add warmth and depth of flavor.

Let the apple mixture sit for an hour after coating to allow the sugar to draw out the natural juices.
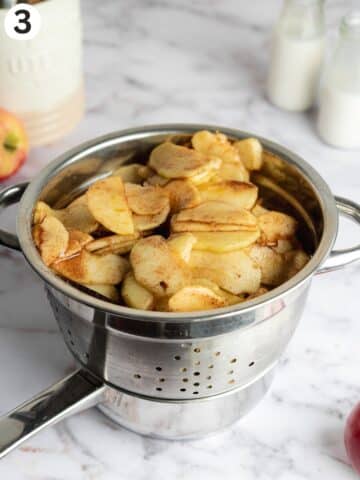

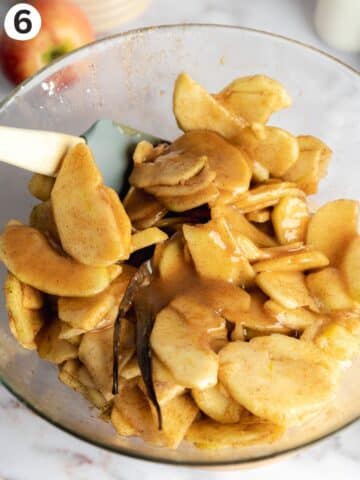
That liquid is then separated and simmered down into a thick, flavorful sauce, which gets stirred back into the apples. It's a great way to concentrate flavor in the mixture while keeping the filling from turning watery.

Assembling the pie
Let the dough sit out for a few minutes so it's easier to roll out evenly with a rolling pin.
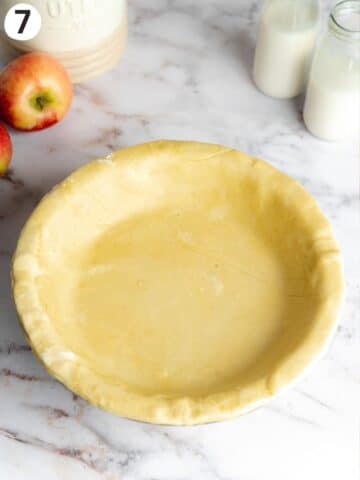
Then carefully line your pan without stretching it to help avoid shrinkage during baking. Crimp the edges however you like, and don't forget to prick the base so steam can escape.

Pack the apple slices in tightly, stacking them evenly to avoid gaps, then pour over any extra sauce for added moisture and flavor.
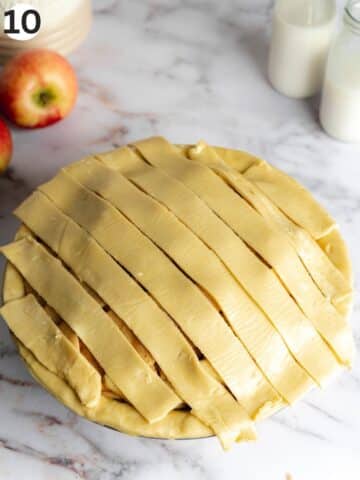
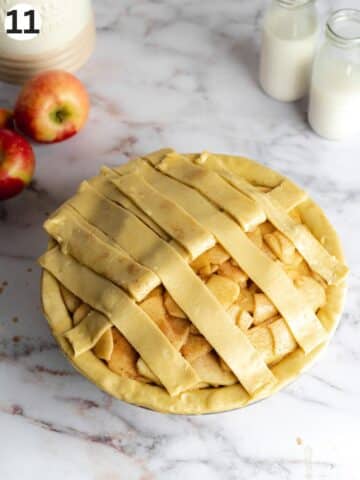
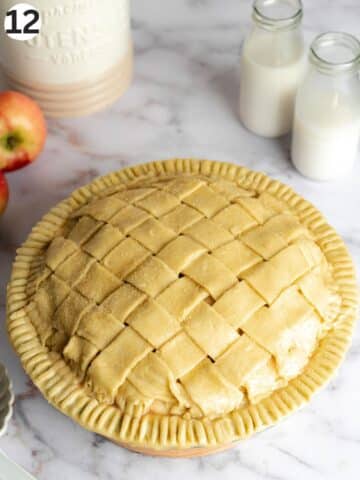
Whether you go for a full crust or a lattice with a pastry cutter, just make sure there's space for steam to escape. A few slits in the top of the pie crust will do the trick.

A light brush of non-dairy milk and maple syrup gives the crust a gorgeous golden brown crust, and a sprinkle of demerara sugar adds a lovely crunch once baked.
📝 Recipe Tips
Always preheat your oven. A properly heated oven ensures a crisp, golden crust. If it's too cool, the base can turn soggy. I recommend preheating for at least 30 minutes before baking.
The best way to serve your dairy-free apple pie is with a few scoops of vegan vanilla ice cream or a dollop of vegan whipped cream and a good drizzle of caramel sauce.
💬 FAQs
In this recipe, there's no need to cook the apples beforehand. Pre-cooking can often lead to a mushy filling, especially in a deep-dish pie. Baking the apples raw allows them to soften just enough while still retaining their shape, resulting in a tender yet structured filling with a lovely bite.
Let the pie cool completely, cover it, and store it in the refrigerator for up to 4 days. You can keep it in the pie dish wrapped in foil or transfer slices to an airtight container. Enjoy it cold, at room temperature, or gently warmed in the oven.
This vegan pie is best enjoyed fresh or chilled from the fridge. Freezing and thawing can affect the texture of the apple filling, often making it mushy or watery once defrosted.
For the best flavor and structure, it's best to bake and enjoy it within a few days.

🍎 More Vegan Apple Desserts


📖 Recipe
Vegan Apple Pie
Equipment
Ingredients
- 1 batch vegan pie crust prepared at least 1 hour ahead
- 1.8 kg (4 lb) apples around 8-9 large apples *note 1
- 200 g (1 cup) granulated sugar sliced lengthways
- 1 vanilla pod
- 1 tablespoon lemon zest freshly zested
- 1 tablespoon ground cinnamon
- ¼ teaspoon ground ginger
- ¼ teaspoon ground nutmeg
- 2 tablespoons apple cider vinegar
- 4 tablespoons cornstarch
- 30 g (2 tablespoons) vegan butter
Vegan Eggwash
- 2 tablespoons non-dairy milk
- 1 tablespoon maple syrup or agave syrup
- 1 tablespoon demerara sugar
Instructions
- Crust: Prepare the crust recipe to step 6 and chill for at least an hour while you prepare the filling.
- Apples: Wash, peel, and remove the cores from the apples. Slice them into approximately ½ cm slices - do not cut them too thinly or they will turn mushy when cooked.
- Flavor the sugar: Add the sugar to a large mixing bowl with the sliced vanilla pod and lemon zest. Rub the vanilla and zest into the sugar with your fingertips, getting as much of the beans from inside the pod as possible, then remove the pod. Stir in the ground cinnamon, ginger, and nutmeg.
- Coat the apples: To the large bowl of sugar, add the apple slices, apple cider vinegar, and 10g (1 tablespoon) of the cornstarch. Toss them using your hands until evenly coated.
- Macerate the apples: Cover the bowl with plastic wrap or a plate, and let them macerate for an hour. Then, separate the apple slices and the juices by passing them through a colander or large sieve.
- Cook the apple sauce: Add the juices from the apples to a saucepan with the remaining 30g (3 tablespoons) of cornstarch and whisk well. Bring to a simmer and cook gently for around 3 minutes while whisking, until the sauce thickens. Remove from the heat and whisk in the butter.
- Coat the apples in sauce: Pour the sauce over the apple slices and stir with a spatula or large spoon until evenly coated. Let the mixture cool to room temperature for 10 minutes.
- Preheat the oven: Meanwhile, place a large baking sheet/tray into the oven and preheat the oven to fan-forced 200°C(392°F) or conventional 210°C(410°F).
- Assemble: Remove the dough discs from the fridge and allow them to sit at room temperature for 5 minutes before rolling out. On a lightly floured surface, roll out one of the dough discs to a circumference wider than your pie tin. Carefully lift the pastry into a deep 9-inch pie tin using your rolling pin.
- Bottom pastry: Gently press the dough into the base and sides of the tin. Use scissors to trim off the excess pastry around the edges of the pan. Pinch the edges of the dough with your fingers, or crimp the edges using a fork. Pierce several holes into the base of the pastry using a fork.
- Top pastry: Roll out the second pastry disc and either leave it in one whole piece or slice it into strips to create a lattice design.
- Filling: Layer the apple slices inside the pie dish, stacking them on top of one another as evenly as possible. Pour any remaining juices over the apples.
- Add the top piece(s) of pastry, trim away any excess pastry that hangs over the edge, and crimp the edges of the pastry with a fork to secure it. If leaving the top pastry whole, use a knife to create slits in the pastry to prevent steam from building up underneath it.
- "Egg wash": Mix the non-dairy milk and maple syrup and lightly brush it over the surface of the pie. Sprinkle demerara sugar on top.
- Bake: Place the pie on the preheated tray and bake for 20 minutes at fan-forced 200°C(392°F) or conventional 210°C(410°F). Then reduce the temperature to fan-forced 160°C(320°F) or conventional 175°C(350°F) and bake for another 40-50 minutes until golden brown.To check for doneness, pierce the pie with a fork. The apples should be very slightly firm, if they are hard, continue to bake for another 5-10 minutes.
- Storage and serving: Once baked, allow the pie to cool completely to room temperature. I recommend chilling it for a few hours before slicing if you want clean cuts, but you can also serve it warm if you prefer. Store it in the fridge covered or in an airtight container for up to 4 days.
Notes
- Apples: I use half Granny Smith and Pink Lady or Braeburn.
© addictedtodates.com. All content and images are protected by copyright. If you want to share this recipe, please do so using the share buttons provided. Do not screenshot or republish the recipe or content in full. Instead, include a link to this post for the recipe. Thank you!