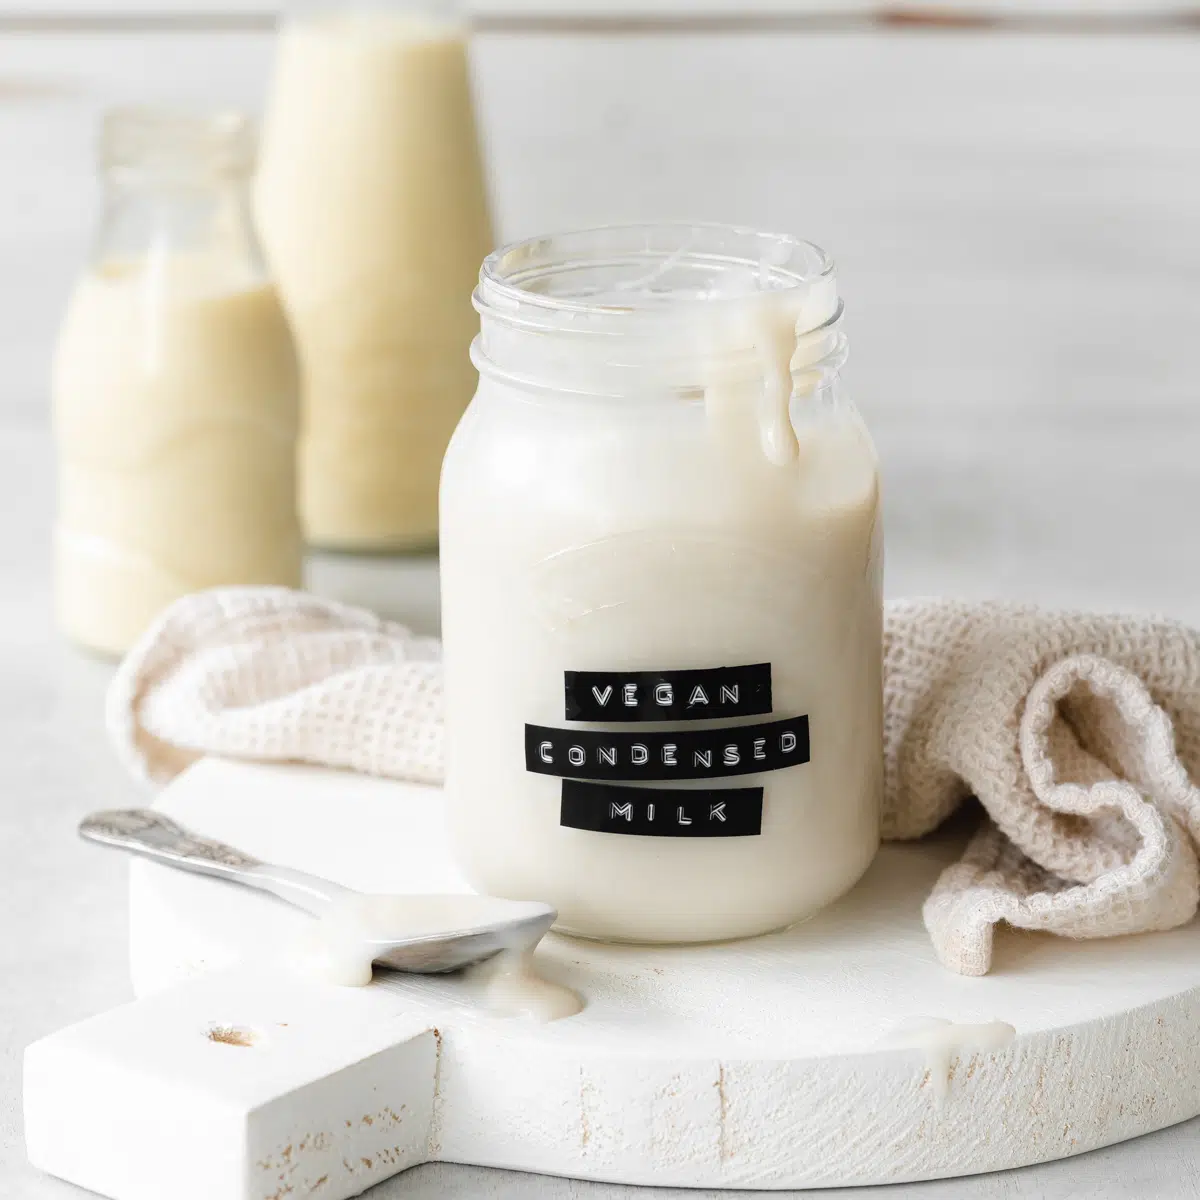
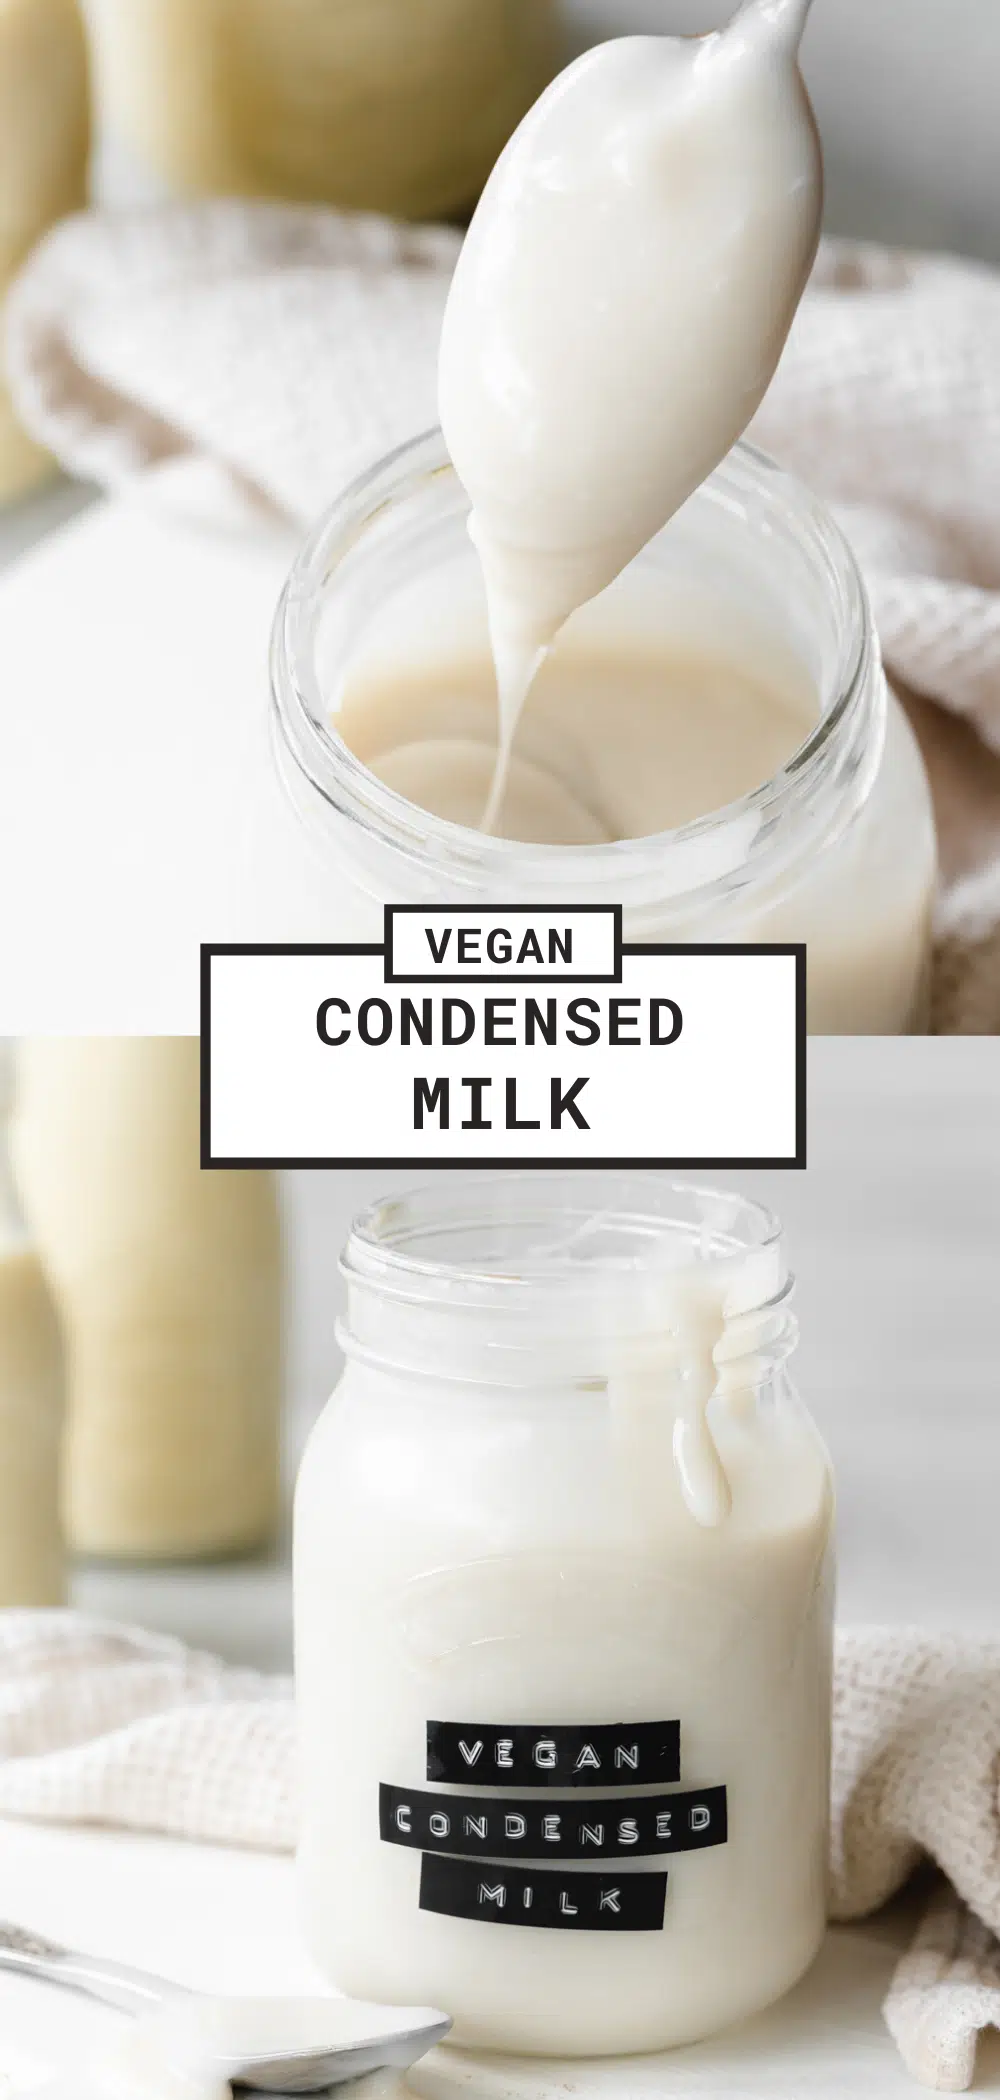
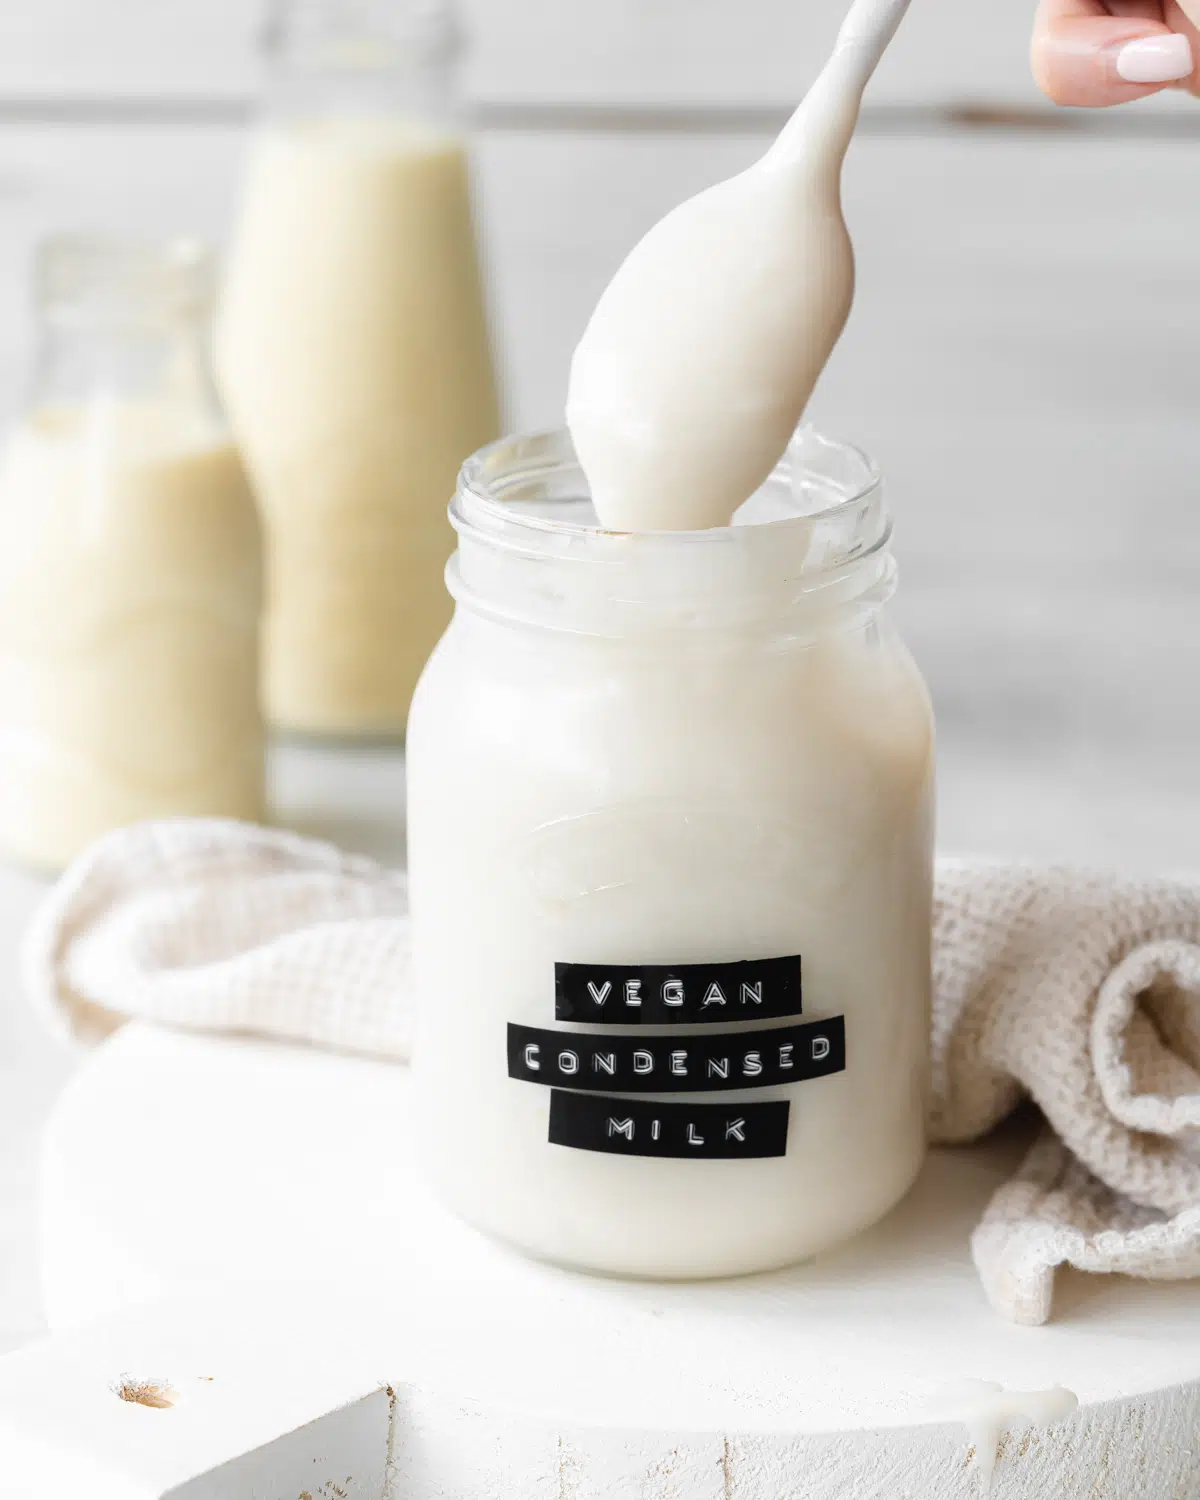
It's one of the most versatile ingredients out there when it comes to desserts, baking, and sweet recipes in general. So vegan condensed milk is a must for any dairy-free kitchen. Luckily, sweetened condensed milk is super easy to veganize!
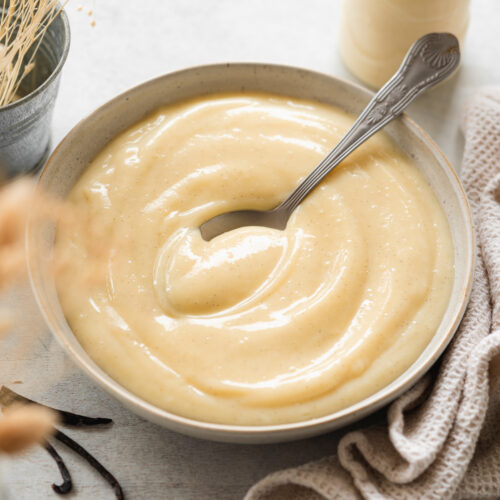
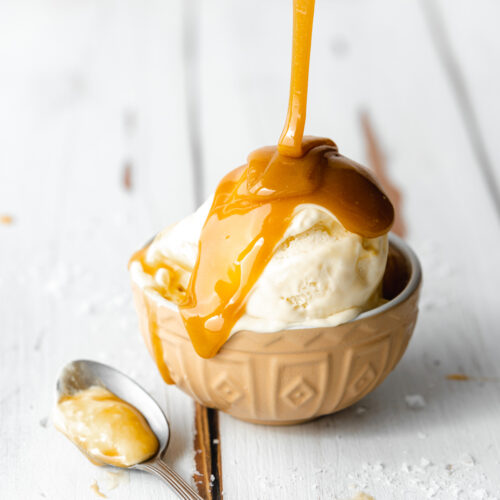
This dairy-free version is made using coconut milk to yield the creamiest results and can be used interchangeably in place of regular condensed milk in so many recipes! It can be used as the base for vegan ice cream, millionaire shortbread, or to make a vegan caramel sauce to name but a few!
Jump to:
📖 Recipe Overview
- Easy to make with just 2 main ingredients.
- Thick and creamy consistency.
- Versatile and can be used in numerous vegan desserts.
- Completely eggless, dairy-free, gluten-free, and nut-free.
🥛 Ingredients Needed
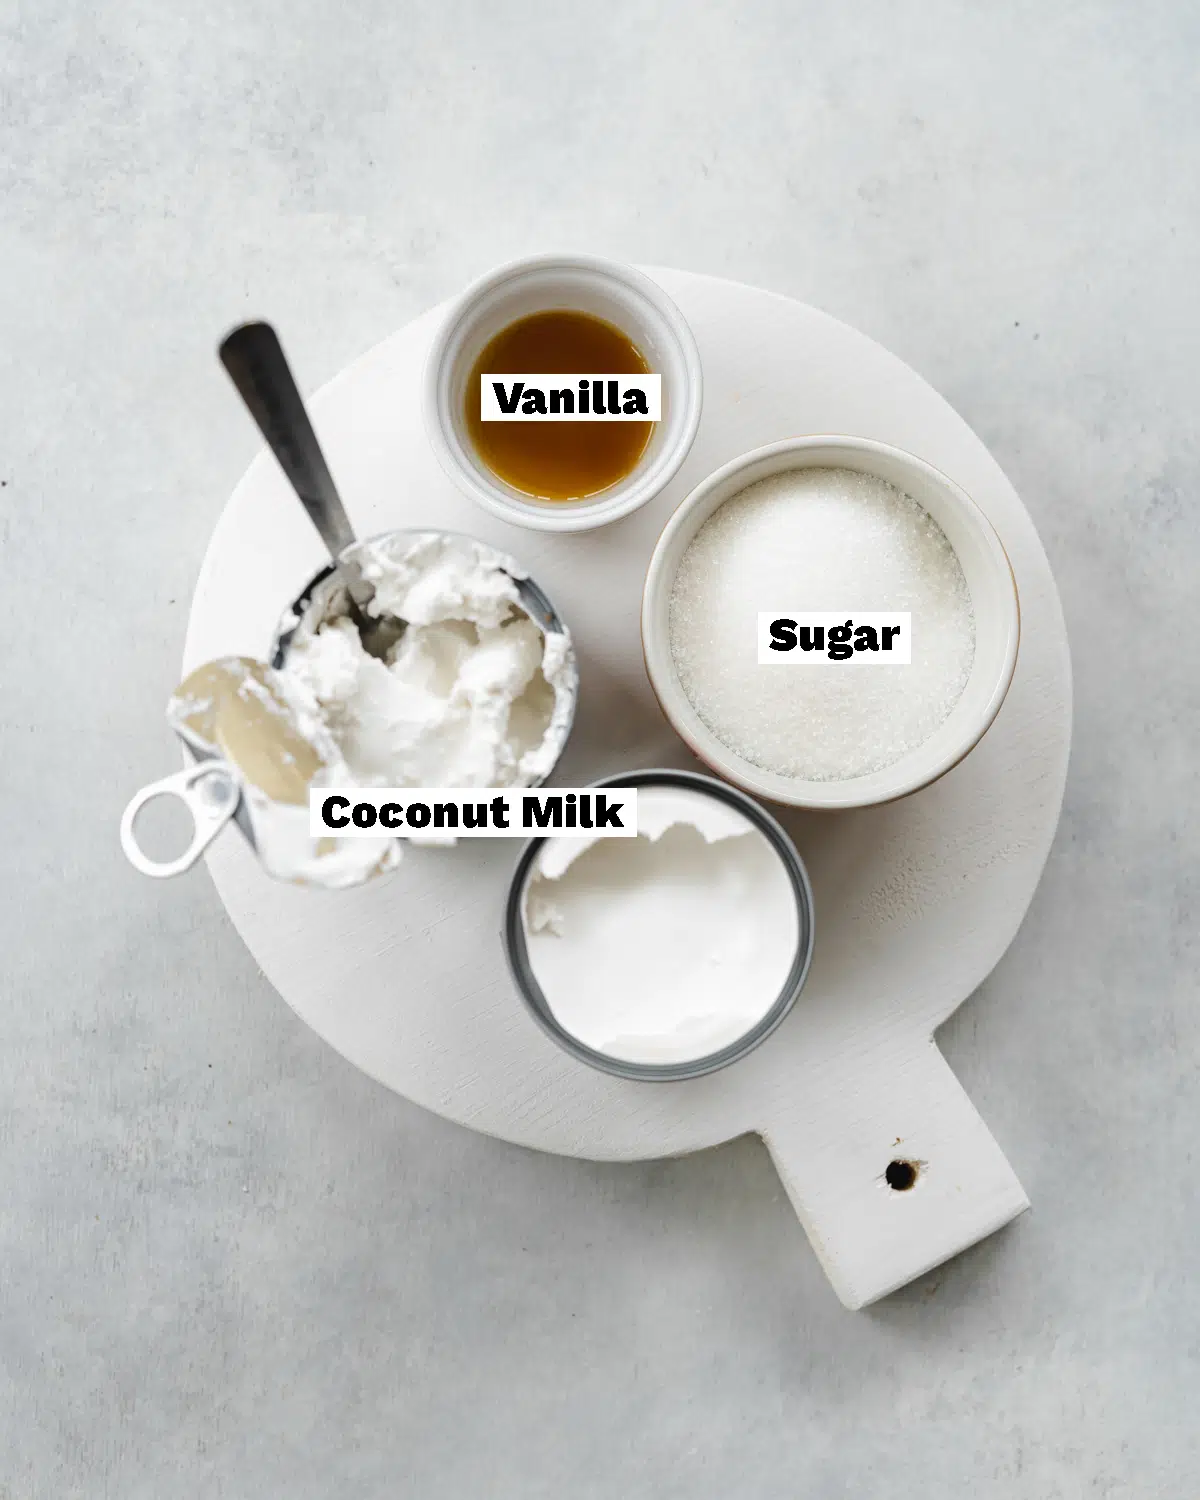
Ingredient Notes
Use a good quality full-fat canned coconut milk such as Nature's Charm, Biona, or Aroy-D. In my experience, both of these brands yield a high coconut content as many others contain a lot of water.
I do recommend sticking to granulated white sugar for this recipe. While I haven't tried it, I reckon using coconut sugar or brown sugar will create more of a caramel sauce rather than sweetened condensed coconut milk.
The vanilla extract is completely optional but adds a nice flavor to the non-dairy condensed milk. You could leave it out depending on your taste and what you're using the recipe for. For example, you could get away with leaving it out if you're making vanilla ice cream, as the recipe will also contain vanilla!
🥣 How To Make Vegan Condensed Milk
Find the complete list of ingredients, quantities, and instructions in the recipe card at the end of this post.
(1) Add both full cans of coconut milk to a saucepan with the sugar and place on the hob over medium heat.
(2) Whisk the mixture smooth and bring to a simmer.
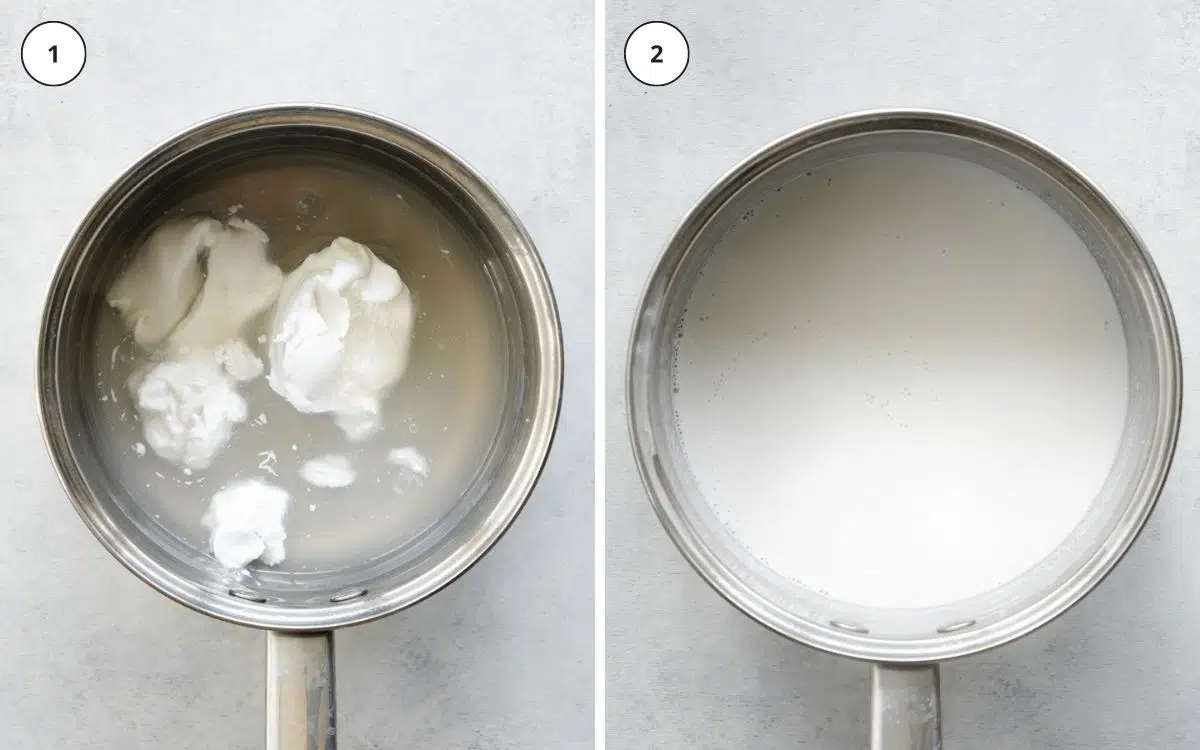
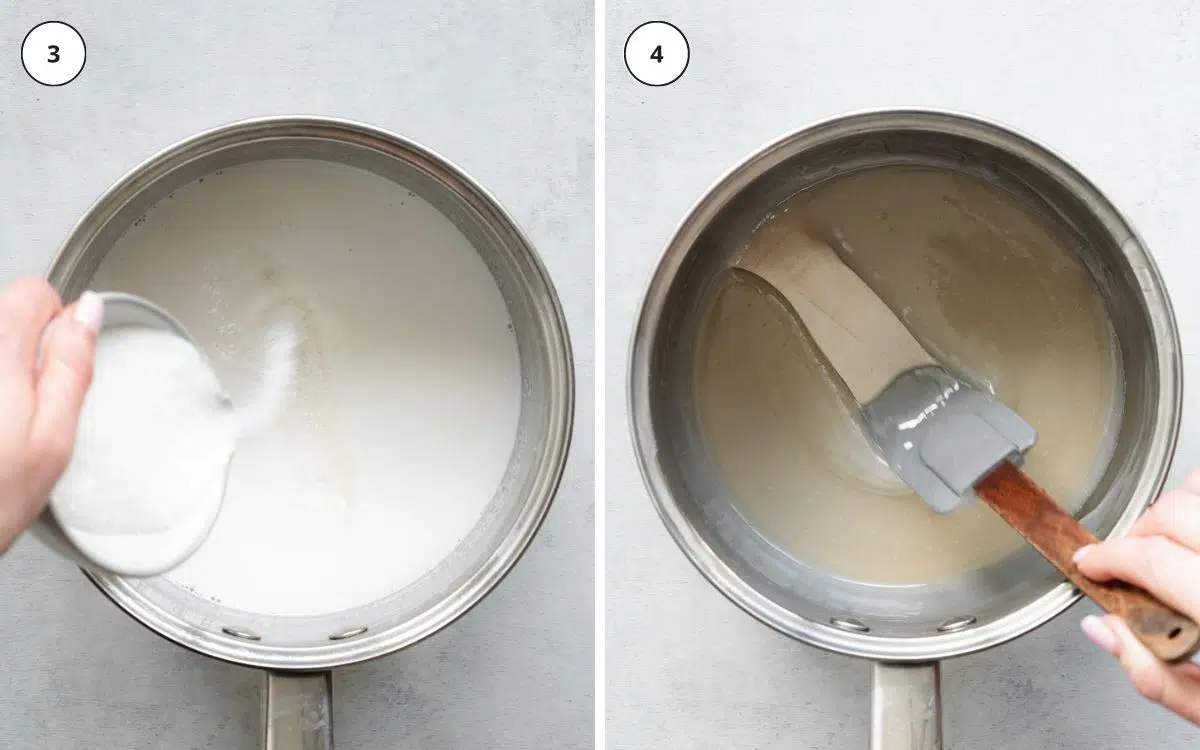
(3) Add in the sugar and whisk again. Cook the mixture on medium-low for 60-75 minutes. Stir and whisk the coconut milk frequently to prevent it from burning to the pan.
(4) The condensed coconut milk will reduce by about half in volume. To tell when it's ready, draw a line in it with a rubber spatula. The mixture will pull away from the spatula and the line should stay visible for a couple of seconds.
🍨 Ways To Use This Recipe
- For sweetening beverages such as iced coffee or Thai iced tea.
- In desserts like millionaires shortbread, caramel slices or fudge.
- In cakes and baking like vegan tres leches and strawberry tiramisu or banoffee pie.
- As a base for making homemade vegan ice cream such as chocolate ice cream, caramel ice cream, strawberry ice cream, mango ice cream, and passion fruit ice cream.
- In homemade chocolate bars like toffee crisps and vegan creme eggs,
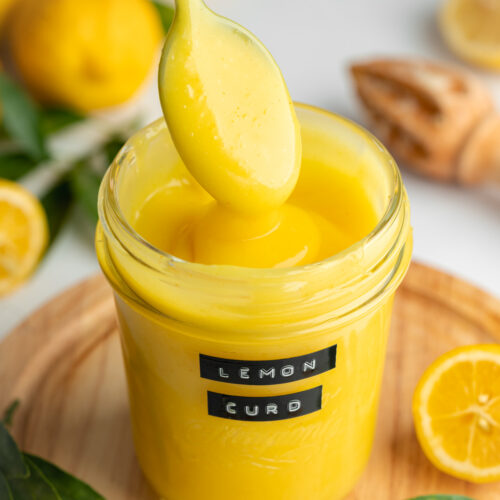
- For making homemade caramel sauce and lemon curd,
📝 Recipe Tips
Cook the mixture slowly and steadily. It can be tempting to turn up the heat in an effort to speed up the process however, you run the risk of burning the condensed milk if heated too quickly.
Be picky with the brand of coconut milk you use. Some brands have much higher water content and result in a less thick consistency when reduced down.
Frequently stir the sweetened condensed coconut milk as it reduces. This prevents it from scalding and burning to the bottom of the pan. I always recommend alternating between a whisk and a rubber spatula to ensure that you're mixing it well.
💬 FAQs
Yes, you can use oat milk, however, the result is not as thick or creamy as using full-fat coconut milk.
It will keep for up to 7 days in an airtight container.
Yes, it will thicken initially when cooked and then thicken further once chilled.
If you're looking to go the store-bought route, hands down Nature's Charm is the way to go. It is thick, creamy, delicious, and made by an ethical vegan company too!
Yes, you can freeze it in an airtight container such as a lunchbox for up to 3 months. Defrost it in the fridge overnight or at room temperature for a couple of hours.
➕ More Vegan Basics

Love this recipe? Please leave a 5-star ★★★★★ rating in the recipe card below and consider leaving a comment as well, thanks!
Stay in touch with me through social media @ Instagram, Pinterest, TikTok, and Facebook. And subscribe via email to get all our new recipes!
📖 Recipe
Description
Ingredients
- 800 ml (27 oz) full-fat canned coconut milk
- 120 g (⅗ cup) granulated sugar, *see notes
- ½ teaspoon vanilla extract, optional
Instructions
- Add the coconut milk to a saucepan and place over medium heat. Whisk and continue to heat until it reaches a simmer.
- Add in the sugar and whisk again to combine. Reduce the heat to medium-low and continue to cook for between 60 and 75 minutes. Stir the mixture every 10-15 minutes, and alternate between using a whisk and rubber spatula to make sure the mixture does not stick to the pan.
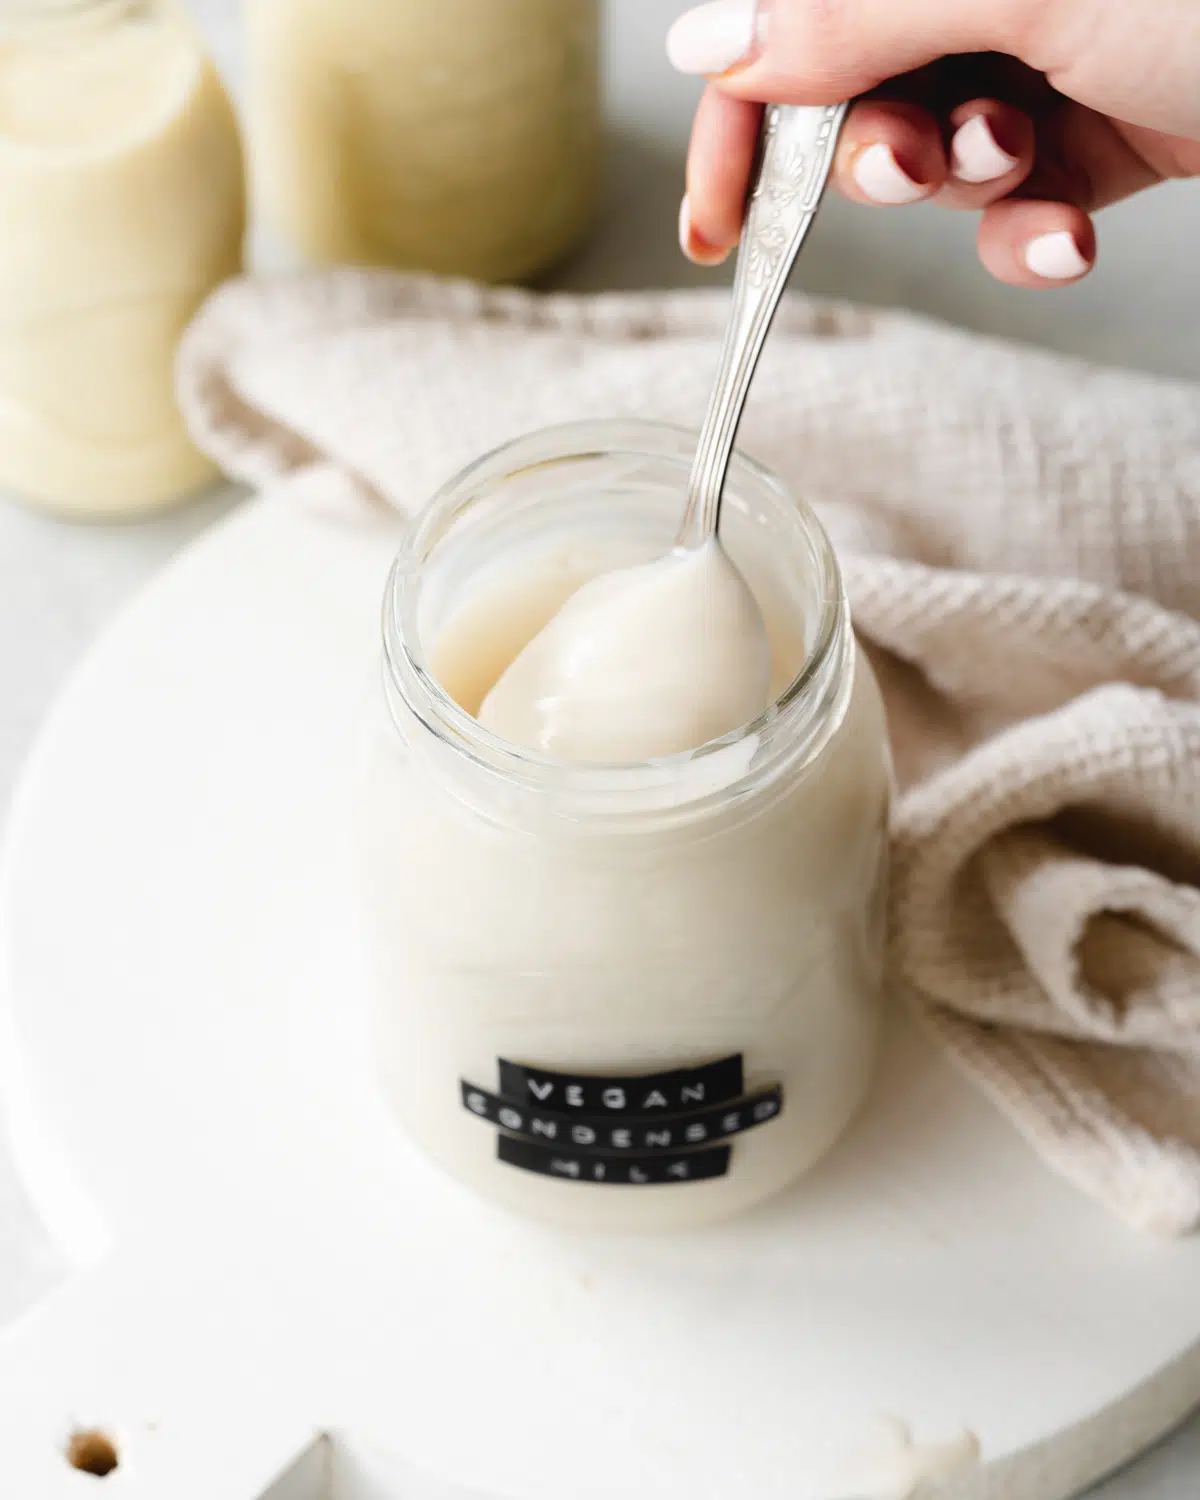
- Once it's ready, the mixture will be thick and will have reduced by half its volume. You'll be able to draw a line with your spatula and the condensed milk will pull away from it (shown in the image in the blog post). The line will hold its form for a few seconds. Remove it from the heat and whisk in the vanilla extract.
- Transfer the condensed milk to an airtight jar and allow it to cool for 15-20 minutes before placing it in the fridge to chill for 2 hours before using. It will thicken once chilled.
Storage
- Store in an airtight container in the fridge for up to 7 days. You can also freeze it for up to 3 months in an airtight container. Defrost in the fridge overnight or at room temperature for 2 hours and whisk well before use.
Notes
- Some white sugar in the US is not vegan, if in doubt use organic sugar.
- Use a good quality full-fat canned coconut milk such as Nature's Charm, Biona, or Aroy-D. In my experience, both of these brands yield a high coconut content as many others contain a lot of water.
- You can use oat milk to make condensed milk, however it results in a much runnier consistency and darker color.
Nutrition
© addictedtodates.com. All content and images are protected by copyright. If you want to share this recipe, please do so using the share buttons provided. Do not screenshot or republish the recipe or content in full. instead, include a link to this post for the recipe.

