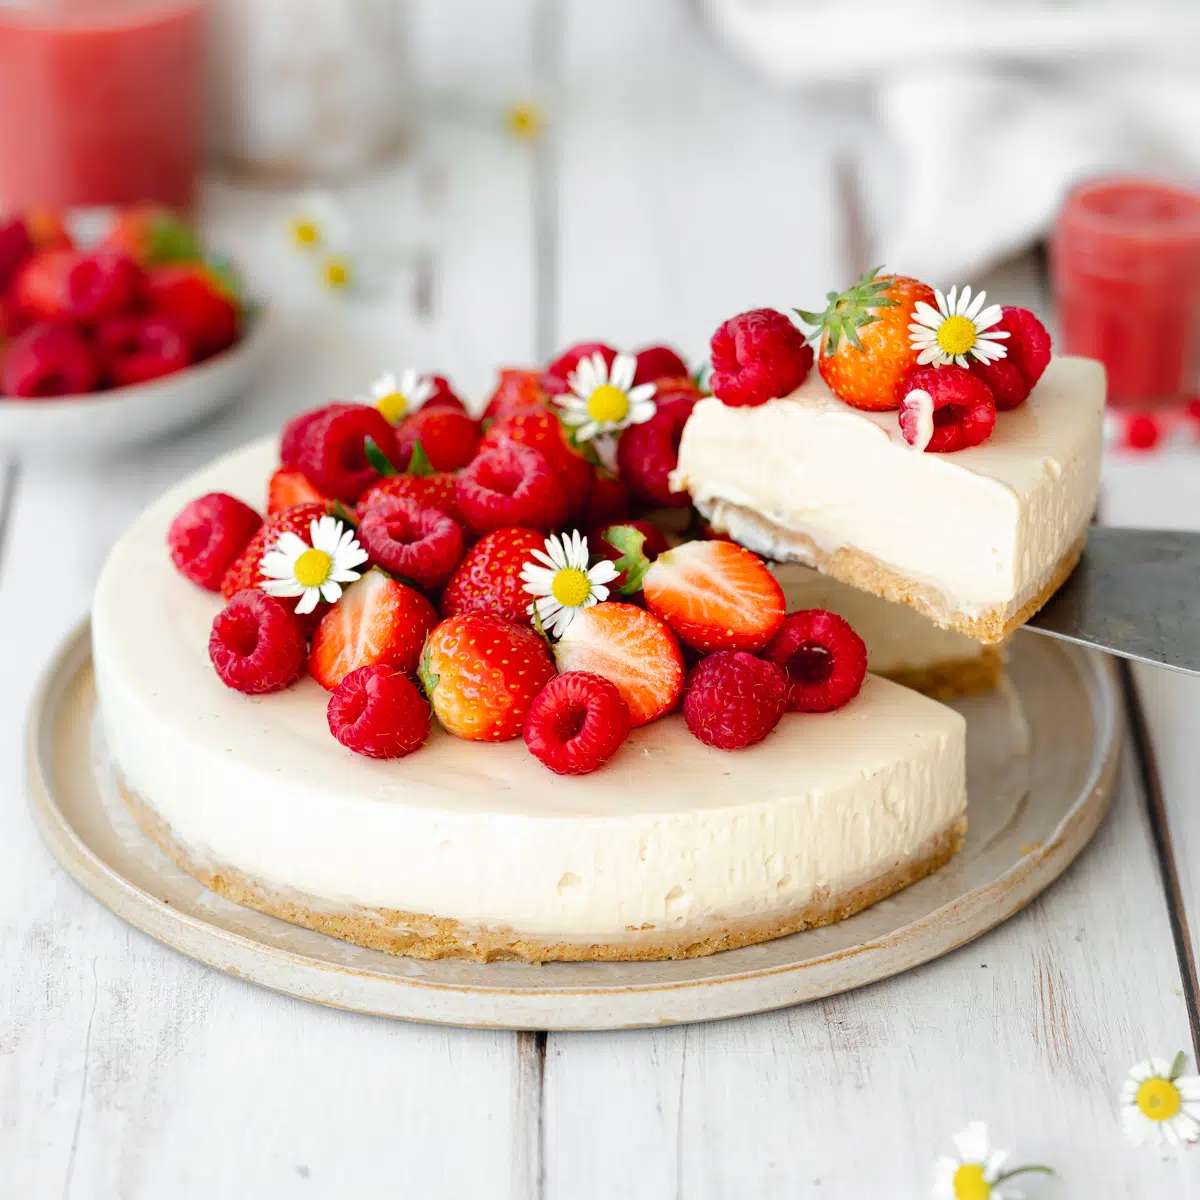
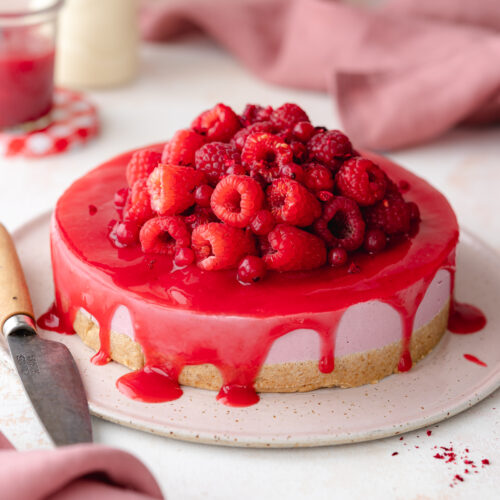
This easy no-bake vegan cheesecake has the creamiest filling and best-ever texture without being overly heavy. It comes together in just a few simple steps with no baking and sets perfectly in the refrigerator.
With an entire cookbook written on no-bake vegan desserts, I think it's pretty safe to say that no-bake cheesecakes are my favorite to make! I love that they're fuss-free and pretty much fail-proof! This recipe forms the base of lots of my vegan cheesecake recipes including oreo cheesecake, pecan pie cheesecake, and gingerbread cheesecake.
Jump to:
What to expect from this recipe
✔️ Made with just 10 ingredients.
✔️ No baking or cooking involved.
✔️ Light, creamy cheesecake consistency with a crunchy buttery crust.
✔️ Sets in the fridge.
✔️ Completely eggless, and dairy-free with a gluten-free option.
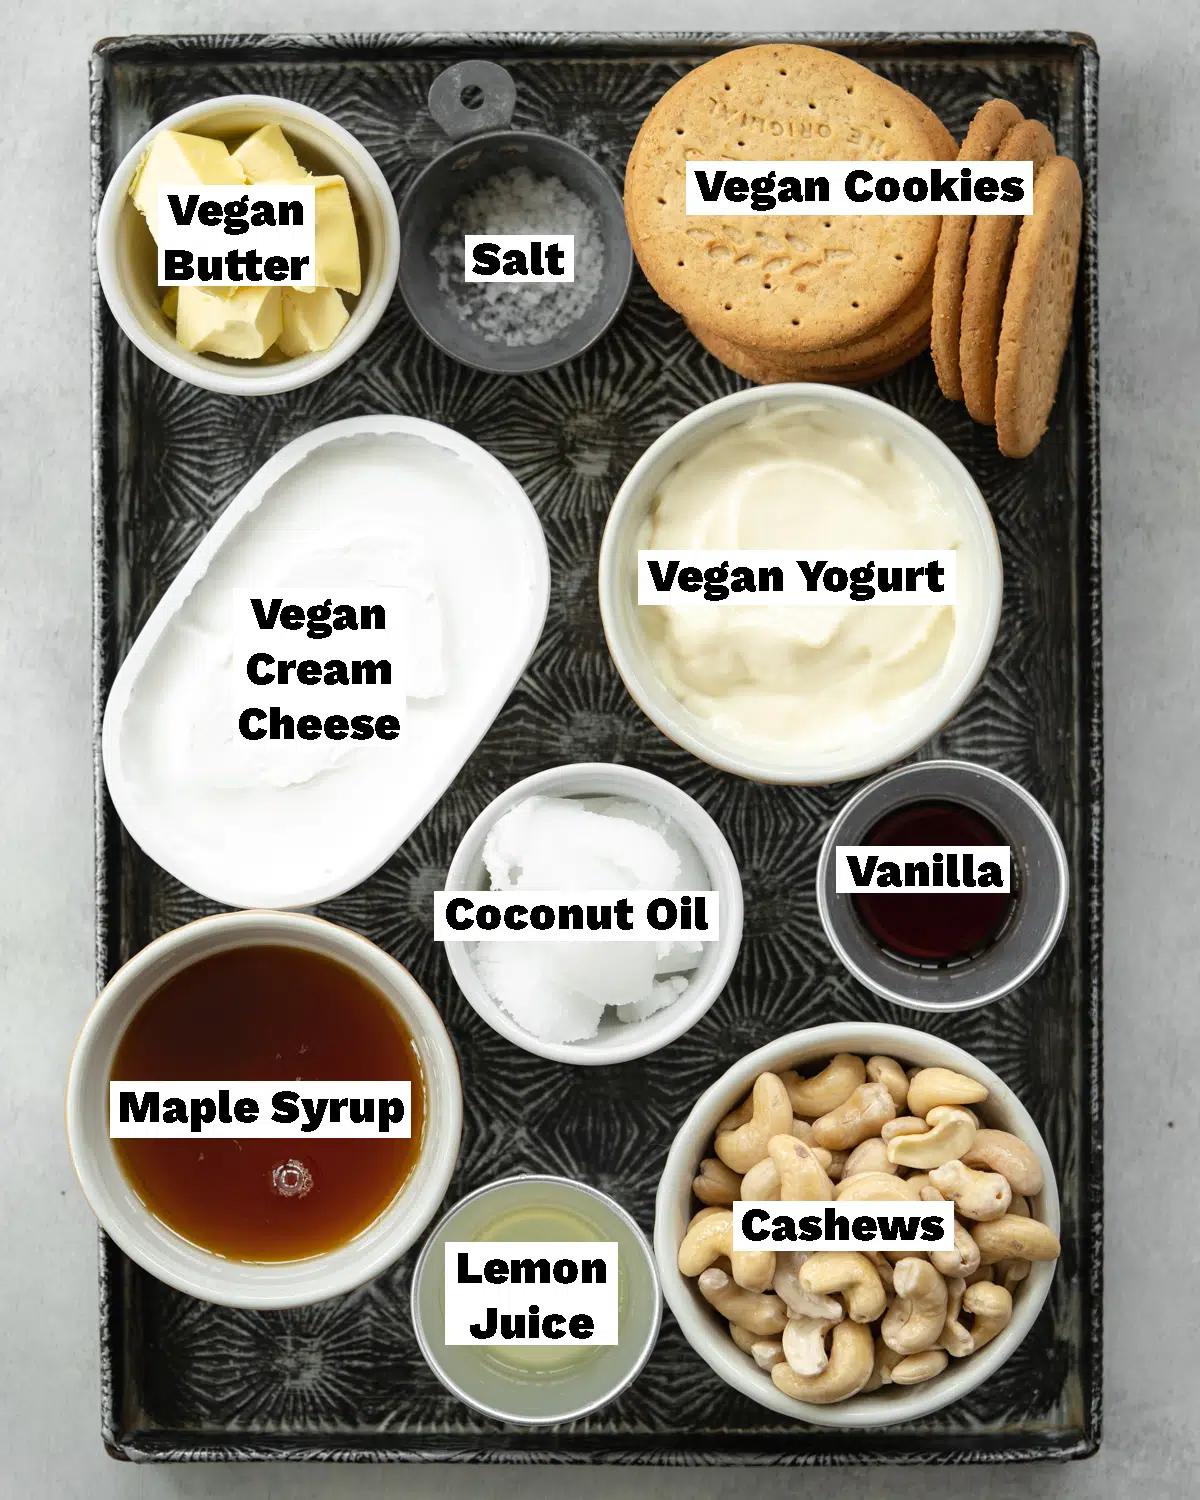
🍰 Ingredients Needed
Notes about the ingredients
This easy cheesecake comes together with just 10 simple ingredients, a lot of which you may already have in your pantry!
I always add vegan yogurt to my cheesecake recipes. It helps to create a light and creamy consistency that isn't too rich like some cheesecakes can tend to be. Vegan Greek-style soy or coconut yogurt works best.
For the crust, you can use any vegan cookies of your choice. I like to use digestives or ginger nuts, a vegan graham cracker crust will also work. To keep this no-bake vegan cheesecake gluten-free, just go for GF cookies.
The coconut oil is essential for setting the filling as it solidifies when chilled. This is what makes it possible to create a set vegan cheesecake without using setting agents like agar-agar or gelatin which is found in many traditional cheesecakes.
Fresh lemon juice, vegan cream cheese, and cashews work together to create a tangy cheesecake flavor.
Vanilla is the main flavor that comes through in this dairy-free cheesecake so we're using a whopping 2 full tablespoons of it. You can swap out the vanilla extract for a tablespoon of vanilla bean paste or the seeds from a vanilla pod.
Ingredient swaps
Vegan cookies: If you don't want to use cookies you can make a crust from a combination of toasted coconut, cashews, rolled oats, pitted dates, coconut oil, and sea salt. Just follow the recipe for the crust as seen in these vegan strawberry cheesecake bars.
Vegan cream cheese: You can swap this out for full-fat coconut milk. It needs to be a full-fat canned variety to get a rich creamy consistency. Reduced fat coconut milk and other plant milk will NOT work for making vegan cheesecake.
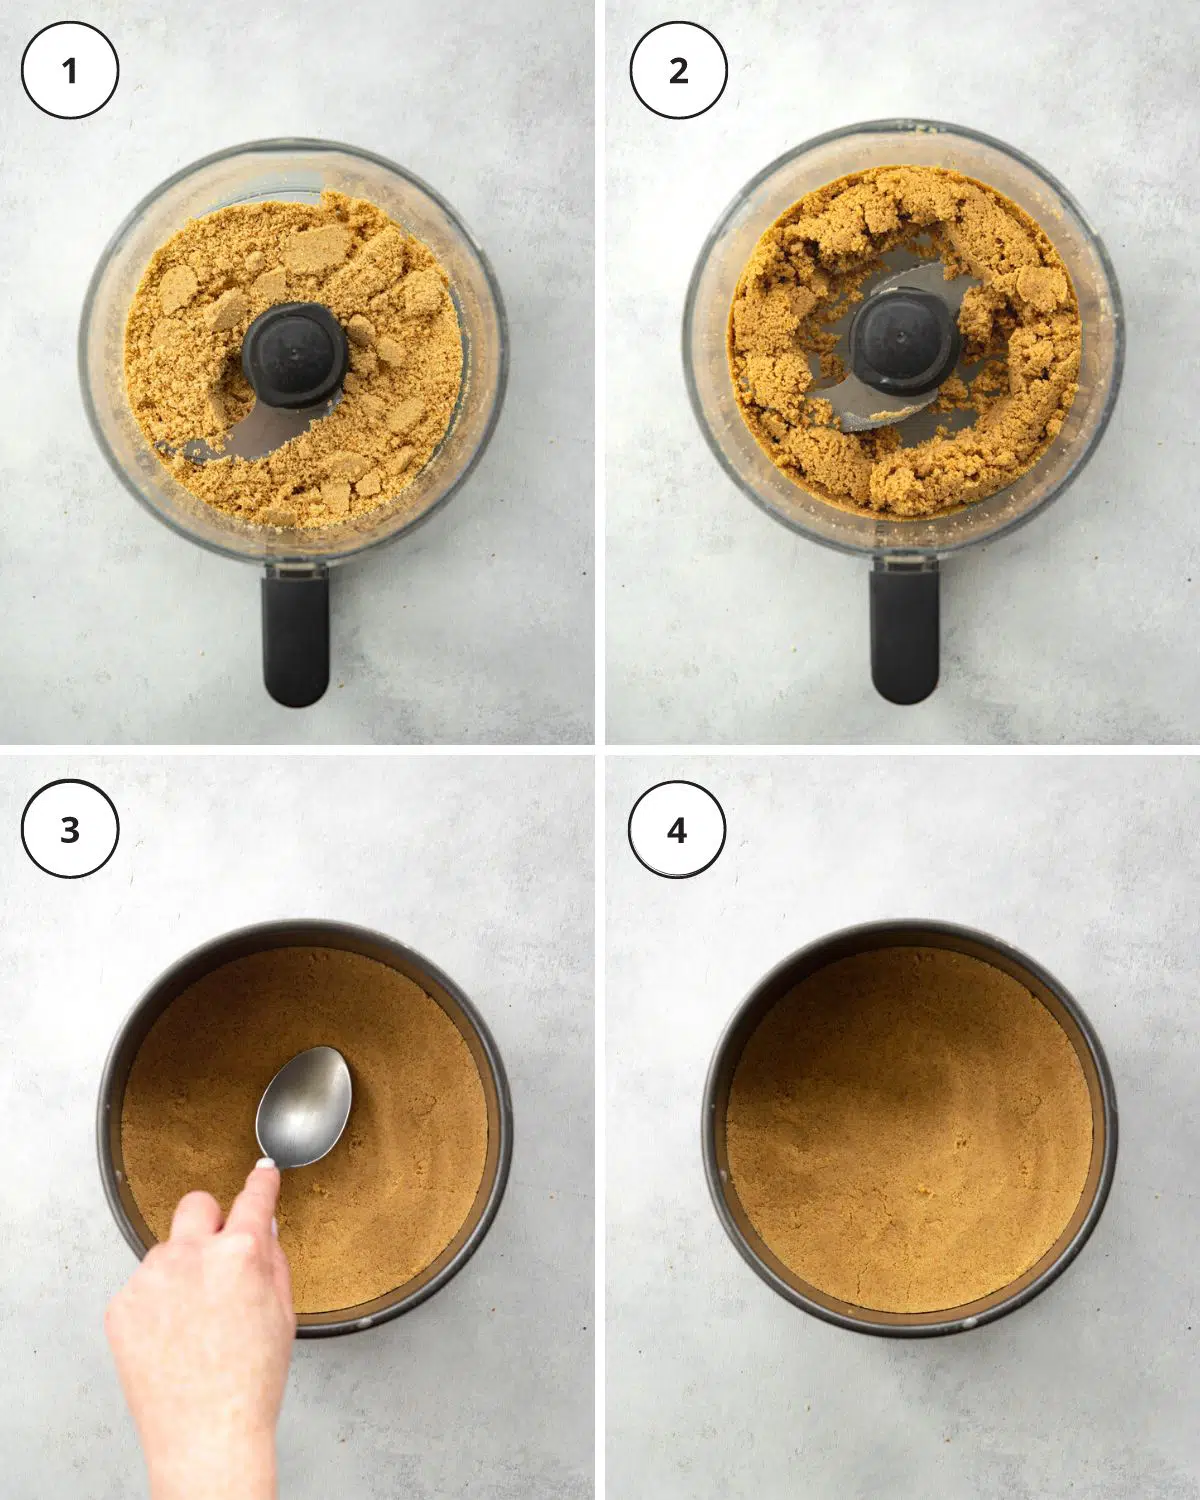
🥣 How to make a no-bake vegan cheesecake
(Full ingredient quantities and instructions are in the recipe card at the end of this post)
(1) Add the cookies and sea salt (dry ingredients) to your food processor and blitz them into fine crumbs.
(2) Add the vegan butter and blend again until the mixture sticks together to form a dough consistency.
(3) Add the crust to a 7″ cake pan with a removable base that's been lined with parchment paper. Use the back of a large spoon to smooth out the crust.
(4) Place the crust in the fridge to firm up slightly while you prepare the cheesecake filling.
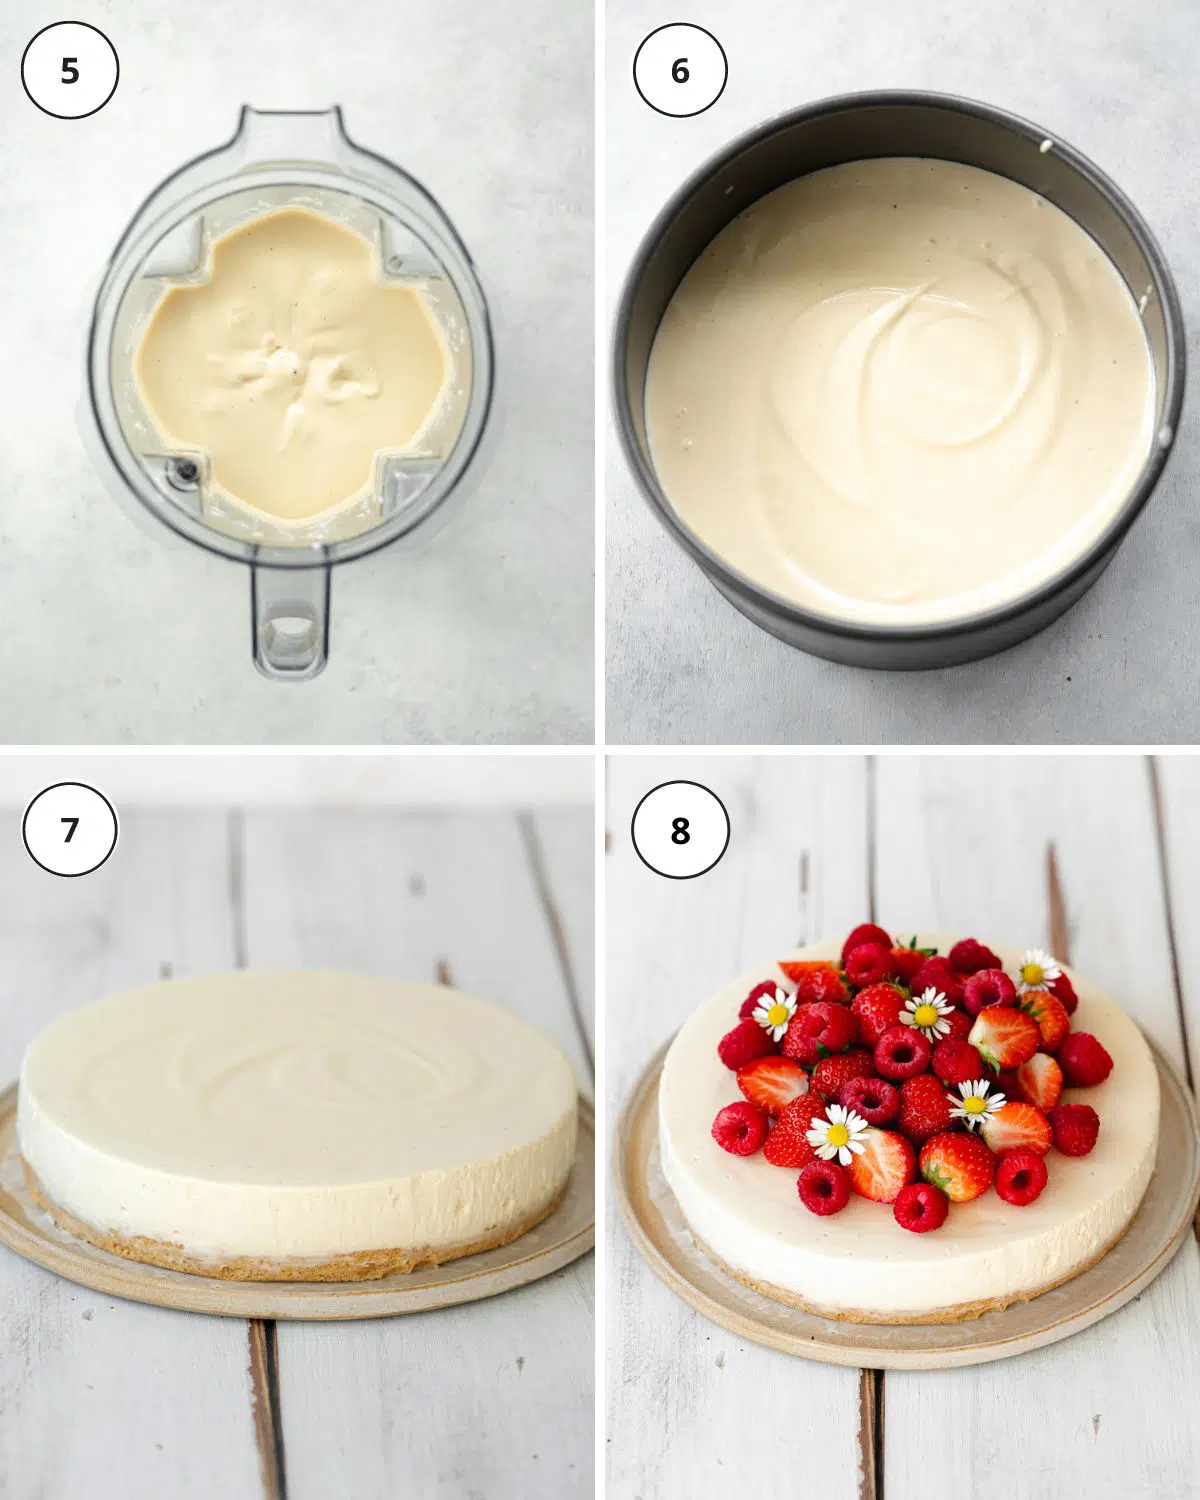
(5) For the creamy filling, add all of the ingredients to your blender and blitz until smooth and creamy.
(6) Pour the filling on top of the crust and smooth out the top with a spatula. Place it in the fridge to set for at least 4-5 hours. Overnight works well!
(7) CAREFULLY remove the set cheesecake from the tin by gently pushing the base of the pan upwards. If needed, you can wipe the outside of the pan with a damp cloth which will help to loosen the cheesecake inside.
(8) Add your garnish and it's ready to serve right away unlike cheesecakes that are set in the freezer!
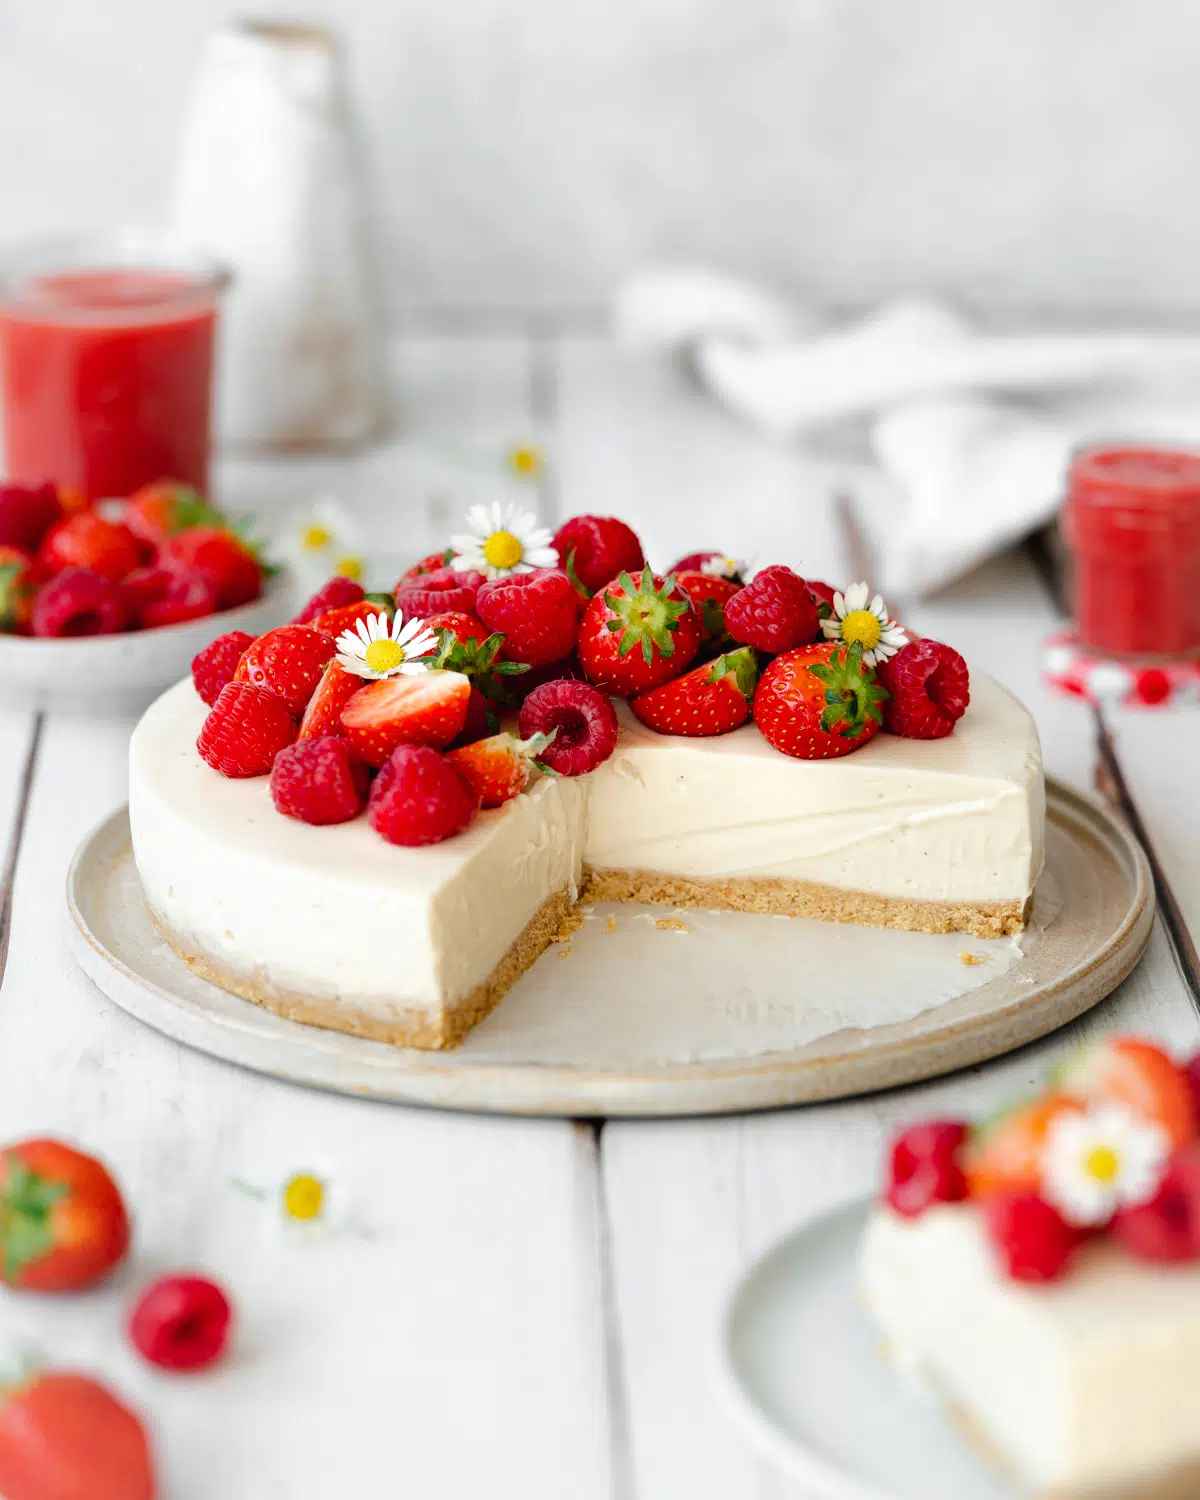
🍰 Decorating and serving suggestions
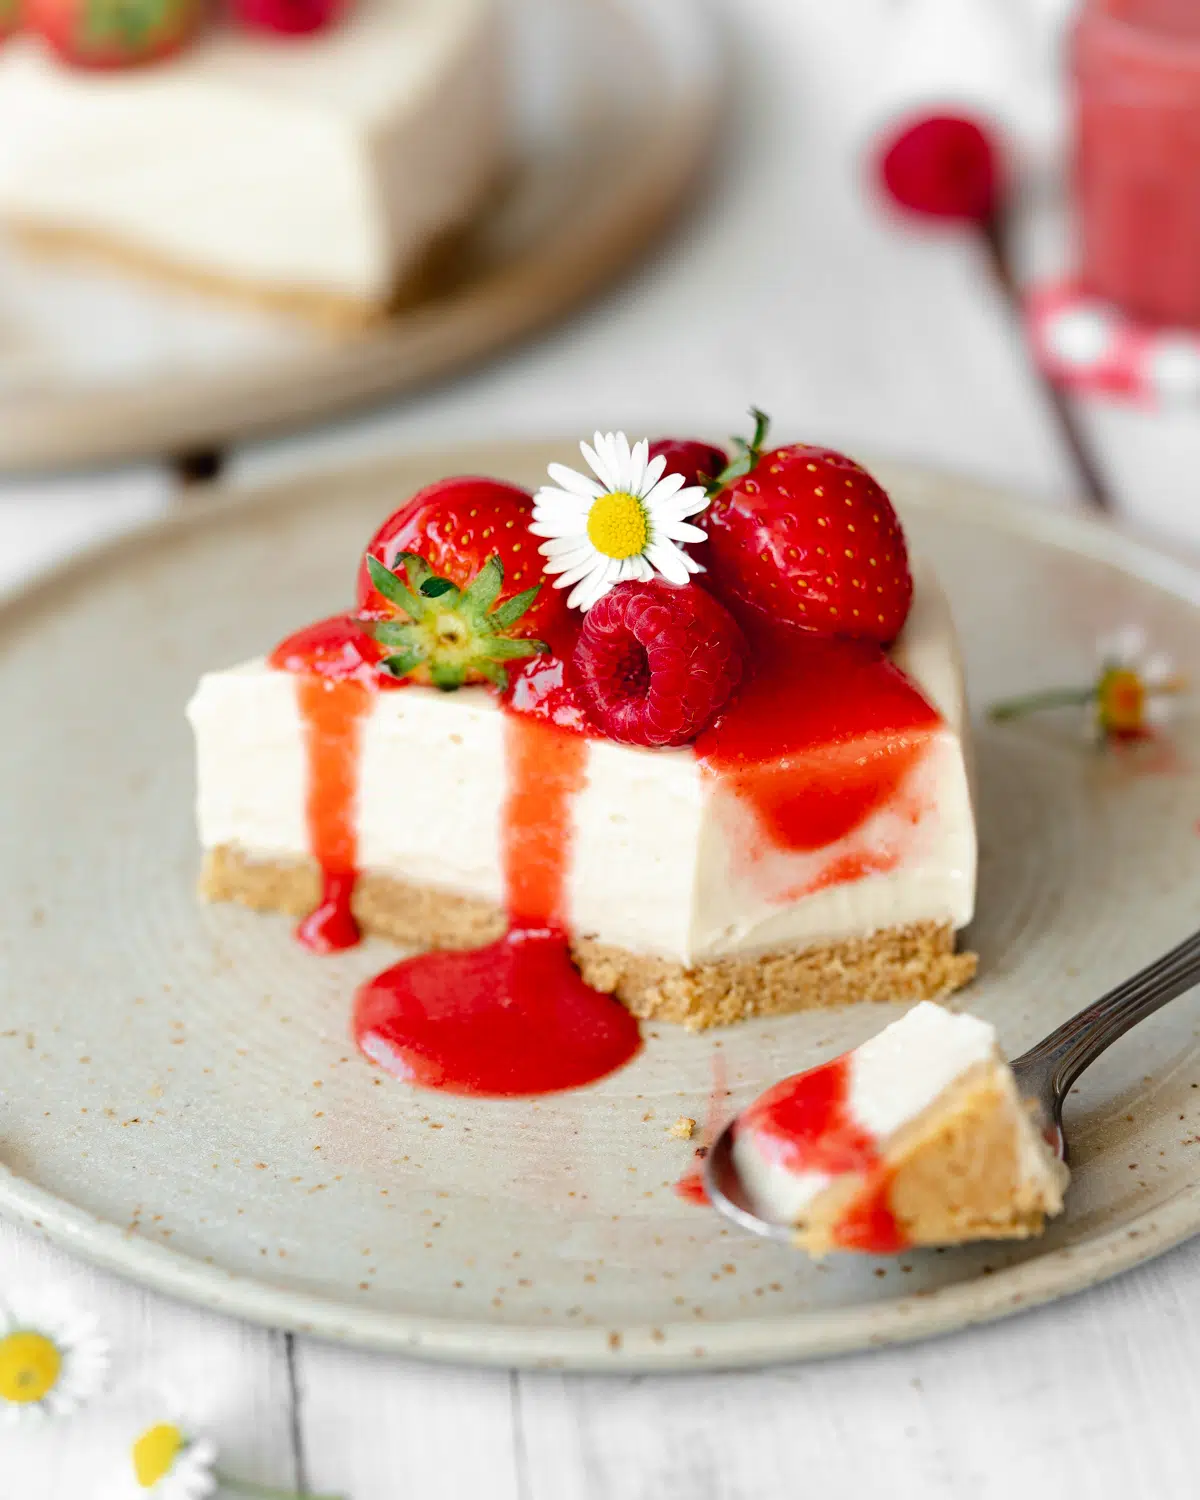
- Decorate the cheesecake with fresh berries or fruits of your choice, or leave it plain.
- I like to serve it with some strawberry or raspberry coulis. Simply blend a cup of fresh strawberries or berries with 2 tablespoons of maple syrup and you've got a delicious strawberry sauce.
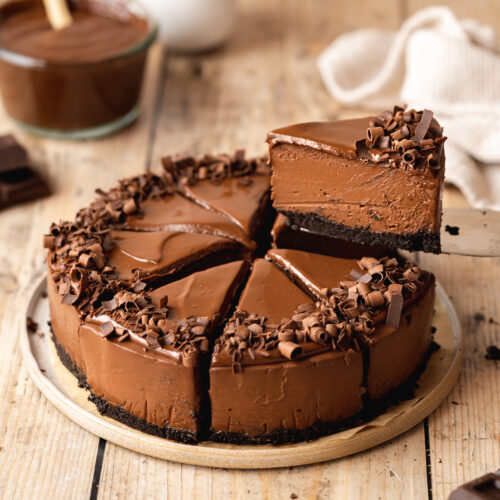
- You can also garnish it with some chocolate curls like my Black Forest cheesecake.
- Serve topped with some vegan whipped cream.
👩🍳 Recipe Success Tips
- Soak your cashews: Firstly, you need to make sure that your cashews have been soaked for a minimum of 4 hours. But I’ll let you in on another secret, you can actually "quick-soak" them for 30 minutes to an hour in boiling water. The heat will accelerate the process and they will soften quicker!
- Use a decent blender: If you can, use a good quality high-speed blender. It will be a reliable investment that will get you amazing results when making no-bake desserts.
- Be patient with the blending process: All blenders are different, and some just take a little more time to do the job. So if your blender is taking more time to get a smooth cheesecake filling, give it a little break between blitzing. Make sure you scrape down the edges with your spatula every now and then to give it a helping hand to get the creamy result.
- Use a pan with a removable base. This is a vital step as it will be pretty tough to remove the set cheesecake from the pan otherwise.
💬 Frequently Asked Questions
Place the cheesecake in an airtight container and keep it refrigerated. It'll stay fresh in the fridge for up to 5 days (it NEVER lasts that long in this house!).
Yes, you can freeze it in an airtight container for up to a couple of months. I recommend slicing the cheesecake into individual servings to make it easier. Just defrost the slices an hour before serving, or overnight in the fridge.
Yes, to make the cookie crust without a food processor, simply pop them into a plastic bag and use a rolling pin to bash them into crumbs. Melt the vegan butter and mix them together in a bowl before pressing the crust into the prepared cake pan.
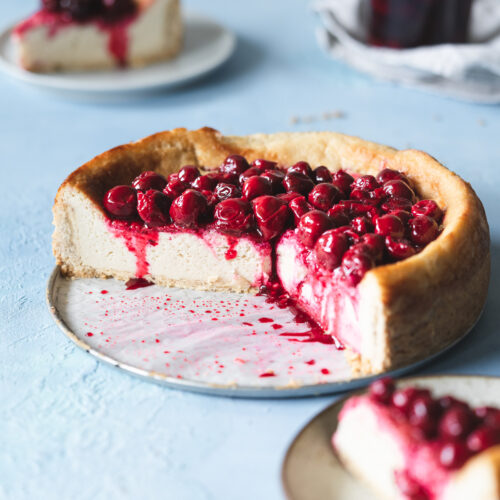
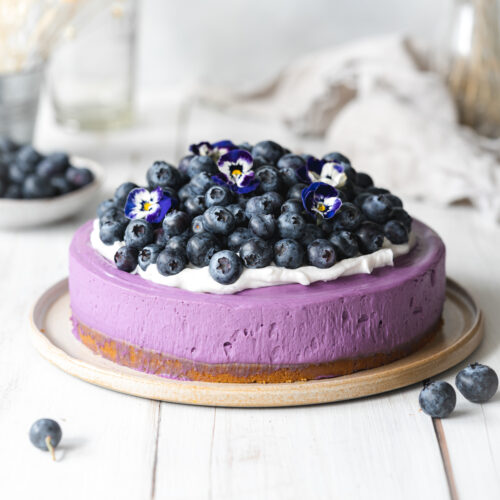
More vegan cheesecakes
Love this recipe? Please leave a 5-star ★★★★★ rating in the recipe card below and consider leaving a comment as well, thanks!
Stay in touch with me through social media @ Instagram, Pinterest, TikTok, and Facebook. And subscribe via email to get all our new recipes!
📖 Recipe
Description
Ingredients
Crust
- 160 g (5.64 oz) vegan cookies, digestives or ginger nuts work well
- ½ teaspoon sea salt
- 60 g (4 ⅓ tablespoons) vegan butter
Filling
- 200 g (1 ½ cups) cashews, soaked *see recipe notes
- 300 g (10.58 oz) vegan cream cheese
- 120 g (½ cup) vegan Greek-style yogurt, or thick coconut yogurt
- 118 ml (½ cup) pure maple syrup
- 50 g (¼ cup) coconut oil, solid
- 2 tablespoons vanilla extract, *see recipe notes
- 1 tablespoon fresh lemon juice
Garnish (optional)
- fresh berries
Instructions
Crust
- Line the bottom and sides of a 7.5 or 8" cake tin (with removable base) with some parchment paper.
- Add the cookies and sea salt to your food processor and blitz for about 30 seconds until evenly finely ground. Add in the vegan butter and blend again until evenly combined and the mixture sticks together between your fingers. Press the cookie mixture into the base of the cake tin, and smooth it out with the back of a spoon, making sure it is compact. Set aside in the fridge while you prepare the filling.
Filling
- Add all of the filling ingredients to a high-speed blender and blitz for several minutes until smooth and creamy with no lumps. Pour the mixture into the cake pan and place back in the fridge to set for a minimum of 5 hours (or overnight if preferred).
Serving and storage
- Once set, carefully remove the cheesecake from the cake tin by lifting the bottom of the pan. Top with fresh berries such as strawberries and raspberries or fresh fruit of your choice.
- Use a hot wet sharp knife to slice the cheesecake into portions before serving.
- Place the cheesecake in an airtight container and refrigerate. It will keep in the fridge for up to 5 days. You can also freeze it in an airtight container for up to a couple of months. I recommend first slicing the cheesecake into individual portions so that you can defrost them as needed. Then just allow them to sit at room temperature for an hour before serving.
Notes
- Soaked cashews: soak the cashews in water for 4 hours, rinse and drain. You can also quick soak your cashews by soaking them in boiling water for one hour
- Swap the vegan cream cheese for chilled coconut milk. Refrigerate the cans of coconut milk overnight, then use only the thick cream from the top of the cans.
- To make the crust without a food processor, simply place the cookies into a plastic bag and use a rolling pin to bash them into fine crumbs. Then melt the vegan butter and mix it together with the cookie crumbs. Press the crust into the prepared cake pan and chill to set it before adding the filling.
Nutrition
© addictedtodates.com. All content and images are protected by copyright. If you want to share this recipe, please do so using the share buttons provided. Do not screenshot or republish the recipe or content in full. instead, include a link to this post for the recipe.
*This recipe was originally published on April 27th, 2020. The recipe has since been improved and updated to minimize the ingredients used, simplify the instructions and make it even more delicious!

