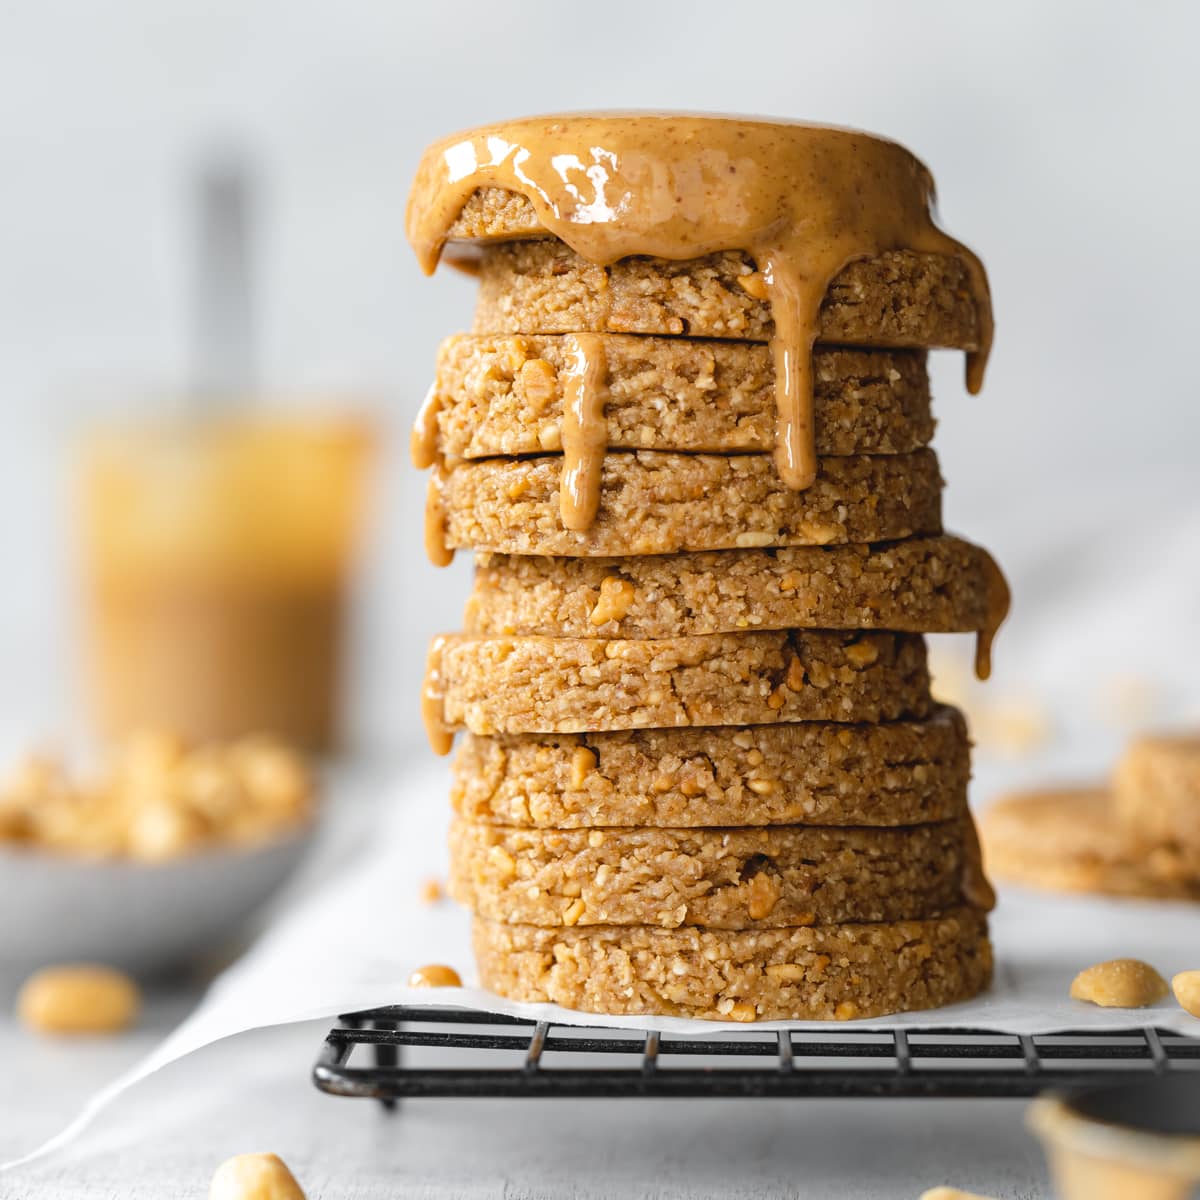
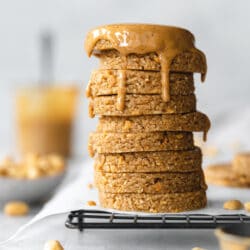
These easy no-bake peanut butter cookies are an adaption of a recipe from my cookbook No-Bake Vegan Desserts. I've simplified them even further, using just 3 ingredients and no equipment.
No-bake cookies are incredibly easy to whip together, with no need to turn on the oven and no fuss, they're perfect for summer!
Just like my peanut butter protein bars and peanut butter oatmeal bars, they are naturally sweetened with maple syrup.
Jump to:
🗒 What To Expect From This Recipe
- Packed with buttery peanut flavor with a soft texture.
- Just 3 ingredients (4 ingredients if you count salt).
- Made with wholesome plant-based ingredients and without added oil.
- Easy to make without special equipment and comes together in one bowl.
- Refined sugar-free, dairy-free, eggless, and easily customized as gluten-free.
🥜 Ingredients Needed
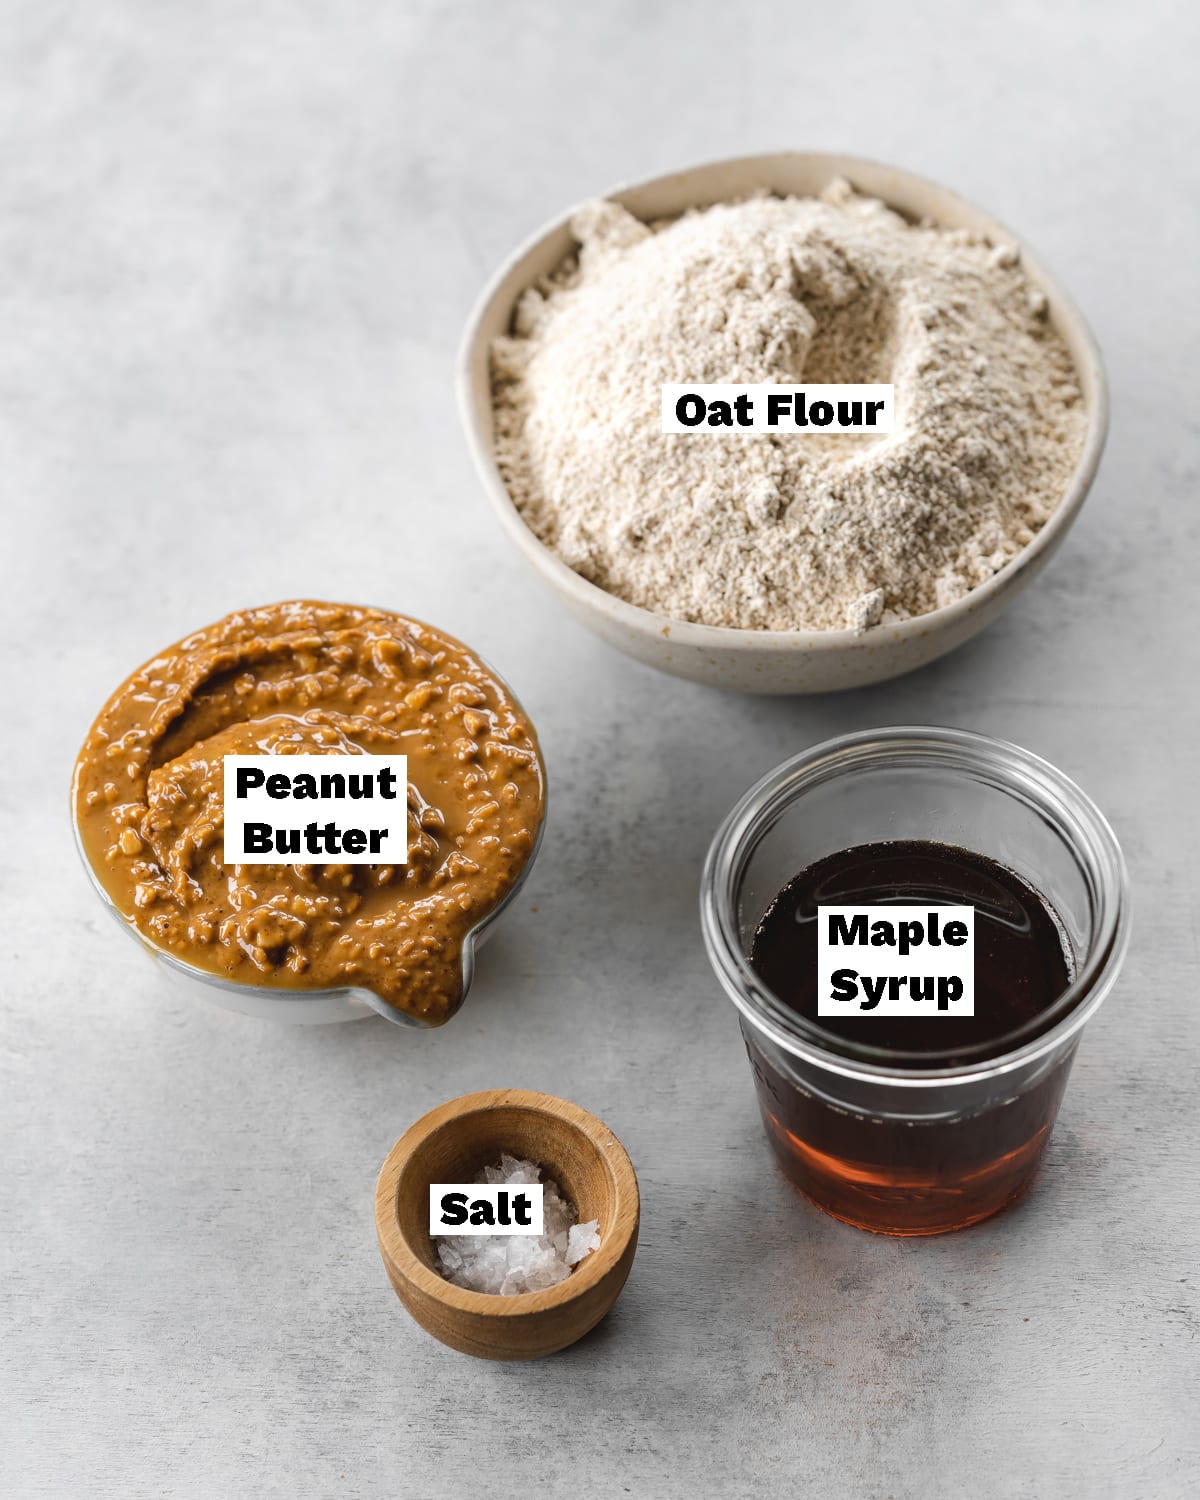
Notes about the ingredients
- Instead of regular flour, these no-bake oatmeal cookies are made with oat flour. If you're following a gluten-free diet be sure to opt for a brand that's GF. You can also use rolled oats to make your own oat flour at home. Simply blend the oats in a food processor until very finely ground.
- Make sure you go for a brand of peanut butter that's 100% nuts, with no added sugar or oil, or else make your own peanut butter. You can also use smooth peanut butter however I love the crunch that the peanuts add to these cookies.
- Pure maple syrup sweetens and helps to bind the ingredients together along with the peanut butter.
- As always, adding sea salt to desserts helps to balance the sweetness and enhance that peanut butter flavor. You can leave these at 3 ingredient cookies if you're avoiding salt.
🥣 How To Make No-Bake Peanut Butter Cookies
Find the complete list of ingredients, quantities, and instructions in the recipe card at the end of this post.
(1) To a large mixing bowl, add the peanut butter, and maple syrup. Whisk the mixture until combined.
(2) Add the salt and slowly add the oat flour in 2-3 increments. Mix together the ingredients using a spatula or spoon.

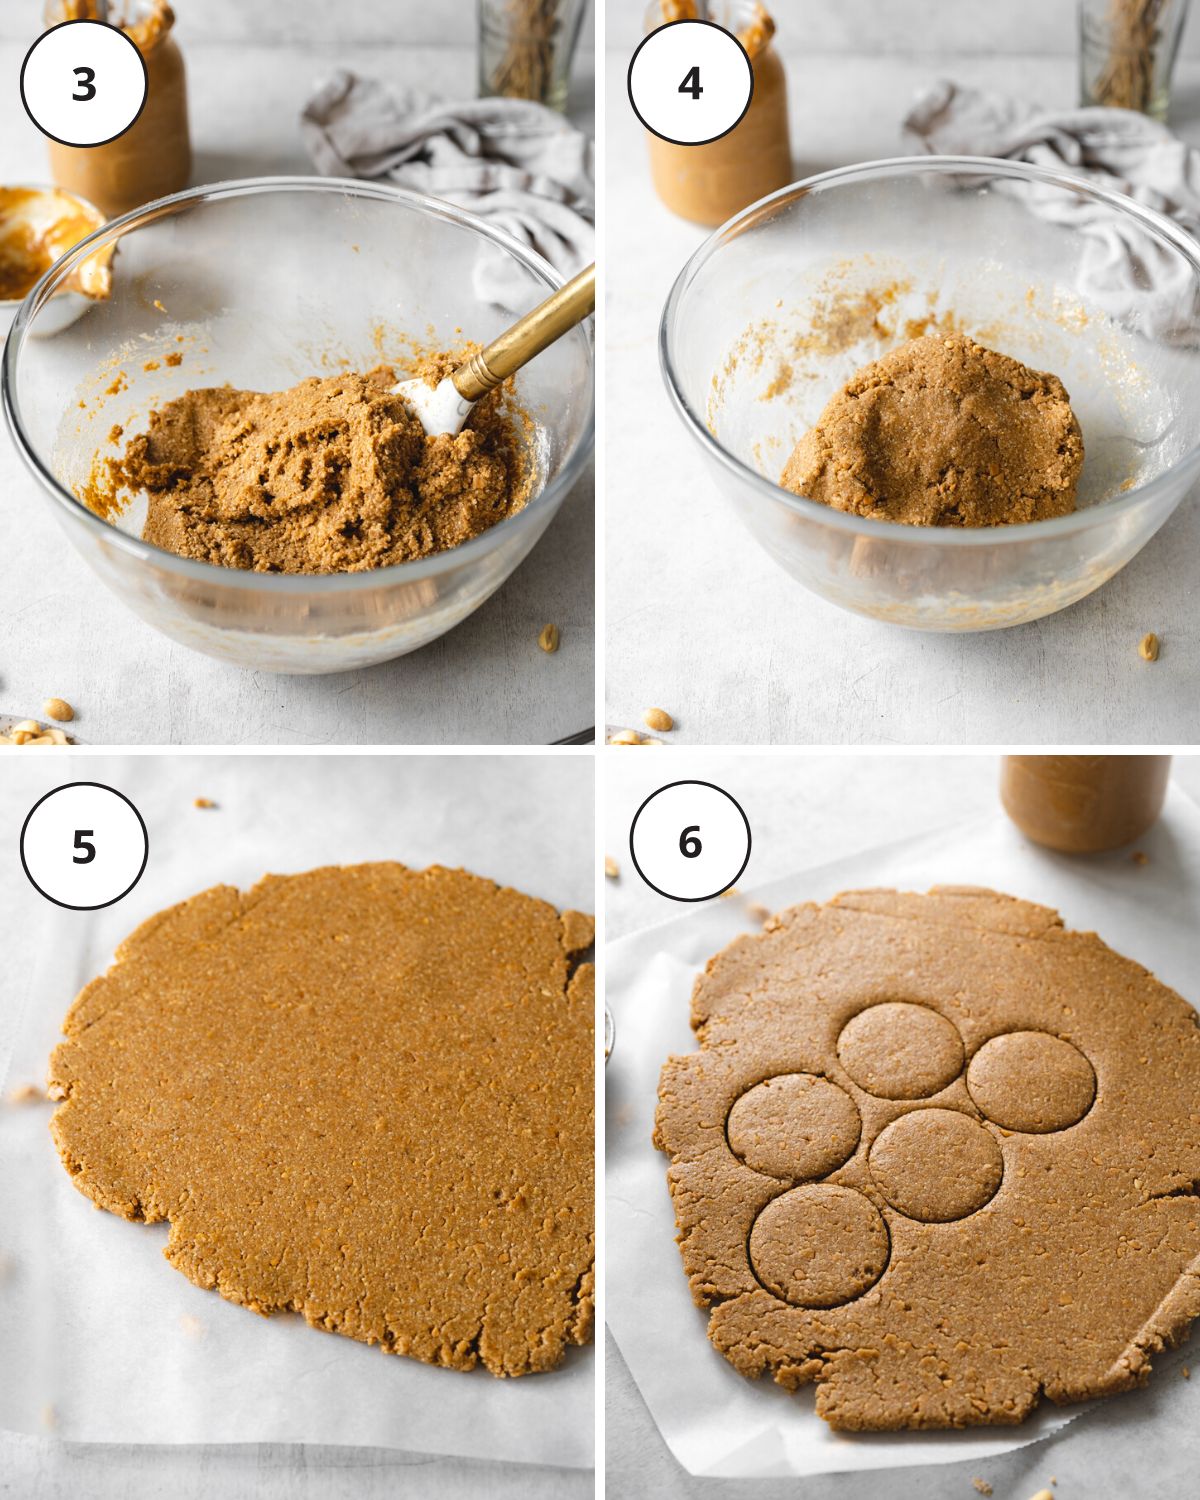
(3) Combine the ingredients until they resemble a dough consistency.
(4) Using your hands, knead the mixture together to form a dough ball.
(5) Place the dough on a sheet of parchment paper and use a rolling pin to roll it out to approximately ½ inch (1.25 cm) in thickness.
(6) Use a 2-inch (5-cm) cookie cutter to cut the cookies or you can use a larger-sized cutter if preferred and make fewer cookies.
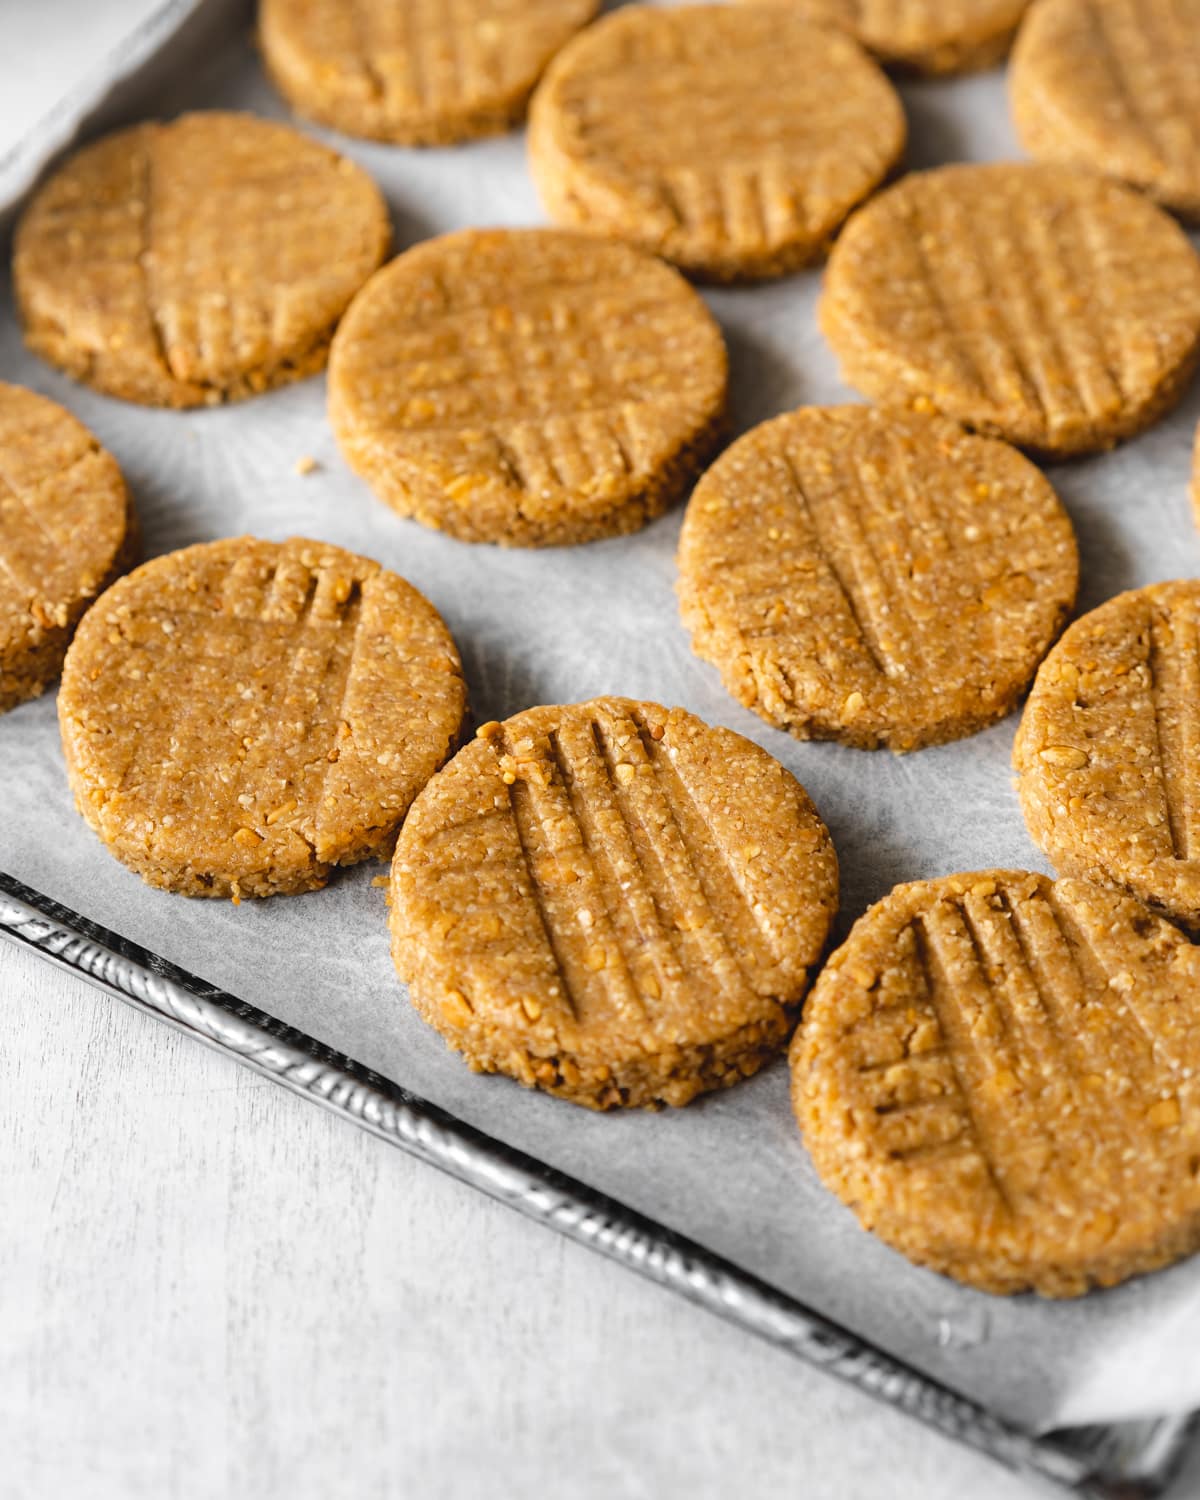
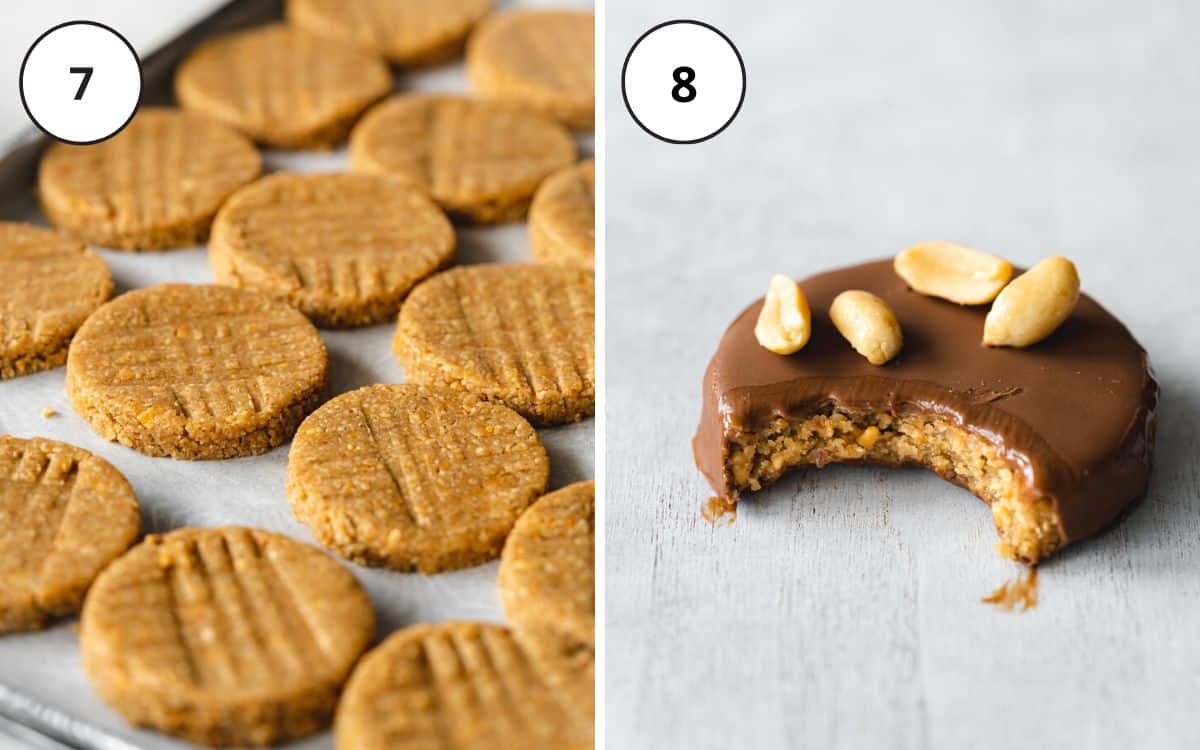
(7) Place the cookies on a baking sheet lined with more parchment paper. You can press them down using a fork to create a waffle effect. Refrigerate for at least an hour before serving.
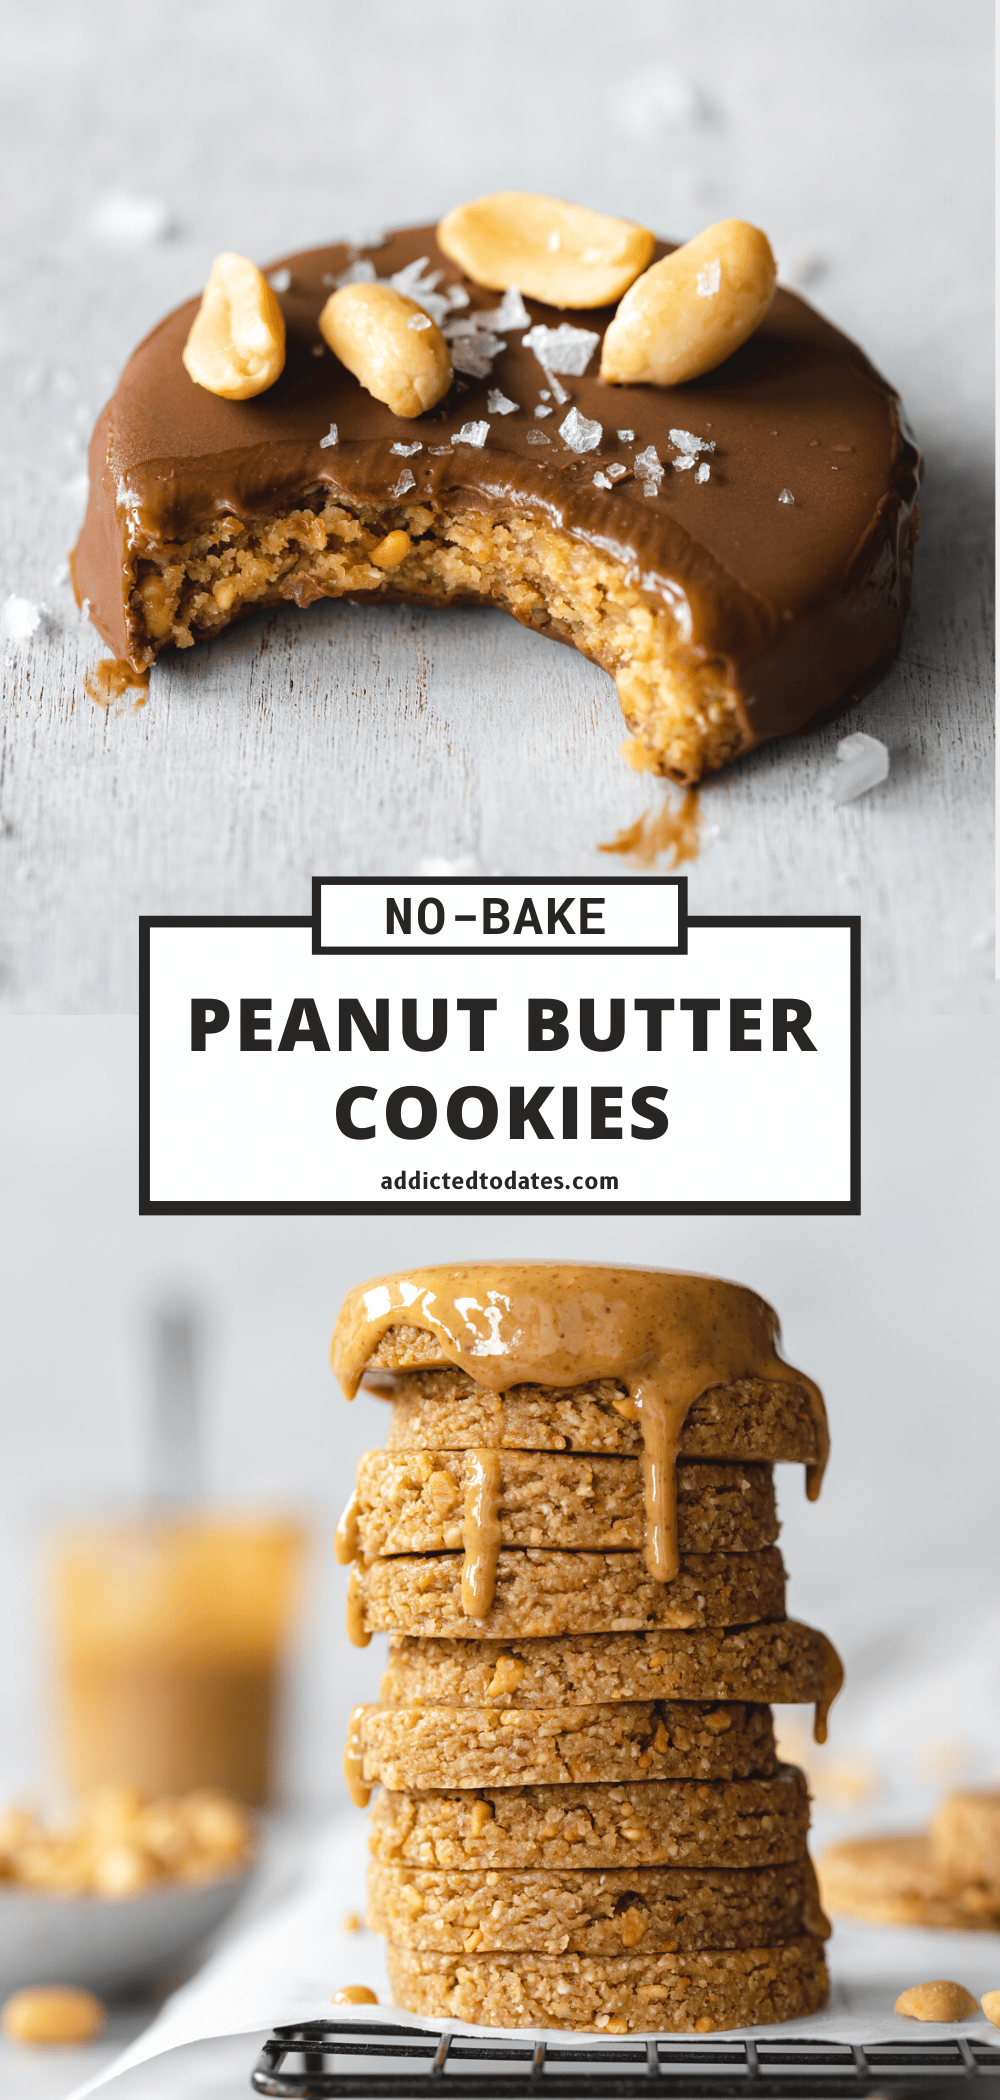
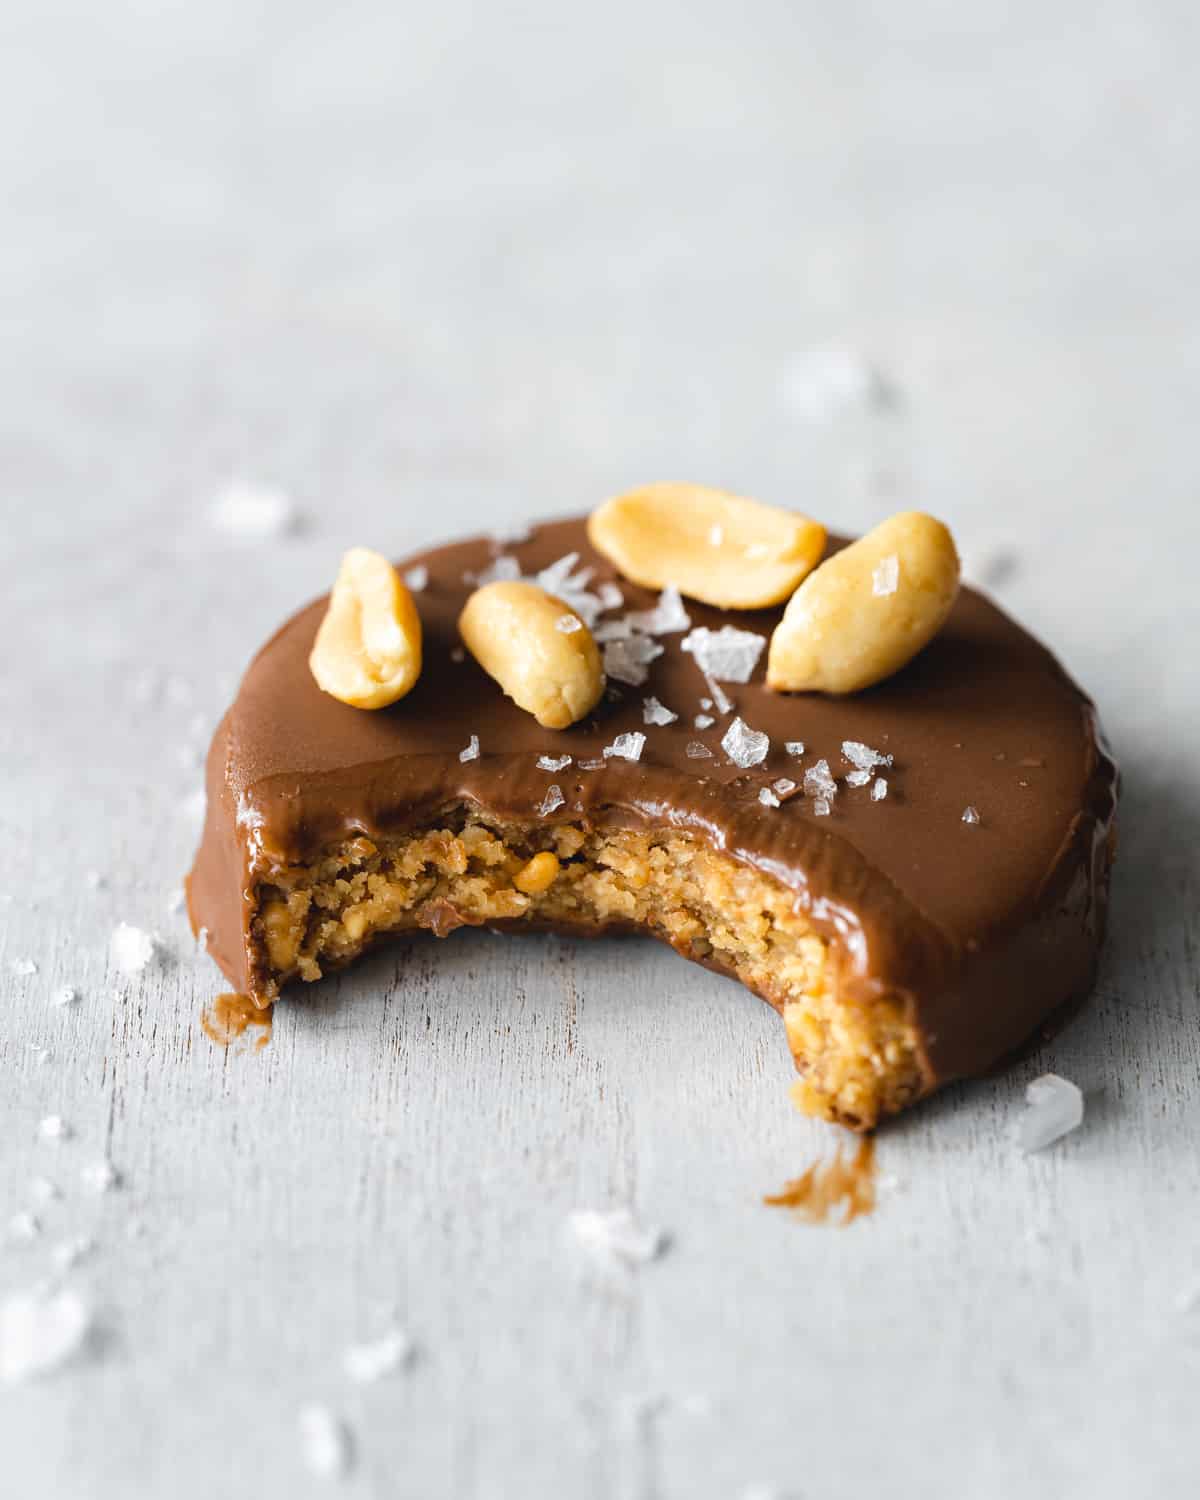
(8) If you love chocolate, you can dunk the peanut butter cookies in melted chocolate and refrigerate until set.
📝 Recipe Tips
If you find that your peanut butter is on the thicker side, simply heat it over a double-boiler (bain-marie) to help it become runnier.
If you decide to make chocolate peanut butter no-bake cookies, pop them into the freezer for about 10 minutes first. This will firm up the cookies and ensure that the chocolate sets quickly.
Add some non-dairy chocolate chips to the batter to make a chocolate chip version of healthy no-bake cookies. Instead of using a cookie cutter, simply divide the dough, roll it into balls, and flatten them out using a fork.
💬 FAQs
Keep them in an airtight container in the fridge for up to 2 weeks.
Yes, you can freeze them in an airtight container and defrost them in the fridge overnight before serving.
Yes, you can use cashew butter, hazelnut butter, or almond butter. Or opt for sunflower seed spread of tahini to make them nut-free.
Yes, they are naturally gluten-free as long as you make sure you use a GF-certified brand of oats or oat flour.
🍪 More Vegan Cookies

Love this recipe? Please leave a 5-star ★★★★★ rating in the recipe card below and consider leaving a comment as well, thanks!
Stay in touch with me through social media @ Instagram, Pinterest, TikTok, and Facebook. And subscribe via email to get all our new recipes!
📖 Recipe
No-Bake Peanut Butter Cookies
Ingredients
- 250 g (1 cup) crunchy peanut butter
- 200 ml (⅘ cup) pure maple syrup
- 300 g (2 ½ cups) oat flour use GF if needed, *see notes
- 1 teaspoon sea salt optional but recommended
Instructions
- To a large mixing bowl, add the peanut butter, and maple syrup. Whisk the mixture until combined. Add the sea salt and slowly add the oat flour in 2-3 increments, mixing each time. Mix together the ingredients using a spatula or spoon until they form a dough.
- Using your hands, knead the mixture together to form a dough ball. Place the dough on a sheet of parchment paper and use a rolling pin to roll it out to approximately ½ inch (1.25 cm) in thickness. Use a 2-inch (5-cm) cookie cutter to cut the cookies or you can use a larger-sized cutter if preferred and make fewer cookies.
- Place the cookies on a baking sheet lined with more parchment paper. You can press them down using a fork to create a waffle effect. Refrigerate for at least an hour before serving.
Storage
- Store in an airtight container in the fridge for up to 2 weeks. Alternatively, freeze them in an airtight container and defrost overnight in the fridge before serving.
Notes
- To make your own oat flour from scratch, simple blend the rolled oats until finely ground.
- If your peanut butter is on the thicker side, simply heat it over a double-boiler to help it become runnier.
- For chocolate peanut butter no-bake cookies, pop them into the freezer for about 10 minutes before dipping in chocolate.
- Add some non-dairy chocolate chips to the batter to make a chocolate chip version of healthy no-bake cookies. Instead of using a cookie cutter, simply divide the dough, roll it into balls and flatten them out using a fork.
© addictedtodates.com. All content and images are protected by copyright. If you want to share this recipe, please do so using the share buttons provided. Do not screenshot or republish the recipe or content in full. Instead, include a link to this post for the recipe. Thank you!
*This recipe was originally published in April 2021. The recipe has since been improved and updated to minimize the ingredients used, simplify the instructions and make it even more delicious!

