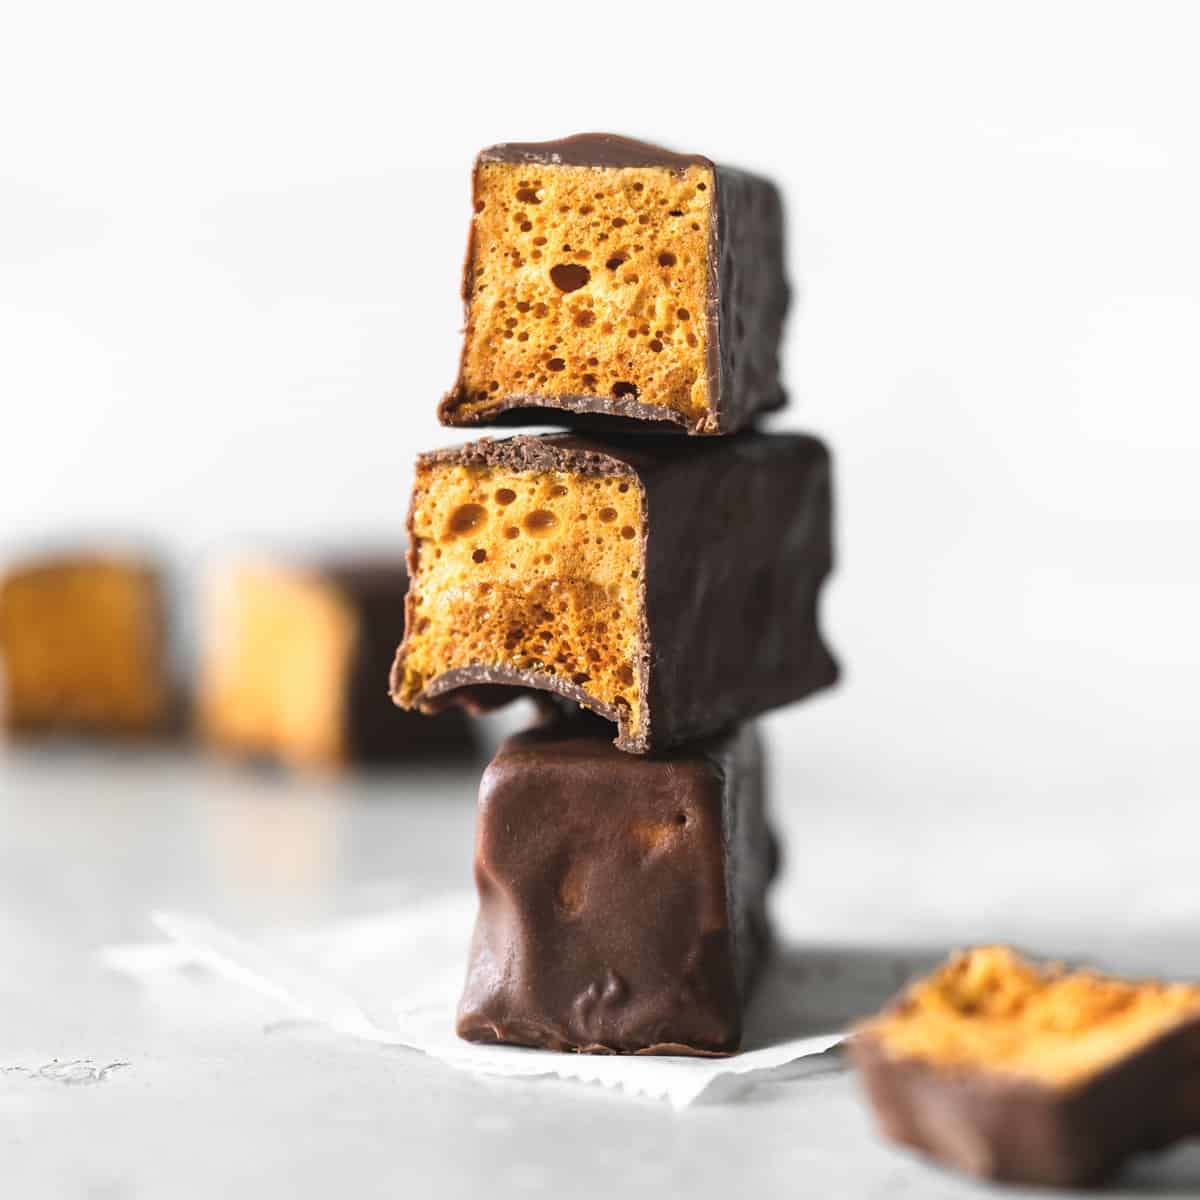
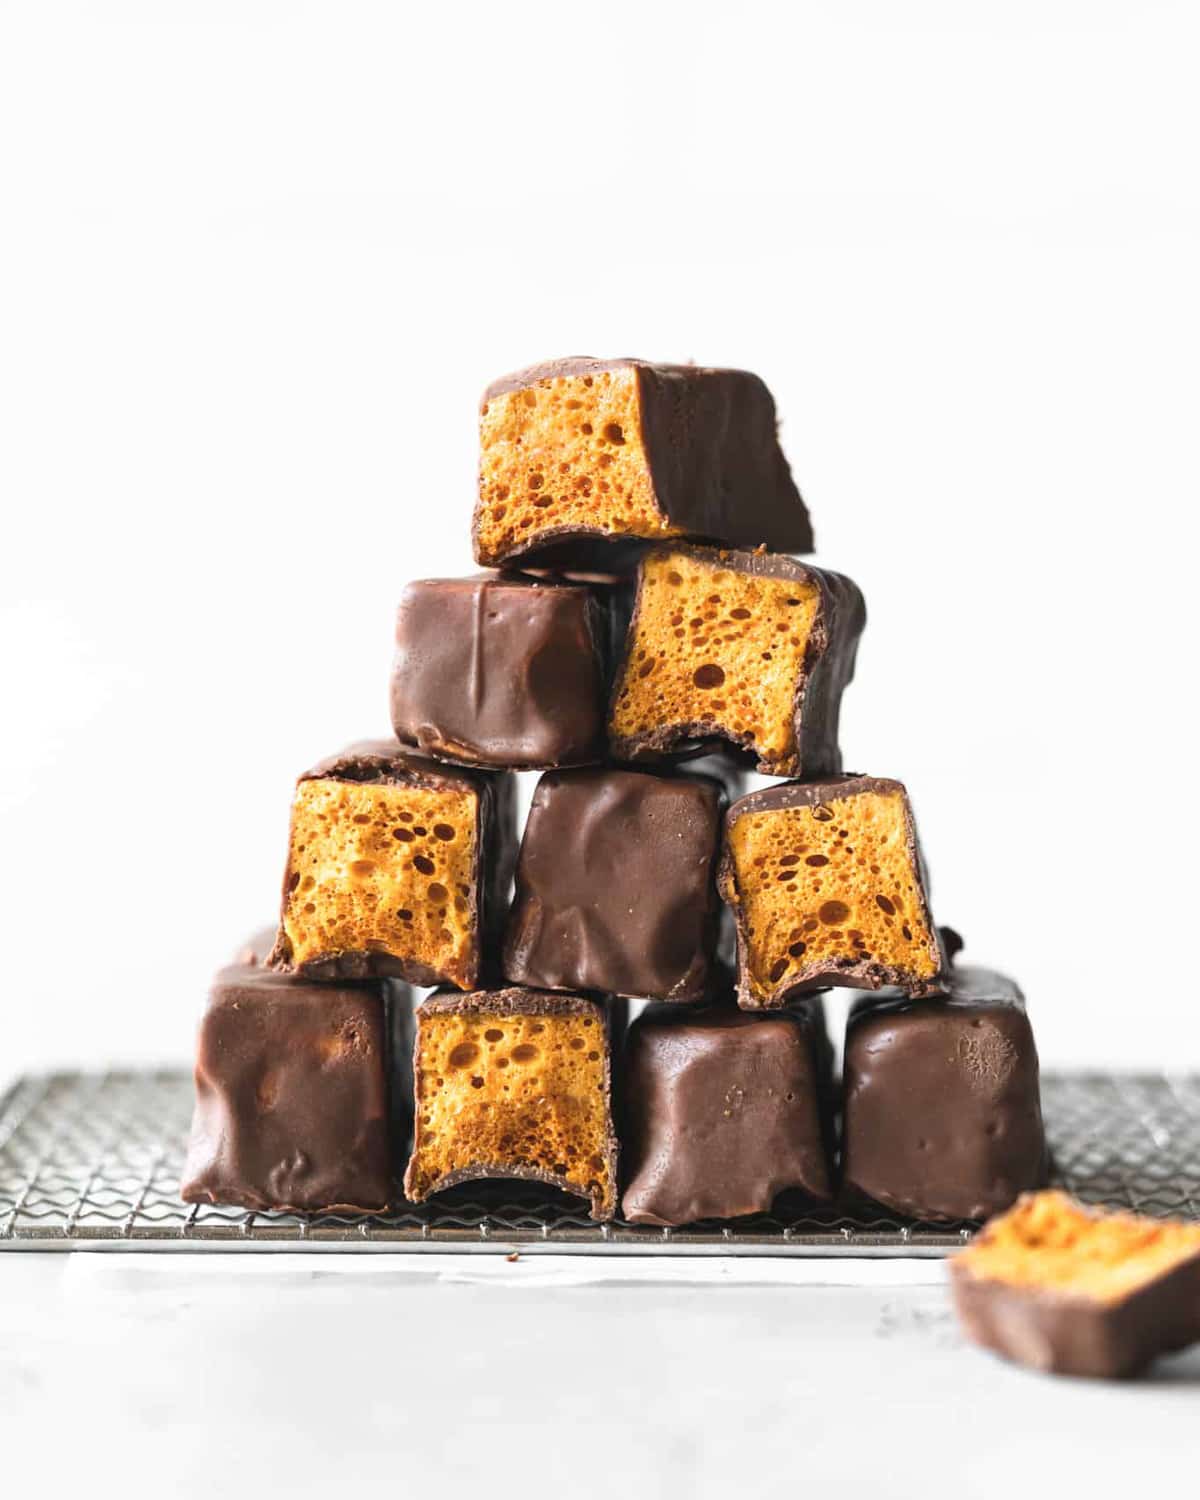
Vegan crunchies, cinder toffee, honeycomb, hokey pokey...whatever you like to call them they are delicious! Do you ever get nostalgia when you think of a certain recipe that takes you back to your childhood? For me, crunchies do just that as they were one of my favorite treats growing up.
If you're a fan of crunchies you'll definitely want to try these vegan butterfingers and rice crispy treats as well. Both of these recipes are perfect for Halloween season.
How can you make crunchie bars vegan?
They are super easy to make vegan-friendly. Of course, vegans don't consume honey, as this is taken from bees (who produce honey for themselves, not for humans). Some honeycomb recipes that you'll find online will call for adding honey, but it actually isn't needed at all, and isn't even an ingredient in most conventional store-bought honeycomb candies, yay!
Another easy switch to make them vegan-friendly is to use dairy-free chocolate, which is available readily nowadays or you can always use dark chocolate too.
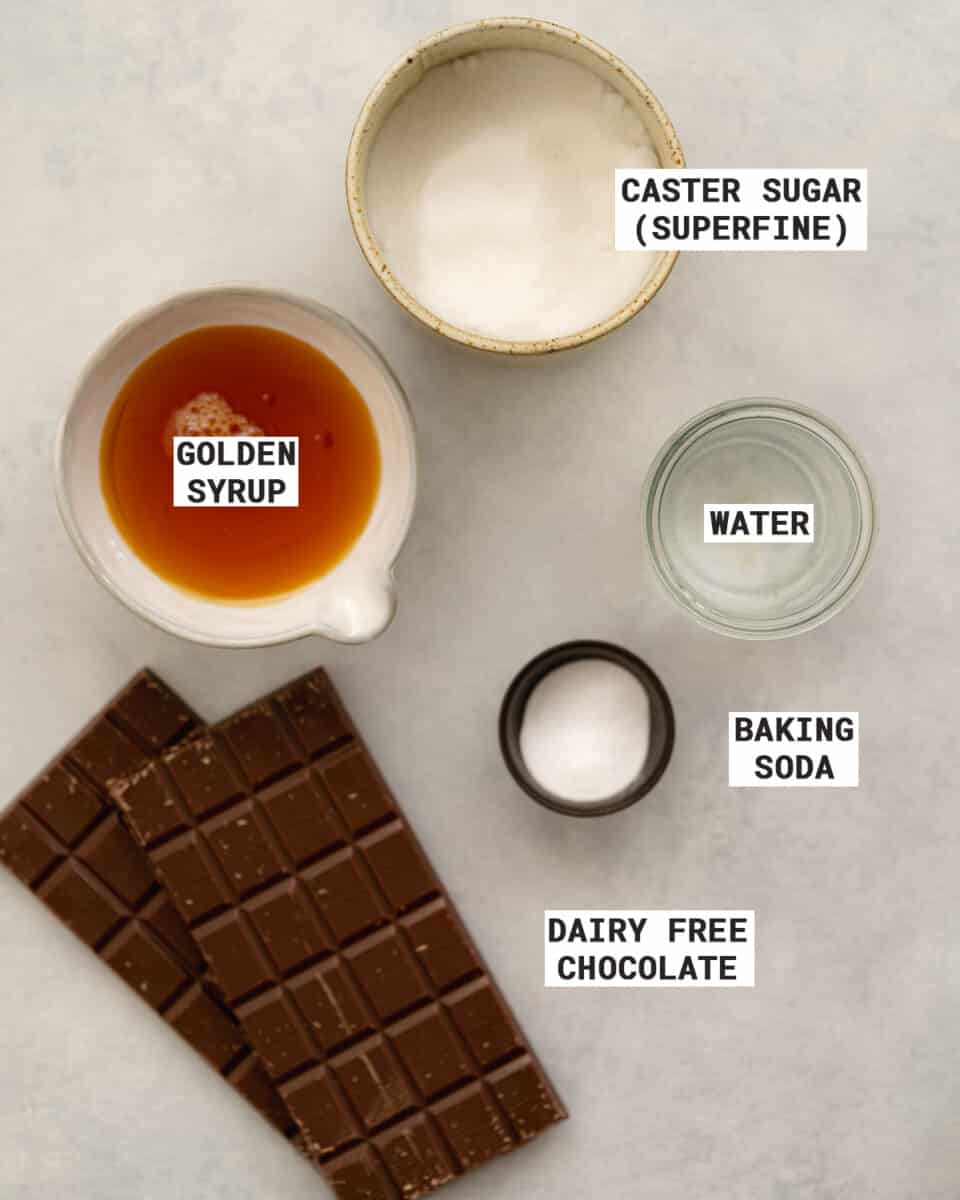
Ingredients overview
- Dairy-free chocolate: I love using dairy-free "milk" chocolate for this one as it's closest to the original crunchie bars. You could make your own vegan milk chocolate at home if you're feeling adventurous.
- Caster sugar: If you're based in the US this is known as superfine sugar. Brown sugar will not work for this recipe, I've tried. You'll need to use good ole white sugar for this one.
- Golden syrup: this prevents the sugar from crystallizing to an extent.
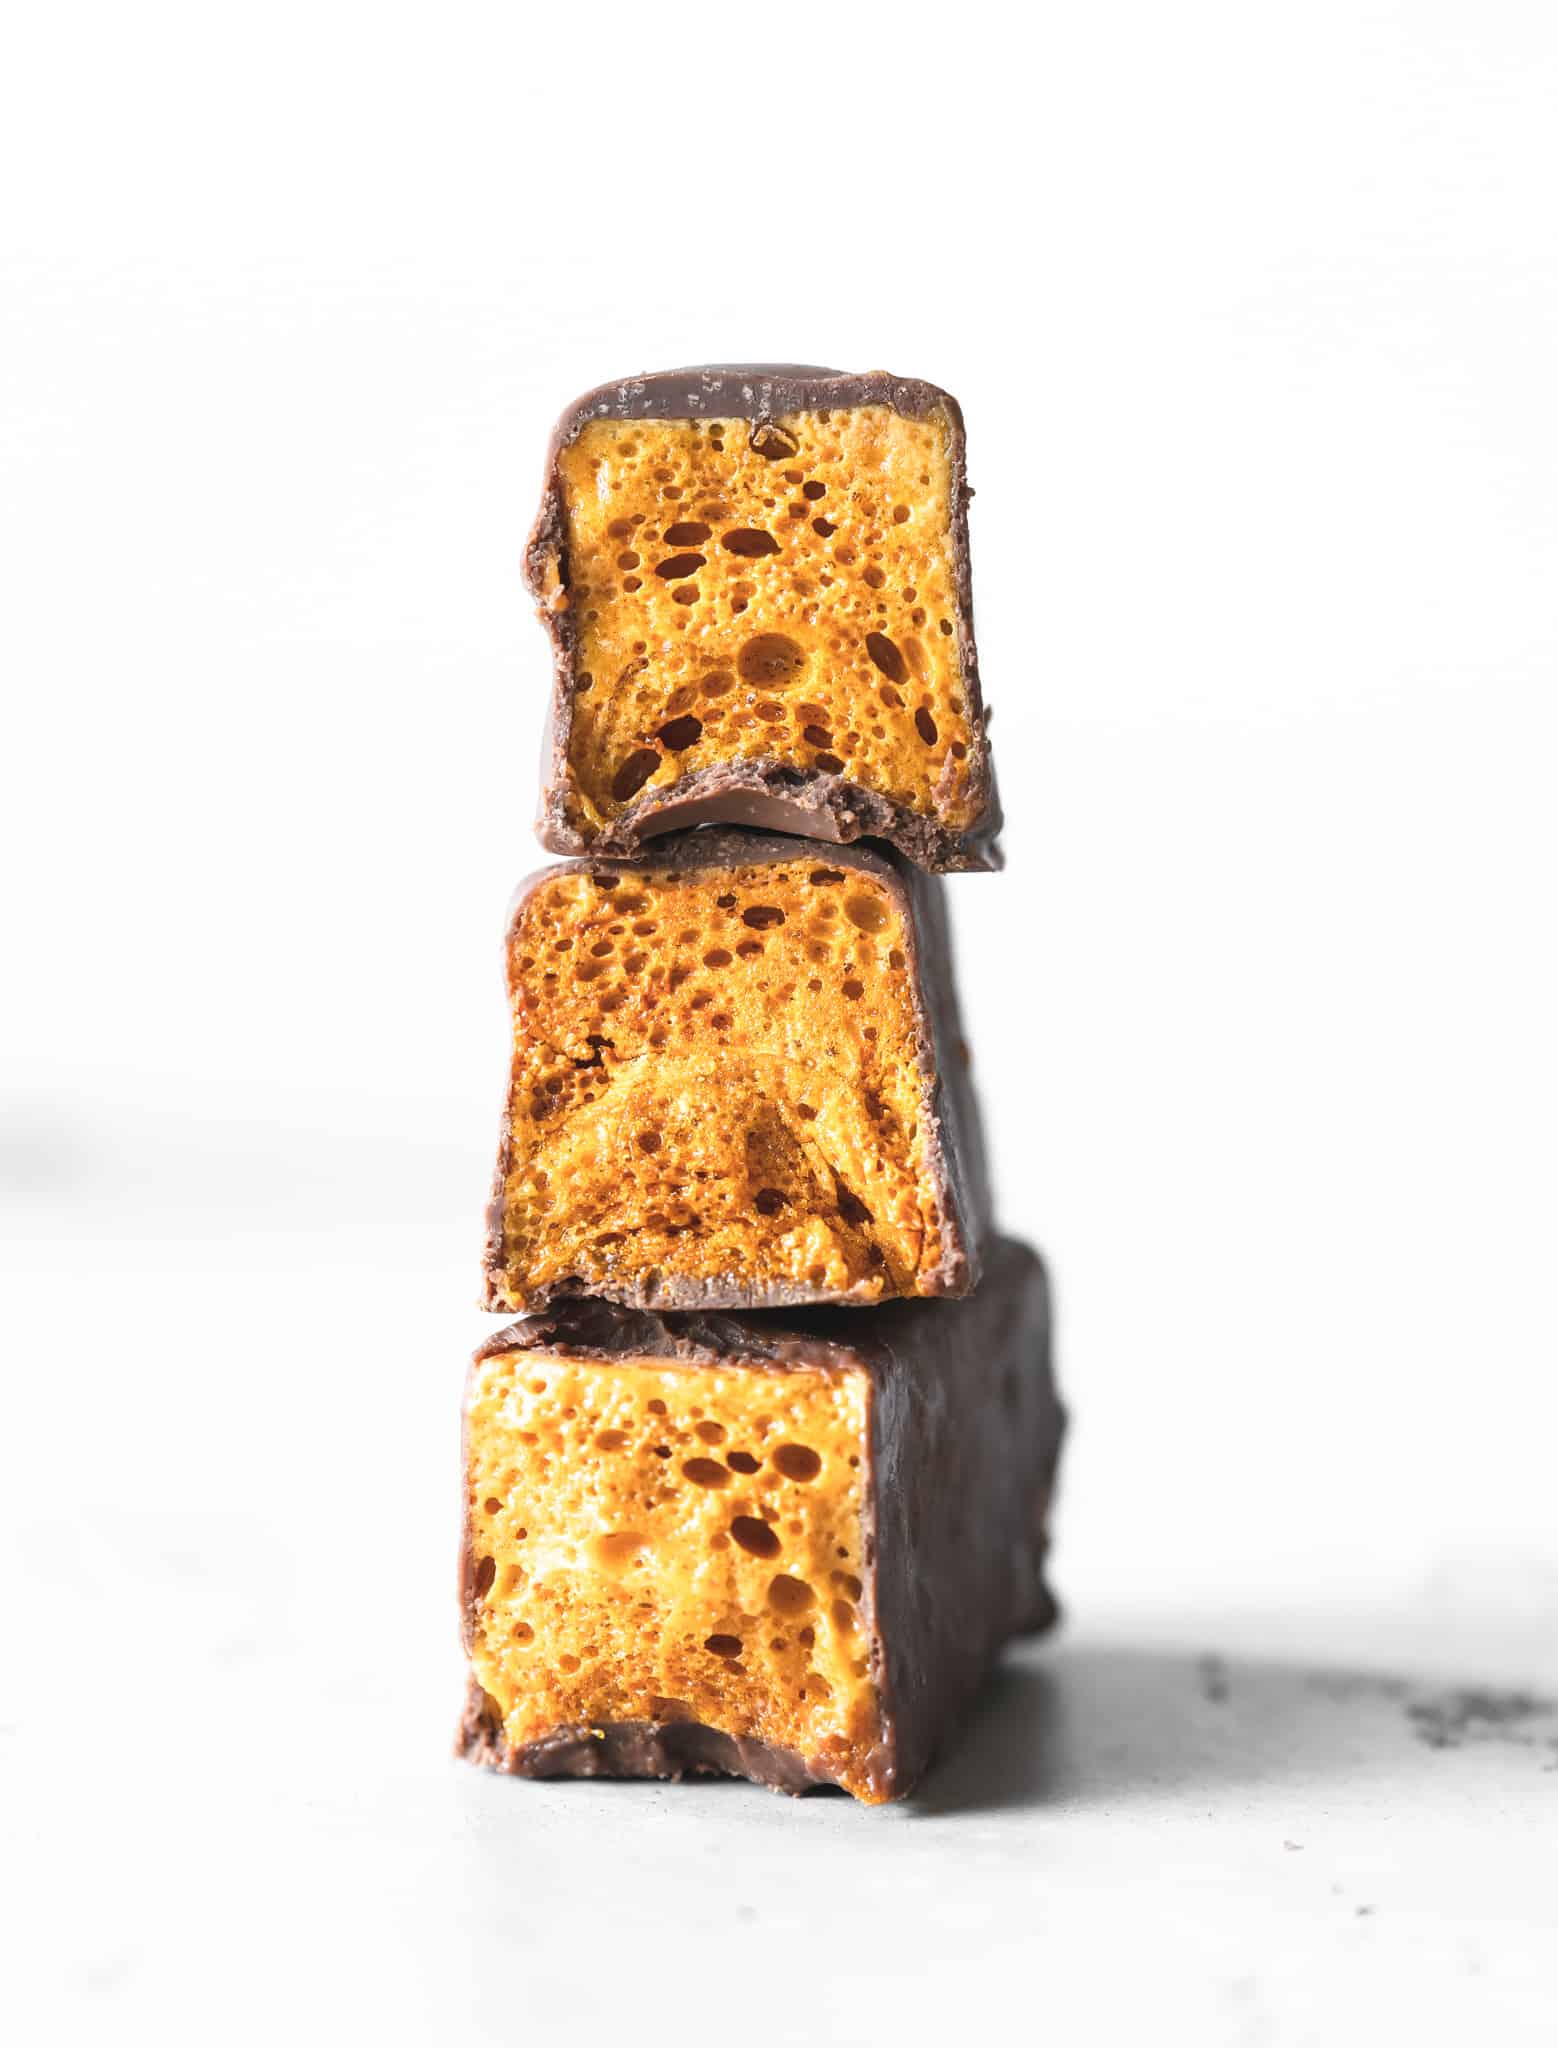
- Baking soda: This is added to the caramel as it reacts to the acid found in the sugars and creates air bubbles.
- Water: I don't usually list this one as an ingredient, but for this recipe, it's a vital one.
How to make chocolate honeycomb (with step-by-step photos)
(Full ingredient quantities and instructions can be found in the recipe card at the end of this post)
Step 1: Prepare
Preparation is key to the success of this recipe. Start by making sure you have all your equipment ready and ingredients measured out, as you will need to work quickly once the honeycomb mixture is ready.
- Weigh out your ingredients into separate bowls and have them ready to go
- Grease your silicone molds with a little sunflower or coconut oil. If you're using a baking tray (8x8"), line it with greaseproof paper.
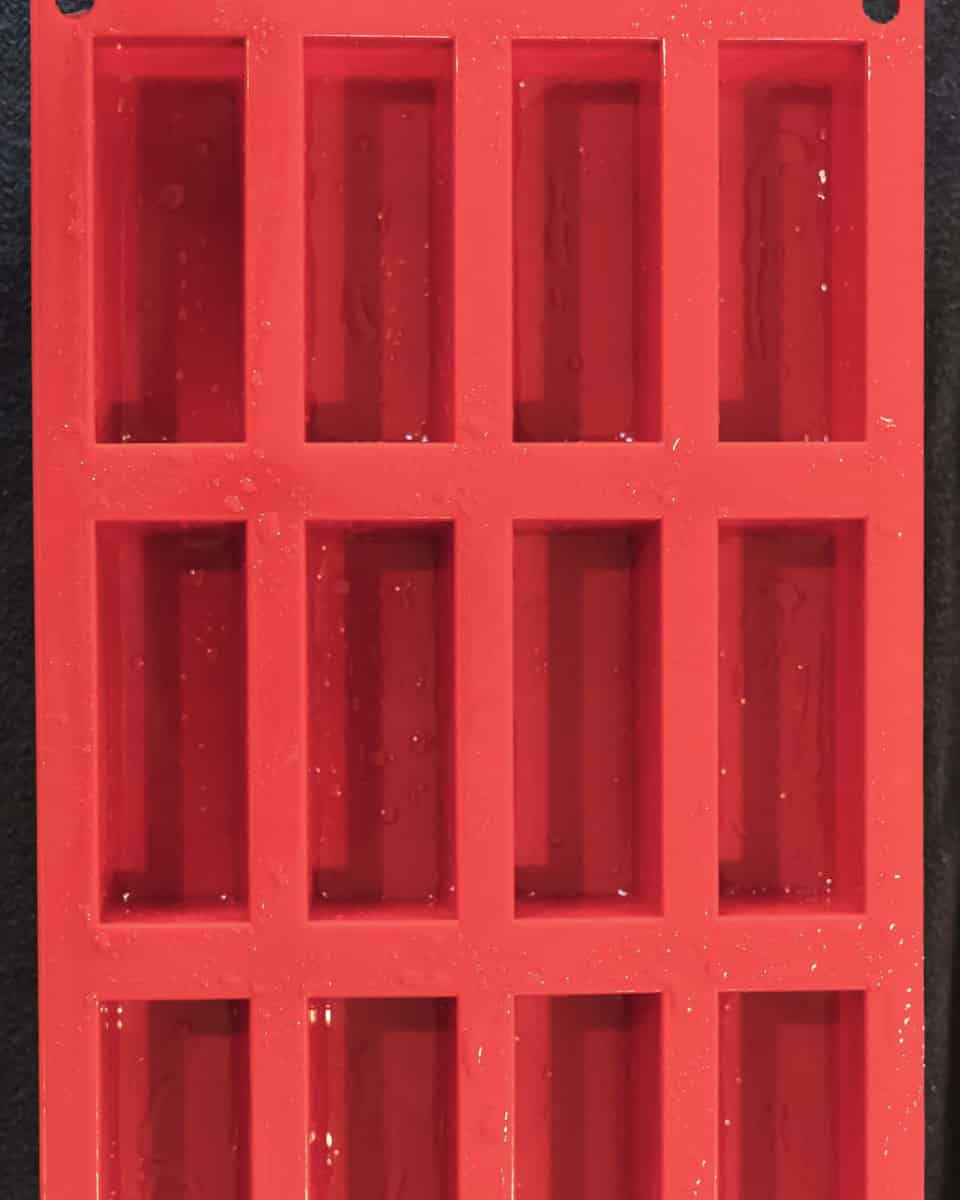
Above is the silicone mold that I use
Step 2: Make the honeycomb
To make the cinder toffee add the water, sugar, and golden syrup to your pot and place on medium heat. Stir using a wooden spoon for a few minutes until all of the sugar has melted.
At this point stop stirring the mixture, as continuing to do so will cause the sugar to crystalize. Instead, turn up the heat to medium-high, and place your candy thermometer into the syrup to monitor the temperature. You want the syrup to get to 149°C, known as the 'hard crack' stage of candy making, this will take around 15 minutes, so be patient and keep a very close eye on the pot.
Once the syrup hits 149°C remove the pot from the heat and immediately add the bicarbonate of soda. Whisk for a few seconds to combine the mixture. Be careful to only whisk in one direction, either clockwise or anticlockwise, as whisking in both directions will deflate the honeycomb. (be very careful not to touch it as it is extremely hot!).


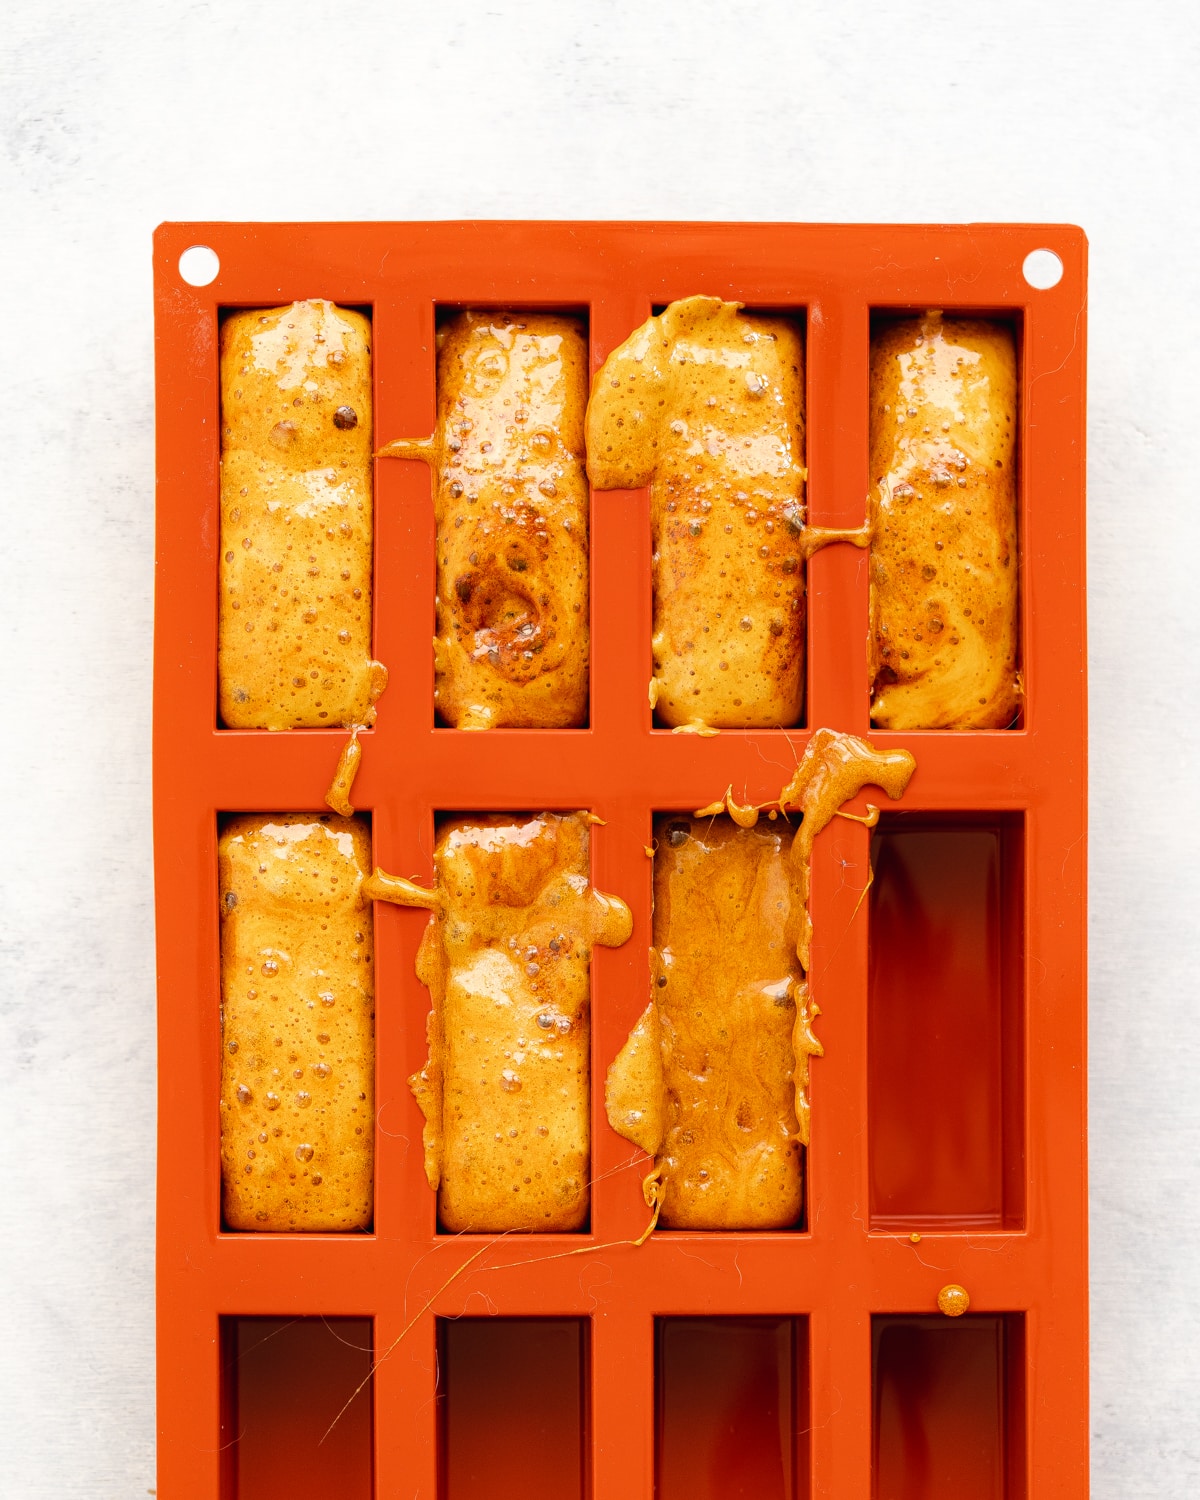
Step 3: Transfer to molds and set
Transfer the mixture directly to your silicone molds and/or baking dish and do not touch them once filled. Allow the honeycomb to set completely for 1-2 hours without moving it.
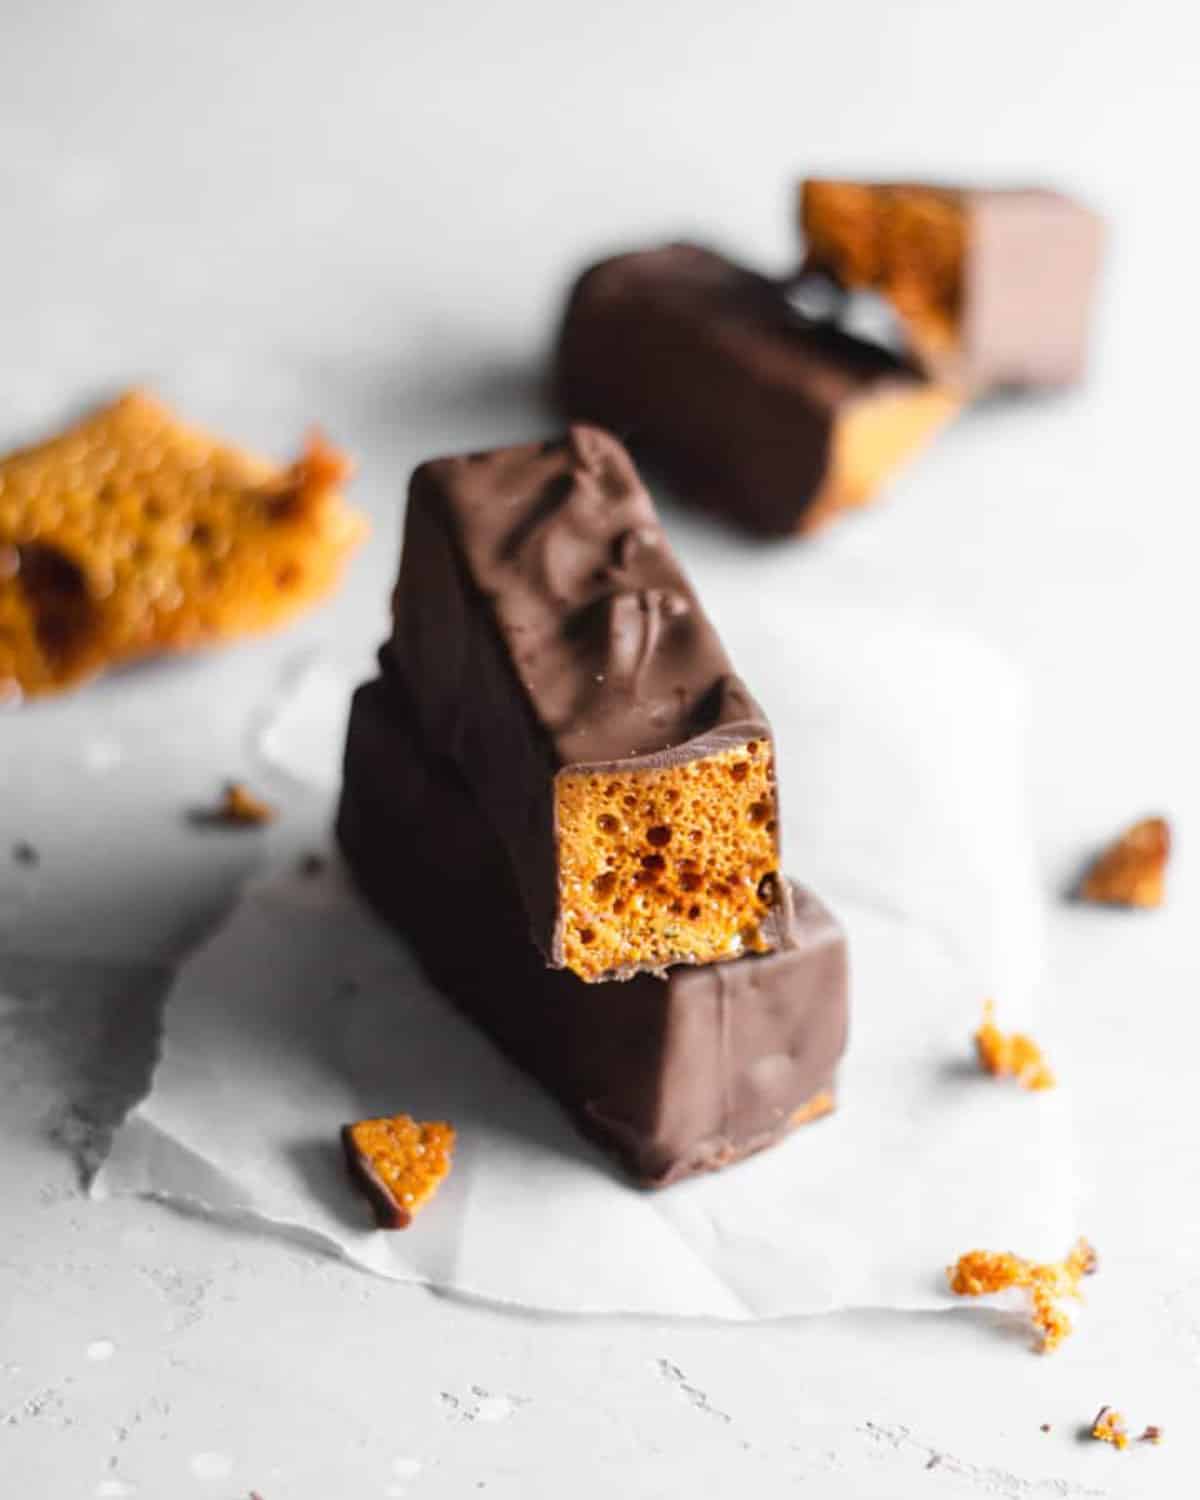
Once it is completely set and at room temperature, you can remove the honeycomb from the molds, or cut it into pieces if you used a baking dish. Melt the chocolate over a double boiler and dip the bars into it, allowing them to set on top of a cooling rack.
Expert tips for making perfect cinder toffee
Preparation is key
That being said, there really aren't that many steps to getting set up for this recipe. However, it's extremely important that you get all your ingredients and equipment prepped and ready to go before turning on the hob. The only way to get the right consistency and crunch of your cinder toffee is to adhere to the exact recipe method and timings - so spending that couple of minutes setting yourself up at the start could mean the difference between crunchy honeycomb and rock hard or sticky mess!
Whisk in one direction
Be careful to only whisk in one direction, either clockwise or anticlockwise, as whisking in both directions will deflate the honeycomb.
Use silicone molds
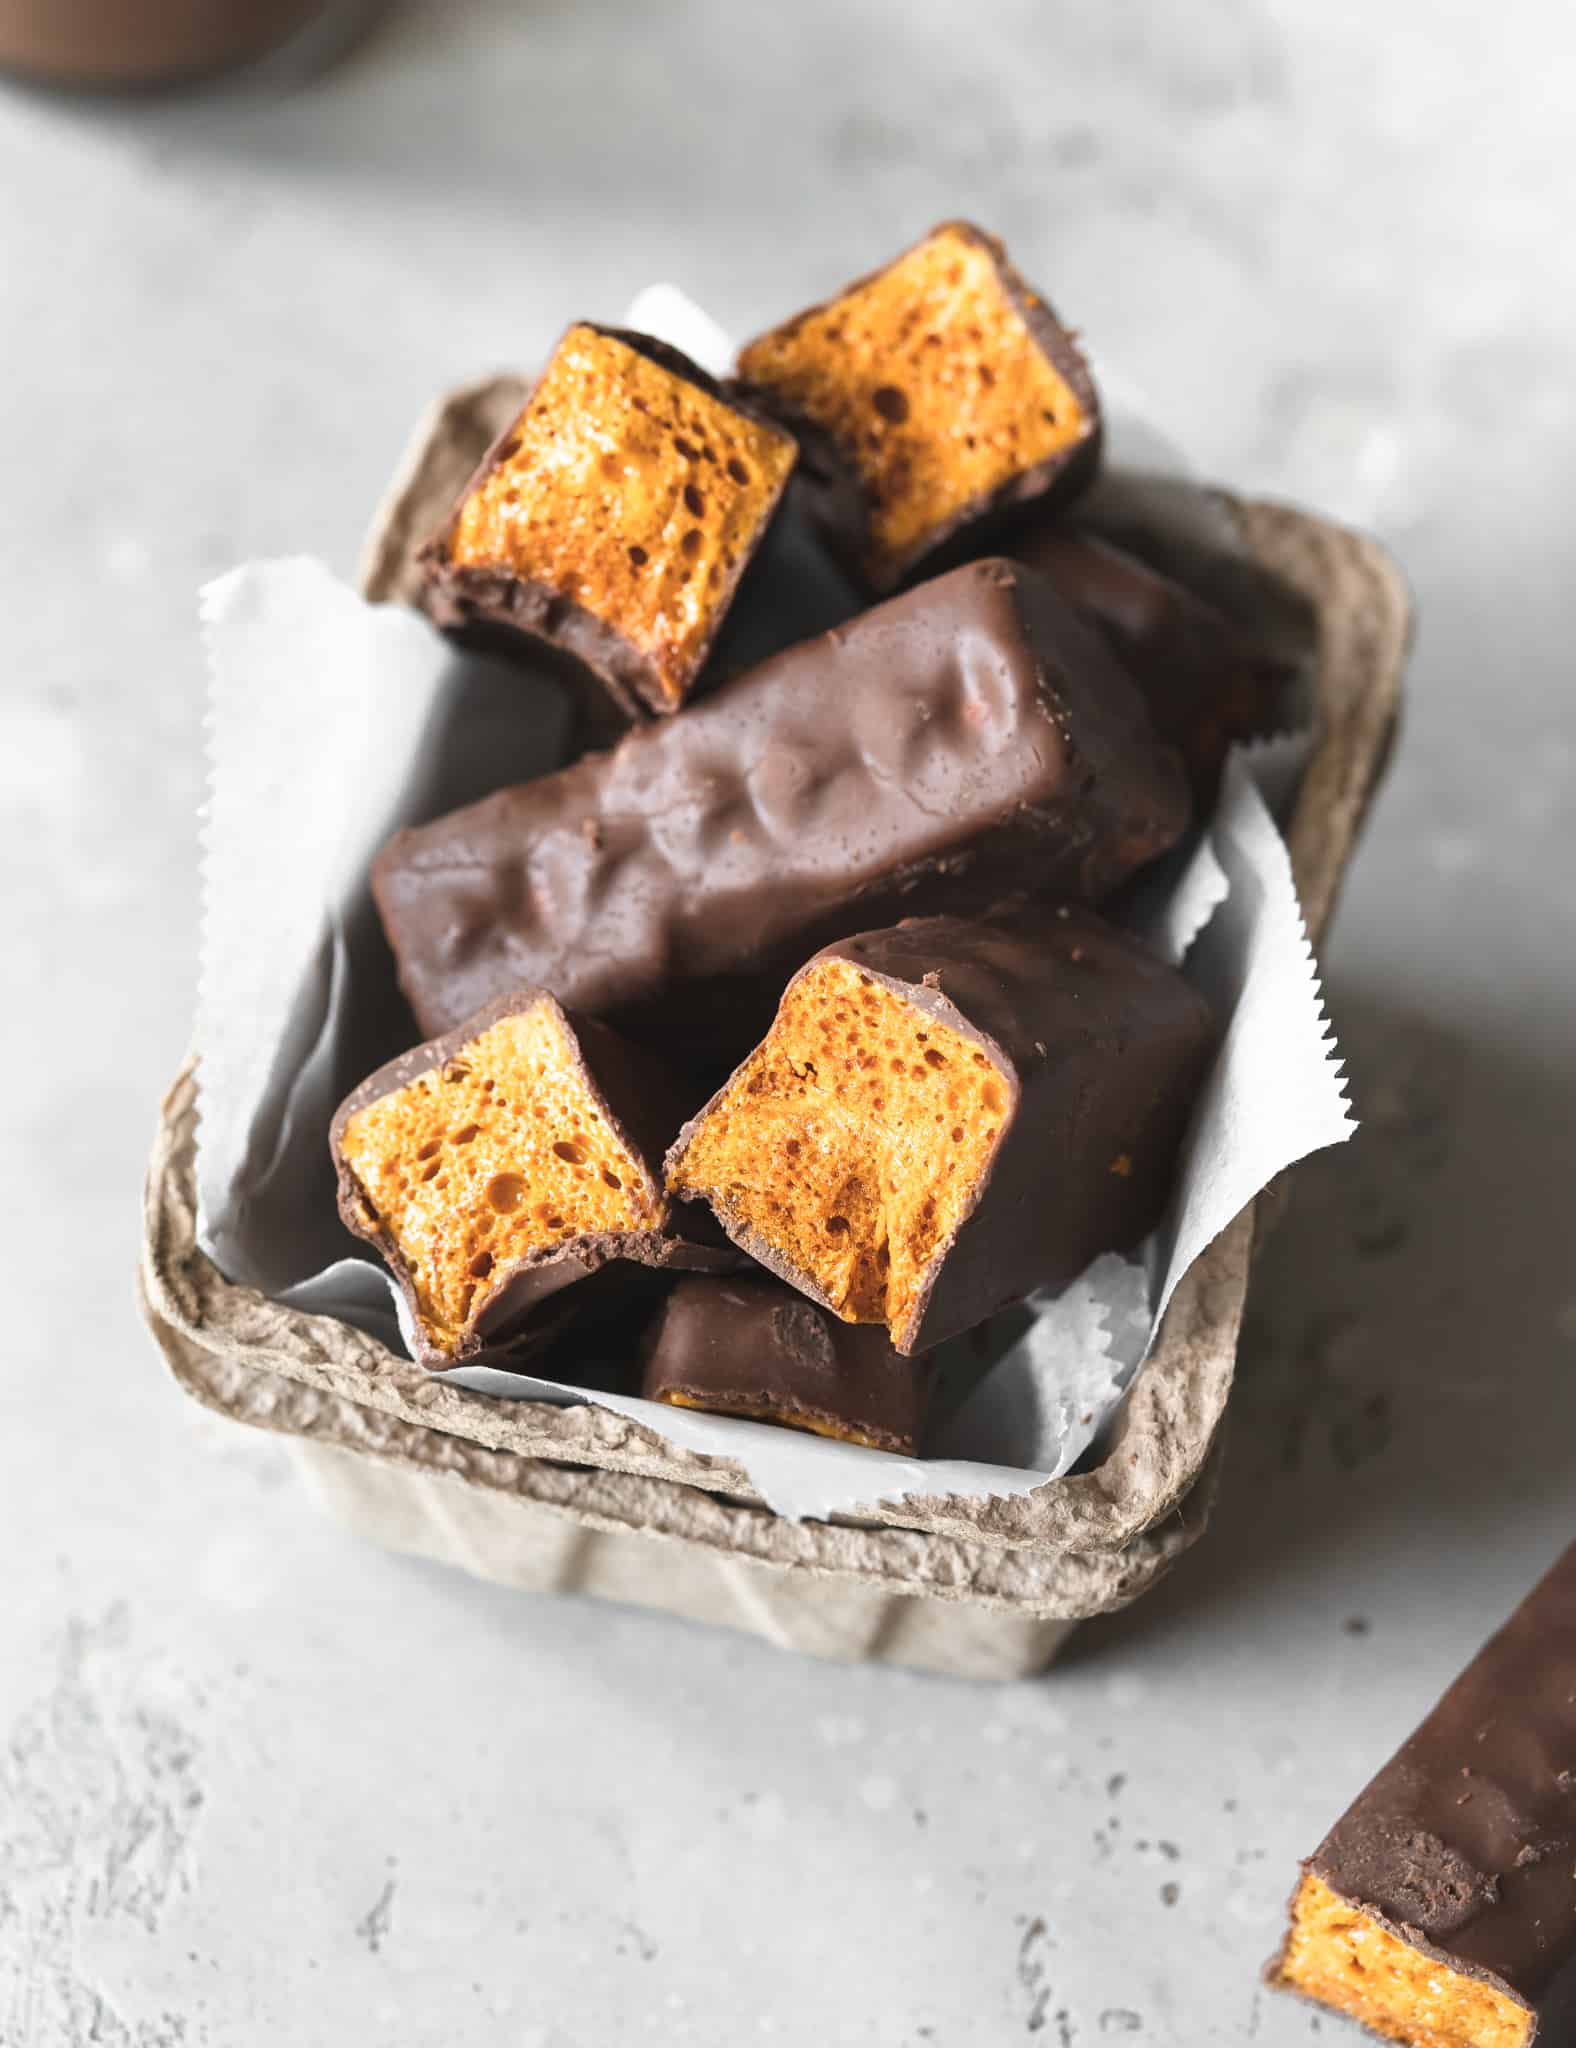
Although this recipe will work fine with an 8x8" baking tray, I highly recommend using silicone molds as they will shape the cinder toffee into bars. If you use a baking dish, you will need to cut and break the cinder toffee apart, and you will not be able to get the clean lines and finish of a silicone mold.
Fill the molds slowly
Fill your molds with the cinder toffee slowly. Use a spatula to ease half of the mixture into the molds. The honeycomb will deflate slightly, then top up the molds with the remaining half of the mixture to ensure that they get filled to the brim.
Storage instructions
These bars don't like heat, cold, or moisture. So be sure to store them in an airtight container at room temperature - they can last for a few weeks.
More vegan candy recipes

Love this recipe? Please leave a 5-star ★★★★★ rating in the recipe card below and consider leaving a comment as well, thanks!
Stay in touch with me through social media @ Instagram, Pinterest, TikTok, and Facebook. And subscribe via email to get all our new recipes!
📖 Recipe
Vegan Crunchie Bars
Equipment
- Candy thermometer
- Silicone moulds or 8x8" baking tray
Ingredients
- 170 g (0.85 cups) Caster sugar
- 100 g (0.3 cups) Golden syrup
- 50 ml (3.4 tablespoons) Water
- 1.5 teaspoon (1.5 teaspoon) Bicarbonate of soda
- 160 g (5.64 oz) Vegan-friendly chocolate
Instructions
- Begin by making sure you have all your equipment ready and ingredients measured out, as you will need to work quickly once the honeycomb mixture is ready.
- Use a little bit of sunflower or coconut oil to grease up the silicone molds, or if you are using a baking dish be sure to line it with some greaseproof paper.
- Add the water, sugar, and golden syrup to your pot and place on medium heat. Stir using a wooden spoon for a few minutes until all of the sugar has melted.
- At this point stop stirring the mixture, as continuing to do so will cause the sugar to crystalize. Instead, turn up the heat to medium-high, and place your candy thermometer into the syrup to monitor the temperature. You want the syrup to get to 149°C, known as the 'hard crack' stage of candy making, this will take around 15 minutes, so be patient and keep a very close eye on the pot.
- Once the syrup hits 149°C remove the pot from the heat and immediately add the bicarbonate of soda. Whisk for a few seconds to combine the mixture. Be careful to only whisk in one direction, either clockwise or anticlockwise, as whisking in both directions will deflate the honeycomb. (be very careful not to touch it as it is extremely hot!).
- Transfer the mixture directly to your silicone molds and/or baking dish and do not touch them once filled. Allow the honeycomb to set completely for 1-2 hours without moving it.
- Once it is completely set and at room temperature, you can remove the honeycomb from the molds, or cut it into pieces if you used a baking dish. Melt the chocolate over a double boiler and dip the bars into it, allowing them to set on top of a cooling rack.
- Once set, store the honeycomb bars at room temperature in an airtight container, do not refrigerate!
© addictedtodates.com. All content and images are protected by copyright. If you want to share this recipe, please do so using the share buttons provided. Do not screenshot or republish the recipe or content in full. Instead, include a link to this post for the recipe. Thank you!
So easy and worked out perfectly! Best ever honeycomb, thank you!
Hi Michelle,
That makes me so happy to hear! I’m thrilled it worked out perfectly for you, enjoy every crunchy bite and thank you so much for the lovely feedback
Hi Christina ,
Do you think it would still work if i used coconut sugar instead of the white sugar ?
Hi Lama,
I don't think so, coconut sugar won't give you the same result unfortunately.
I keep having trouble with my candy browsing to much like it’s burnt! I follow the re pie to the T any suggestions to try to resolve this nightmare? Feeling really stressed out with it! I have made it many times in the pass. But I end up doing a few batches then it starts to burn or look burned! I would not eat it!! Please help!! Thank you!!
Hi Brenda,
I'm so sorry to hear this! Since you are following the recipe exactly the only plausible cause I can think of is that perhaps your candy thermometer is inaccurate. I would suggest trying it with another one. I always strongly recommend measuring in grams in case you aren't already!
Hope this helps!
Looks like crunchie bar.. yummm!
Can't wait to try it.
Is it possible to replace the golden syrup with honey?
Hi Zainab,
I haven't tried honey as it's not vegan, but others have tried my butterfingers recipe using maple syrup and it worked out for them. The base of both recipes is similar so I reckon you could use maple syrup for this one too 🙂
Great..
Thank you 🙂