My new and improved recipe for vegan ladyfingers is the perfect espresso-soaking vessel for your next batch of vegan tiramisu.
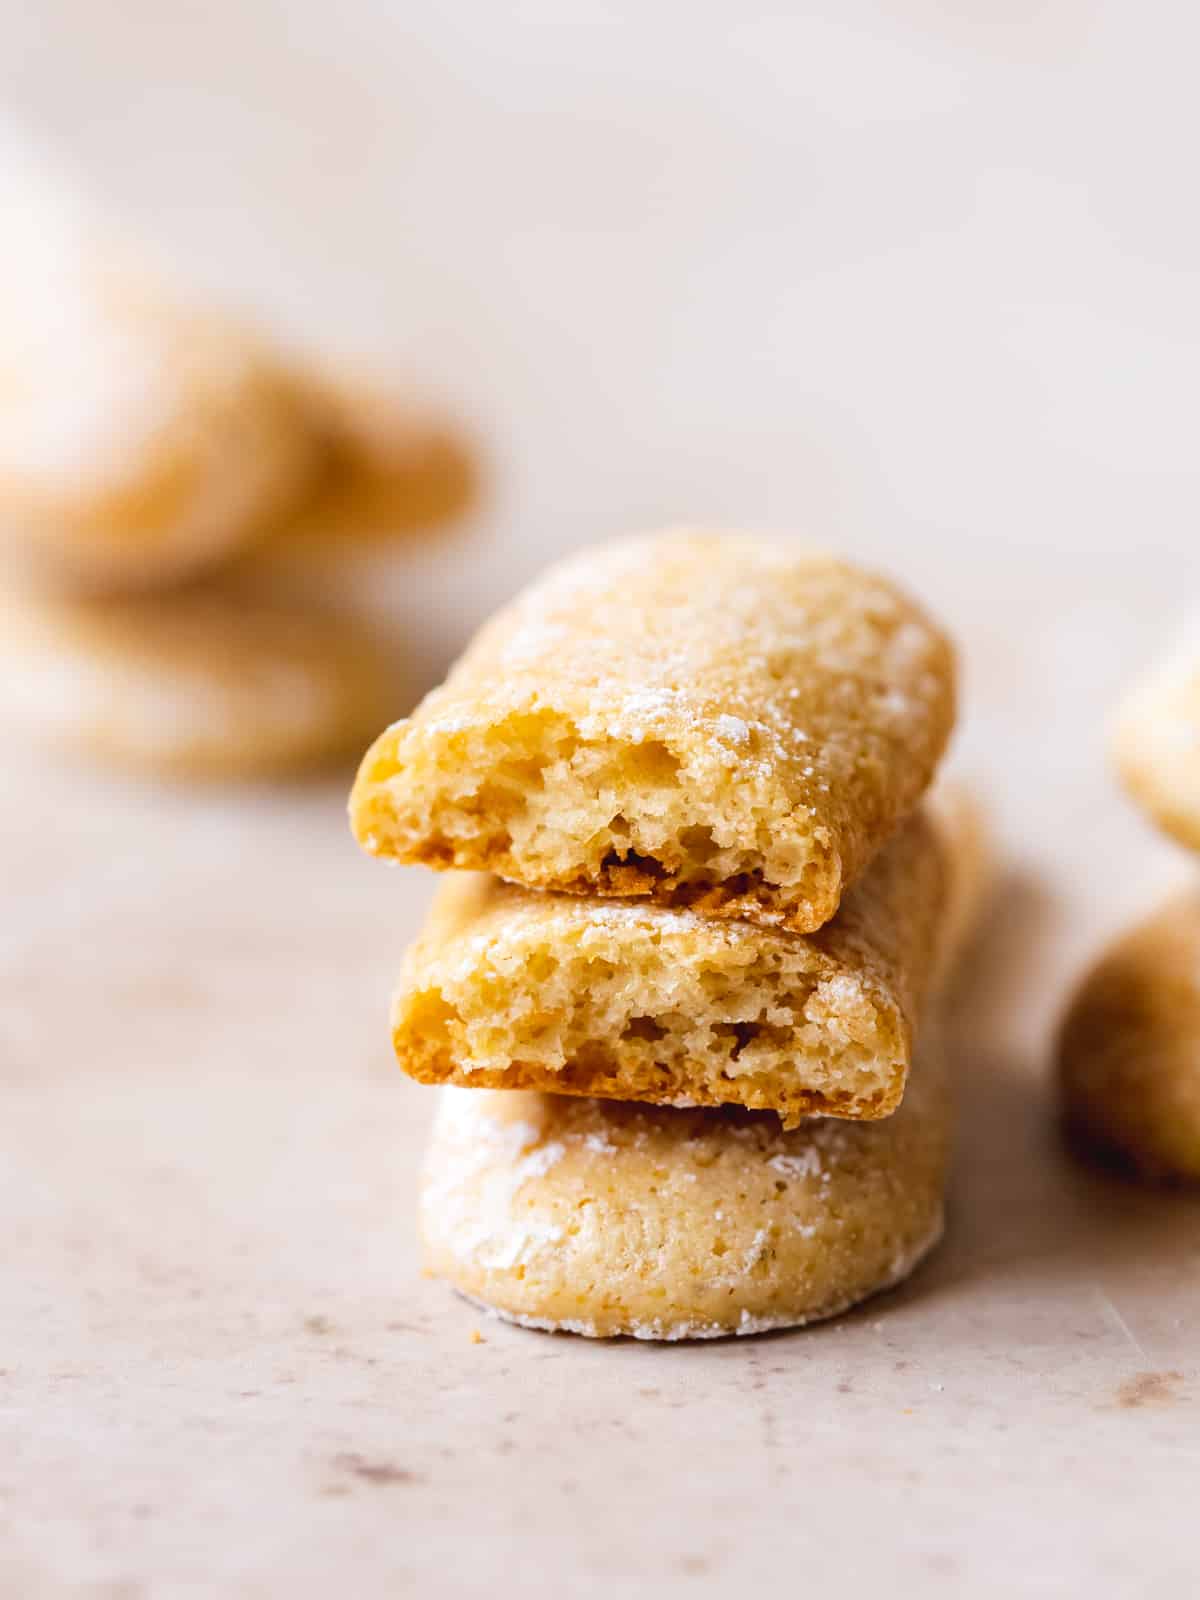
With a perfect texture that's slightly crisp on the outside yet still slightly soft and airy inside. They have a delicious slightly tangy vanilla flavor which makes them good enough to savor on their own as well as use in an array of vegan desserts like trifle or Charlotte cake.
Jump to:
📖 What Are Ladyfingers?
Ladyfingers are Italian cookies made with a meringue-based sweet sponge cake batter. They're also referred to as sponge fingers, Savoiardi (Italian), or Boudoir biscuits (French).
I've picked apart the process and ingredients usually found in ladyfinger biscuits which are heavy in eggs and dairy products. After several attempts, I'm happy to say that these vegan Savoiardi biscuits are very close in flavor to the originals. And quite honestly, a lot better than store-bought!
Love Italian desserts? Try my Italian-inspired plant-based recipes for panna cotta, Italian meringue, pistachio gelato, and limoncello tiramisu next!
🧾 Ingredients Needed
Here is everything you need to make eggless ladyfingers from scratch:

Ingredient Notes
- Aquafaba - This recipe calls for 120g/half cup of aquafaba (the amount typically yielded from one 425g/15 ounce can of chickpeas). Ladyfinger biscuits usually contain whipped egg whites, which are then folded through the cookie batter. Luckily, aquafaba does the job perfectly here. When whisked, chickpea brine mimics the properties of egg whites, making it perfect for vegan meringues and pavlova as well as an array of other vegan desserts such as these vegan sponge fingers.
- Cream of tartar - This is a stabilizer and helps to create a stronger and more stable meringue cookie base. If you don't have this to hand, you can use the same volume of apple cider vinegar in its place.
- Vegan Yogurt - A common query I had with my original ladyfinger recipe was whether it could be made without coconut milk. Vegan Greek-style yogurt is my egg-replacer of choice for most vegan cookie recipes, so I tested it with these and it works an absolute treat. Of course, you can still use coconut cream or even vegan sour cream if preferred.
- Sugar - You can use granulated or caster/superfine sugar. The smaller grains of superfine sugar are incorporated into the aquafaba more easily - but regular white sugar works fine with a little extra whisking.
- Vanilla Extract - This is the main flavor of ladyfinger biscuits so make sure you use a good quality pure vanilla extract or vanilla bean paste.
- Powdered Sugar - Also known as icing sugar or confectioner's sugar, is a vital the get the best results from your homemade ladyfingers.
- Baking Powder - This is a leavening agent. As eggs usually provide leavening to lady finger cookie recipes, we're compensating with baking powder.
- Olive Oil - Another kay to replacing eggs in ladyfingers is the fat element. I love using olive oil in baking but you can use sunflower oil for a more neutral taste. I also tested these cookies with melted vegan butter which gave them a gorgeous flavor, but they did not rise quite as much.
- Cornstarch - This helps the ladfingers from spreading too much, you *can* replace it with extra flour, but you will be left with slightly thicker cookies.
Get Your Free E-Book!
Sign up to the Addicted to Dates newsletter for your FREE Guide To Vegan Cheesecakes!
🥣 How To Make Vegan Ladyfingers
Find the complete list of ingredients, quantities, and instructions in the recipe card at the end of this post.
Although they are pretty easy to make once you get the hang of them, there are a few steps involved to making the perfect vegan ladyfingers. I recommend reading through the instructions first, and having all your ingredients and equipment ready to go.
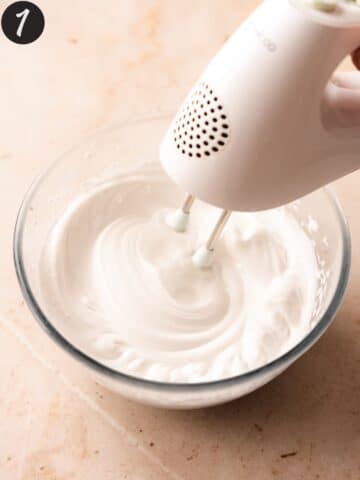
Step 1: Whip the aquafaba and cream of tartar for 5 minutes until soft peaks form. Start whisking sugar into the whipped aquafaba, a few tablespoons at a time. I use an electric mixer but you can also use a stand mixer if you have one.

Step 2: Make sure you whisk for 20-30 seconds each time to dissolve the sugar into the mixture before adding more. Continue whisking for another 3 minutes until it reaches stiff peaks.

Step 3: In a separate large bowl, whisk the remaining sugar, olive oil, non-dairy yogurt, and vanilla extract for a couple of minutes until the sugar is dissolved.
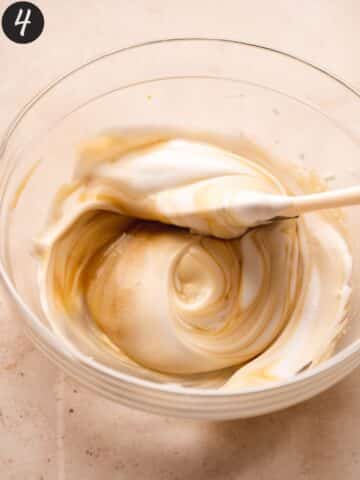
Step 4: Begin carefully folding the aquafaba into the liquid ingredients with a spatula in 3 parts.

Step 5: Stop folding once there are no visible large streaks. You don't want to overmix it and deflate it.

Step 6: Carefully fold the dry ingredients into the wet ingredients in 3 more increments. Transfer the batter to a piping bag fitted with a ½-inch round tip, or simply snip the top from a disposable piping bag.

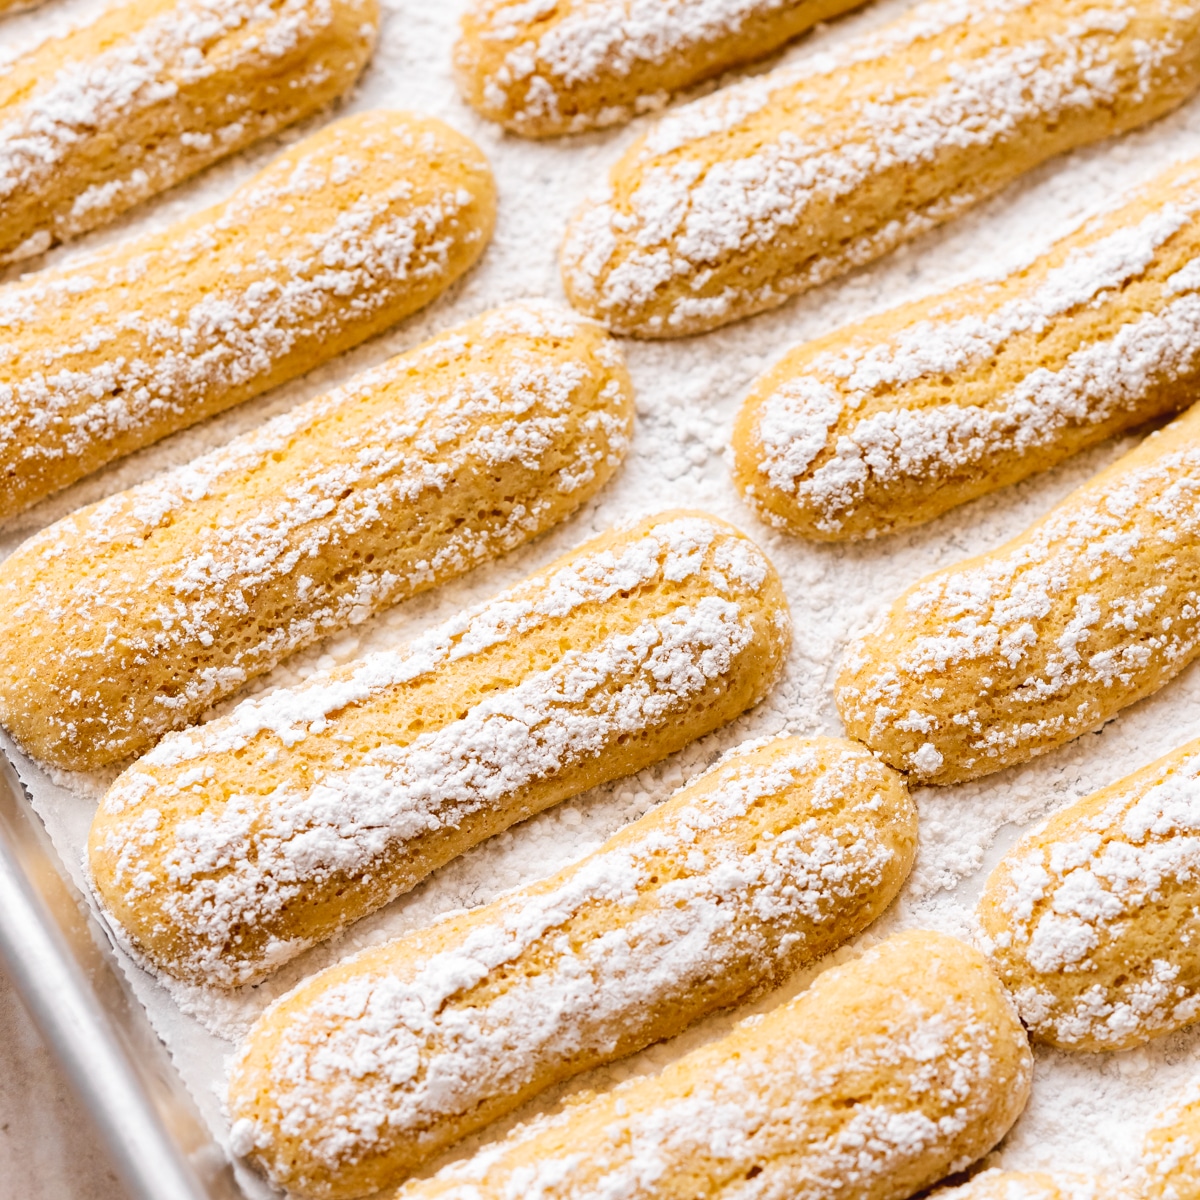
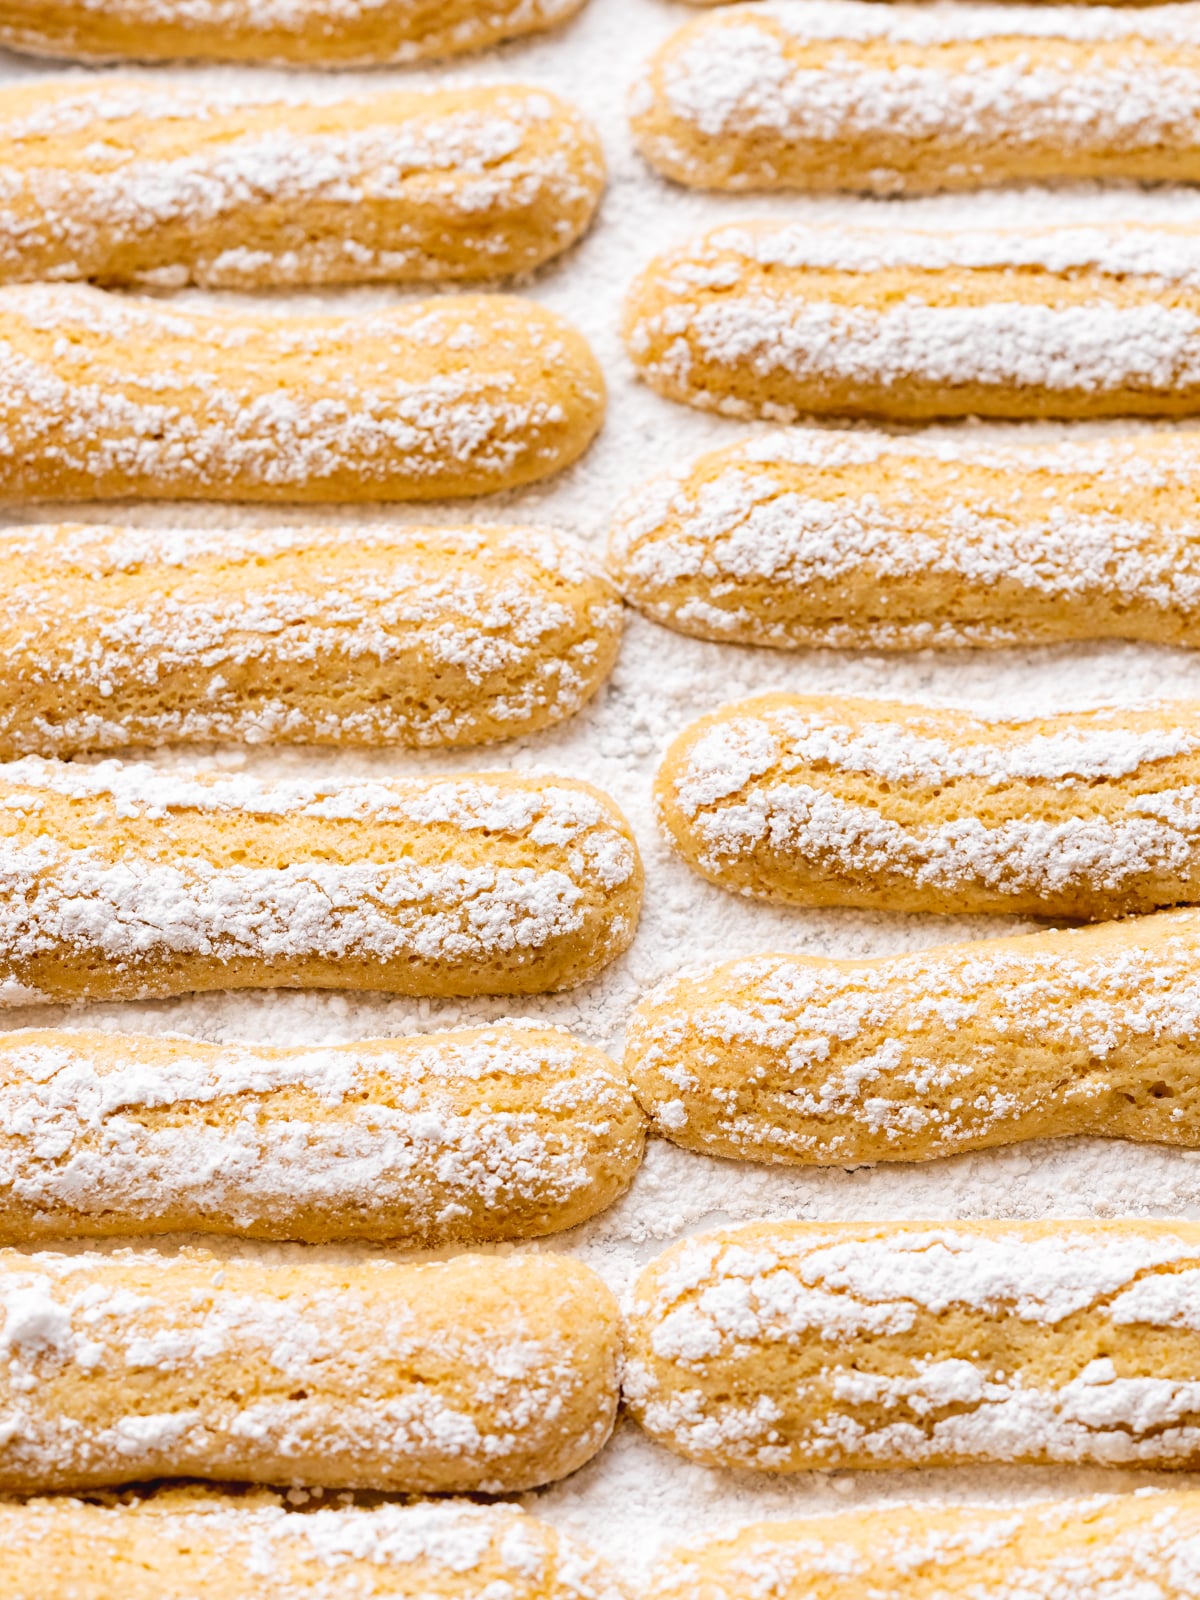
Step 7: Pipe the cookies in 3.5-inches long and no more than 1-inch wide onto a baking sheet lined with parchment paper. Leave around another inch of space between each cookie as they will spread in the oven.

Step 8: Just before baking, generously dust the ladyfinger cookies with some powdered sugar. Bake in a preheated oven for 13 minutes, then let them sit on the tray for 5 minutes before transferring them to a cooling rack.
🔪 Serving Suggestions
These homemade savoiardi are so versatile and can be used in lots of eggless recipes:
- For ladyfinger Tiramisu, Limoncello Tiramisu, Pistachio Tiramisu, Charlotte aux Fraises or Strawberry Tiramisu or as a base for Trifle.
- You can also serve them alongside Irish Coffee Chocolate Mousse, Raspberry White Chocolate Mousse, or Mango Passion Fruit Mousse where they can be used in place of cutlery!
- Enjoy them on their own with a cup of coffee or tea.
📝 Recipe Tips
Make sure your equipment is completely clean and oil-free. Specifically the bowl and whisk you're using to whip up the aquafaba with. Aquafaba does not like fats and if there is any residue this can prevent it from whipping up properly. To be sure, it's good practice to wipe your equipment down with some vinegar or lemon juice to remove an residue before getting started.
Pipe small cookies. Ideally, you want them to be 3.5-inches long, and around 1-inch wide at most. This will ensure that they are the correct size to bake up slightly crisp without being too soft. If you plan on making my vegan tiramisu recipe, it also helps that the cookies are nice and uniform.
Dust the cookies with icing sugar before baking. This helps them to spread less and rise more, and the sugar will melt during baking leaving a delicate crust.
Bake trays one at a time. As this recipe makes 32 ladyfingers, it's likely you'll need more than one tray. Make sure you pipe the second tray of cookies just before baking - don't pipe them out and leave them hanging around while you wait for space to free up in your oven.
Don't pipe onto hot baking trays. This will cause the cookies to overspread. If you just have the one baking tray, don't be tempted to pipe our second batch onto it while its still hot from the first batch of cookies. To help it cool down quicker, i like to run it under cold water (once its cool enough to safely touch), then dry and repeat the process.
Feel free to use a silicone ladyfinger mold to get more even cookies. One thing to note is, the cookies will be slightly softer when baked in silicone. Make sure you only half fill each cavity, otherwise they will take a lot longer to bake.
💬 FAQs
They're ready once they turn golden brown on the edges which will give them a slight crunch/firm outer layer.
I find that vegan yogurt or coconut milk work best, but I did test these cookies using apple puree and the result was a much softer sponge cake consistency, but they were still very tasty!
Yes, these eggless lady finger biscuits can be frozen in a sealed container for up to a month. So you can make them ahead of time to use in our favorite recipes.
For crisp ladyfinger cookies, keep them stored in an airtight container at room temperature for up to 5 days. After a couple of days, they may soften a little. For the best results, I like to bake them fresh the same day I plan on making tiramisu, as the will be more crisp and soak up more espresso!
I haven't attempted this recipe with gluten-free flour but if you're keen to give it a try I would recommend trying an all-purpose gluten-free at a 1:1 ratio.
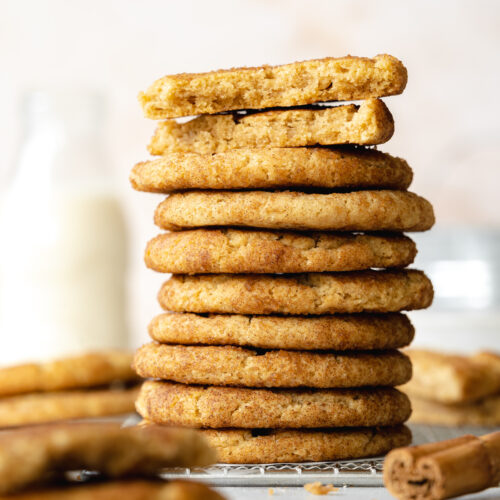
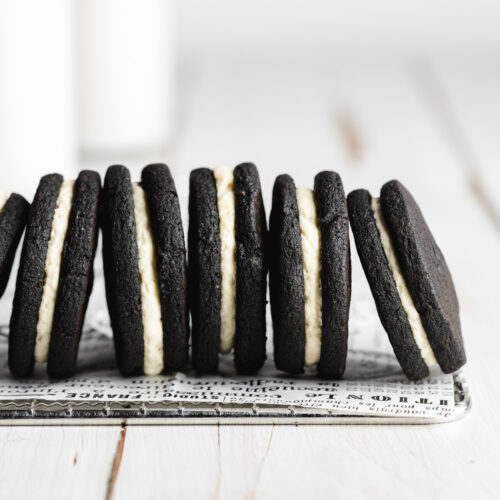
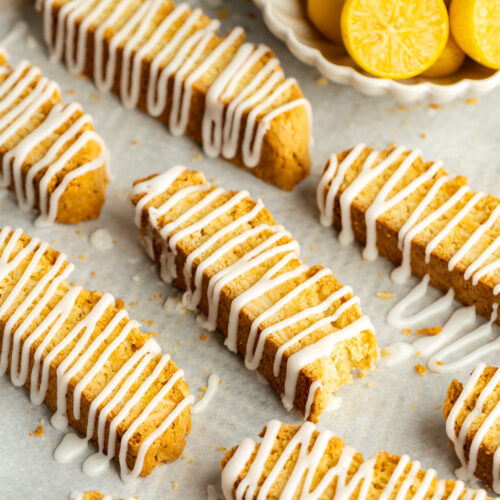
🍪 More Vegan Cookies

Love this recipe? Please leave a 5-star ★★★★★ rating in the recipe card below and consider leaving a comment as well, thanks!
Stay in touch with me through social media @ Instagram, Pinterest, TikTok, and Facebook. And subscribe via email to get all our new recipes!
📖 Recipe
Vegan Ladyfingers (Savoiardi Cookies)
Equipment
- Silicone ladyfinger molds optional
Ingredients
- 120 g (½ cup) aquafaba *see note 1
- ½ teaspoon cream of tartar or lemon juice or vinegar
- 115 g (⅓ cup + ¼ cup) granulated or caster sugar (superfine sugar) separated into ⅓ cup + ¼ cup (70g + 45g)
- 45 g (2 ½ tbsp) vegan Greek-style yogurt or coconut cream/vegan sour cream
- 40 ml (8 tsp) olive oil or sunflower oil
- 2 teaspoons vanilla extract
- 200 g (1 ½ cups + 4 tsp) plain flour sifted
- 30 g (3 tablespoons) cornstarch sifted *see note 2
- 2 teaspoons baking powder sifted
- ¼ teaspoon sea salt
- 50 g (½ cup) powdered sugar (icing sugar)
Instructions
- Note: A silicone ladyfinger mold is completely optional for this recipe - they work perfectly piped by hand. One thing to note is, the cookies will be slightly softer when baked in silicone.I recommend measuring the recipe in grams and reading through the tips in the blog post above to get the most accurate results.
- Prepare: Preheat your oven to fan 180°C/356°F (conventional 200°C/392°F).Line 2 cookie sheets or baking trays with a sheet of parchment paper. You can very lightly grease the baking sheet with oil as this will make it super easy to remove the baked cookies, oil spray works best.Take a large clean bowl, and make sure it's completely dry and free of any grease.
- Whisk the aquafaba: Add the aquafaba and cream of tartar to the large bowl or stand mixer and whisk on high speed for 5 minutes until soft peaks form.
- Add the sugar: Slowly add in ⅓ cup (70g) of sugar, one dash at a time while continuing to whisk and incorporate the sugar into the aquafaba. Continue whisking for another 3 minutes until it reaches stiff peaks.
- Whisk the ingredients: In a separate bowl, whisk together the remaining ¼ cup (45g) sugar, vegan yogurt, olive oil, and vanilla extract until combined. Use a spatula to carefully fold the whipped aquafaba into the bowl with the wet ingredients, in 3-4 increments. Be careful not to over-mix.
- Mix the dry ingredients: Mix together the flour, cornstarch, baking powder, and salt and carefully fold them into the aquafaba mixture in 2-3 increments, again be careful not to over-mix.
- Pipe the cookies: Transfer the batter to a piping bag fitted with a ½-inch round tip, or simply snip the top from a disposable piping bag.Pipe the cookies in 3.5-inches long and no more than 1-inch wide onto a baking sheet lined with parchment paper. Leave around another inch of space between each cookie as they will spread in the oven.Just before baking, generously dust them with powdered sugar.
- OR Using silicone baking molds: Lightly grease the mold with vegetable oil or vegan butter, and dust with a thin layer of powdered sugar. Pipe the batter into the molds (only filling them half-way) and dust them with more icing sugar before baking.
- Bake: If using a tray, bake for 12-13 minutes, until the cookies begin to brown on the edges. If using silicone molds, they will take 14-15 minutes to bake through.
- Cool the cookies: Allow them to cool on the tray for about 5 minutes before transferring them to a cooling rack to cool completely. If using silicone molds, allow them to cool completely before removing them from the molds.Clean and dry the molds and repeat the process with the remaining batter *the full recipe will make about 2-3 cookie sheets in total depending on the size).
- Storage: For crisp ladyfinger cookies, keep them stored at room temperature in an airtight container for up to 5 days. After a couple of days, they may soften a little.You can also freeze them in a sealed container for up to a month. So you can make them ahead of time to use in our favorite recipes.
Notes
- Aquafaba: The liquid part from tinned chickpeas.
- Cornstarch - This helps the ladfingers from spreading too much, you *can* replace it with extra flour, but you will be left with slightly thicker cookies.
- Bake trays one at a time. As this recipe makes 32 ladyfingers, it's likely you'll need more than one tray. Make sure you pipe the second tray of cookies just before baking - don't pipe them out and leave them hanging around while you wait for space to free up in your oven.
© addictedtodates.com. All content and images are protected by copyright. If you want to share this recipe, please do so using the share buttons provided. Do not screenshot or republish the recipe or content in full. Instead, include a link to this post for the recipe. Thank you!
This recipe was originally posted in September 2021, it has been improved and updated since to be even more delicious and easy to make!