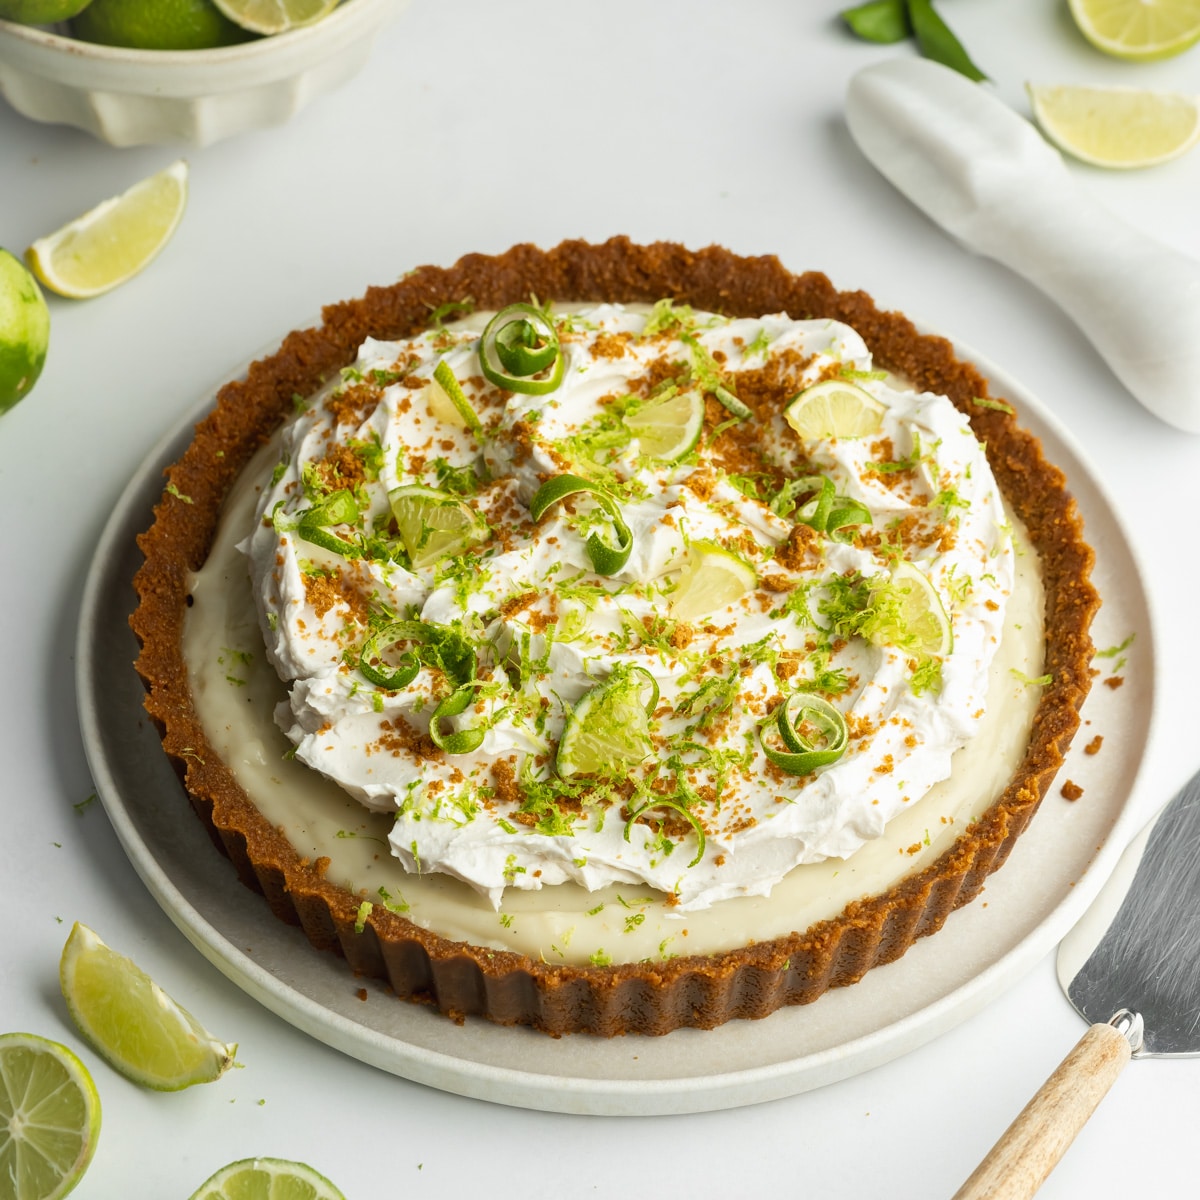
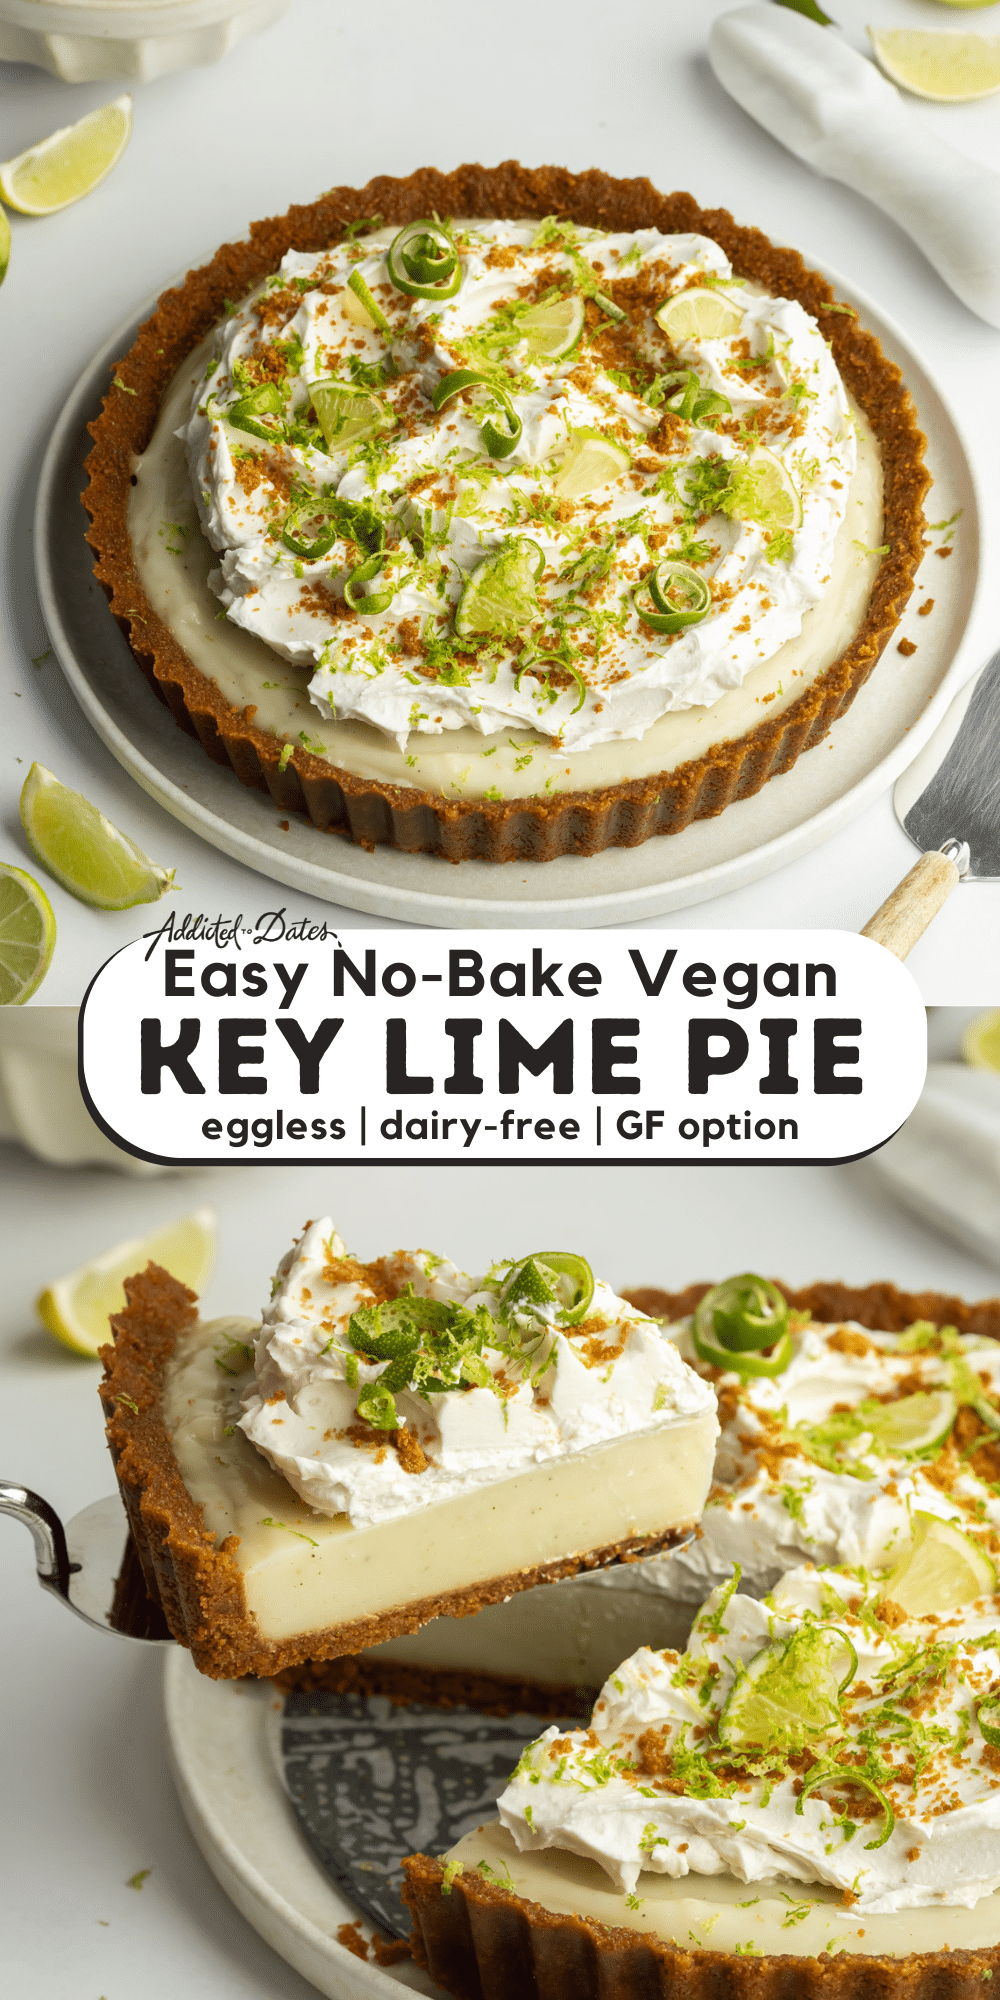
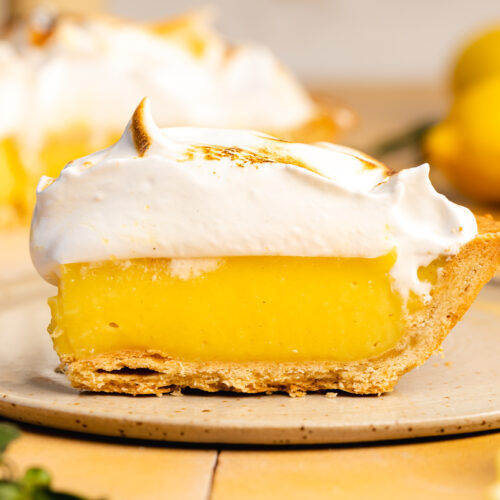
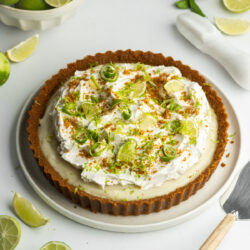
This is not your traditional key lime pie, it uses a high volume of fresh lime juice and zest to create a delicious lime curd filling, similar to the lemon curd in vegan lemon meringue pie.
The result is a tangy, zesty filling complemented by whipped coconut cream and a spiced cookie crust - the perfect dessert for summer.
🍋🟩 Key limes vs regular limes
Traditional key lime pie uses key lime juice, also known as Mexican limes, which have a punchier flavor than regular limes. Fresh key limes are not easily found worldwide, so don't sweat, more common Persian limes (Tahitian limes) work perfectly for this recipe.
🧾 Ingredients overview
Here's everything you need to make key lime pie vegan. Find the complete list of ingredients, quantities, and instructions in the recipe card at the end of this post.
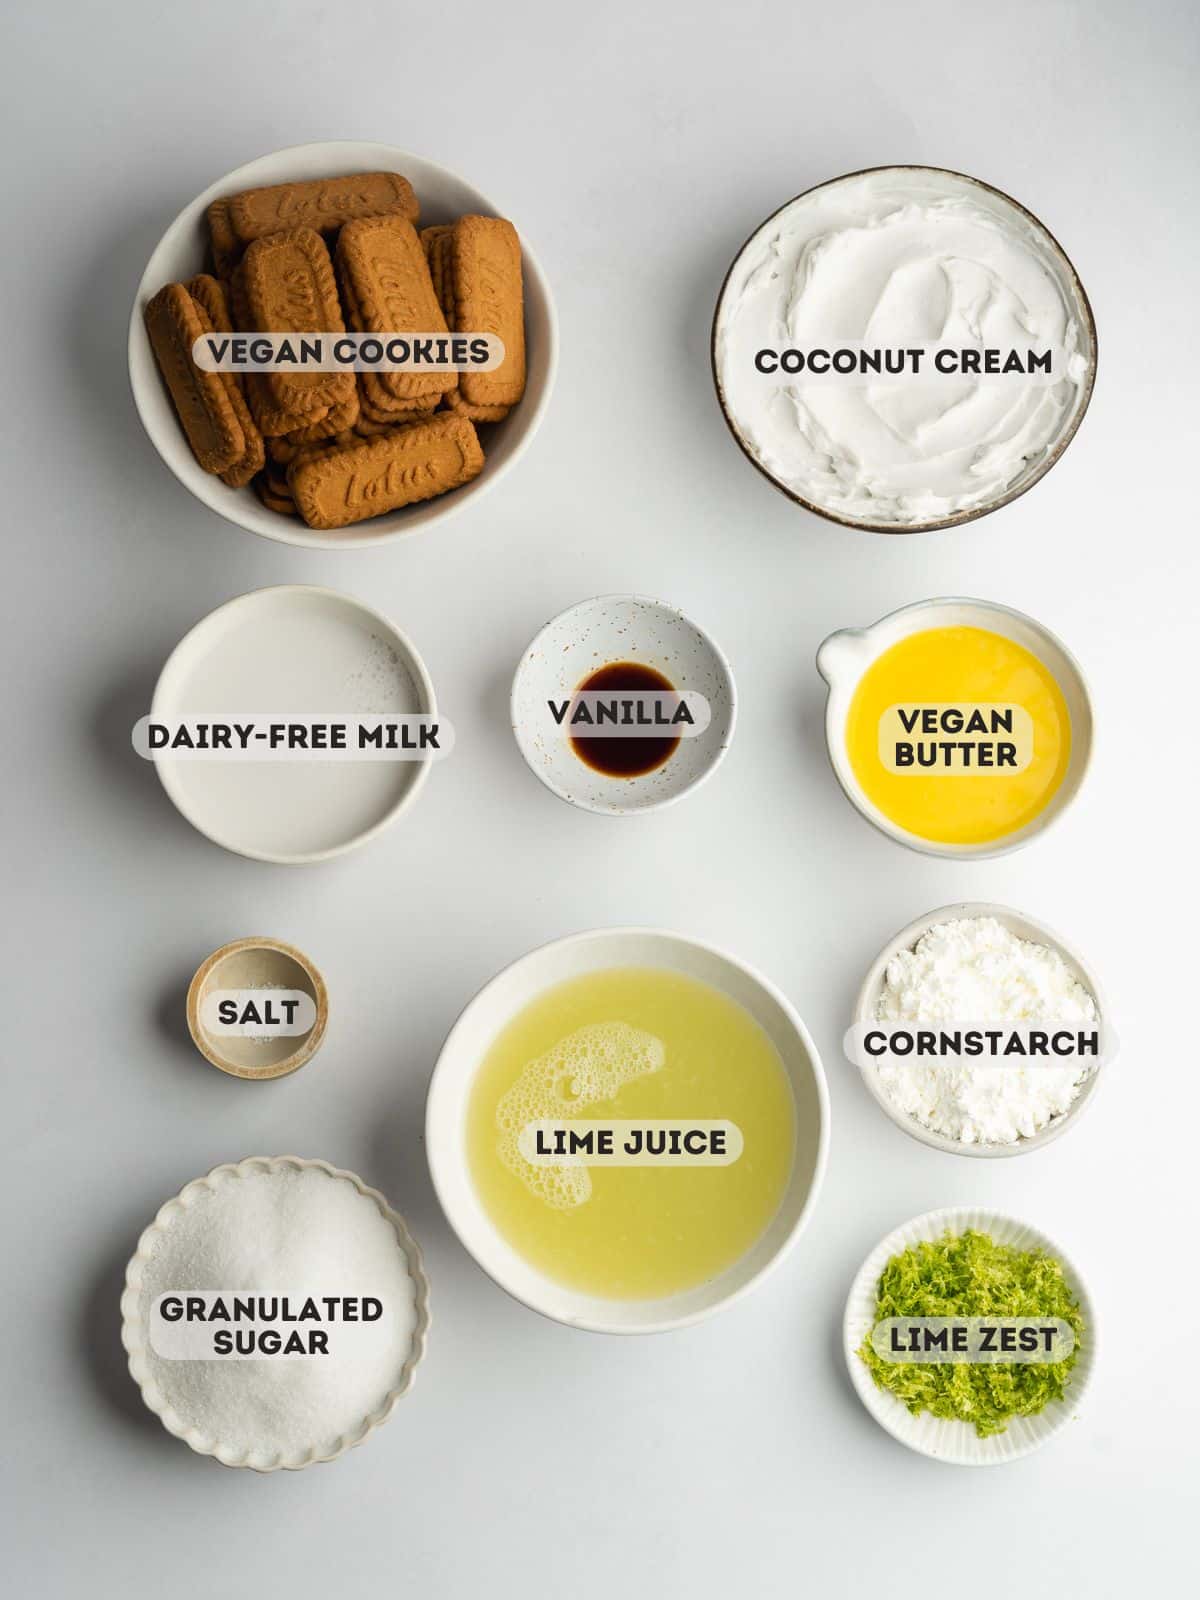
The ingredients used are pretty common (no agar agar powder or condensed coconut milk needed!):
- Fresh Limes: Make sure you use fresh lime juice and not the bottled stuff. The flavor won't be the same, and bottled lime juice can have a sickly, fake aftertaste.
- Coconut Cream: Adds creaminess to the filling.
- Non-Dairy Milk: For the lime custard base, you can use any plant-based milk of your choice, such as soy milk, oat milk, or almond milk.
- Cornstarch: This is the thickening agent for the lime curd filling. You can swap it for ground arrowroot if needed.
- Vanilla Extract: Helps to balance the tartness of the limes. I like to add a dash to the coconut topping as well.
- Vegan cookies: You can use any vegan cookies of your choice; digestives, biscoff, ginger nuts, or vegan graham crackers will work well.
🔪 Step-by-step images
Here's a visual overview showing how to make this homemade vegan key lime pie. Please refer to the detailed recipe card at the end of this page for full measurements and written instructions. You can also hit the jump to recipe button at the very top of this page to skip to the printable recipe card.
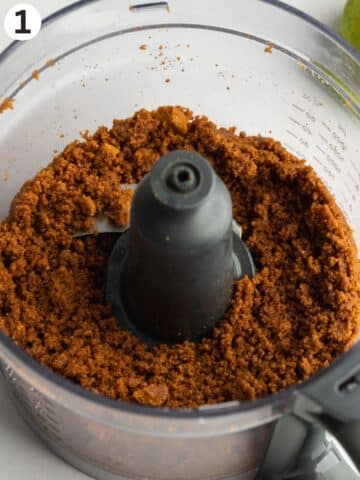
Blitz cookies and melted butter in a food processor.
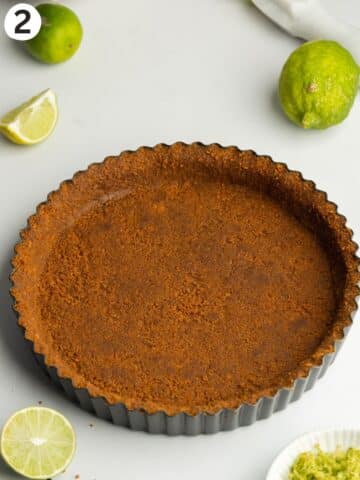
Press cookie crust into a prepared pie dish or tart tin.
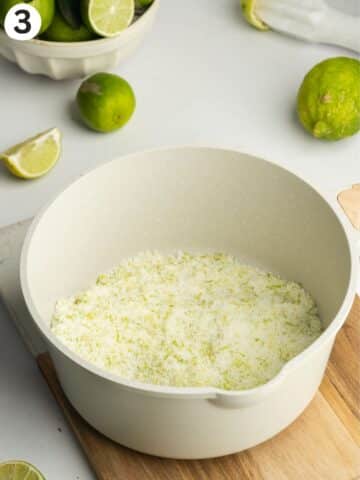
Rub lime zest into granulated sugar to release those fragrant oils!
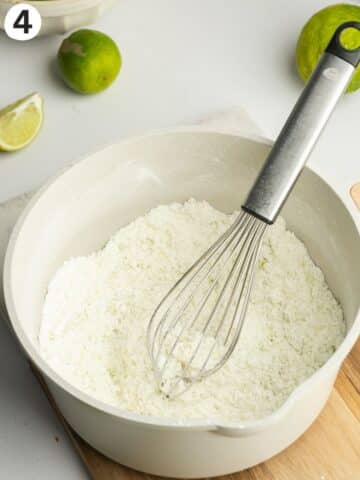
Whisk cornstarch with lime sugar before adding liquids - this will prevent clumping!
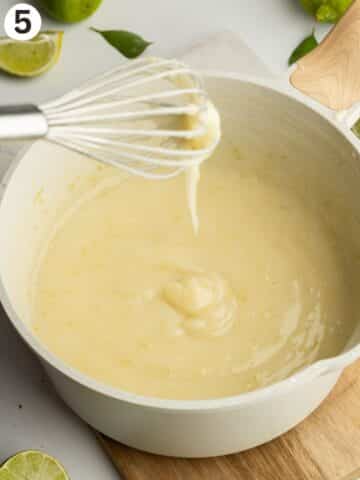
Whisk in the other filling ingredients and cook until thick and creamy.
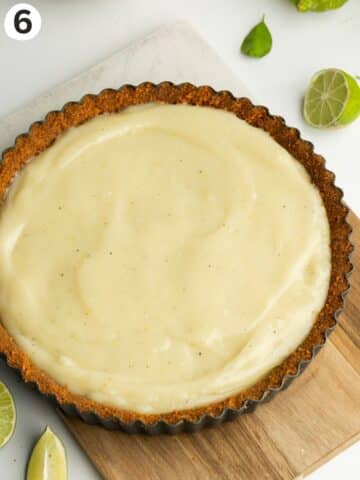
Pour the creamy filling through a fine-mesh sieve into the tart shell and set.
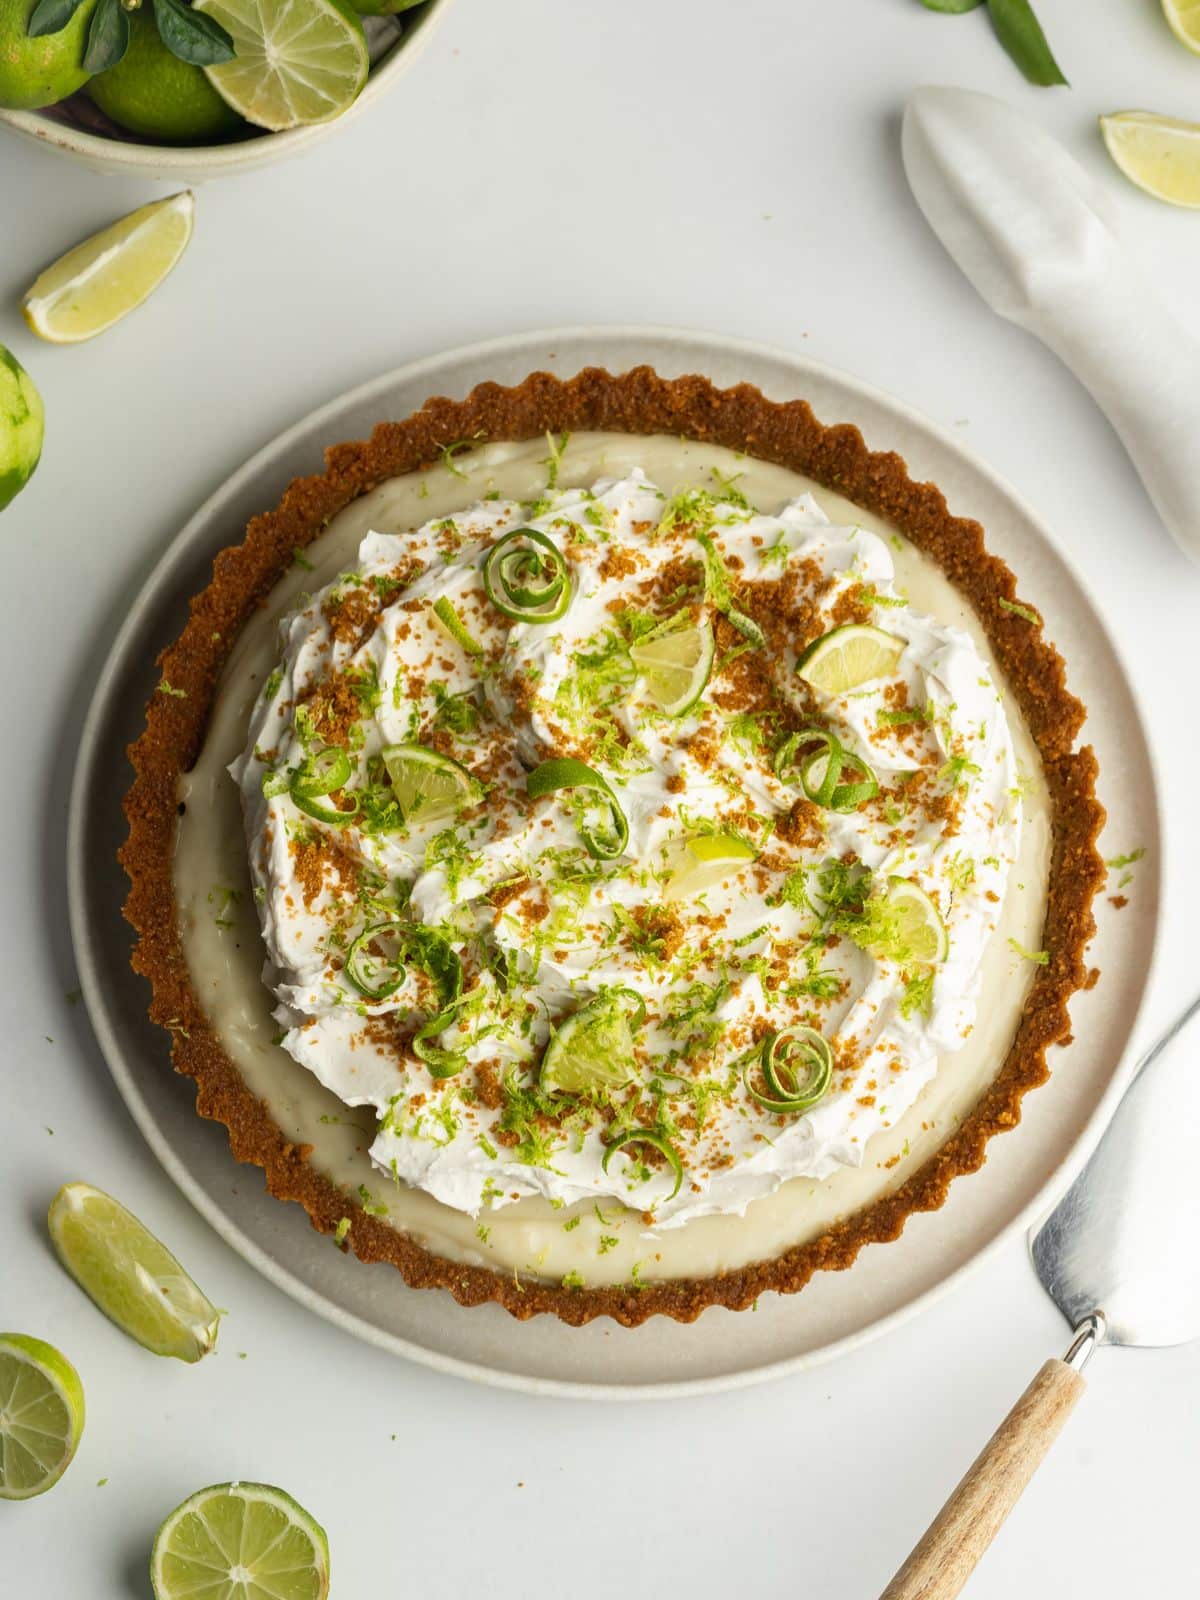
For the topping, I've used whipped coconut cream, crushed cookies, fresh lime slices, and zest.
💭 Expert tips
Use real limes. I do not recommend using bottled lime juice, you'll want the fresh stuff.
Skip the kitchen equipment: If you don't have a food processor, place the cookies in a ziplock bag and bash them into a crumb consistency using a rolling pin. Then just melt the vegan butter and stir it through the crushed biscuits before pressing it into the tart tin.
Pan size: This recipe can be made in either a 9-inch pie pan or a tart pan. If using a tart tin, make sure it's at least 3 inches deep.
Natural color: Completely optional, but you can add a little matcha powder for a pop of green color to your lime custard. You can also use wheatgrass powder, moringa powder, and spinach powder.
Meringue topping: If you want a fancy topping, you can also use vegan Italian meringue, which you can then blowtorch for a toasted flavor and look.
💬 Customizing this recipe
This recipe is naturally nut-free, provided that you use cookies that do not contain nuts and opt for a nut-free plant-based milk.
The cookies in this recipe are not gluten-free, but you can easily adapt this lime pie by using gluten-free cookies.
If you're not a fan of coconut, you can use alternative plant-based whipping creams such as soy cream or oat cream instead.
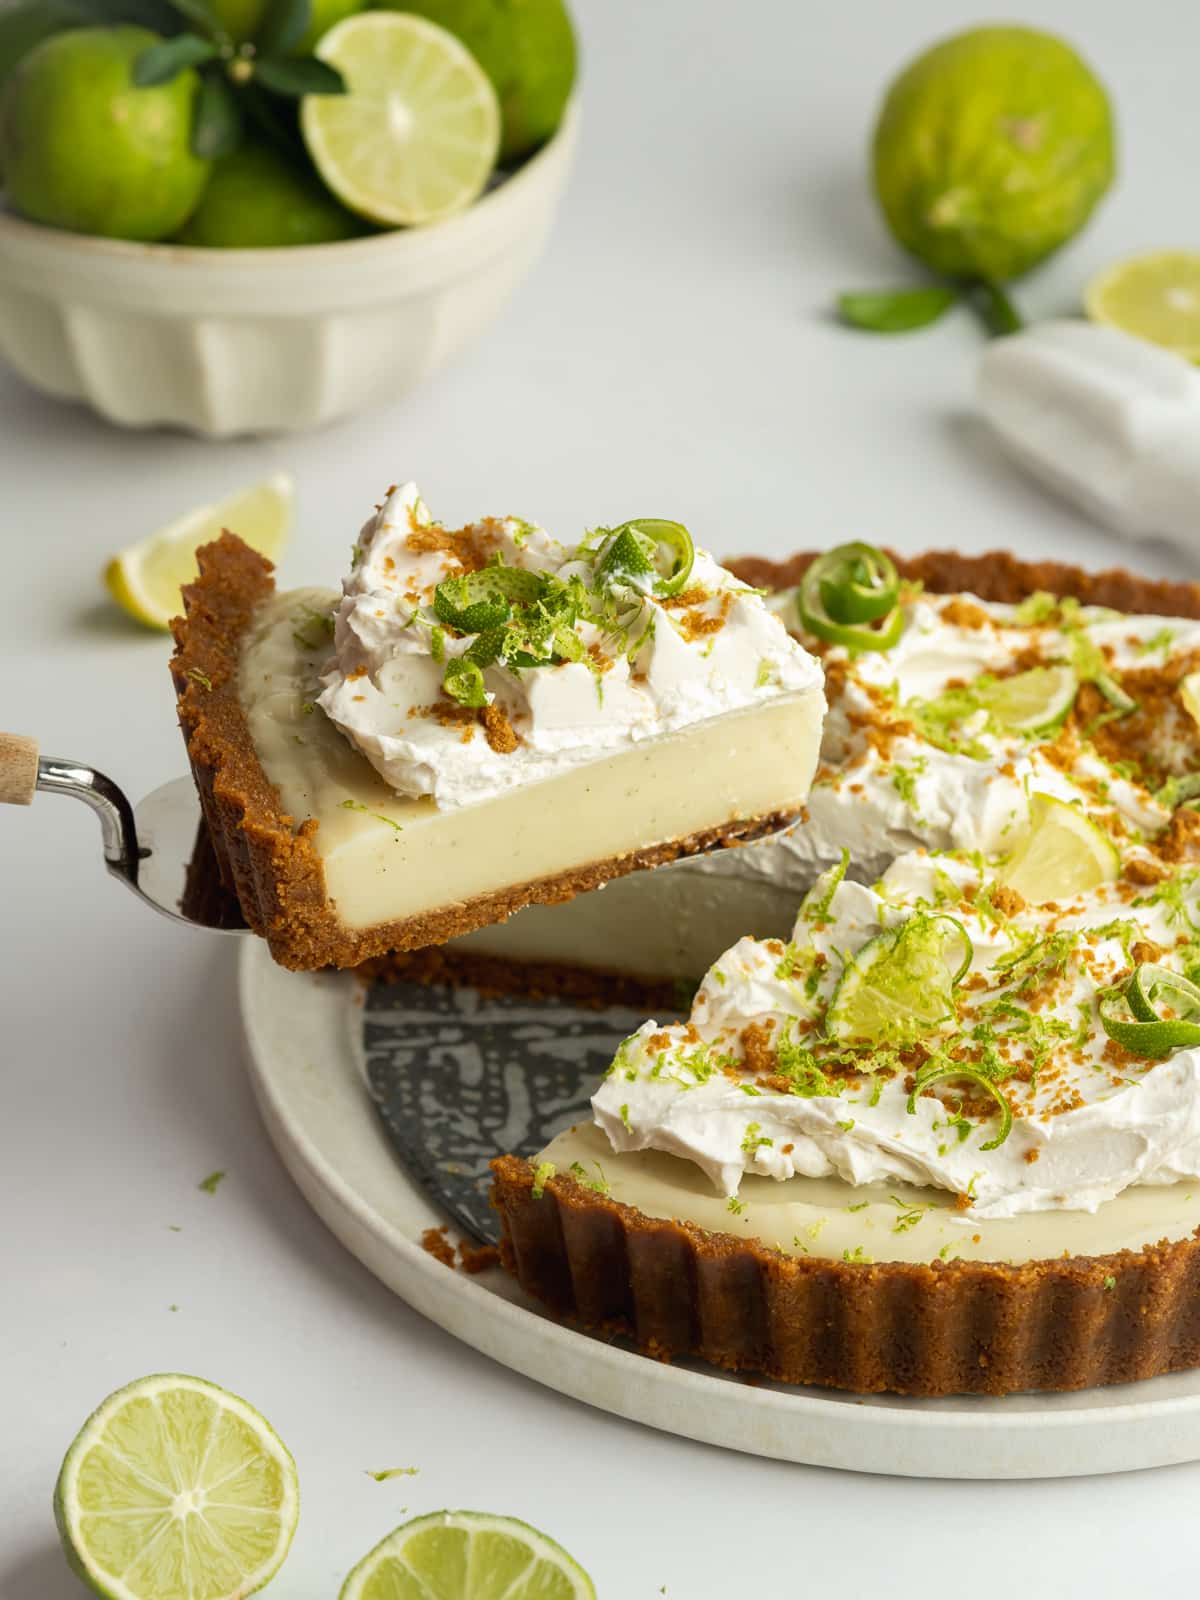
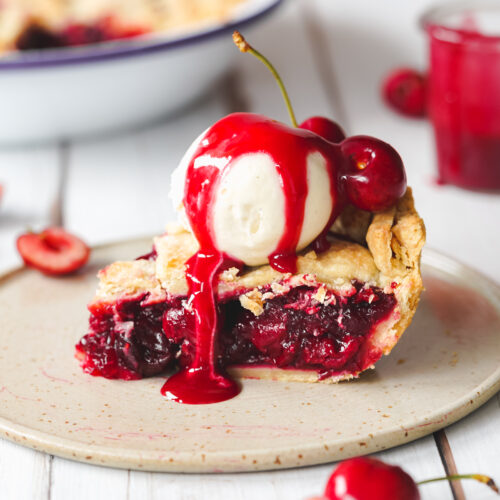
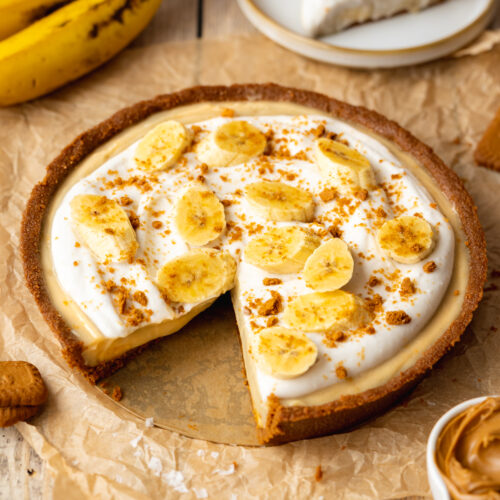
🥧 More vegan pies
📖 Recipe
Easy No-Bake Vegan Key Lime Pie
Equipment
- 9" tart pan (3-inch deep) OR 9.5" Deep Pie Dish
Ingredients
Crust
- 285 g (36 cookies) biscoff cookies *note 1
- 100 g (⅓ cup + 3 tablespoons) vegan butter melted
Filling
- 175 g (¾ cup + 2 tablespoons) granulated sugar
- 2 tablespoons lime zest
- 60 g (6 tablespoons) cornstarch
- 270 ml (1 cup + 2 tablespoons) lime juice, freshly squeezed approx 8-10 regular limes or 16-20 key limes
- 180 ml (¾ cup) non-dairy milk *note 2
- 1 teaspoon vanilla extract optional
- 240 g (1 cup) coconut cream *note 3
- ½ teaspoon matcha powder sifted, optional for color *note 4
Coconut topping
- 240 g (1 cup) vegan whipped cream (half batch)
Instructions
- Note: The ingredient quantities made a 9-inch tart tin (3 inches deep) or a 9.5-inch pie dish. For a shallow 9-inch tart, decrease the ingredient quantities by ⅕.
- Prepare: Lightly grease the base and sides of a 9" tin with some oil or vegan butter, and line the base with a circle of parchment paper.
- Crust: Add the cookies to a food processor and blitz to a fine crumb consistency. Add the melted butter and blend again until the ingredients stick together between your fingers.Press the mixture into the base of the pan, using a spatula or flat-bottomed glass to smooth it out. Set aside in the freezer while you prepare the filling.
- Filling: Add the sugar and lime zest to a saucepan and rub with your fingertips until fragrant. Add the cornstarch to the sugar and whisk to remove any lumps.Mix in the lime juice, non-dairy milk, and vanilla. Then stir in the coconut cream. Whisk well while bringing the mixture to a boil. Reduce the heat to a medium simmer and cook for 5-8 minutes while stirring continuously. The mixture will thicken.
- Sieve and assemble: Remove the lime curd from the heat, whisk in the matcha if using, and pass it through a fine-mesh sieve into a large mixing bowl. Pour it on top of the cooled cookie crust.
- Chill and decorate: Place in the fridge to set for at least 2-3 hours, or until completely set to the touch. Make the coconut whipped cream. Add the coconut cream on top of the key lime tart before serving and finish off with some more freshly grated lime zest.
- Storage: Store in an airtight container in the fridge for up to 5 days. It can be left at room temperature for a couple of hours on the day of serving it. You can freeze the tart and filling. I do not recommend freezing the coconut cream topping, this can be added before serving.
Notes
- Biscoff cookies: Swap for other vegan cookies (digestive biscuits or vegan graham crackers, ginger nuts, or GF cookies if needed).
- Non-dairy milk: Soy, almond, or oat milk.
- Coconut cream: Or chilled coconut milk (the thick part from the top of the can only).
- Matcha: Or moringa powder, wheatgrass powder, spinach powder.
© addictedtodates.com. All content and images are protected by copyright. If you want to share this recipe, please do so using the share buttons provided. Do not screenshot or republish the recipe or content in full. Instead, include a link to this post for the recipe. Thank you!
*This recipe was originally published in October 2019. It has since been improved and updated.

