
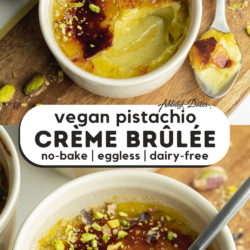
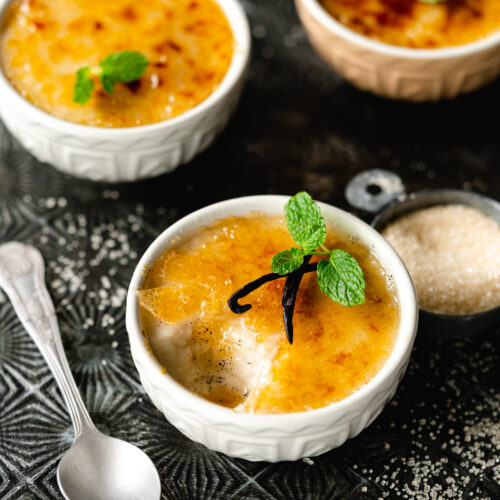
Based on my popular vegan classic crème brûlée recipe, this version consists of a rich vanilla custard that's infused with the nutty flavor of pistachio butter.
This easy no-bake dessert is the perfect treat to impress for a dinner party, Valentine's Day, or any special occasion!
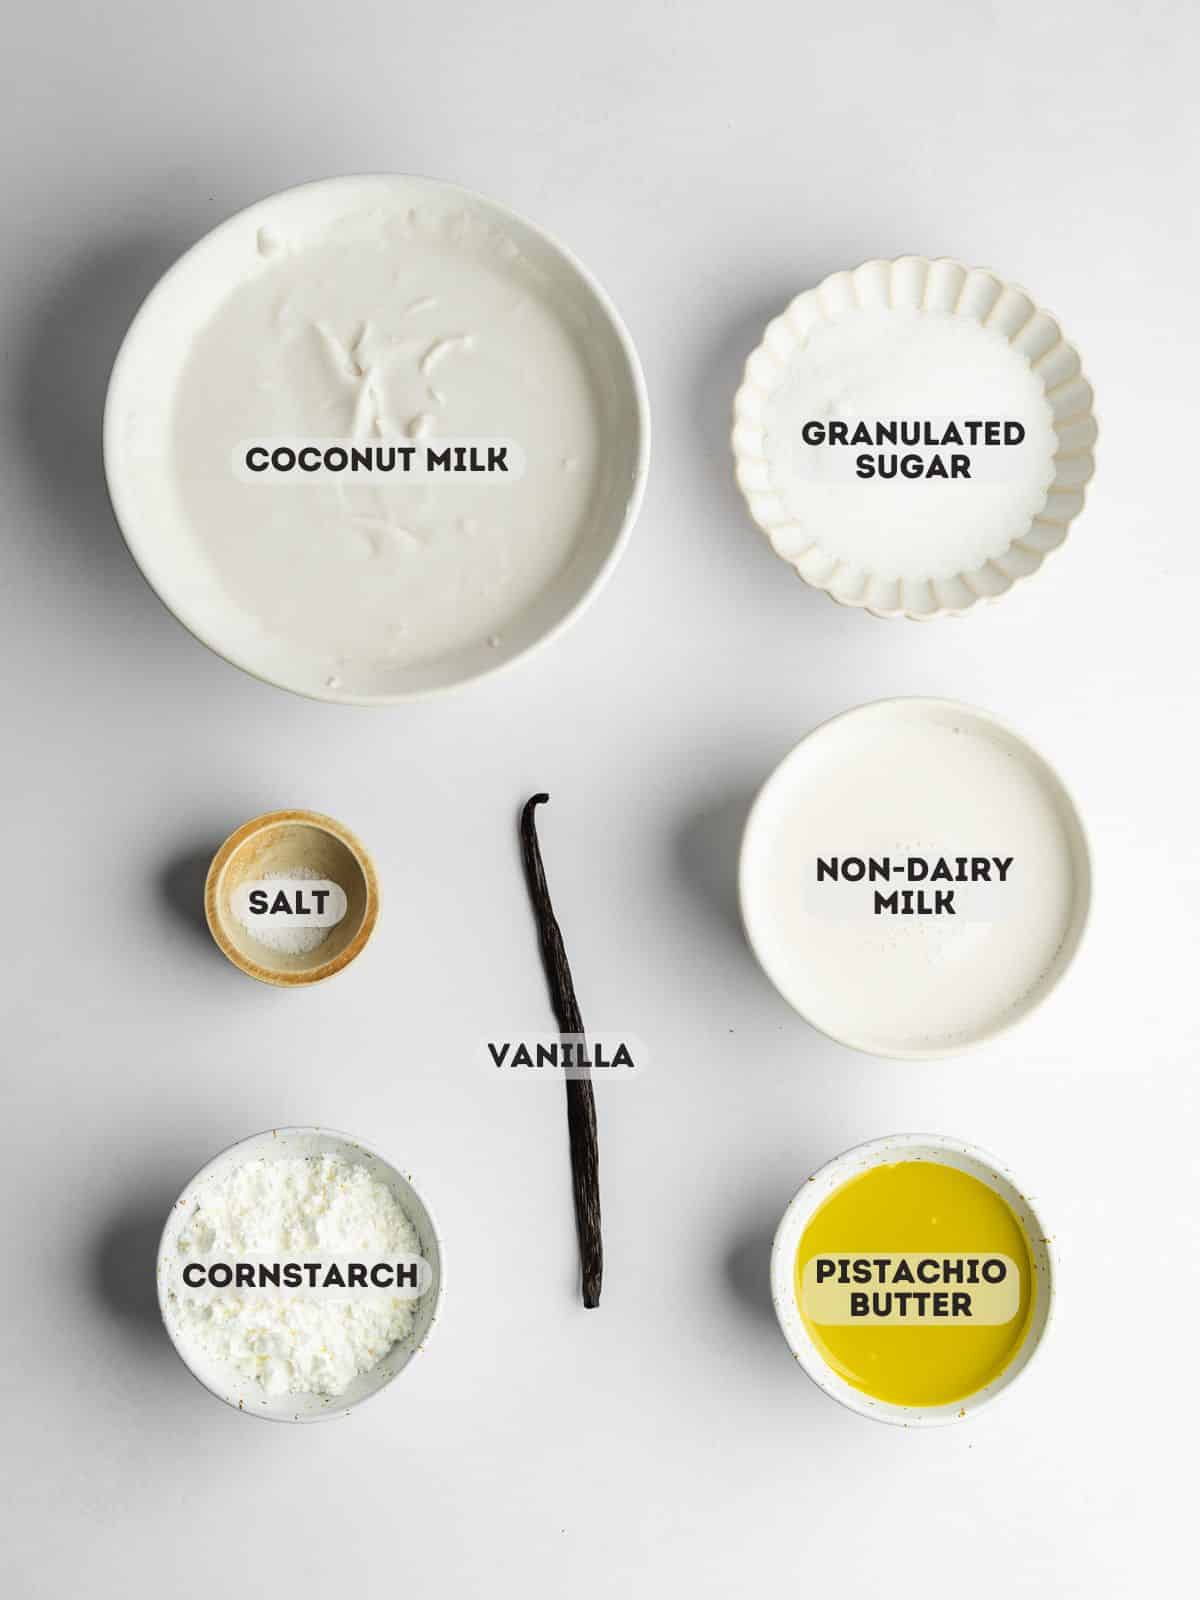
🧾 Ingredients
Here's everything you need to make this easy pistachio crème brulee:
Ingredient Notes
Find the complete list of ingredients, quantities, and instructions in the recipe card at the end of this post.
- Pistachio Butter: Go for a vibrant green pistachio butter for the most beautiful color, like this homemade pistachio butter.
- Non-Dairy Milk: I use unsweetened almond milk, but feel free to use oat milk, cashew milk, or soy milk.
- Coconut Milk: This replaces the richness that usually comes from egg yolks in traditional creme brulee and creates an incredibly creamy custard. This recipe uses the full can of coconut milk (both the coconut cream and the watery part from the bottom of the can).
- Granulated Sugar: This is best for both the filling and topping. You can use turbinado sugar (demerara) if you want to keep it slightly less refined but I find that white sugar gives the crispiest shell.
- Vanilla: This compliments and lifts the pistachio flavor. A real vanilla pod is best here for those gorgeous vanilla specs. However, you can easily swap it for a teaspoon of vanilla bean paste or 2 teaspoons of pure vanilla extract.
- Cornstarch: Again, this acts as an egg replacer and helps to thicken the custard base. You can use ground arrowroot powder as a direct swap if needed.
Get Your Free E-Book!
Sign up to the Addicted to Dates newsletter for your FREE Guide To Vegan Cheesecakes!
🔪 Instructions
Here are step-by-step images showing how to make this eggless pistachio creme brulee. Please refer to the detailed printable recipe card at the end of this page for full measurements and written instructions:
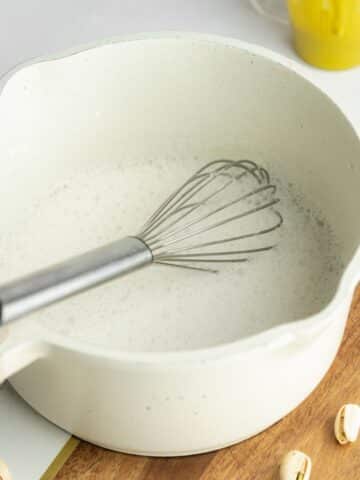
Step 1: Add the cornstarch and sugar to a medium saucepan and whisk to combine - this helps to remove any lumps from the cornstarch. Whisk in the dairy-free milk and pistachio butter.
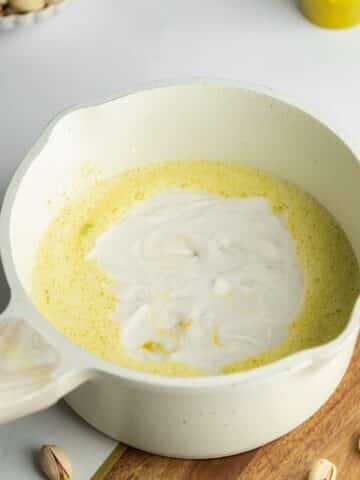
Step 2: Add the can of full-fat coconut milk, the vanilla pod sliced lengthways, and sea salt. Place the pan over medium heat, while alternating stirring with a whisk and rubber spatula.
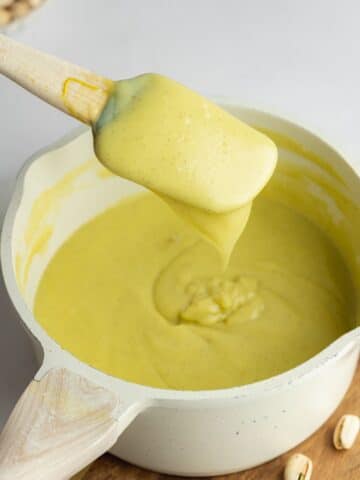
Step 3: After 10-15 minutes of cooking, the smooth custard will have thickened enough to coat the back of your spatula. Remove it from the heat at this stage.
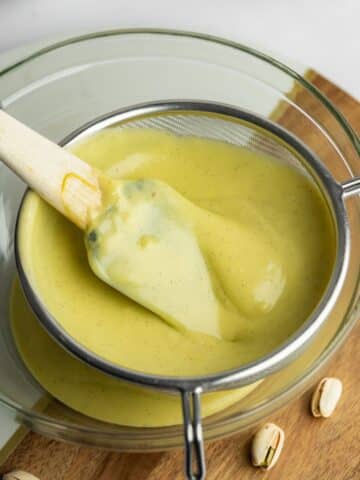
Step 4: Next pass the pistachio custard through a fine mesh sieve into a large mixing bowl to help remove any lumps and the used vanilla pod.
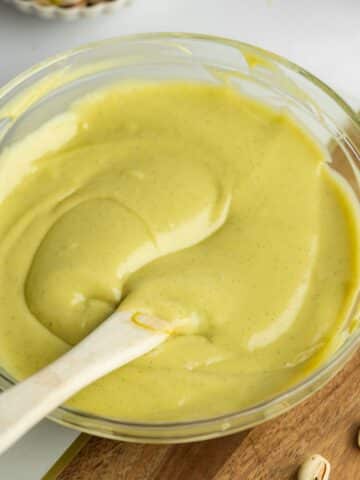
Step 5: You'll want to let the custard cool for 10-15 minutes, and stir it every so often so that a skin doesn't form on top.
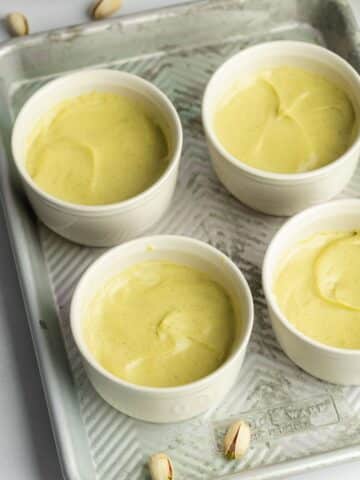
Step 6: Divide the slightly warm cream mixture between your ramekins, cover with plastic wrap or an upside-down plate, and refrigerate for a couple of hours (resting it overnight will give a more set custard).

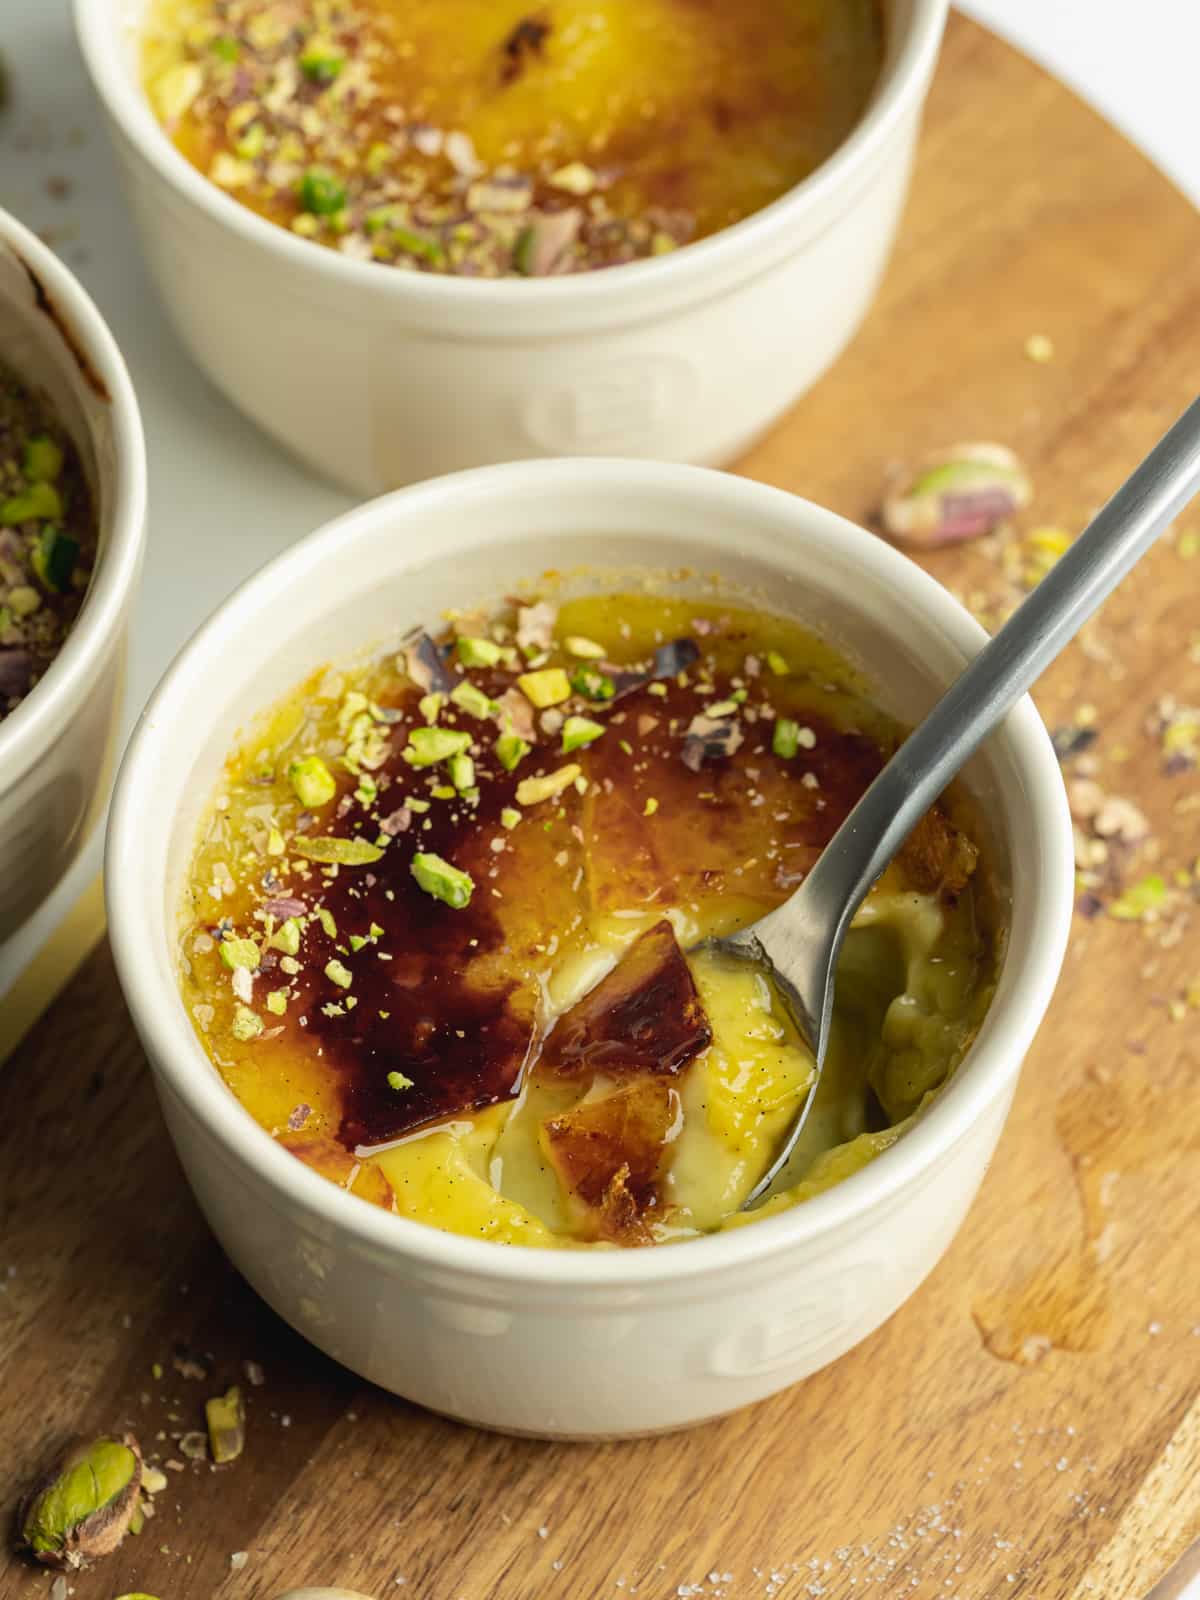
Step 7: Just before serving sprinkle sugar in an even layer on top of the dessert.

Step 8: Carefully caramelize the sugar topping until browned. Move the blowtorch around so it evenly caramelizes the surface of the creme brulee. You can sprinkle chopped pistachios on top of the brulee if you fancy!
💭 Recipe Tips
Alternate your whisk and rubber spatula. The whisk helps to keep things evenly mixed while the spatula is useful for preventing the custard burning to the bottom of the pan.
Cooking time can vary. Gas hobs tend to heat up quicker and cook faster, so keep an eye on your custard and remove it once the cornstarch activates and thickens.
Brulee the tops just before serving. Sugar is hygroscopic so it pulls in moisture from the environment. If you refrigerate the pistachio creme brûlée with the tops already toasted, the crisp shell will turn into soft caramel sauce. Instead, keep the custards covered in the fridge until a few minutes before serving, then add the sugar and brulee.
Please be careful with the culinary torch. Let the burnt sugar tops sit for 2 minutes before you serve them so they have a chance to cool slightly and crisp up!
💬 FAQs
I don't recommend it. Coconut sugar has a higher water content than cane sugar and it doesn't crisp up when torched, leaving you with a more gooey caramel topping.
Absolutely! I use 4 large 4-inch vessels but feel free to switch up the size of your ramekins. For example, you could make 6 portions in 2.5-inch or 3-inch pots, or you could stretch out the filling into more shallow ramekins.
Tightly cover the custard pots (without the sugar topping) with plastic wrap or aluminum foil and refrigerate for up to 3 days before serving. If refrigerated overnight or longer, the custard will be slightly more set, so I recommend letting them sit at room temperature for an hour before you're ready to brulee the tops and serve!
🍮 More Vegan Traditional Desserts

📖 Recipe
Vegan Pistachio Crème Brûlée (No Water Bath or Baking!)
Ingredients
- 70 g (⅓ cup) granulated sugar
- 40 g (4 tablespoons) cornstarch *note 1
- 240 ml (1 cup) dairy-free milk *note 2
- 80 g (⅓ cup) pistachio butter
- 400 ml (13.5 oz) can of full-fat coconut milk
- 1 vanilla pod sliced down the center
- ¼ teaspoon sea salt
- 4 tablespoons granulated sugar for topping
Instructions
- Prepare: Place 4x 4-inch ramekins on a tray and set them aside.
- Make the custard: Add the granulated sugar (70g) and cornstarch to a saucepan and whisk to combine. Pour in the dairy-free milk and pistachio butter and whisk until smooth.
- Add the entire can of coconut milk, the sliced vanilla pod, and sea salt, and place on medium heat. Slowly heat while alternating between stirring with a whisk and a rubber spatula. After 10-15 minutes the mixture will become thick and coat the back of the spatula - remove it from the heat. (see images in the post for reference)
- Sift: Place a fine-mesh sieve on top of a large mixing bowl. Pass the custard through the sieve (using a spatula to squeeze it through if needed). Let the custard cool for 10-15 minutes, stirring a few times to prevent skin from forming on top.
- Chill: Distribute the custard between the serving ramekins and cover with clingfilm or a plate. Refrigerate for at least 2 hours until set.
- Brulee the tops: When you are ready to serve, add 1 tablespoon of granulated sugar in an even layer on top of each dessert. Use a blowtorch to caramelize the sugar until browned. Let sit for 1-2 minutes, then serve immediately.
Notes
- Cornstarch: Also labeled as cornflour, you can use ground arrowroot instead if needed.
- Dairy-Free Milk. I use unsweetened almond milk, you can also use soy milk, oat milk, or cashew milk.
© addictedtodates.com. All content and images are protected by copyright. If you want to share this recipe, please do so using the share buttons provided. Do not screenshot or republish the recipe or content in full. Instead, include a link to this post for the recipe. Thank you!
Used to love creme brulee can't wait to try this vegan version. Will let you know how it goes
Thanks Kam, looking forward to hearing how it goes 🙂
Hiya Christina 🙂
Would I be able to use panela for the brûlée or would it be a similar situation to the coconut sugar if I did?
Thank you as always!
Hello!
I think that could work, I would test it on a small part first just to see x
Okay great, will do!
Thank you! X