
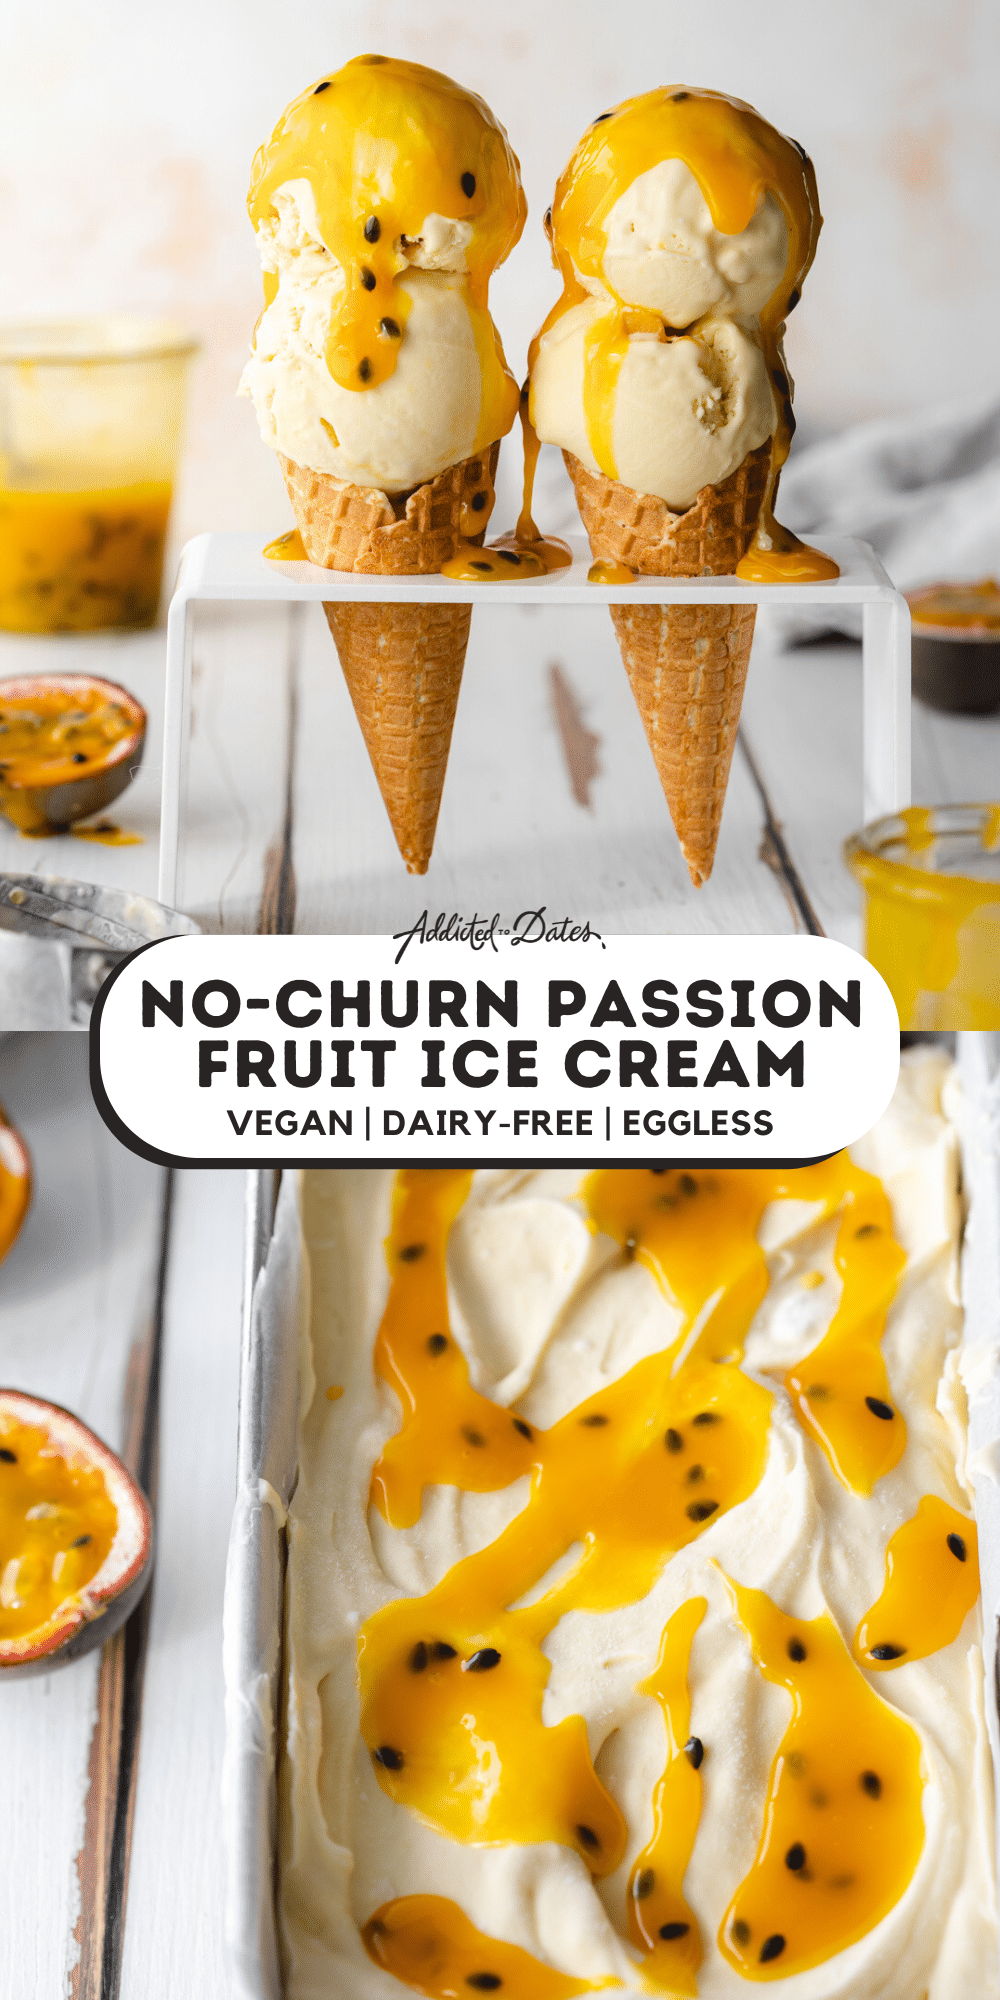
Creamy ice cream packed with real passion fruit flavor. It tastes like straight from an ice cream parlor!
This recipe is perfect if you don’t have an ice cream maker. Like other no-churn ice cream recipes, like vegan chocolate ice cream and mango ice cream, it’s great for keeping your freezer stocked all summer!
🧾 Ingredients

Ingredient Notes
Here's everything you need to make this vegan passion fruit ice cream. Find the complete list of ingredients, quantities, and instructions in the recipe card at the end of this post.
- Fresh Passion Fruit Pulp: Look for heavy purple or yellow passion fruit and avoid green ones, as they’re not ripe yet. Wrinkly skin means it’s nice and ripe! If you can’t find fresh, store-bought puree works too - just skip the extra sugar, since it’s usually sweetened.
- Vegan Condensed Milk: Gives this no-churn ice cream a super smooth texture. It helps prevent it from going rock hard or forming ice crystals, which can happen with just coconut milk or other watery bases.
- Coconut Cream: Creates a rich, creamy texture like heavy cream in traditional recipes. The coconut flavor is very mild, as the sweet and bold passion fruit stands out most. Full-fat coconut milk works too.
- Granulated Sugar: Balances the tartness of the passion fruit, which can be quite sour on its own. Maple syrup might work as a substitute, though I haven’t tested it in this recipe.
🔪 Instructions
Here's a visual overview showing how to make this easy no churn ice cream recipe. Please refer to the detailed recipe card at the end of this page for full measurements and written instructions. You can also hit the jump to recipe button at the very top of this page to skip to the printable recipe card.

Cut passion fruit in half and scoop out the pulp and seeds into a bowl. Strain through a sieve to remove seeds, pressing with a spoon to extract juice. Save the seeds if desired.

Make passion fruit coulis by simmering passion fruit juice and sugar in a saucepan for about 7 minutes until slightly thickened. Remove from heat and let cool for 15-20 minutes.

Whip the coconut cream in a large bowl with an electric whisk for a couple of minutes to reach stiff peaks.

Add the sweetened condensed coconut milk to the whipped cream and whisk for another minute until combined
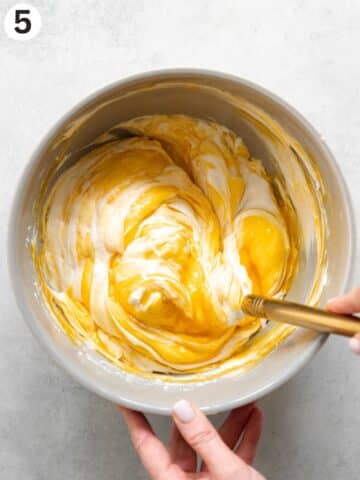
Fold in the passion fruit puree by gently mixing it into the coconut cream and condensed milk with a rubber spatula.

Transfer the ice cream mixture to a loaf pan or freezer-safe container and cover with plastic wrap. Add more passion fruit coulis on top if you like, then freeze until firm.
💭 Expert tips
Take the ice cream out of the freezer about 15 minutes before serving so it can soften slightly.
Use a hot ice cream scoop for perfect scoops every time! Just fill a mug or heat-proof jug with boiling water and let the scoop sit in it for a couple of minutes before serving. I also recommend dipping the scoop in the hot water between each scoop.
For easier scooping, store the ice cream in a shallow airtight container to help it freeze more evenly.
💬 FAQs
In this vegan ice cream, passion fruit is cooked into a thick syrup. Combined with vegan condensed milk for the no churn ice cream base, helps it freeze smoothly without getting icy!
Absolutely! You can swap it in without reducing. Just add it to taste since store-bought coulis often has added sugar. Adjust the amount based on how sweet you like it.
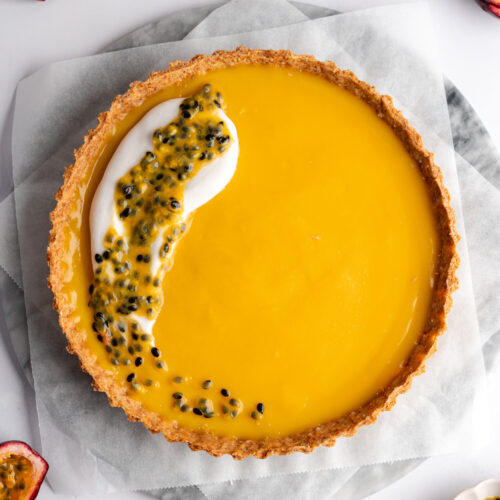
🌴 More Passion Fruit Recipes


📖 Recipe
Passion Fruit Ice Cream (No Churn, 4 Ingredients)
Ingredients
- 15-20 (250 ml) small passion fruit (250ml volume in juice) Sub with 200ml store-bought passion fruit puree *note 1
- 50 g (¼ cup) granulated sugar
- 500 g (2 ⅕ cups) coconut cream or chilled full-fat canned coconut milk *note 2
- 320 g (1 ½ cups) Sweetened condensed coconut milk or other vegan sweetened condensed milk
Instructions
- Cut the passion fruit into halves and scoop the pulp and seeds into a bowl. Pass the passionfruit through a sieve to remove the seeds, pressing down firmly with a spoon to squeeze out the juice. Reserve the seeds.
- Add the passionfruit juice and sugar to a saucepan and bring to a simmer. Stir and simmer on medium heat for 7 minutes until the juice reduces down and thickens slightly. Remove from the heat and set aside to cool to room temperature for around 15-20 minutes.
- For the passion fruit coulis, separate out ¼ of the passion fruit mixture in a small bowl and mix in 2-3 tablespoons of the reserved passion fruit seeds. Cover and refrigerate until serving.
- Add the coconut cream to a large bowl and mix with an electric whisk for a couple of minutes until creamy. Add in the sweetened condensed coconut milk and whisk for another minute to combine.
- Add the remaining ¾ of the passion fruit mixture to the bowl with the coconut cream and condensed coconut milk and fold it through using a rubber spatula. Mix again with the electric whisk to fully mix the ingredients together.
- Transfer the ice cream mixture to a loaf pan lined with parchment paper, cover with plastic wrap, and freeze for a minimum of 4 hours or until set.
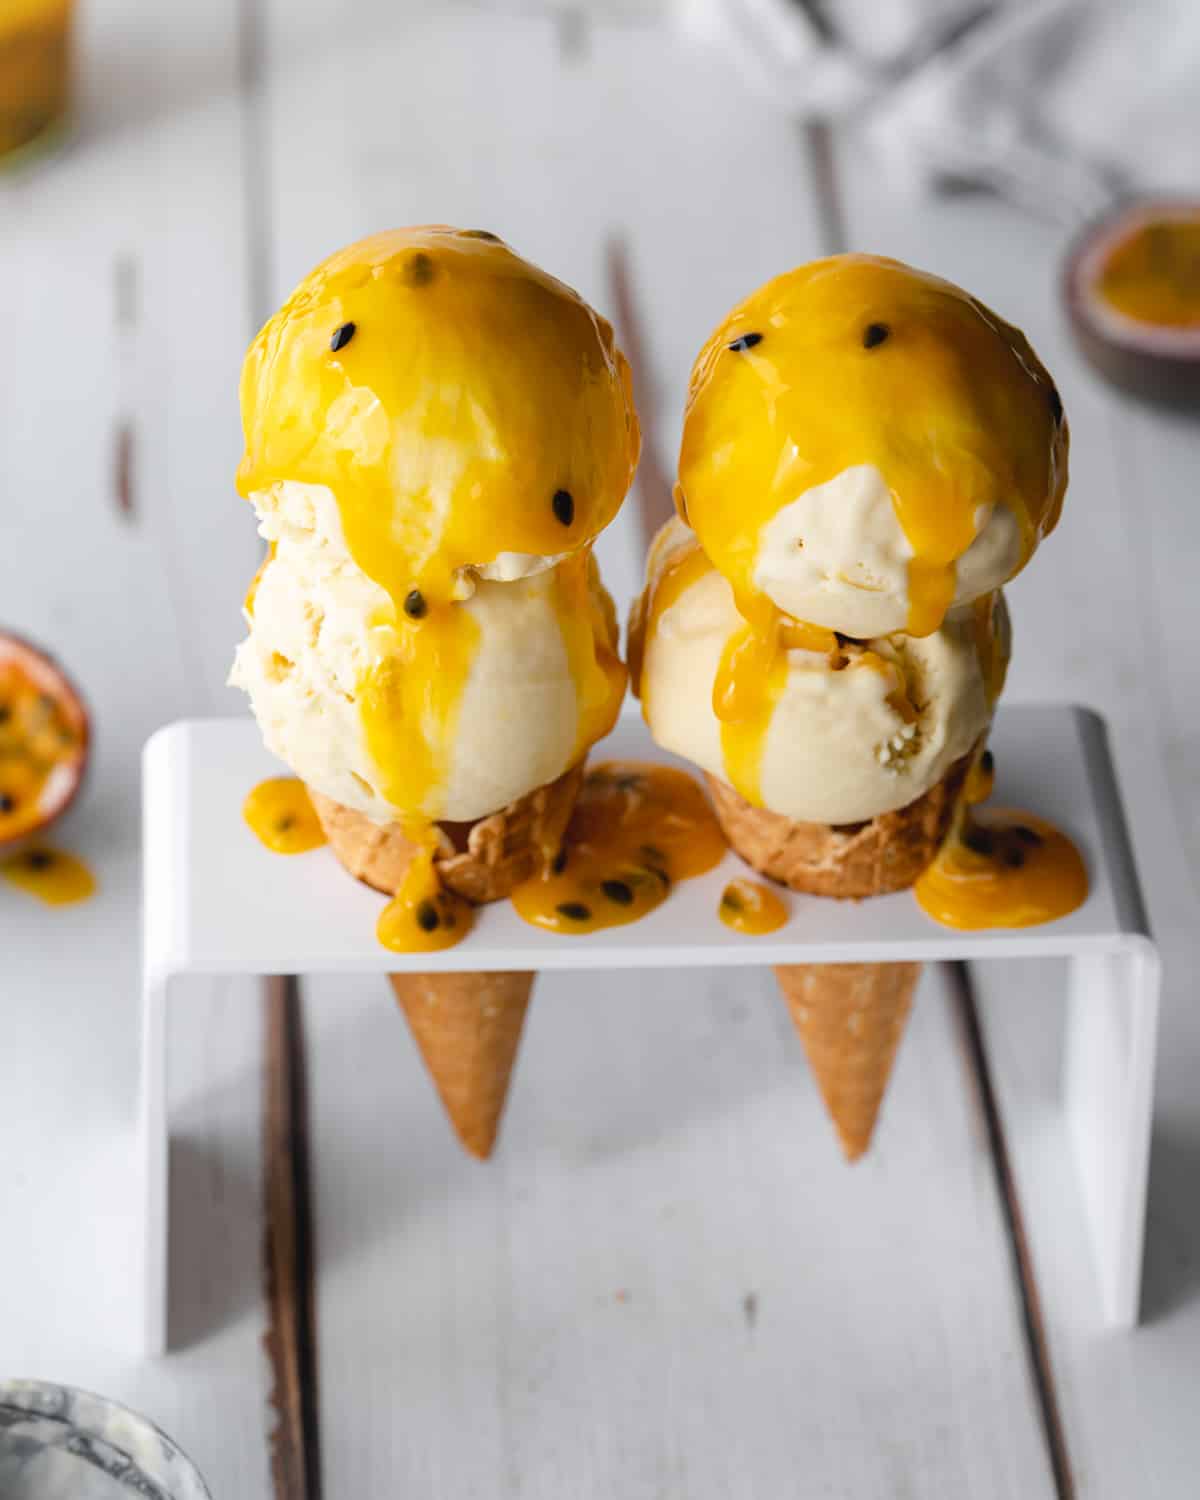
- Remove the ice cream from the freezer about 15 minutes before serving to allow it to thaw slightly. Serve with the passion fruit coulis.
Notes
- Chilled coconut milk: Refrigerate the tins of coconut milk overnight, then only use the thick cream from the top of the can. Depending on the brand, this recipe will call the cream from 2-3 400ml cans.
- Passion fruit: The number of fruits needed will vary on the variety you use, you will need 250ml volume of passion fruit juice. If using store-bought passion fruit puree, there is no need to cook it down in the saucepan or add the granulated sugar.
- Remove the ice cream from the freezer about 15 minutes before serving to allow it to thaw slightly.
- Add boiled water to a mug or heat-proof jug and sit the ice cream scoop in it for a couple of minutes before serving.
© addictedtodates.com. All content and images are protected by copyright. If you want to share this recipe, please do so using the share buttons provided. Do not screenshot or republish the recipe or content in full. Instead, include a link to this post for the recipe. Thank you!
*This recipe was originally published on July 2nd, 2020. The recipe has since been improved to minimize the ingredients used, simplify the instructions, and make it even more delicious!
