BEST EVER PISTACHIO TART
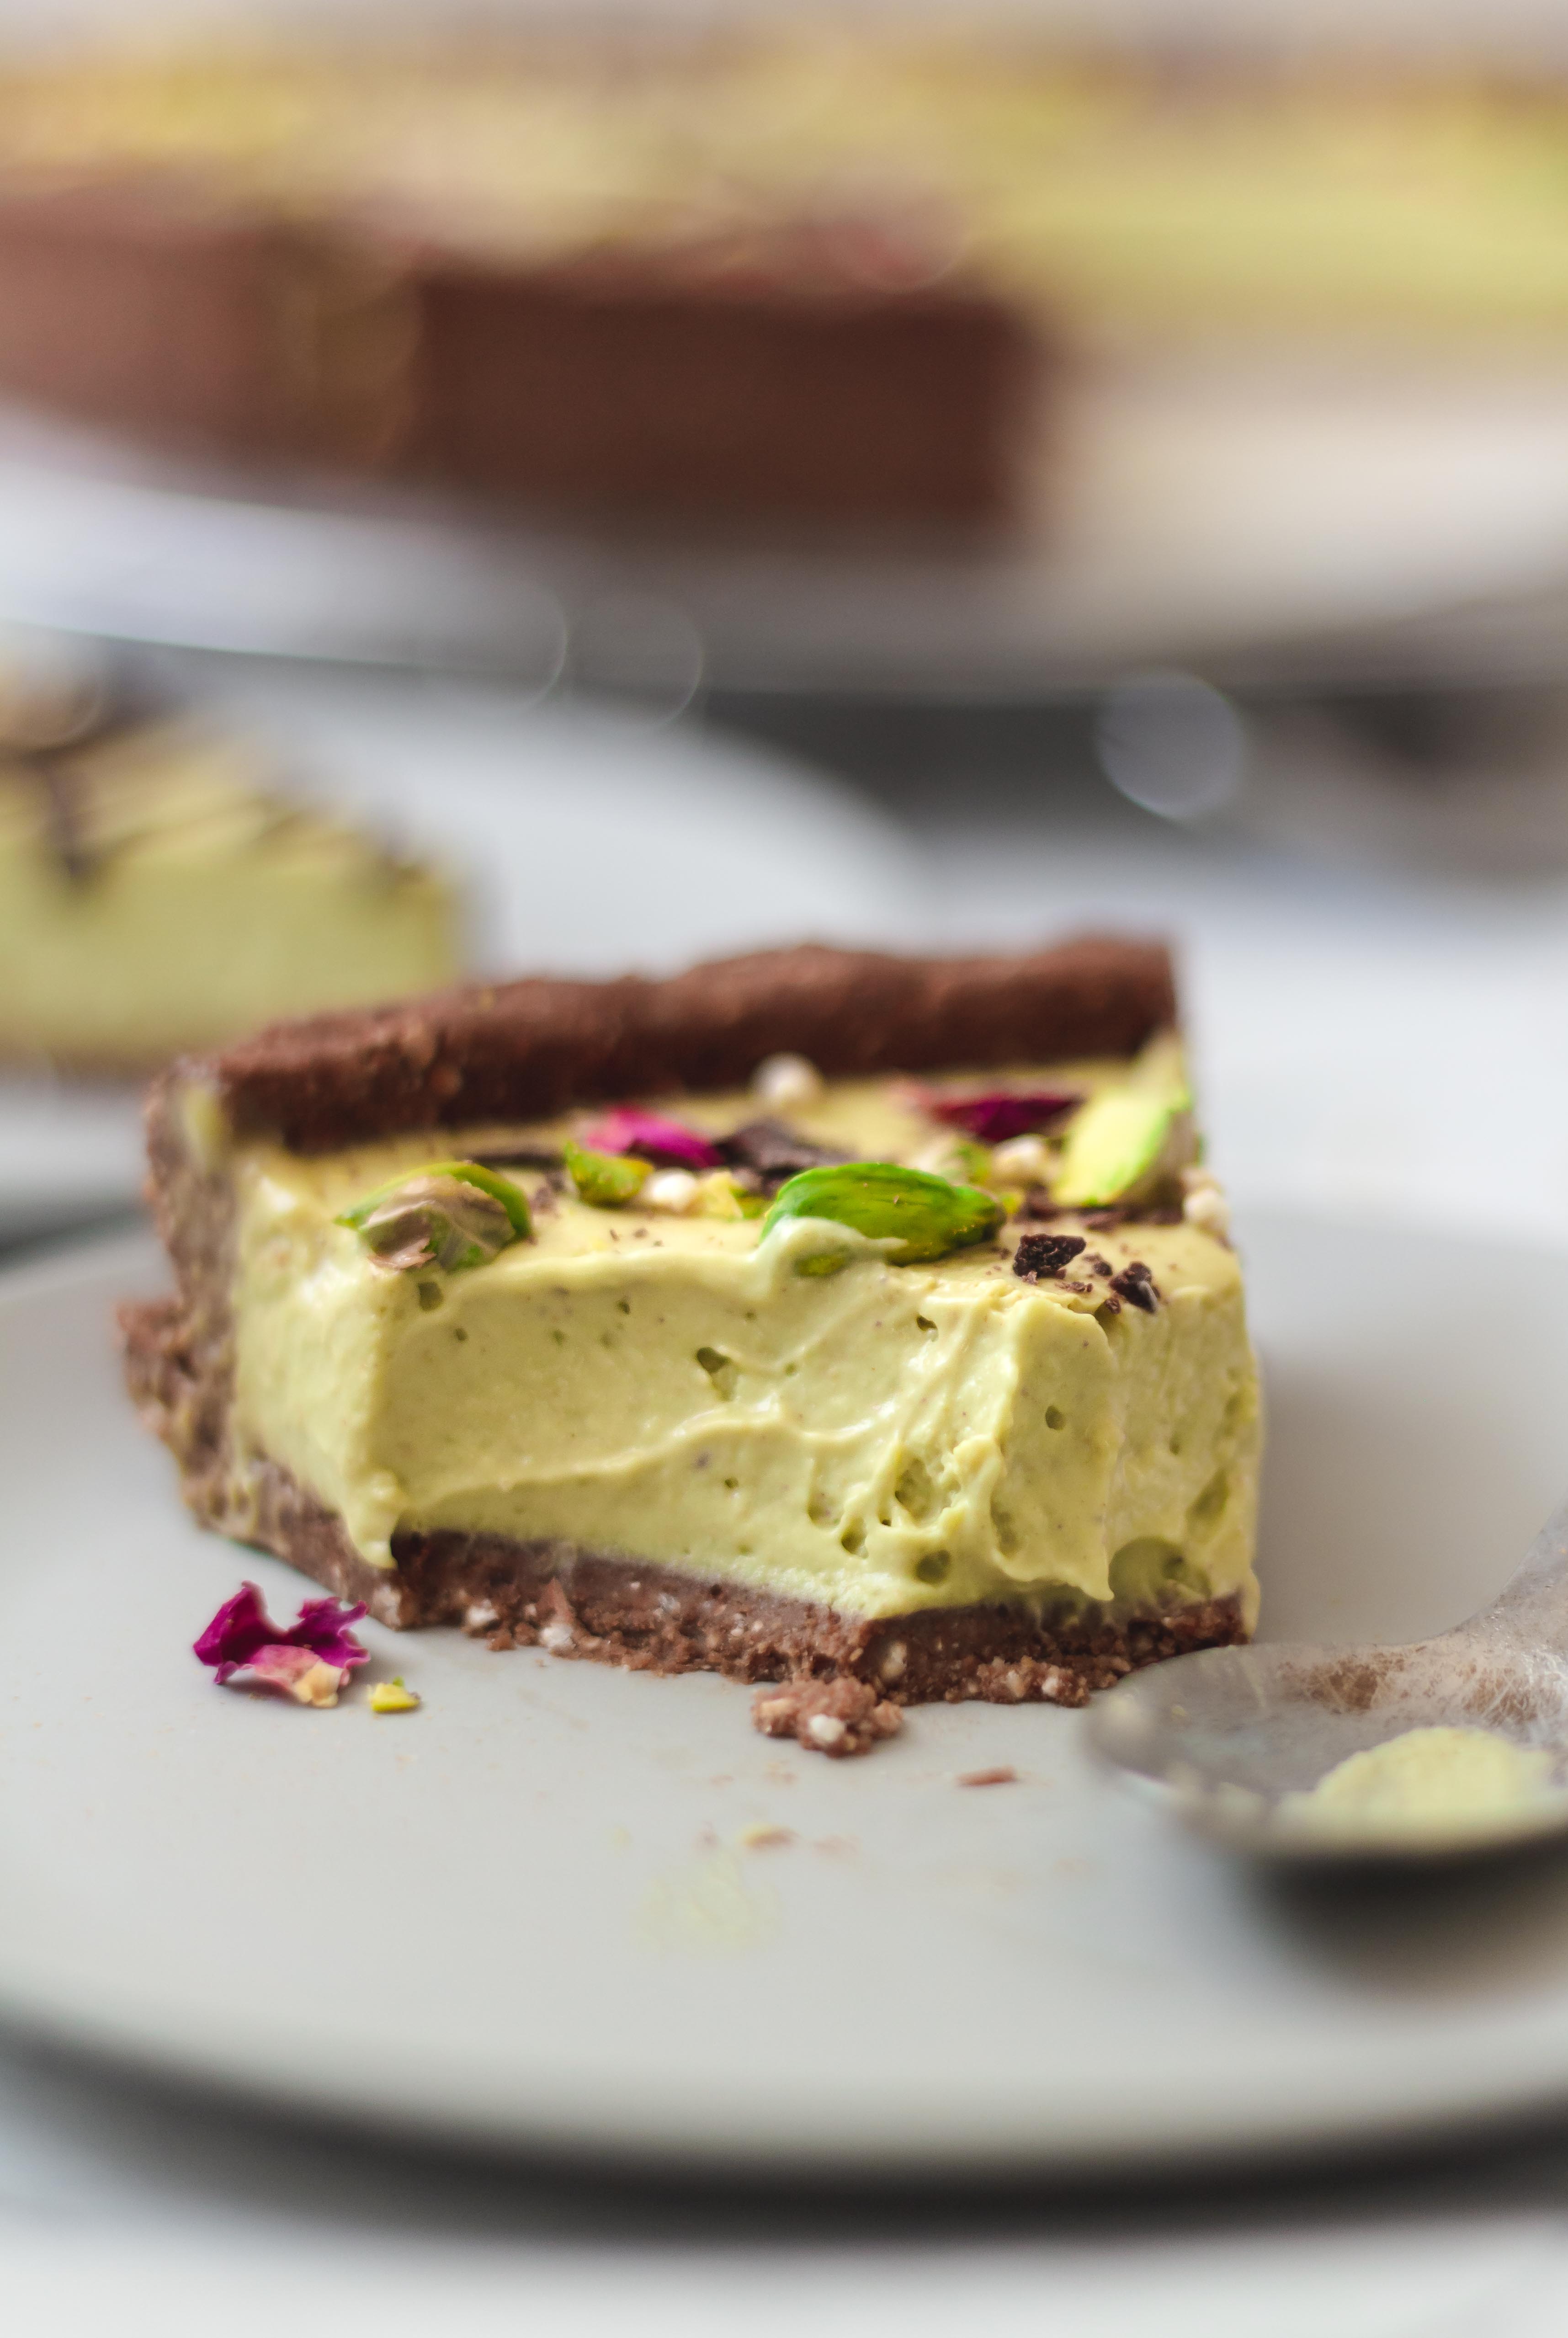
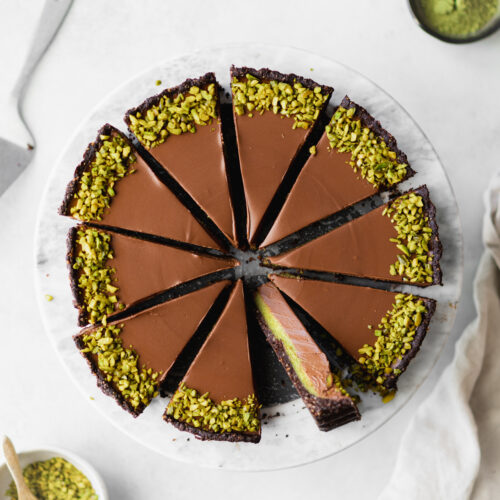
This has got to be my favorite tart so far. In fact, if you want to make just one recipe, I would recommend this one as it's sure to satisfy the sweet tooth of everyone, vegan and non-vegan! It's light, creamy, aromatic, and indulgent, all at the same time.
This recipe is great for anyone who'd like a creamy consistency of a vegan cheesecake but is allergic to cashews, as they are the main ingredient in a lot of no-bake recipes.

HOW TO MAKE THIS CREAMY VEGAN PISTACHIO TART
PREPARE THE PISTACHIOS
Pistachios do take a little bit of time and effort to prepare, as they must first be shelled, soaked, and peeled for the best results. If you are able to find them skinless then you'll be able to save on time there but I definitely wouldn't recommend skipping the soaking step as this makes them softer and easier for your blender to handle.
Place the pistachios in a large bowl and cover them with distilled water. I usually place them in the fridge overnight, but you can also leave them to soak for 4-6 hours at room temperature.
Next, you'll want to remove as much of the pistachio skins as possible. To do this, rinse the pistachios with clean water. The water will loosen the skins and they should come off easily using your fingers
MAKE THE CRUST
For the crust, add the buckwheat, oat flakes, salt, and cacao powder to your food processor and process to a light crumb consistency. Next add in the dates, coconut oil, and maple syrup and continue to process until the ingredients begin to stick together and form a dough-like consistency.
Press the dough into the base of the cake tin and push it up the sides of the tin to form a crust. You can use a spatula or the bottom of a flat glass to smooth it out. Trim around the rim of the crust to make it as even as possible and set the base aside in the freezer.
MAKE THE FILLING
Add all of the filling ingredients to your high-speed blender and blitz until completely smooth and creamy without any lumps. Next, pour the mixture onto the crust and tap the cake tin off of your work surface to knock out any air bubbles.
Place the tart into the freezer to set for about 2-3 hours, or until completely set. Once set, carefully remove the tart from the springform tin whilst still frozen.
GARNISH IT
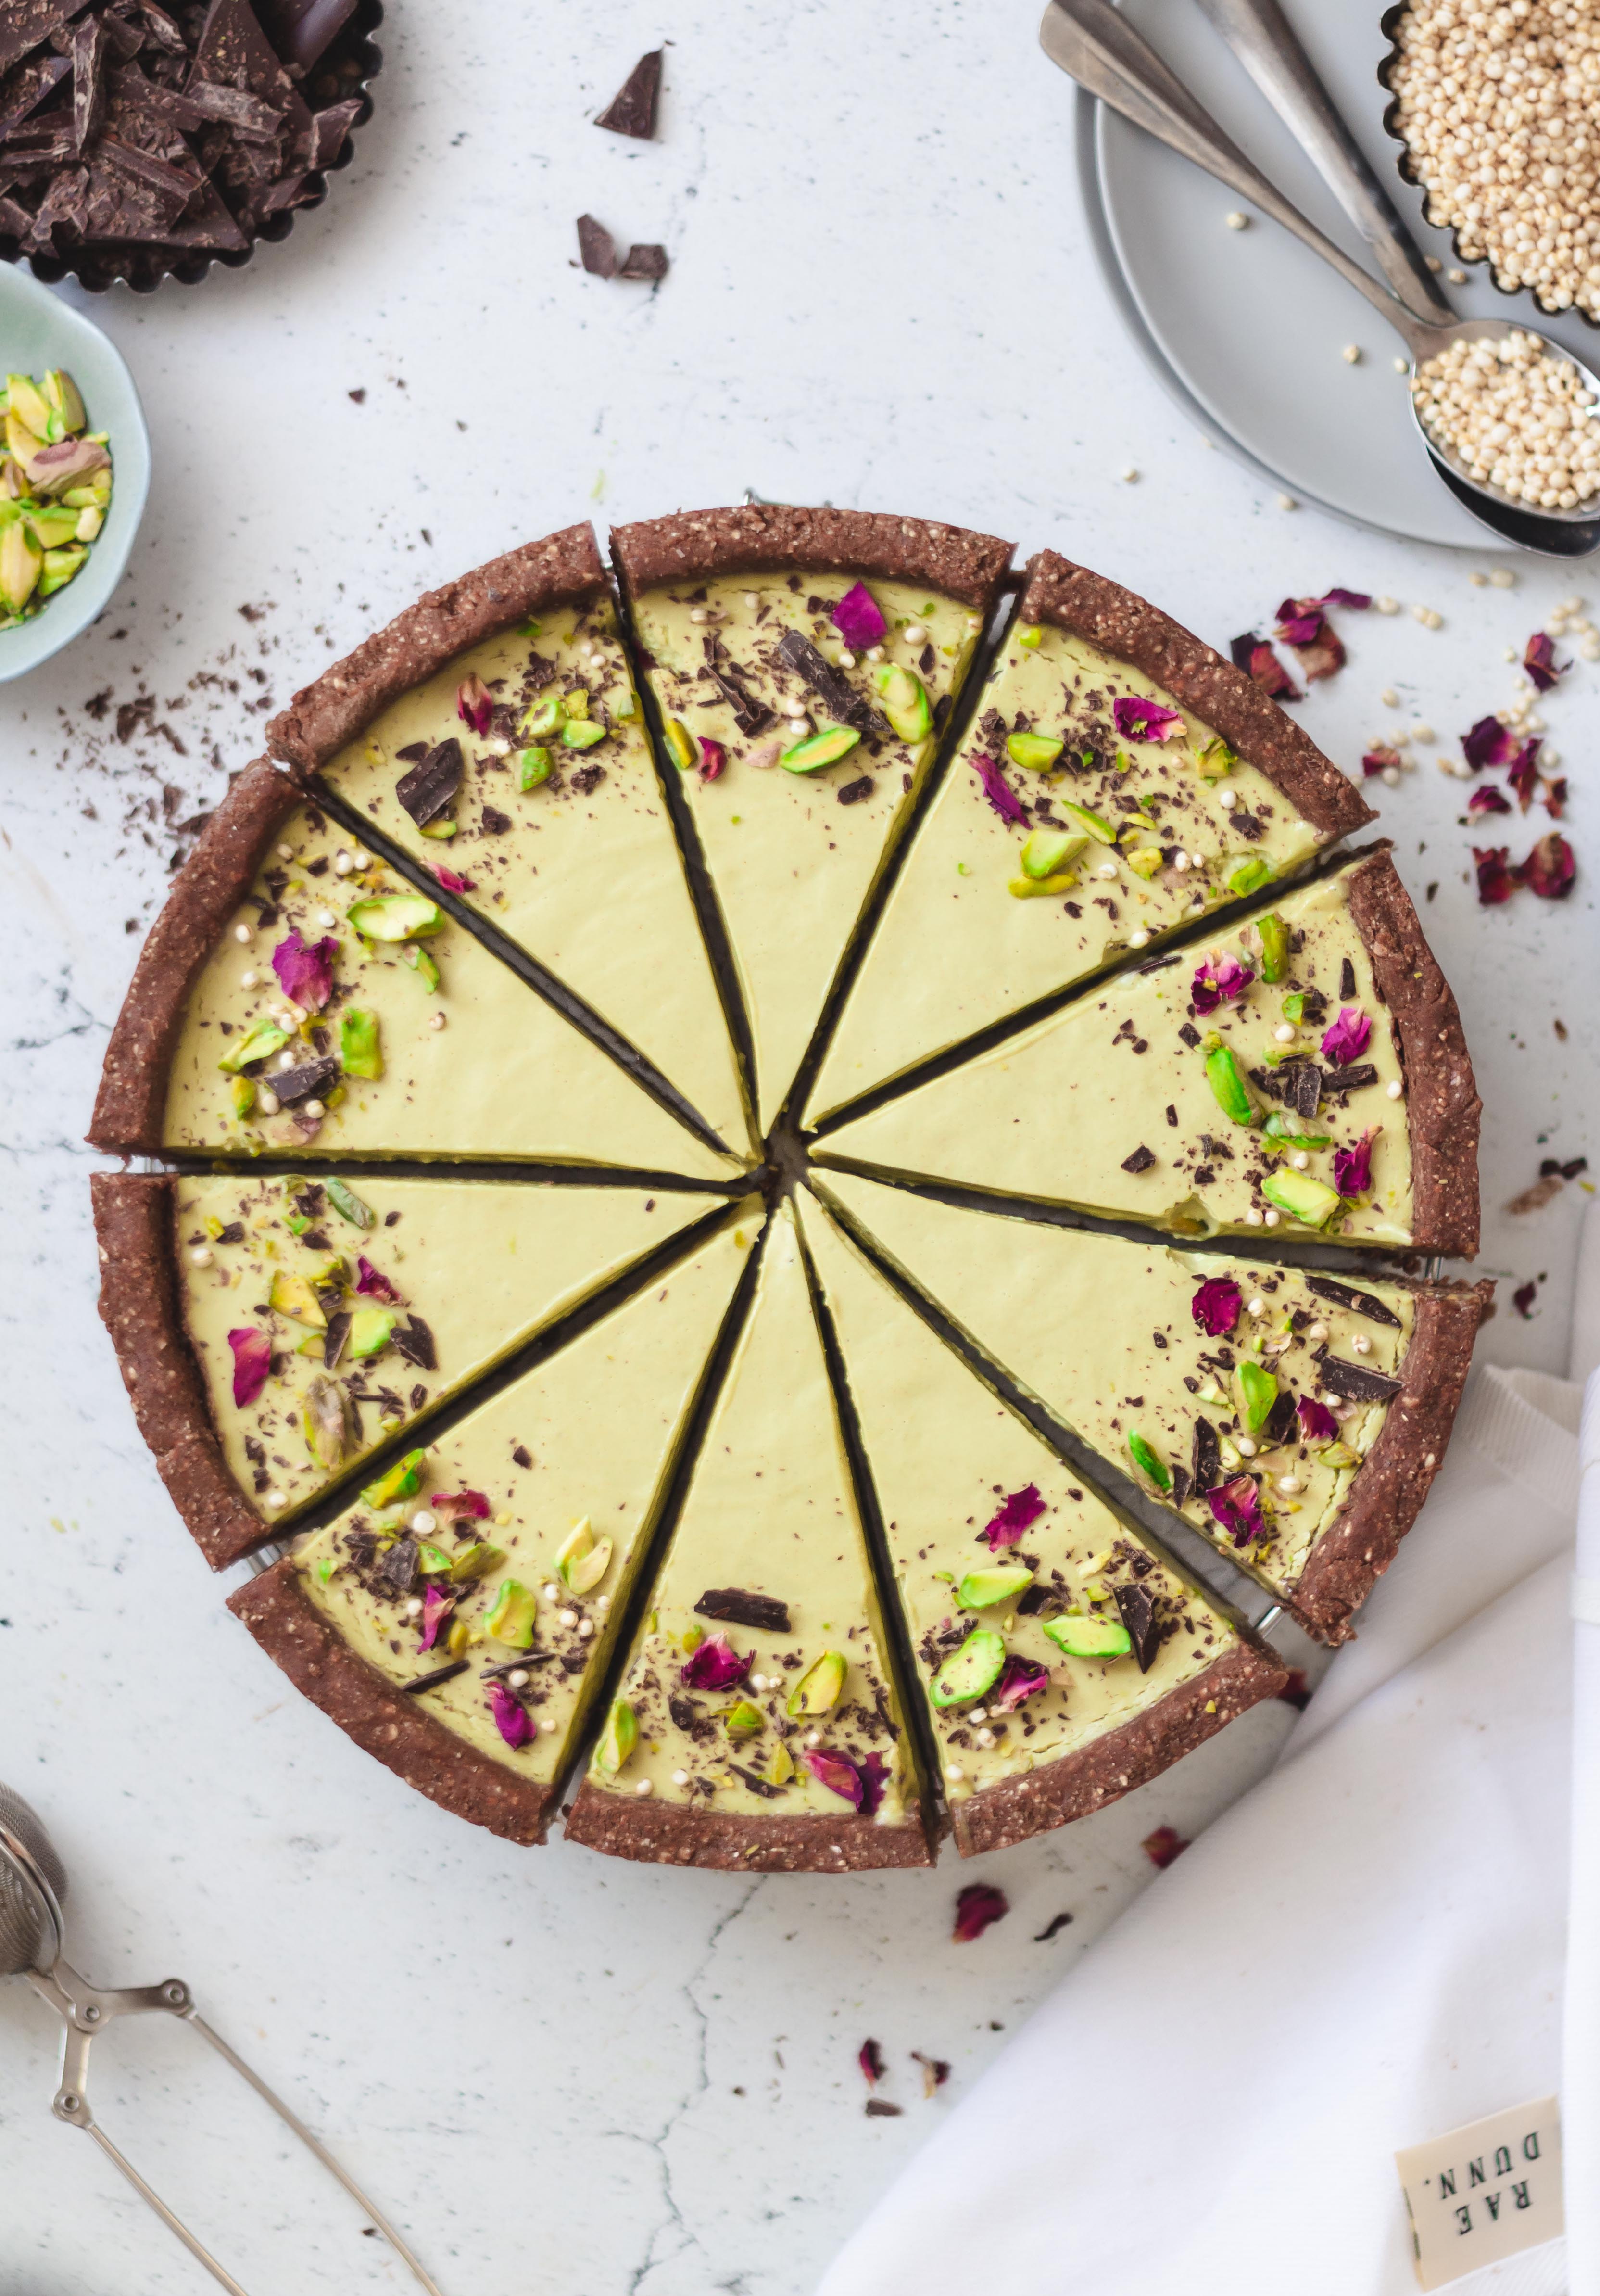
Decorate the tart by adding chopped pistachios, chopped dark chocolate, and rose petals around the outer surface of the cake. Allow defrosting for 30-40 minutes before serving.
This tart can be stored in the fridge in an airtight container for up to 5 days. Alternatively, freeze in sections and defrost as needed.
WHY MAKE THIS RECIPE?
- Plant-based and Vegan-friendly
- Light and Creamy
- Great for special occasions
- Great for pistachio lovers
- Easy to make
- Egg-free
- Dairy-free
- Cashew-free
- Gluten-free
More vegan pistachio desserts
Love this recipe? Please leave a 5-star ★★★★★ rating in the recipe card below and consider leaving a comment as well, thanks!
Stay in touch with me through social media @ Instagram, Pinterest, TikTok, and Facebook. And if you like one of my recipes, tag me!
📖 Recipe
Pistachio Tart
Ingredients
CRUST
- 1 cup (170 g) roasted buckwheat
- 1 cup (90 g) oat flakes use GF for gluten-free option
- ¼ cup (21.5 g) cacao powder
- ¼ teaspoon (1.25 g) Himalayan pink salt
- 6 medjool dates pitted
- 3 tablespoons (44.5 g) coconut oil solid
- 3 tablespoons (44.5 ml) pure maple syrup
FILLING
- 1 ½ cups (184.5 g) pistachios shells removed
- 1 400ml can chilled coconut milk use only the thick part from the top of the can *see recipe notes
- ½ cup (122 g) vanilla soya yoghurt
- ½ cup (118 ml) maple syrup
- 4 tablespoons (60 g) coconut oil solid
- 1 teaspoon (5 ml) almond extract
- ¼ cup (30 g) chopped pistachios for garnish
- ¼ cup (45 g) chopped dark chocolate for garnish
- ¼ cup (32 g) dried rose petals for garnish
Instructions
- To begin you will need to prepare the pistachios by soaking them. Add them to a large bowl, cover with water and refrigerate overnight (or a minimum of 6 hours).
- Rinse the pistachios with clean water and remove as many of the skins as possible. They should be coming off easily using your fingers as the water will have loosened them
- For the crust, add the buckwheat, oat flakes, salt, and cacao powder to your food processor and process to a light crumb consistency.
- Add the dates, coconut oil, and maple syrup and continue to process until the ingredients begin to stick together and form a dough-like consistency. If the dough isn't holding together when you press it between your fingers, add a teaspoon or two of water and blend until it sticks.
- Line the base of a 9" springform cake tin with parchment paper. Press the dough into the base and push it up the sides of the tin to form a crust. You can use a spatula or the bottom of a flat glass to smooth it out.
- Trim around the rim of the crust to make it as even as possible. Set the base aside in the freezer.
- Add all of the filling ingredients to your high-speed blender and blitz until completely smooth and creamy without any lumps.
- Pour the mixture onto the crust and tap the cake tin off of your work surface to knock out any air bubbles. Place the tart into the freezer to set for about 2-3 hours.
- Once set, carefully remove the tart from the springform tin whilst still frozen.
- Decorate the tart by adding chopped pistachios, chopped dark chocolate, and rose petals around the outer surface of the cake. Allow it to defrost for 30-40 minutes before serving.
Storage
- This tart can be stored in the fridge in an airtight container for up to 5 days. Alternatively, freeze in sections and defrost as needed.
Notes
- Chilled coconut milk: refrigerate the tin of coconut milk overnight, then only use the thick cream from the top of the can (it should yield 1 cup). Depending on the brand you use, you may need more than one can. I find Nature's Charm and Biona to yield the best quantity of thick coconut milk per can.
© addictedtodates.com. All content and images are protected by copyright. If you want to share this recipe, please do so using the share buttons provided. Do not screenshot or republish the recipe or content in full. Instead, include a link to this post for the recipe. Thank you!




Hi! Does the buckwheat need to be cooked? Thanks!
Hi Radmila,
I'm not sure if you saw my previous reply. Yes it's ready roasted/toasted, or if using raw you can toast them in the oven at 160 C for 20 minutes or so. Hope this helps!
Im in looks so delicious
Are we supposed to use raw or roasted pistachios?
Hi Wendy,
Raw pistachios, enjoy!
I made this visually beautiful tart and met all my expectations of a amazing dessert ! Thank you
Hi Kim,
That's so lovely to hear, thank you so much for sharing!
Hi dear Christina,
I really hope you are doing well?
I have our 3 Birthdays coming soon so plan to make some of your delicious cakes!
I just discovered your Pistachio Tart and really interest me!
I have a few questions please
#TART TIN
Can I use a Tart Tin instead of Springform pan?
More easy for the crust sides maybe?
My Tart Tin is 3.5cm height with removable base..
What is the height of the crust?
#CRUST
What can I use instead of Buckwheat? And maybe Oatflour?
I thought about Pistachios? to make a crust like Chocolate Pistachio Tart which have Pecans Cacao Powder and Maple Syrup..
And can I remove Coconut oil for more Dates instead or Pistachio Butter?
Would be amazing I guess!?
#FILLING
So we need about 1 Cup you said that means 240g Coconut Milk thick part?
Can I remove 60g Coconut oil for more Coconut Milk thick part instead?
#TOPPING
The Vegan Whipped cream like for Mango tart? But how you make it exactly because I tried with a can and failed...
Please let me know
Many thanks
Henri 🙂
is the buckwheat supposed to stay virtually whole? Because that makes the crust taste like one is constantly chewing on pebbles.
The crust dont need to be cooked on a oven before?
Is buckweat and oats are uncooked?
Thank you
Hi,
No, the crust does not need to be baked
it was more of a pudding for me and the crust was bad
how do i thicken the filling if the consistency us too loose? Also the base i created isn't enough to form walls in my 9" spring form pan. Will this cause issues after chilling?
Hi Gavin,
The filling will set once its refrigerated, it will appear quite runny after mixing but that's completely normal. For the base, it doesn't need to come all the way up the sides, as long as its high enough to house the filling, you're good 🙂
Definitely a 5 star rating for this recipe. Made it for a family dinner last weekend and everybody LOVED it!!!!!!! All wanted to know the recipe. I topped it with blueberries & blackberries, along with the pistachios and grated dark chocolate. The fresh fruit went lovely with it. Thanks 🙂
So happy everyone loved it Genea. Thank you so much for your lovely review, the berries sound like a wonderful addition 🙂
Hi Christina! I just run into your recipe and I will definitely try it! I only have one question. Would you somehow incorporate some avocado in the filling? Maybe omitting the soya yogurt? What do you think? 🙂
Hi Electra,
That sounds interesting! I can't say how it would turn out though, as the yogurt adds a lovely tangy flavor and I'm not sure avocado would hold up to that. The color would likely be great though!
Did this when I had vegan guests over for dinner as my regular go to desserts were a no go and it was an absolute success!
Hi Cathy,
That's so wonderful to hear, I'm happy that it went down well with your guests. Thank you so much for the lovely feedback x
Hi Christina!
I work in the vegan cafe as a pastry chef and tried many your desserts, all worked so well and delicious 😋 just after seeing you’re from Ireland made me so happy as I’m based in Ireland too 🇮🇪
Keep up the great work and so looking forward to seeing your new recipes!
PS. This pistachio tart was so creamy and delicious! Got many good feedback!
Hi Luna,
I'm so happy to hear that. Ah what part of Ireland are you based in? 🙂
Hi, looks delicious.
Is the cocomilk replaceble?
Thanks
Thanks Stefanie,
I reckon you could try 200g vegan cream cheese in its place.
Hi! Is the buckwheat cooked?
Thanks!
Hi Radmila,
Yes its ready roasted/toasted, or if using raw you can toast them in the oven at 160 C for 20 minutes or so. Hope this helps!
Hello, did you dry your own rose petals or can you buy them already dried?
Hi Tina,
I bought them ready-dried 🙂
Hello there. I bought some Crema di Pistacchio while I was in Italy recently. I'd like to use it in a recipe. Could I use it in this one cause it sounds delicious. Could I use a combo of the crema and pistacchio nuts? Thank you.
Steph
Hi Steph,
That should work fine. I believe that Crema di Pistacchio will be a bit more oily/buttery than soaked pistachios, so the flavor, consistency ad color will likely be different.
I would say that using a combination of the crema and pistachio nuts like you suggest would be a great option!
Thank you sharing the recipes!
Can I substitute roasted buckwheat with buckwheat flour?
Thank you
Hi Manal,
I think that should work, you may just need to add more or less depending on the consistency. The crust is pretty forgiving in that sense 🙂
Hi, what size of baking form are you using for this amount of ingredients? thx, Zuzana
Hi Zuzana,
It's a 9" pan
thx
Hi Christina, can I replace the pistachios in the filling with a pistachio paste? Thank you
Hi Pavlina,
That should work fine, just keep an eye if it's already sweetened you may need to add less maple syrup according to your taste
hi!! i completely forgot to chill the coconut milk overnight and i have to make it today for christmas! so will it be okay if it isnt chilled??
Hi Indi,
The coconut milk may not set properly if it's not chilled. Did it turn out ok for you?
Hi, what can i substitute the vanilla soya yoghurt for?
Hi Kila,
You can use another plant-based yogurt such as coconut, almond, or plain soya with a teaspoon of vanilla extract. Alternatively, you could try half and half coconut cream mixed with a plant-based milk to thin it out and some vanilla. Hope this helps!
Yum. Looks delish. I'm adding this to the must try list.
Thanks so mcuh Stephanie. I'm excited for you to give it a try!
I just made this and it tasted awesome. Can't wait to share with my friends and family.
So happy to hear you loved it Dana, thank you for the amazing feedback. Have a lovely weekend, Christina x
Thank you for sharing this AMAZING recipe! Everyone in our house LOVED it! It was so easy to make too!
I'm so happy to hear that everyone loved the recipe, thank you so much for your amazing feedback!
Hi Christina
I`d love to try this recipe. Do you have any experience with using roasted&salted pistaccios? I cant find any natural/pure pistaccio in the supermarkets here.
Thanks :))
Sydne
Hi Sydne,
Roasted pistachios will work fine, you can just soak them as you would raw pistachios, just make sure they are unsalted.
Hey!
Is it necessary to soak the pistachio in distilled water? Or just water works?
Thank you!
Hi Geraldine,
Any water is fine as long as you're happy to drink it as is, as it's not being cooked.
The recipe says to place the tart in the freezer. My freezer is very small so I was wondering if the tart can be placed in the fridge and if yes for how long? Many thanks
Hey!
Yes it will set in the fridge, I'd leave it overnight (at least). You will also have to be super careful removing it from the tin, as its much easier to do that when frozen to prevent it breaking. So make sure you cut all around the edges to loosen the crust before attempting to remove the cake tin!
Can’t wait to try this! What can I use instead of vanilla soya yoghurt? That is not available here. Thank you
What can you use instead of coconut oil
For the base you can substitute nut butter or water, just add water little by little if you are using it. For the filling, it helps the mixture to set, so you could replace it with cacao butter (this will alter the taste slightly) or omit it if you don't mind the tart being a little less stable.
Sounds so yum! For the filling; 1 can of 400ml coconut oil of 1400ml coconut oil?
Thanks!
Hi Nisha,
Do you mean coconut milk I've added a note to the recipe to clarify
Yes i meant the coconut milk haha. Thanks for clarifying!
What exactly is roasted buckwheat? You just take regular (or green?) buckwheat and roast them on the pan (that will not be raw then)? Or do you need them to sprout? Or dehydrate? I am confused....
Hi Anda,
Yes exactly, you can toast buckwheat in the pan or you might be able to buy it ready toasted which is how I buy it most of the time. The buckwheat can also be interchanged for oats or nuts of your choice to make the base
Hello, Can I use buckwheat flour? Or buckwheat groats?
Thank you.
Hi Therese,
Absolutely, buckwheat groats are what's used in the recipe. You can also substitute them with oats or nuts of your choice - just watch the consistency and add more or less depending.
Thank you! Excited to try this today.
Looks delish!! What size cake tin would you recommend for these measurements?
Hi Roxane,
Thanks for calling this out. The recipe calls for a 9" springform cake tin.
It's in the freezer as we speak and I cannot wait to dig in! So fun to make too.
Everyone needs to try this recipe!! I hope you don't mind if we freely translate this recipe to share on the blog (of course I will link to the original URL with credits)?
For 400 ml coconut milk you are suggesting to use from the top thick part only. So it’s not going to be 400 ml?
Exactly, use just the thick cream part from the top of a 400ml can.
Hi Christina,
I’d love to give this a go but this coconut milk volume still seems a bit vague to me. In your experience how much of a can would you expect to use; 1/2, 1/4, 1/3?
Hi John,
It's a 400ml can, using just the thick coconut cream and not the water. If you place a 400ml can in the fridge overnight, the water will separate leaving the thick coconut cream on top. You only want use the thick part for the recipe, not the water from the bottom of the can. Hope this makes sense.
Hi,
I was wondering if i could substitute the vanilla soya milk for oats or almold milk, since i don’t have any handy right now?
Yes absolutely 🙂 You can add a teaspoon of vanilla extract if you have it handy, but it will be fine without it too
We can use milk instead of yoghurt then for the filling?
hi, I was wondering what you could use instead of buckwheat? I have none on hand and where I live is on lockdown currently. I was also wondering how stable the tart is after thawing? Its still holds its shape well? Yours looks beautiful
Hi Sarah, thank you so much. You can use oats or nuts in place of the buckwheat, just keep an eye on the consistency of the mixture. I would add the liquids bit by bit so as to keep an eye on the texture (add more or less if needed). The tart holds it's shape well