




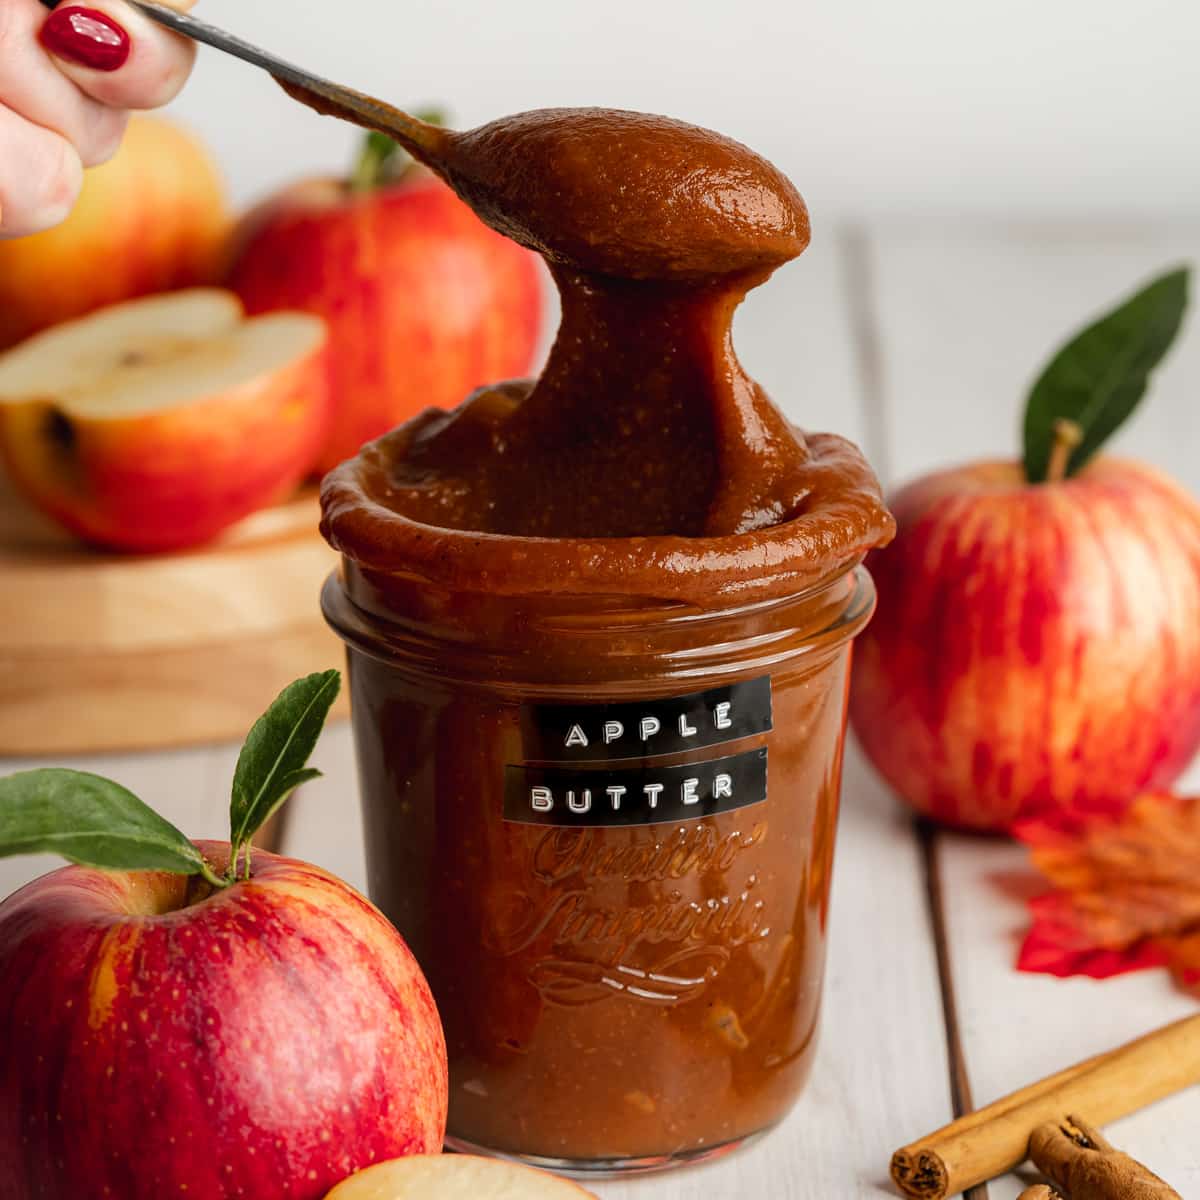
I leave the apple peels on for extra color and flavor, then blend everything until completely smooth before reducing it again on the stovetop. The second cook is what transforms it from applesauce into a thick, spreadable apple butter.
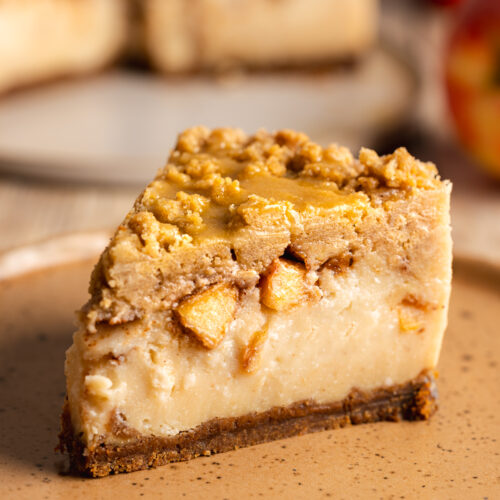
I use it as both the filling and flavor base in my vegan apple crumb cake and in my no-bake apple butter cheesecake.
Jump to:
Key ingredients
Find the complete list of ingredients, quantities, and instructions in the recipe card at the end of this post.
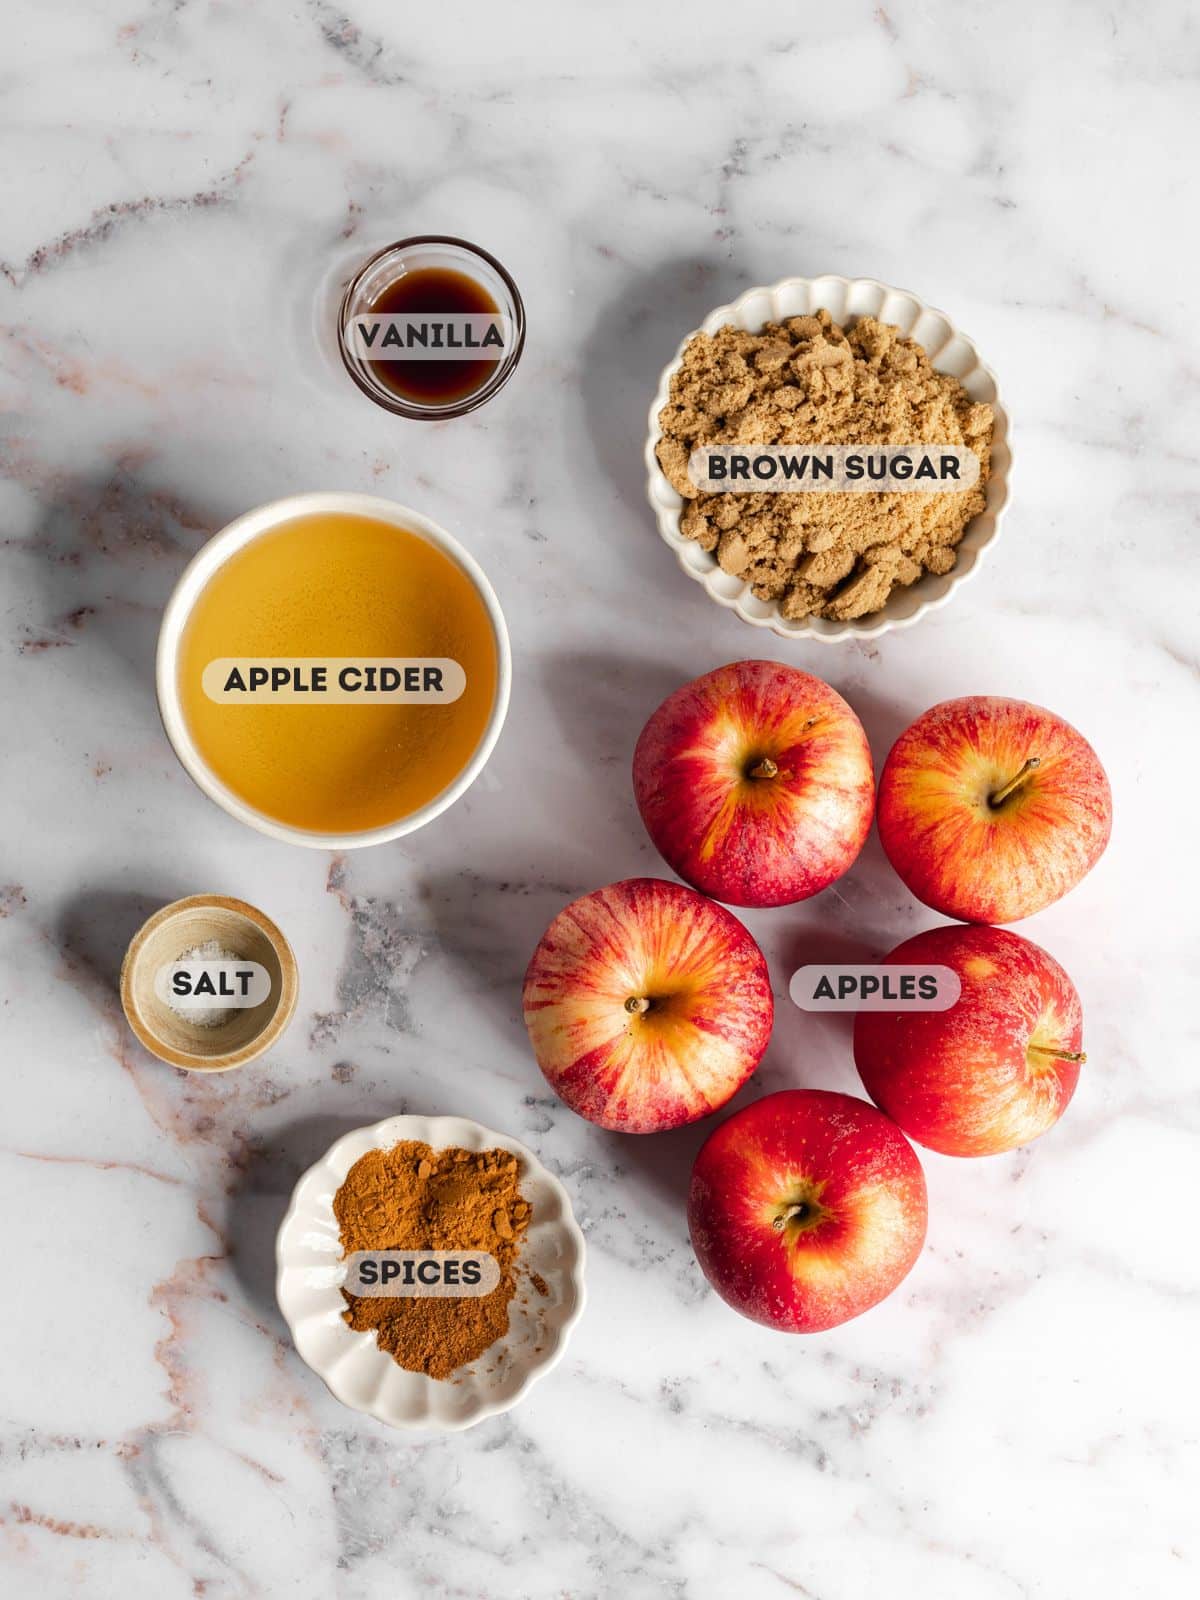
Apples: Honeycrisp is my first choice, and Gala or Fuji also work well. Sweeter, flavorful apples give the finished butter a better flavor than watery varieties such as Red Delicious or Golden Delicious. Leave the peels on - they disappear once blended.
Apple cider: Here this means unfiltered apple juice, not apple cider vinegar. Regular apple juice works too, and I've also successfully tested carbonated alcoholic cider.
Light brown sugar: Helps deepen both the flavor and color as the apples cook down.
Warm spices: Cinnamon, nutmeg, and cloves give the apple butter its classic fall flavor.
Get Your Free E-Book!
Sign up to the Addicted to Dates newsletter for your FREE Guide To Vegan Cheesecakes!
🔪 Instructions
Here are step-by-step images showing how to make this easy apple butter recipe. Please refer to the detailed printable recipe card at the end of this page for full measurements and written instructions:
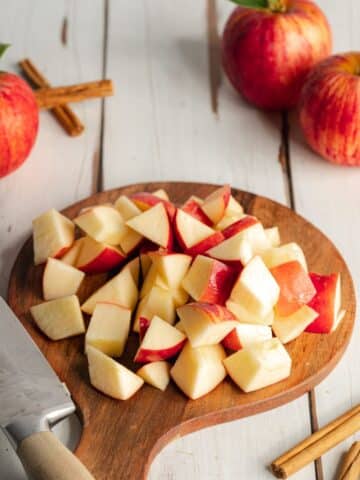
Step 1: Remove the cores from the apples and cut them into cubes (1-2 inches in size). Add the cubed apples to a medium saucepan with all the other ingredients.
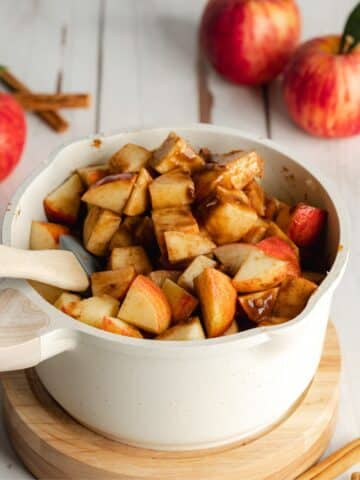
Step 2: Bring the mixture to a simmer over medium heat and cook for 1 hour, stirring occasionally with a rubber spatula.
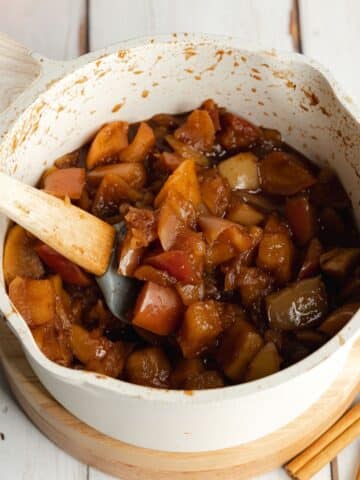
Step 3: The liquids will reduce and the apples will soften and cook down. Remove the pan from the heat and let it cool slightly for 10 minutes.

Step 4: Transfer the mixture to a high-speed blender or food processor and blitz for a few minutes until completely smooth and creamy. You can also use an immersion blender.
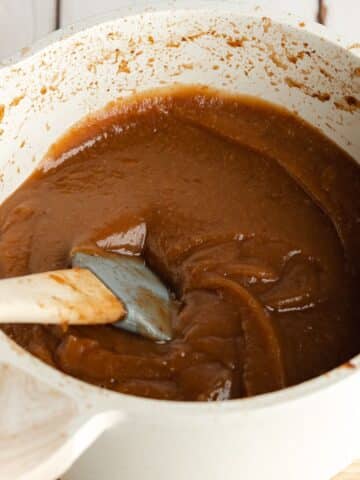
Step 5: After blending, return the apple mixture to the saucepan and continue cooking over medium-low heat. It will gradually darken and become much thicker as more moisture evaporates. The purée can splatter as it reduces, so keep the saucepan covered between stirs. Every 5-10 minutes, carefully lift the lid away from your face and stir well, scraping across the bottom and into the corners.
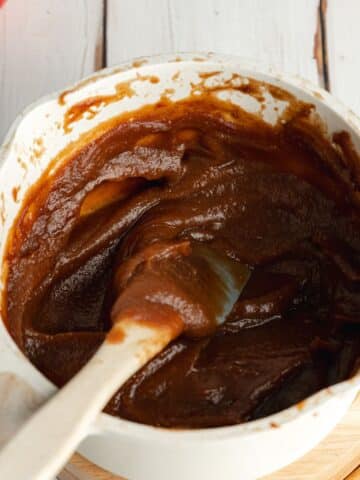
Step 6: The apple butter is ready when it is thick enough to mound on a spoon rather than run off it, with no watery liquid separating around the edges. It will thicken a little further as it cools. Remove from the heat and let it cool to room temperature for around 30 minutes. Transfer to clean airtight jars or a sealed container and refrigerate.
Christina's Recipe Tips
Choose flavorful, sweeter apples. Honeycrisp is my favorite here; Gala and Fuji are also good choices. Very tart apples such as Granny Smith can make the finished butter too sharp.
Leave the peels on. There's no need to peel the apples because everything is blended until smooth.
Don't rush the second reduction. Blending gives you smooth apple purée; continuing to cook it is what gives apple butter its darker color and thick, spreadable consistency.
Watch for splattering. Keep the pan covered between stirs during the final reduction and carefully lift the lid away from yourself when stirring.
Doubling the recipe: Use a larger saucepan and expect the reduction to take longer because there is more moisture to evaporate.
How To Use Apple Butter
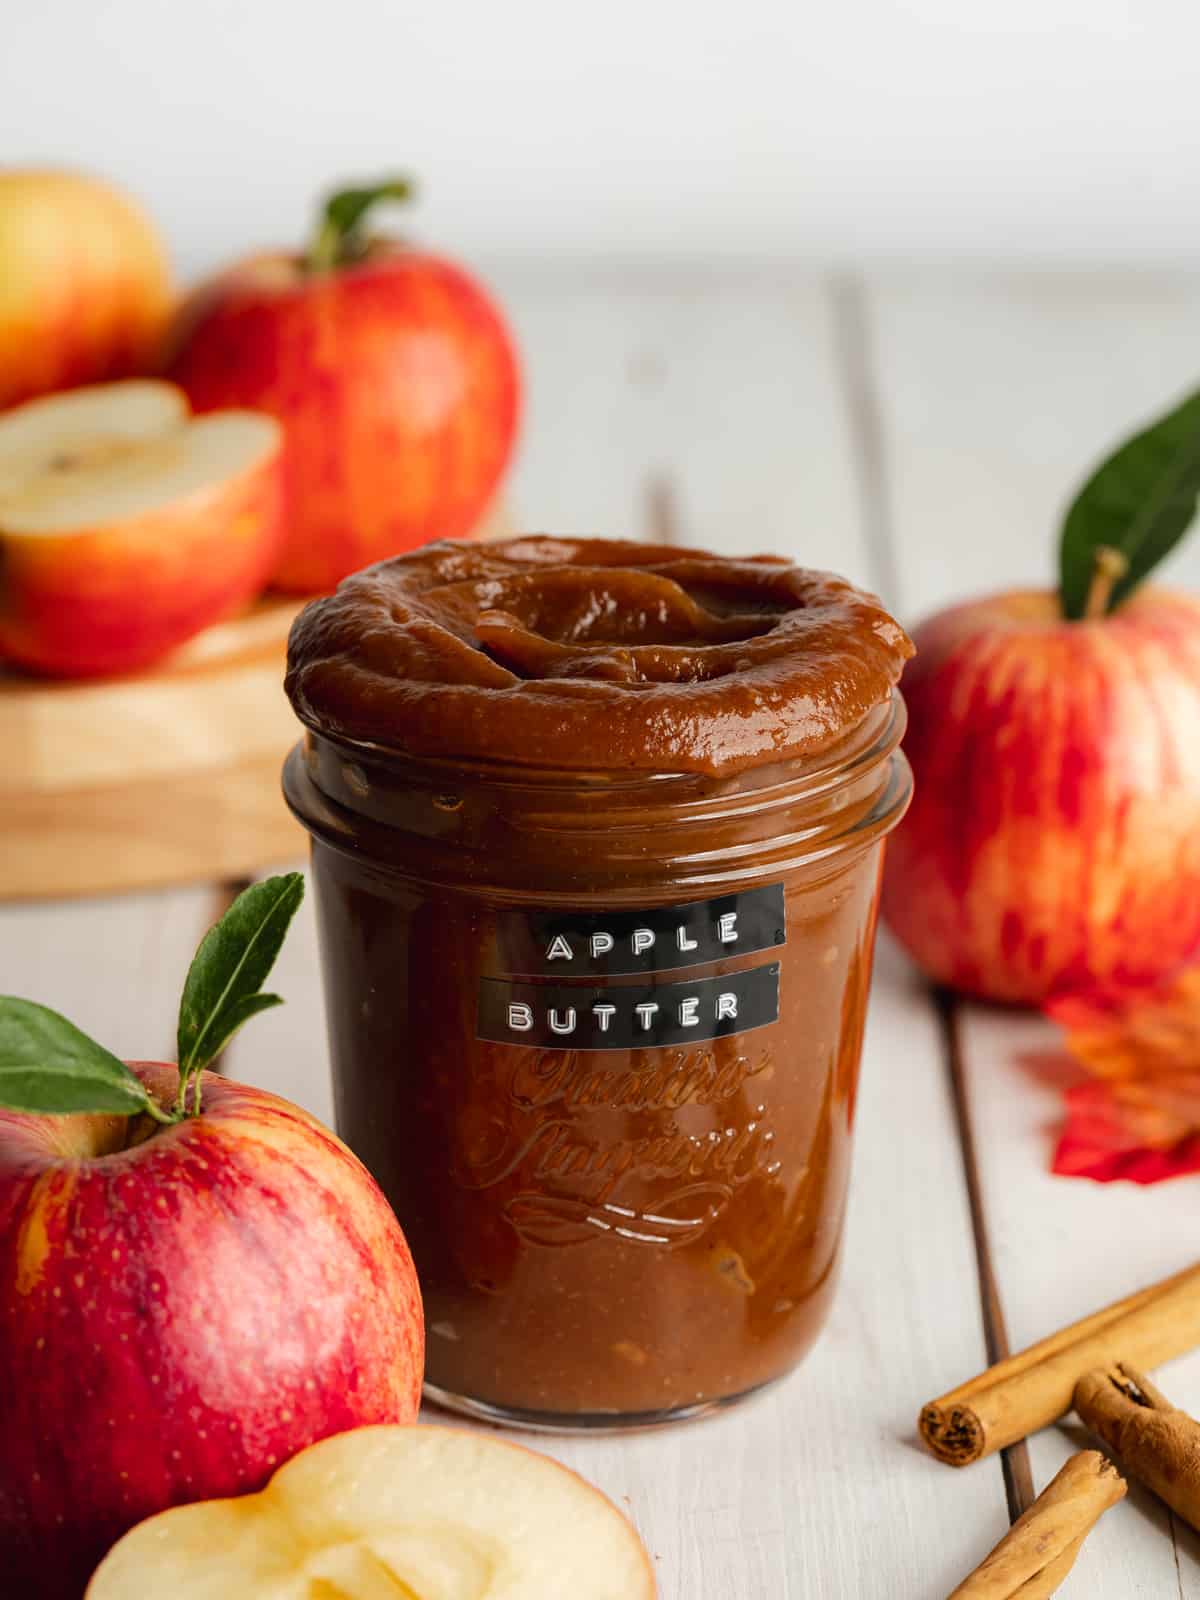
Spread apple butter over toast, scones, pancakes, waffles, or English muffins; swirl it into oatmeal or yogurt; spoon it over vanilla ice cream; or use it as a filling for cakes and cupcakes.
Its thick consistency also makes it useful anywhere you want concentrated apple flavor without adding pieces of fresh fruit or lots of extra moisture.
Storage: Keep it in a clean airtight jar in the refrigerator for up to 1 month, or freeze it in an airtight container for up to 3 months. You can also freeze individual portions in an ice cube tray.
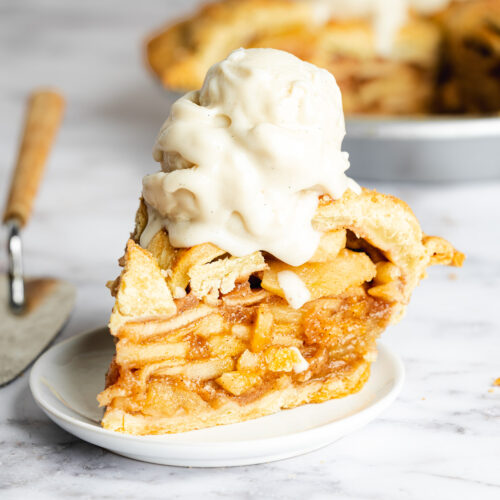
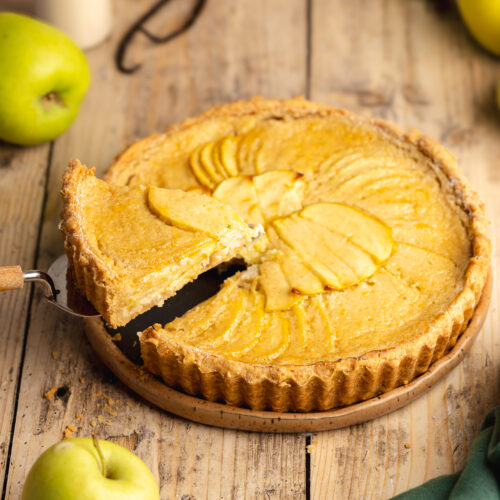
More Vegan Apple Recipes


Love this recipe? Please leave a 5-star ★★★★★ rating in the recipe card below and consider leaving a comment as well, thanks!
Stay in touch with me through social media @ Instagram, Pinterest, TikTok, and Facebook, and subscribe via email to get all our new recipes!
📖 Recipe
Easy Stovetop Apple Butter
Ingredients
- 7-8 red apples 1 kg after coring *see note 1
- 100 g (½ cup) brown sugar
- 240 ml (1 cup) apple cider or apple juice not apple cider vinegar! *see note 2
- 2 teaspoons vanilla extract
- 2 teaspoons ground cinnamon
- ½ teaspoon ground nutmeg
- ¼ teaspoon ground cloves
- ¼ teaspoon sea salt
Instructions
- Prepare: Remove the cores from the apples and cut them into cubes (1-2 inches inches in size). Add the cubed apples to a medium saucepan with all the other ingredients.
- Cook: Bring the mixture to a simmer over medium heat and cook for 1 hour, stirring occasionally with a silicone spatula. The liquids will reduce and the apples will soften and cook down. Remove the pan from the heat and let it cool slightly for 10 minutes.
- Blend: Transfer the mixture to a high-speed blender or food processor and blitz for a few minutes until completely smooth and creamy.
- Reduce: Transfer the blended apple mixture back to the saucepan over medium-low heat. Cover the saucepan with a lid between stirs, as the apple butter can splatter while it reduces. Carefully lift the lid away from yourself every 5-10 minutes and stir well. Continue cooking until the apple butter is dark, thick, and spreadable (around 30 minutes). A spoonful should mound rather than run, with no watery liquid separating around the edges.
- Remove from the heat and let it cool to room temperature for around 30 minutes. Transfer to clean airtight jars or a sealed container and refrigerate.
Notes
- Apples: You need 1kg of apples after removing the cores - allow an extra 100g/3.5oz or so if measuring apples before preparing them. I use Honeycrisp.
- Apple Cider: This is unfiltered apple juice, not the alcoholic beverage. However, I have also tested it with carbonated alcoholic apple cider which worked well!
© addictedtodates.com. All content and images are protected by copyright. If you want to share this recipe, please do so using the share buttons provided. Do not screenshot or republish the recipe or content in full. Instead, include a link to this post for the recipe. Thank you!






Can I freeze this?
Hi Kay,
Yes, You can freeze it in an airtight container for up to 3 months. You can also transfer it to ice cube trays so that can grab a portion anytime you fancy!
Do you peel apples?
Hi John,
No, the peels are left on them here.
It is an amazing recipe. Delicious!!! Thank you!!!!
Hi Maria,
Thank you so much for your wonderful feedback 🙂
So, how are we to remove the lid to stir the sauce? You say it will split if we remove the lid
Hi Patricia,
Keep the lid on and carefully remove it whenever you want to stir it, it may spit (not split) so be careful. If anything doesn't make sense just let me know, hope you enjoy the recipe!