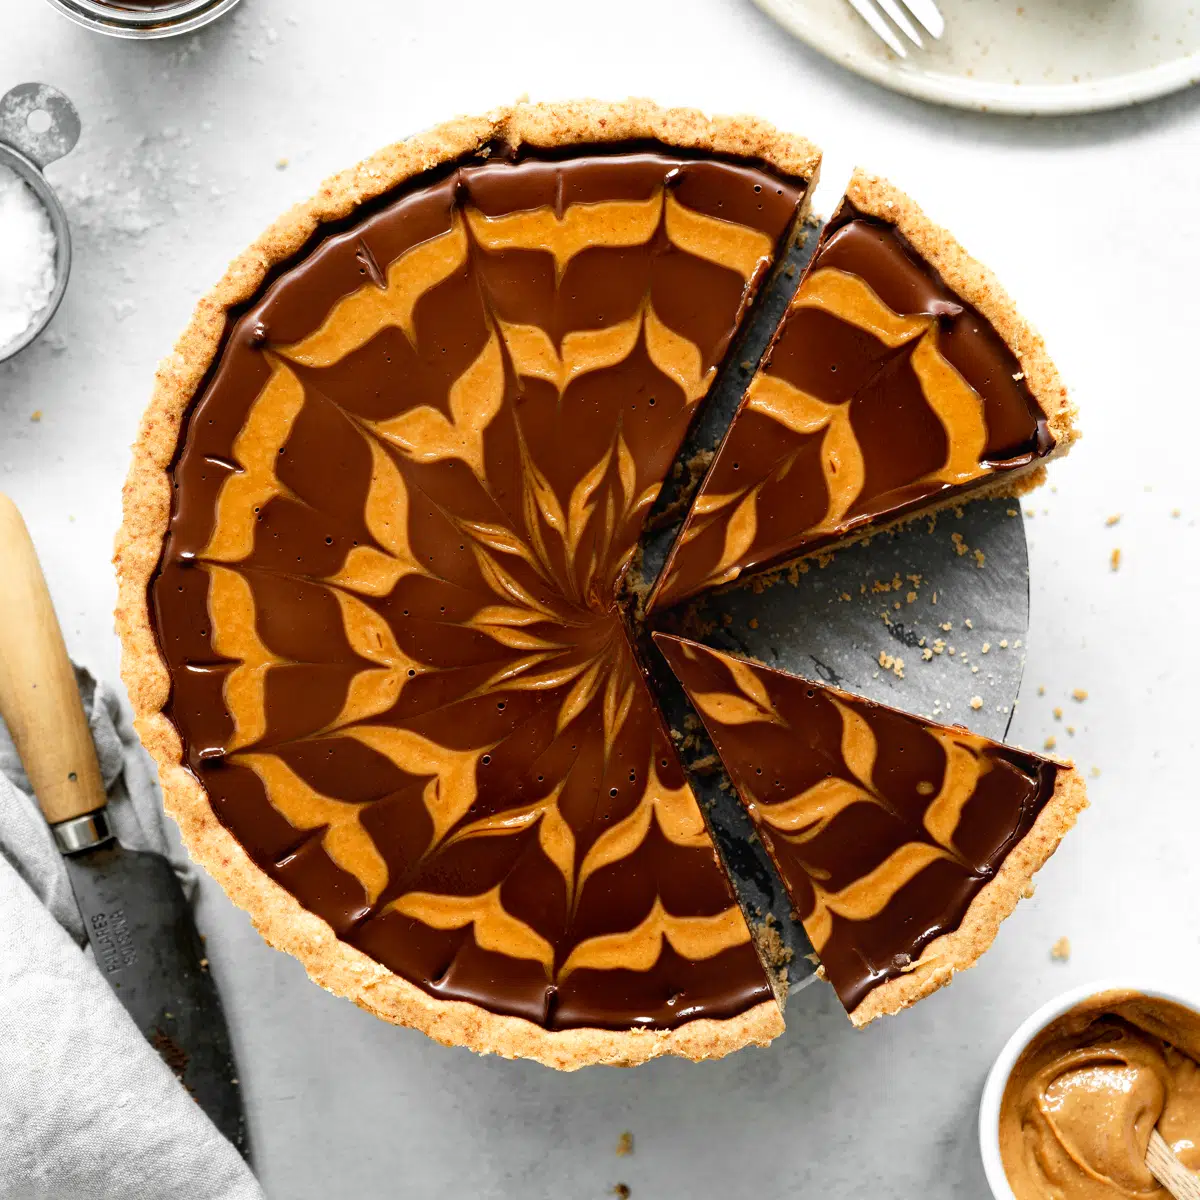
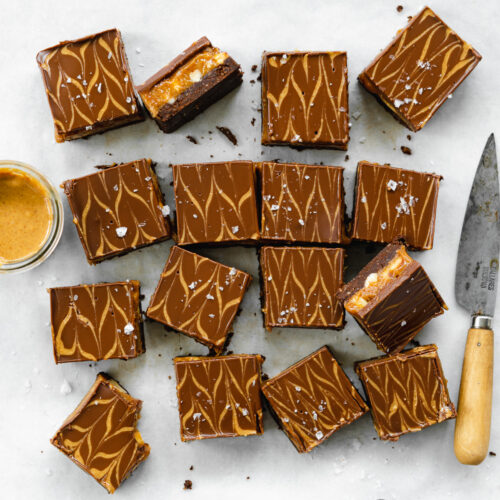
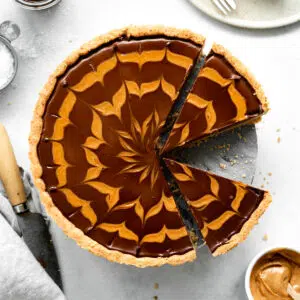
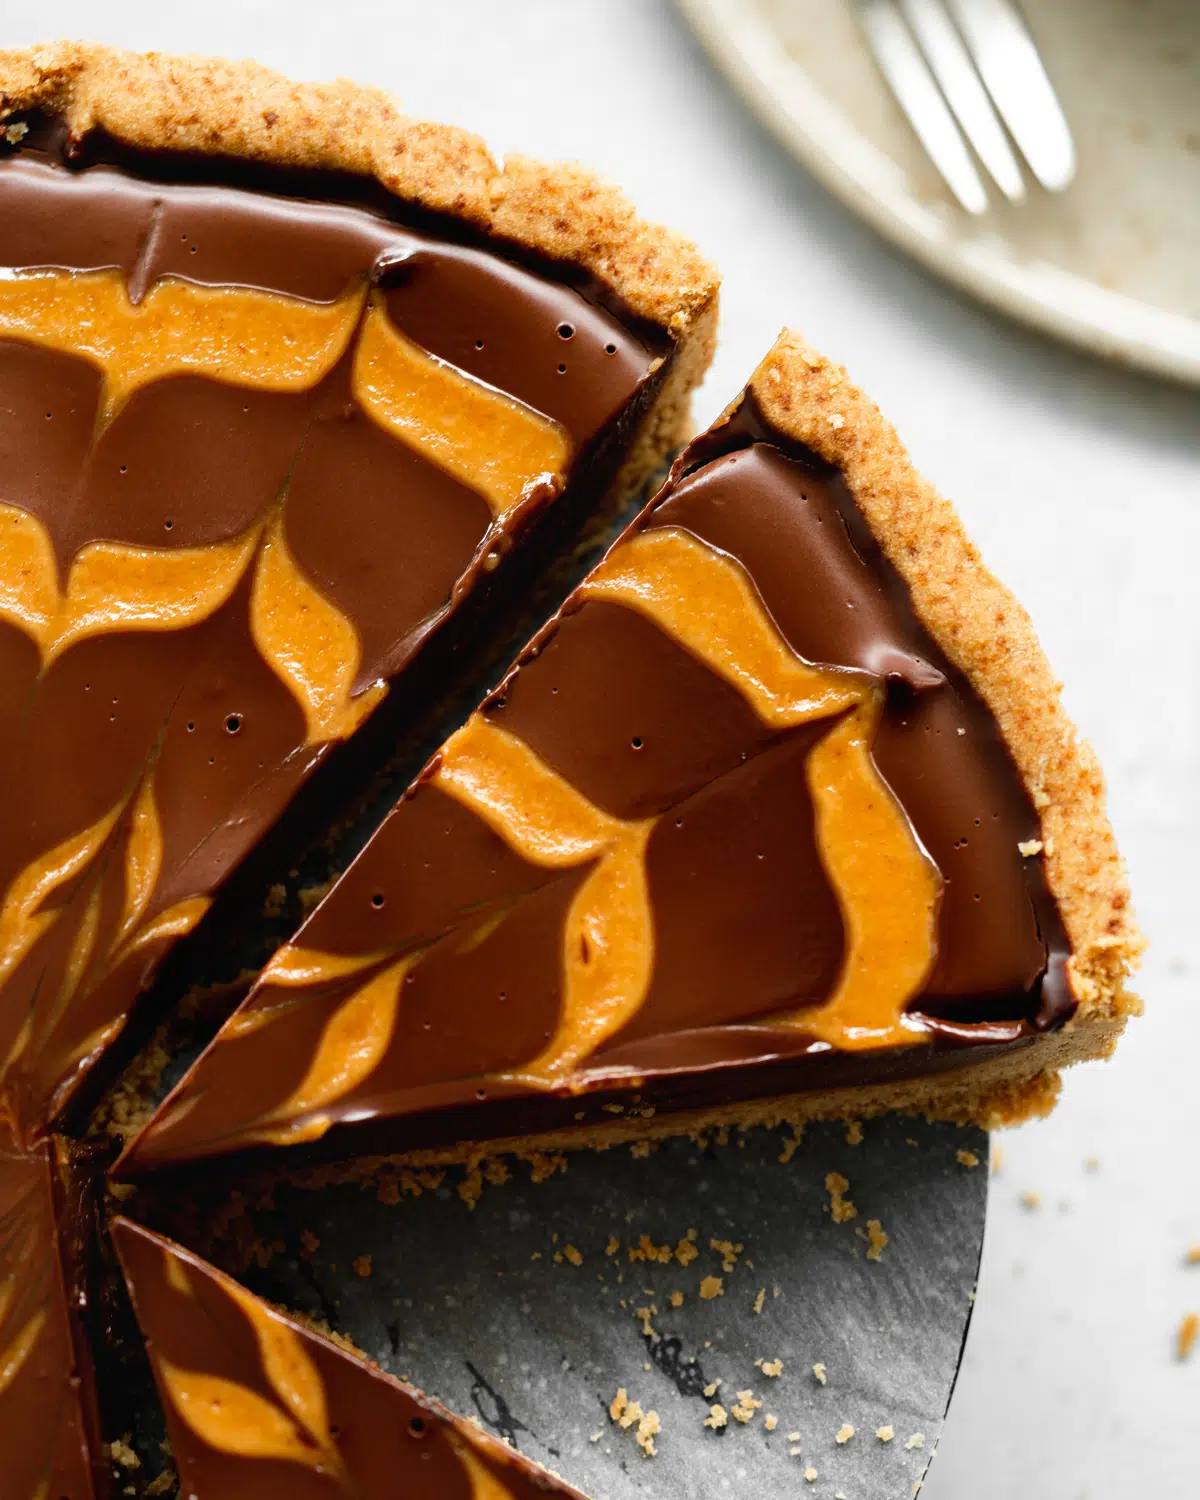
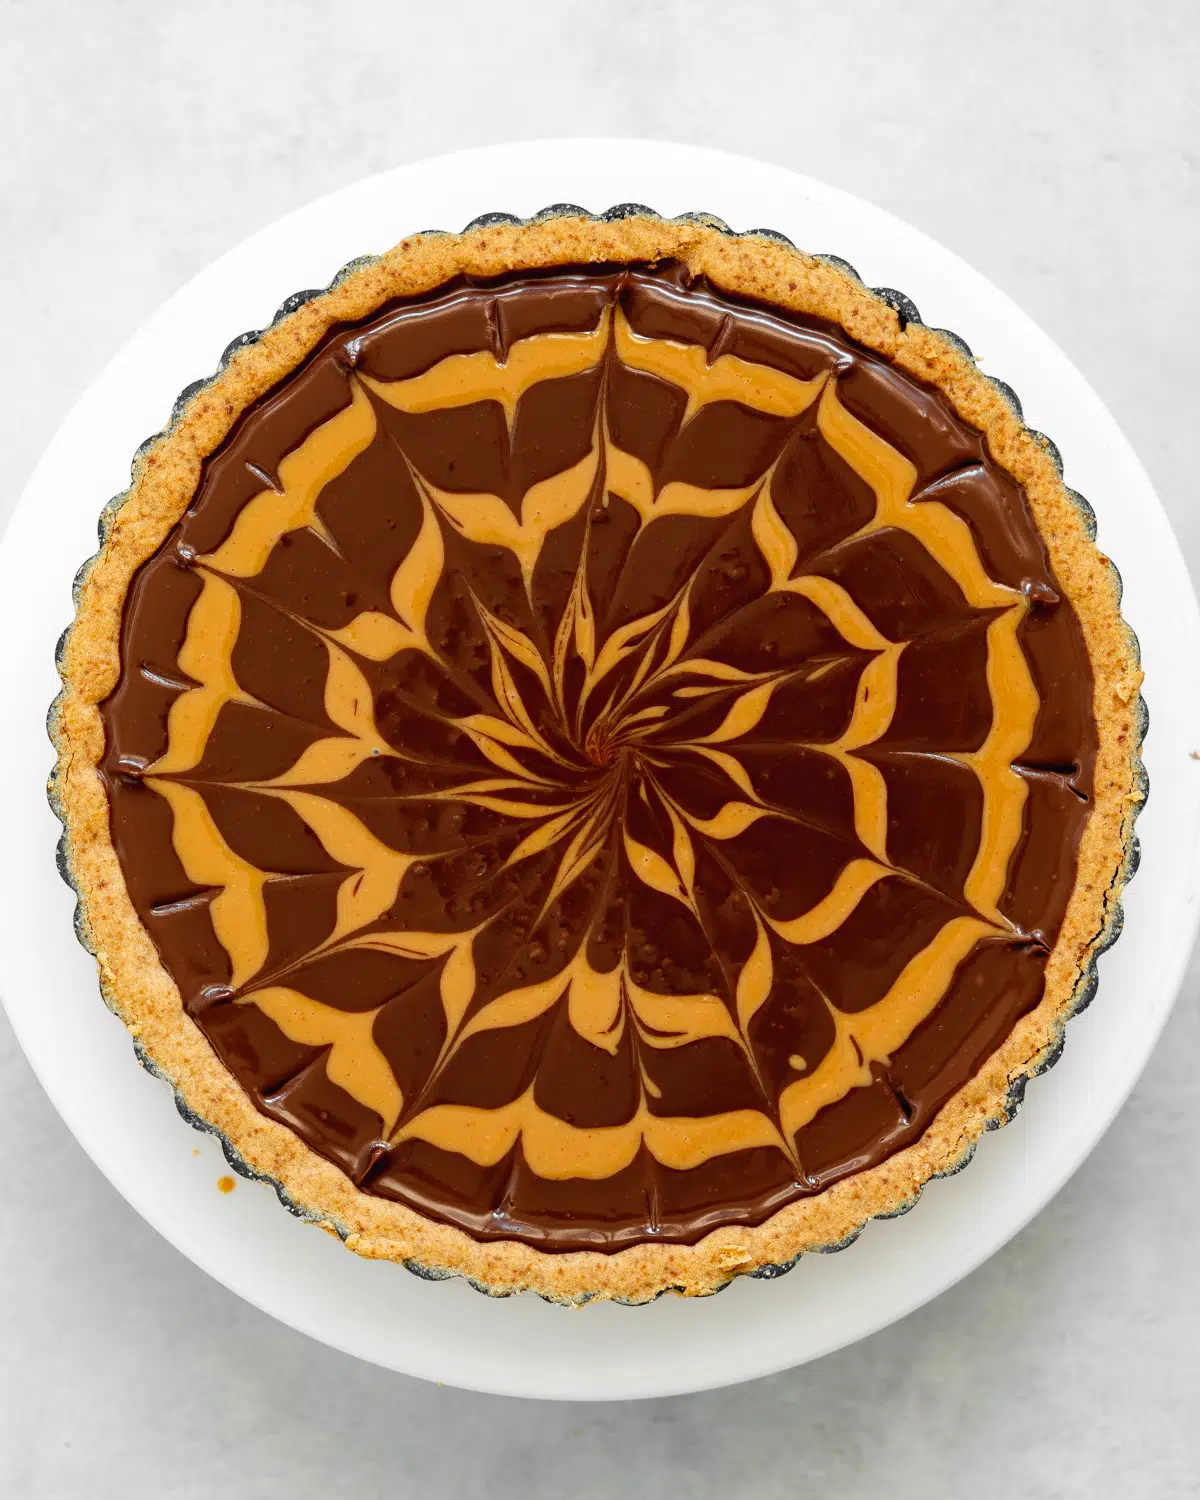
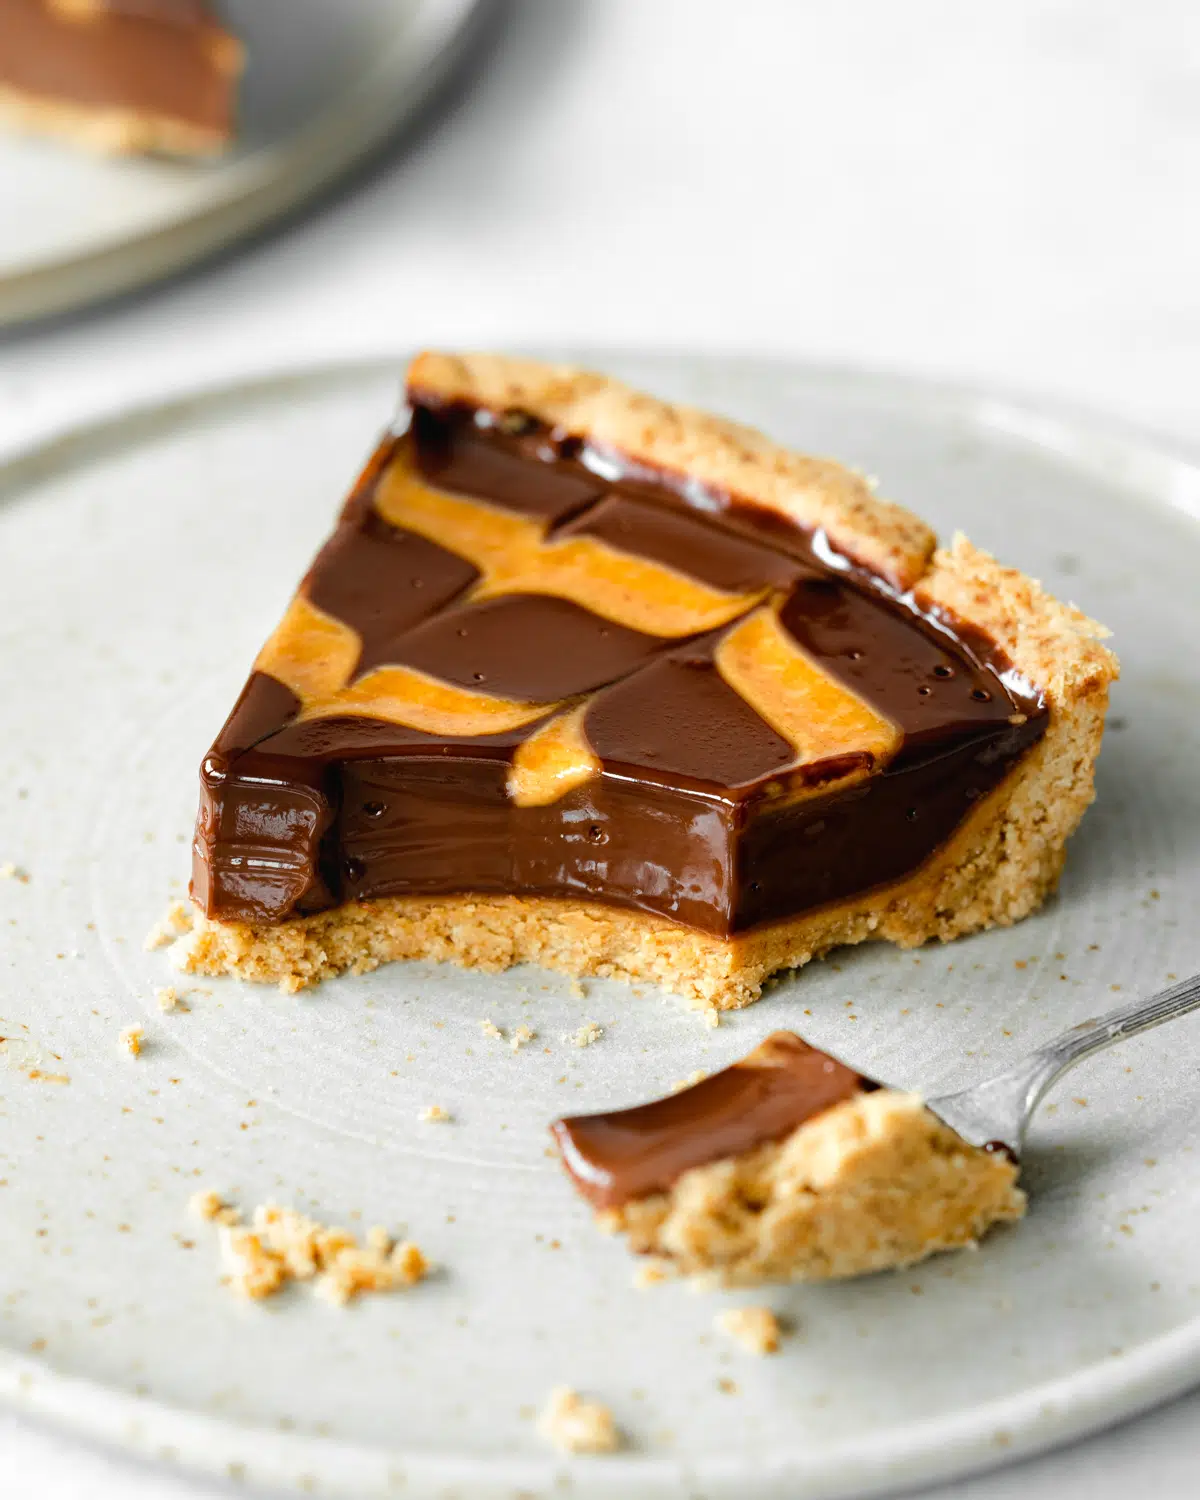
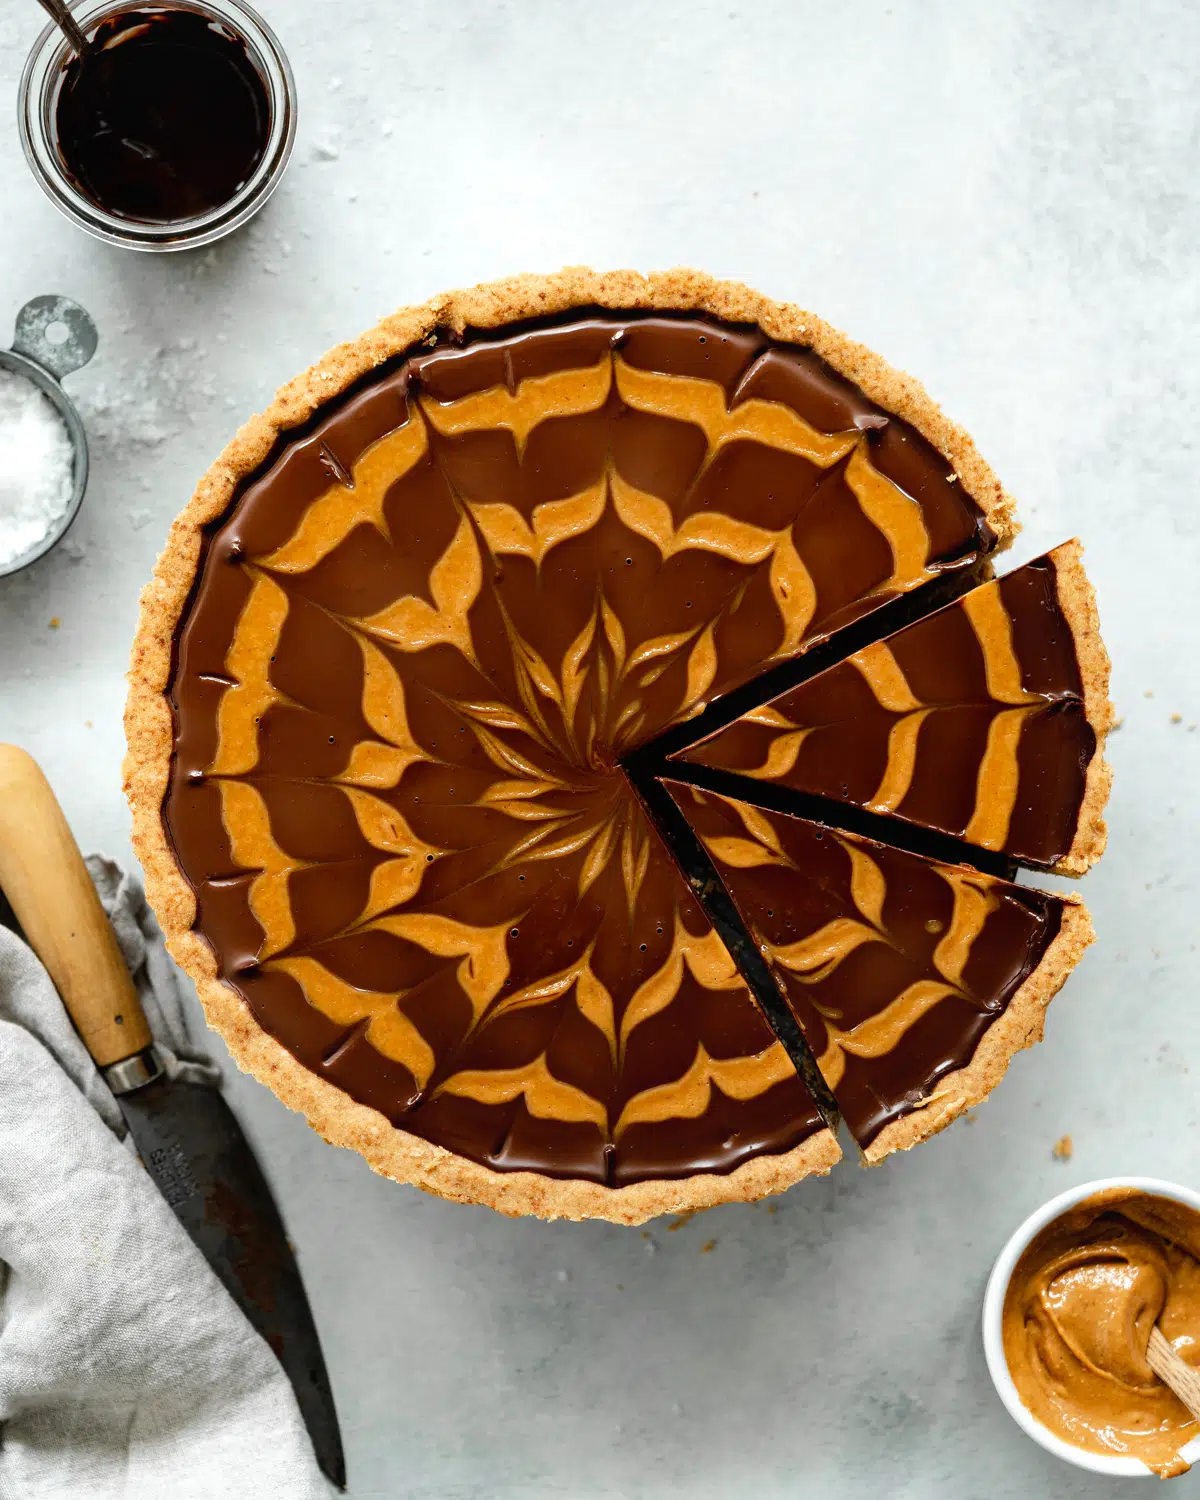
If you're a fan of chocolate peanut butter desserts then this vegan peanut butter chocolate tart recipe is made for you. It's got a buttery peanut butter shortbread crust, a creamy chocolate ganache filling, and ribbons of creamy peanut butter throughout.
This chocolate tart uses minimal ingredients and comes together in a few simple steps. The chocolate filling is creamy and smooth, and the buttery peanut shortcrust pastry is slightly crunchy giving it both delicious flavors and textures.
This tart can be stored in the fridge for several days so it's great if you need to make a vegan dessert ahead of a party or special occasion.
Here’s what’s to love about this recipe
- Easy to make
- Made with just 8 main ingredients
- Eggless and dairy-free
- Can be adapted as refined sugar-free
- Easily adapted as gluten-free
- Creamy and decadent but not overly rich
Ingredients overview
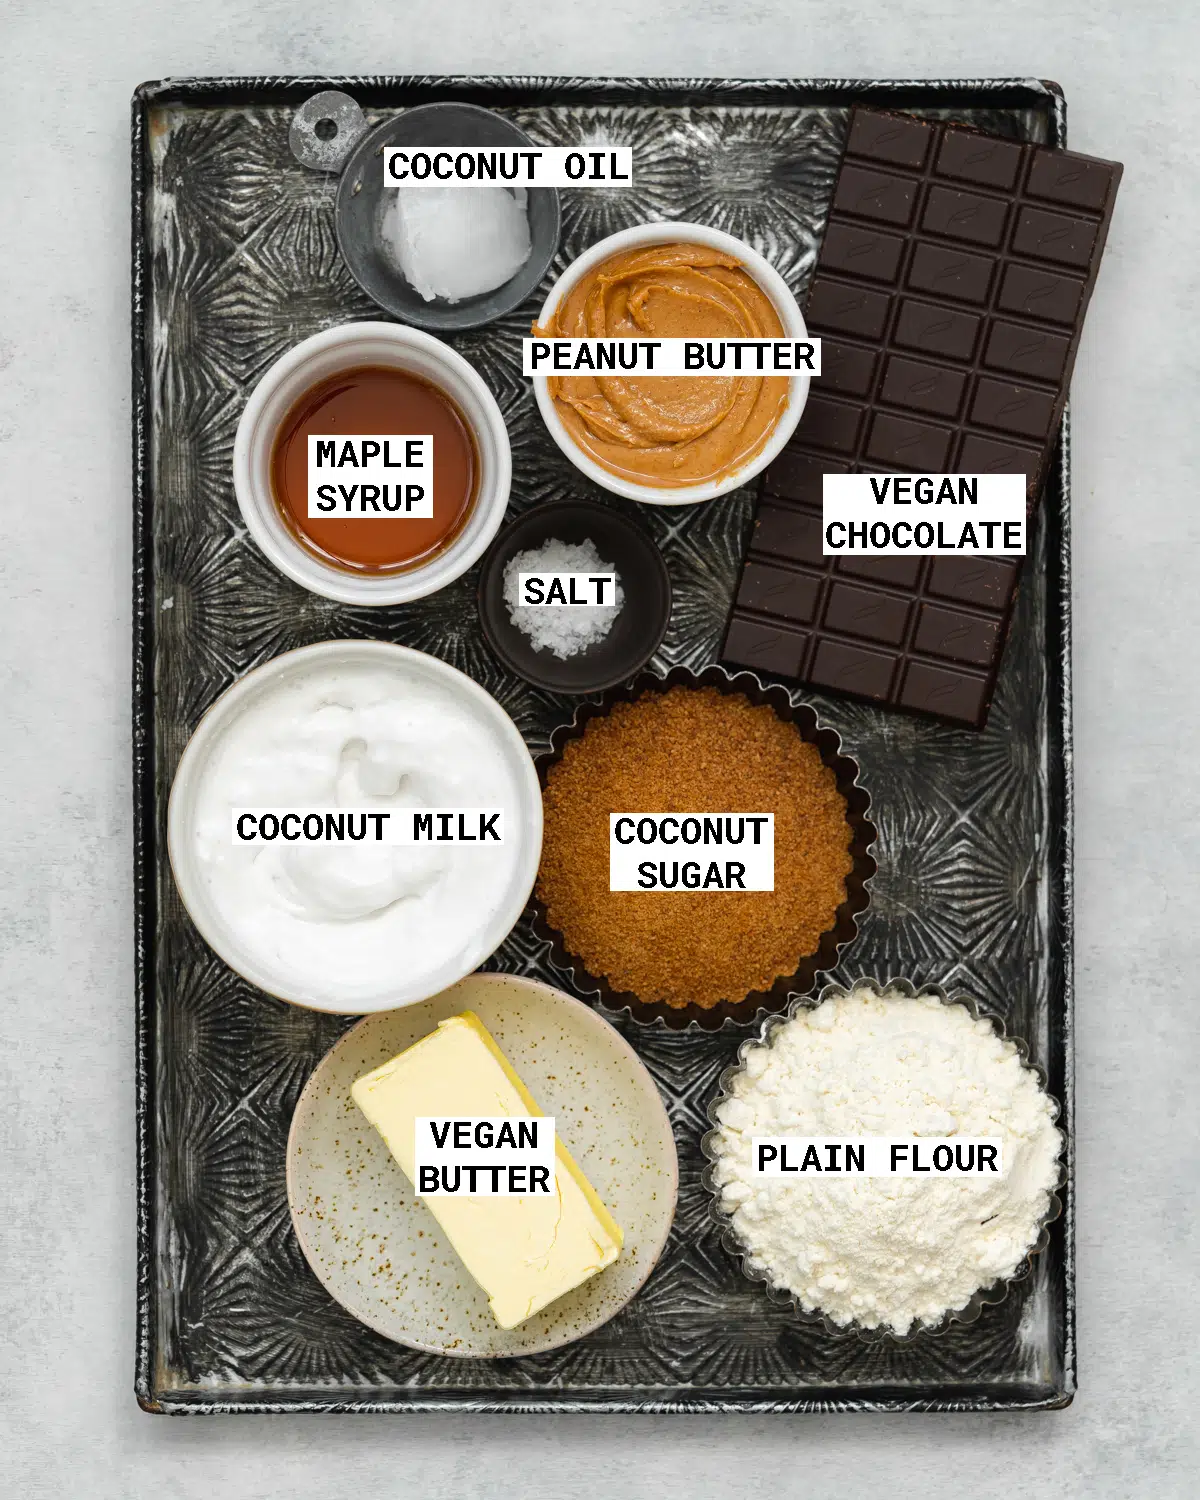
Smooth peanut butter: You'll need creamy peanut butter to be able to create the lovely swirls on top of this vegan chocolate tart, so no crunchy peanut butter here.
Dark chocolate: I recommend using good-quality dark chocolate with at least 70% cocoa content. For a refined sugar-free chocolate tart, opt for a coconut sugar-sweetened chocolate like this vegan milk chocolate. You could also use vegan chocolate chips.
Pure maple syrup: As we're using dark chocolate, maple syrup helps to sweeten the chocolate ganache filling for the tart.
Coconut milk: This forms the base of the chocolate ganache filling. You'll need full-fat canned coconut milk that's been chilled to separate the watery part in the can. Only use the thick coconut cream from the top of the can to make the ganache. You can reserve the watery part for adding to smoothies or curries.
Plain flour: You can use a GF flour blend if required. I did test this recipe with gluten-free flour and found that it was necessary to add an additional 50g of flour to get the same consistency as the regular shortbread crust.
Coconut sugar: This is the sweetener for the peanut butter shortbread base, it also gives it a slightly caramelized flavor.
Vegan butter: This creates a buttery, flaky shortcrust base for the tart. This recipe calls for vegan block butter, not the spreadable kind.
Coconut oil: This is used for the peanut butter sauce, as it thins the peanut butter when melted, and then hardens slightly once chilled.
Sea salt: This helps to enhance the chocolate and peanut flavors of the tart, as well as helping to balance the sweetness.
How to make this recipe (with step-by-step images)
(Full ingredient quantities and instructions can be found in the recipe card at the end of this post)
Peanut butter tart crust
This vegan dark chocolate peanut butter tart uses a basic shortcrust pastry for the base. But instead of using just vegan butter, it also uses peanut butter in a 50:50 ratio which gives the crust a delicious nutty flavor and bright color.
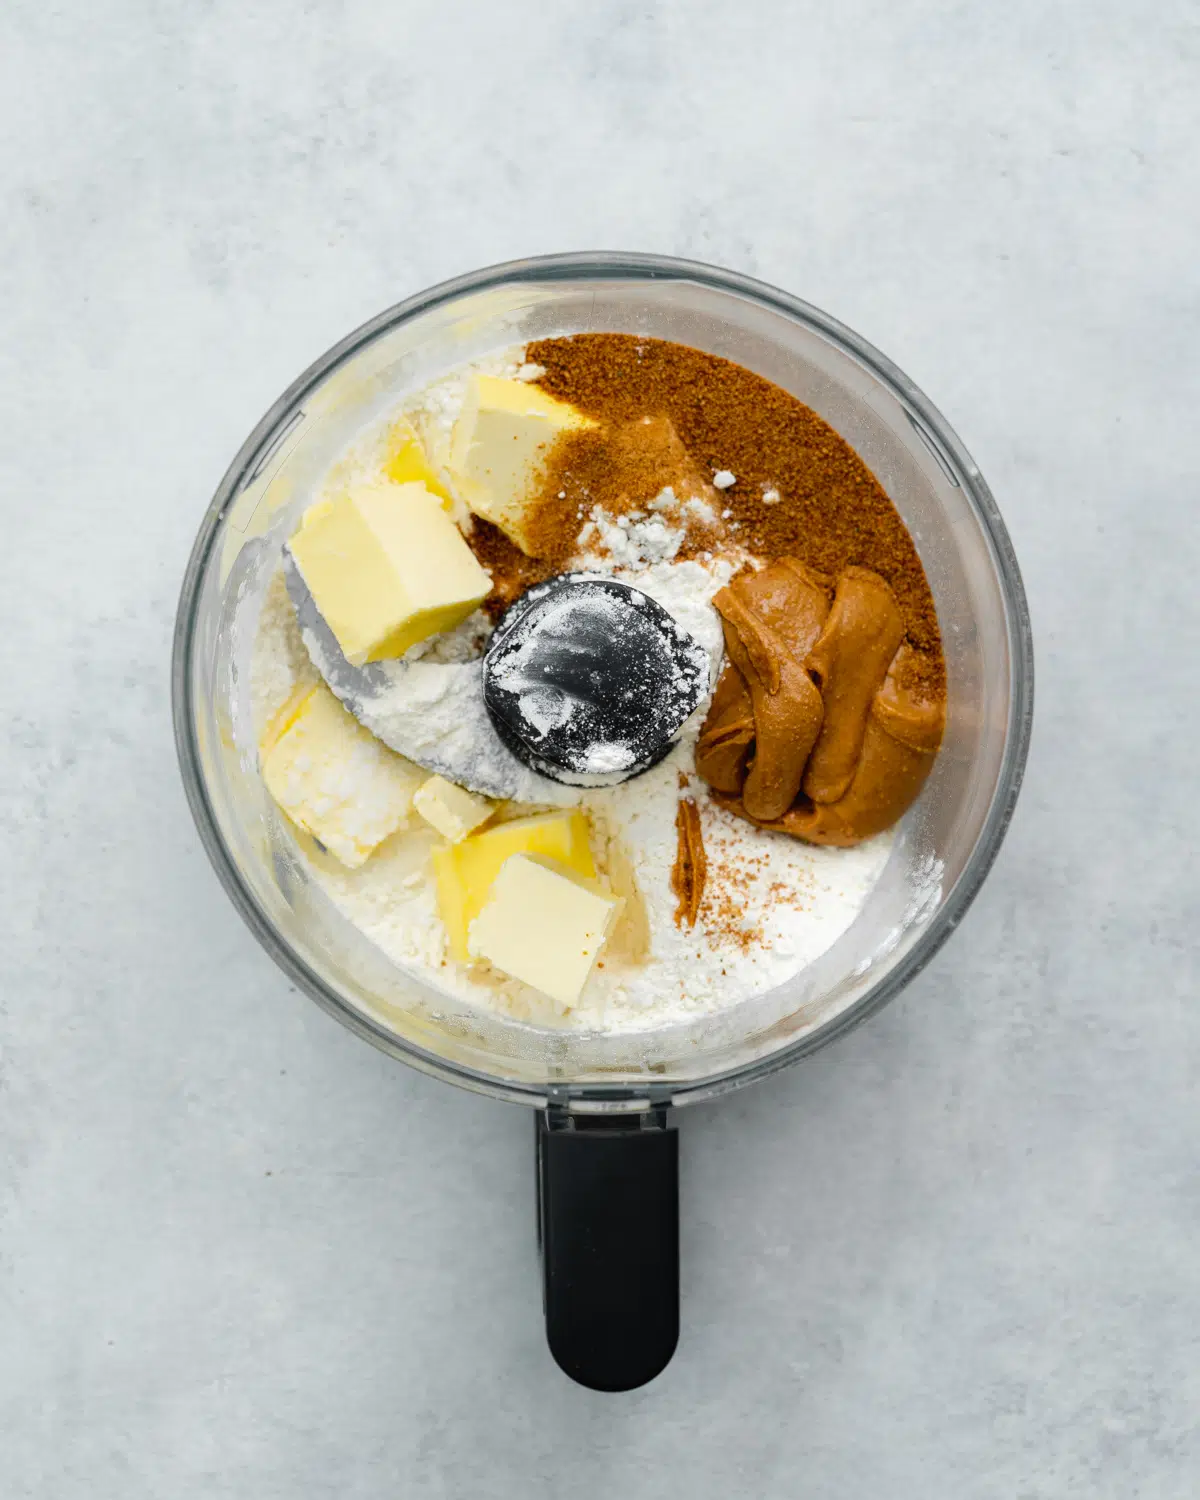
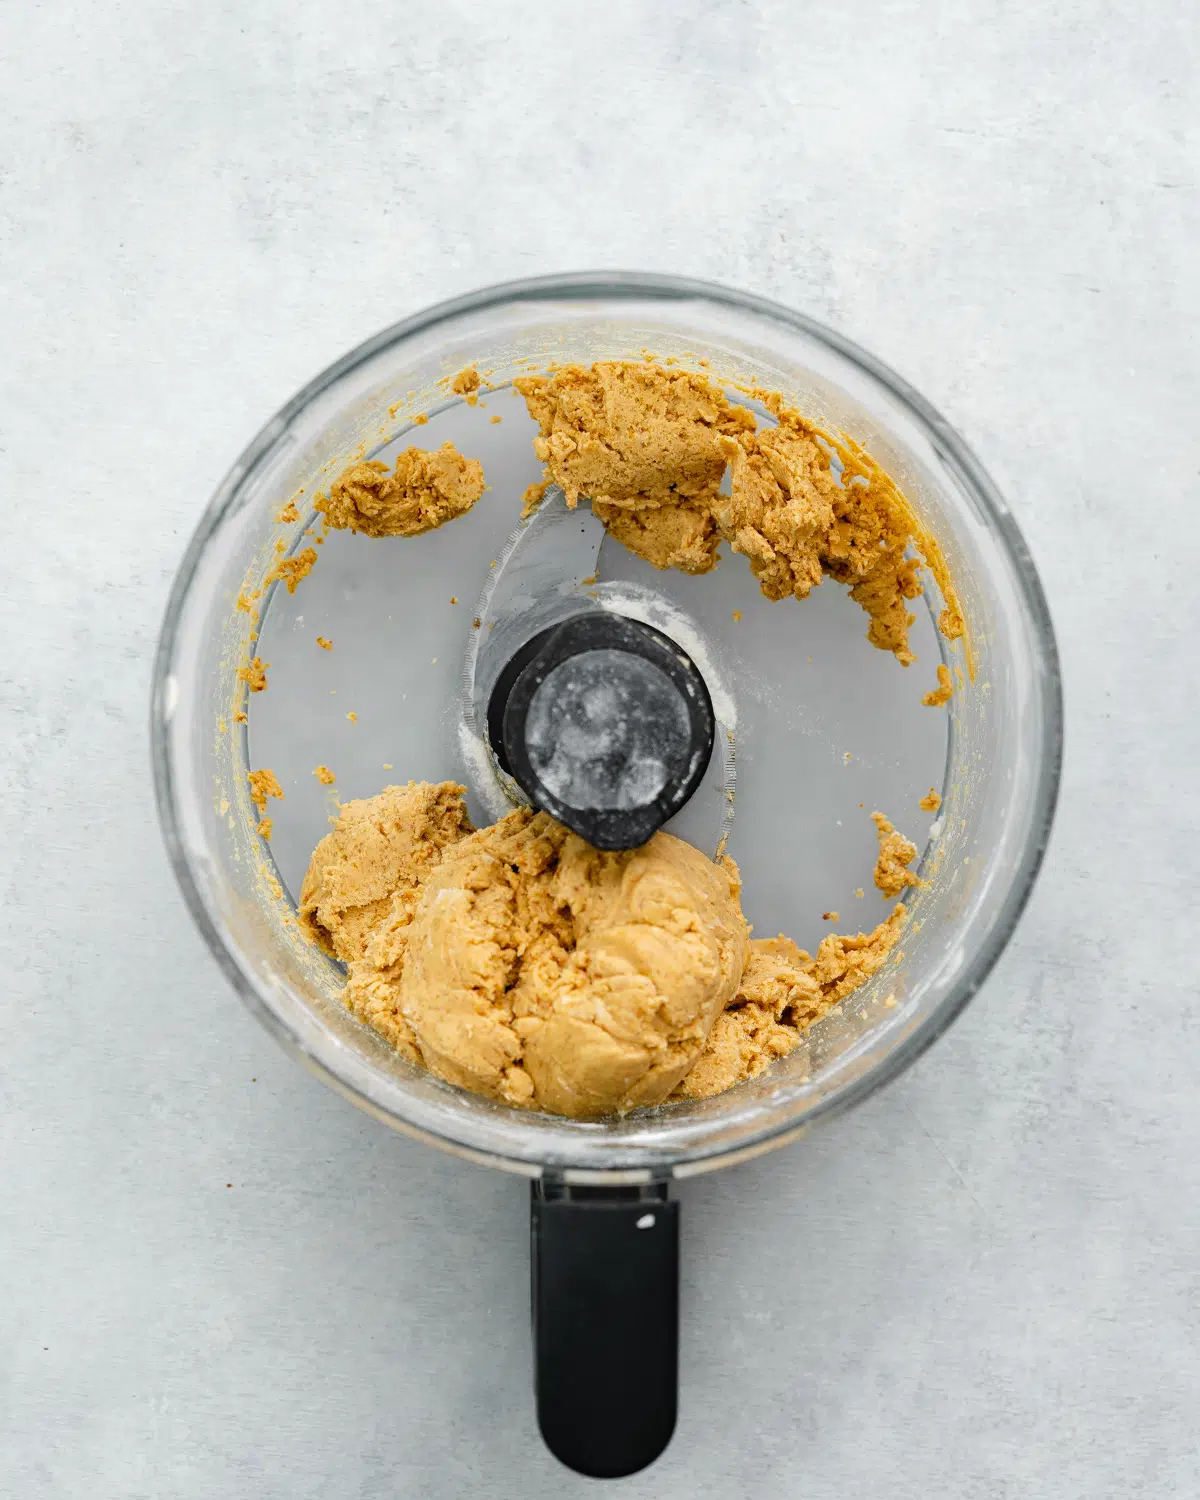
To make the tart crust simple add all of the ingredients (flour, coconut sugar, vegan butter, peanut butter, and salt) to a food processor and blitz until they form a uniform dough. This should only take a minute or so.
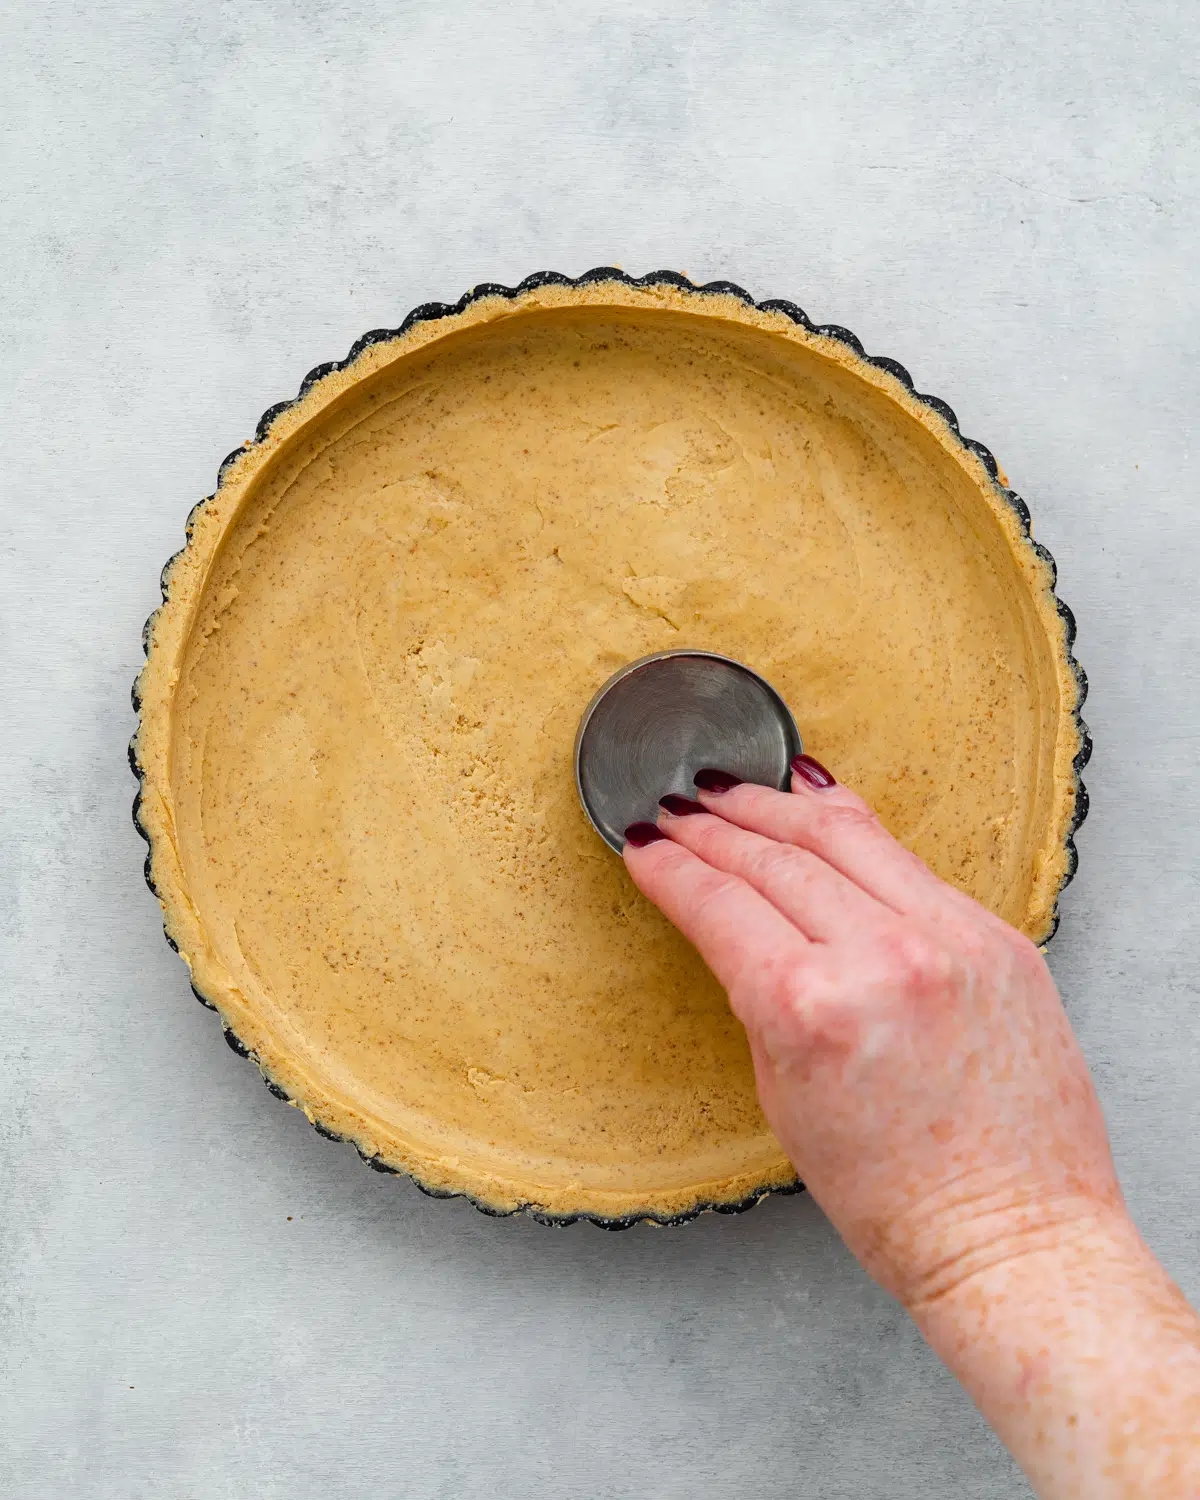
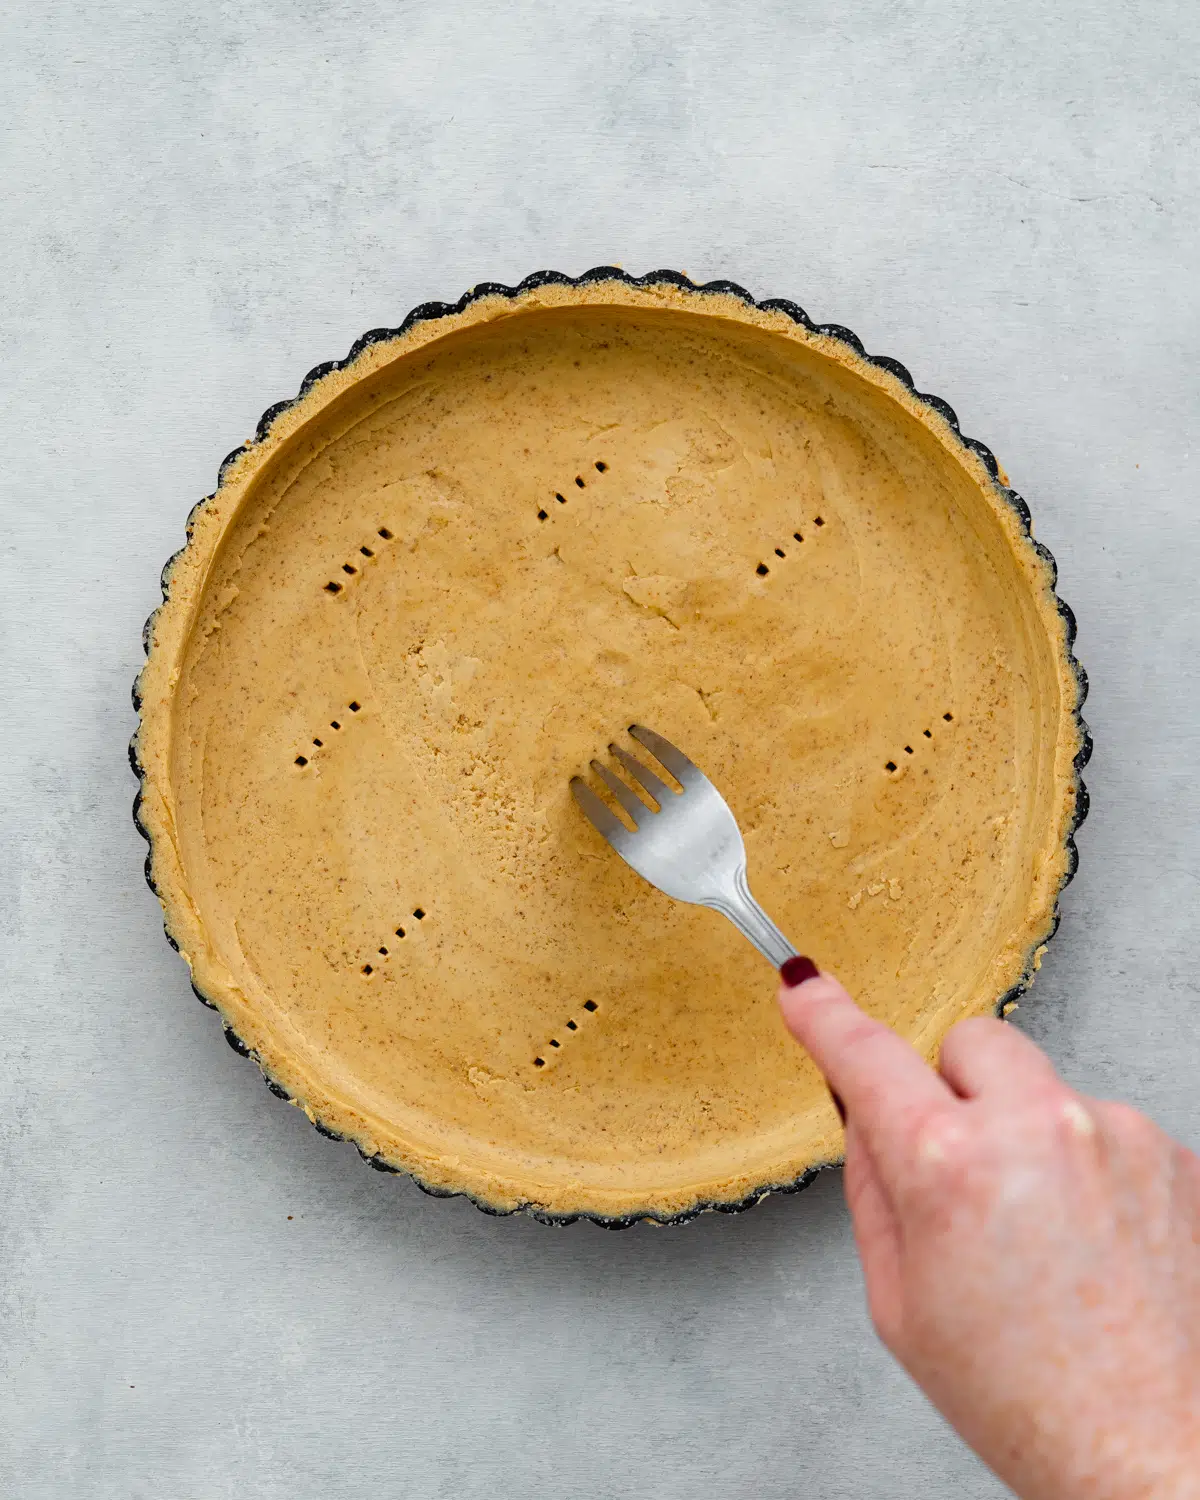
Next, press the peanut shortbread into the base of a lined tart tin with a removable base. I like to use a flat-bottomed glass or cup measure to smooth it out. Then you'll pierce a few holes in the base of the dough using a fork, which will help the crust to bake more evenly.
Chocolate ganache and peanut butter filling
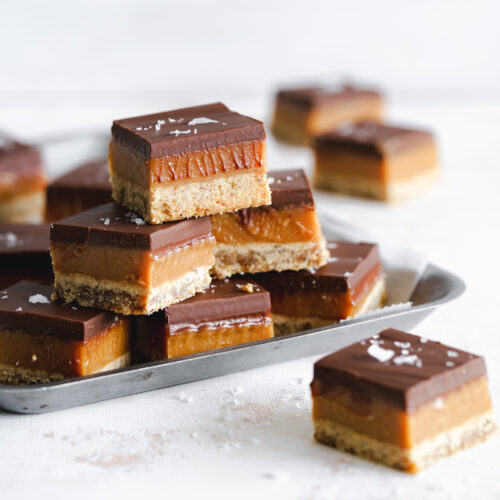
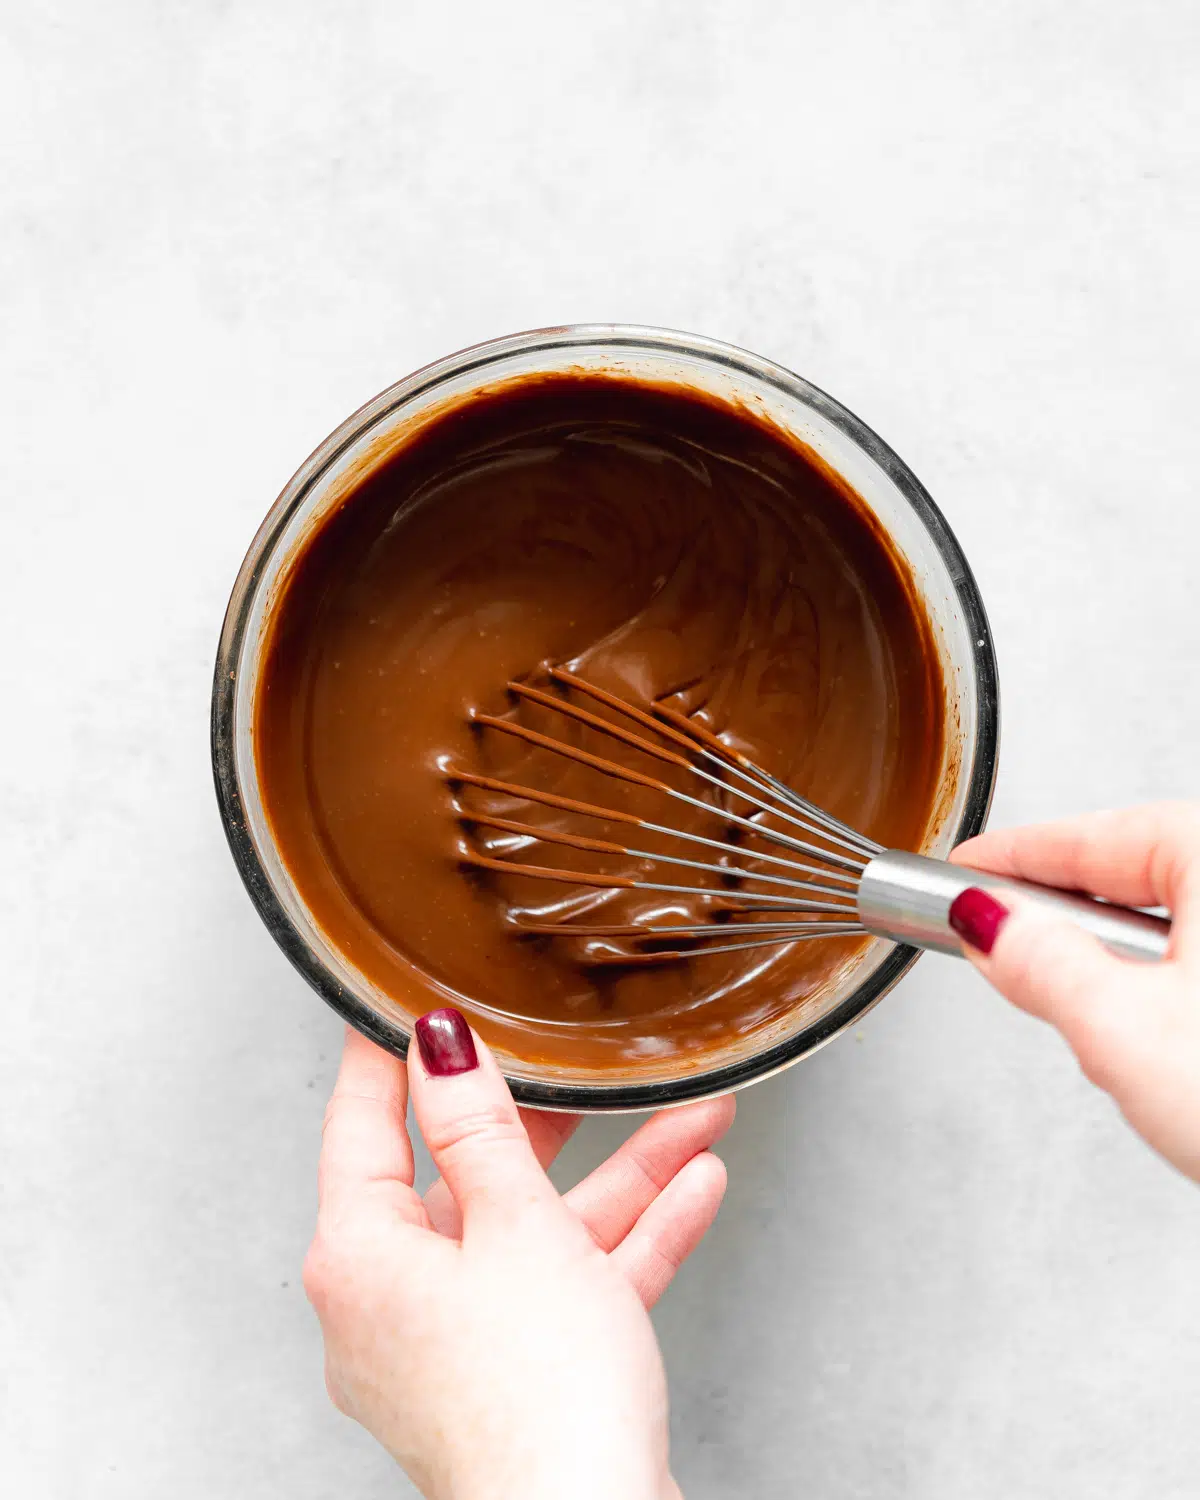
The filling for this peanut butter tart is a simple chocolate ganache, similar to the one used in this vegan snickers tart. To make the ganache, gently heat the coconut milk in a saucepan over medium heat (being careful not to allow it to boil!) and pour it over finely chopped chocolate.
Allow the chocolate to melt underneath the warmed coconut milk uncovered for a few minutes before whisking the mixture until smooth.
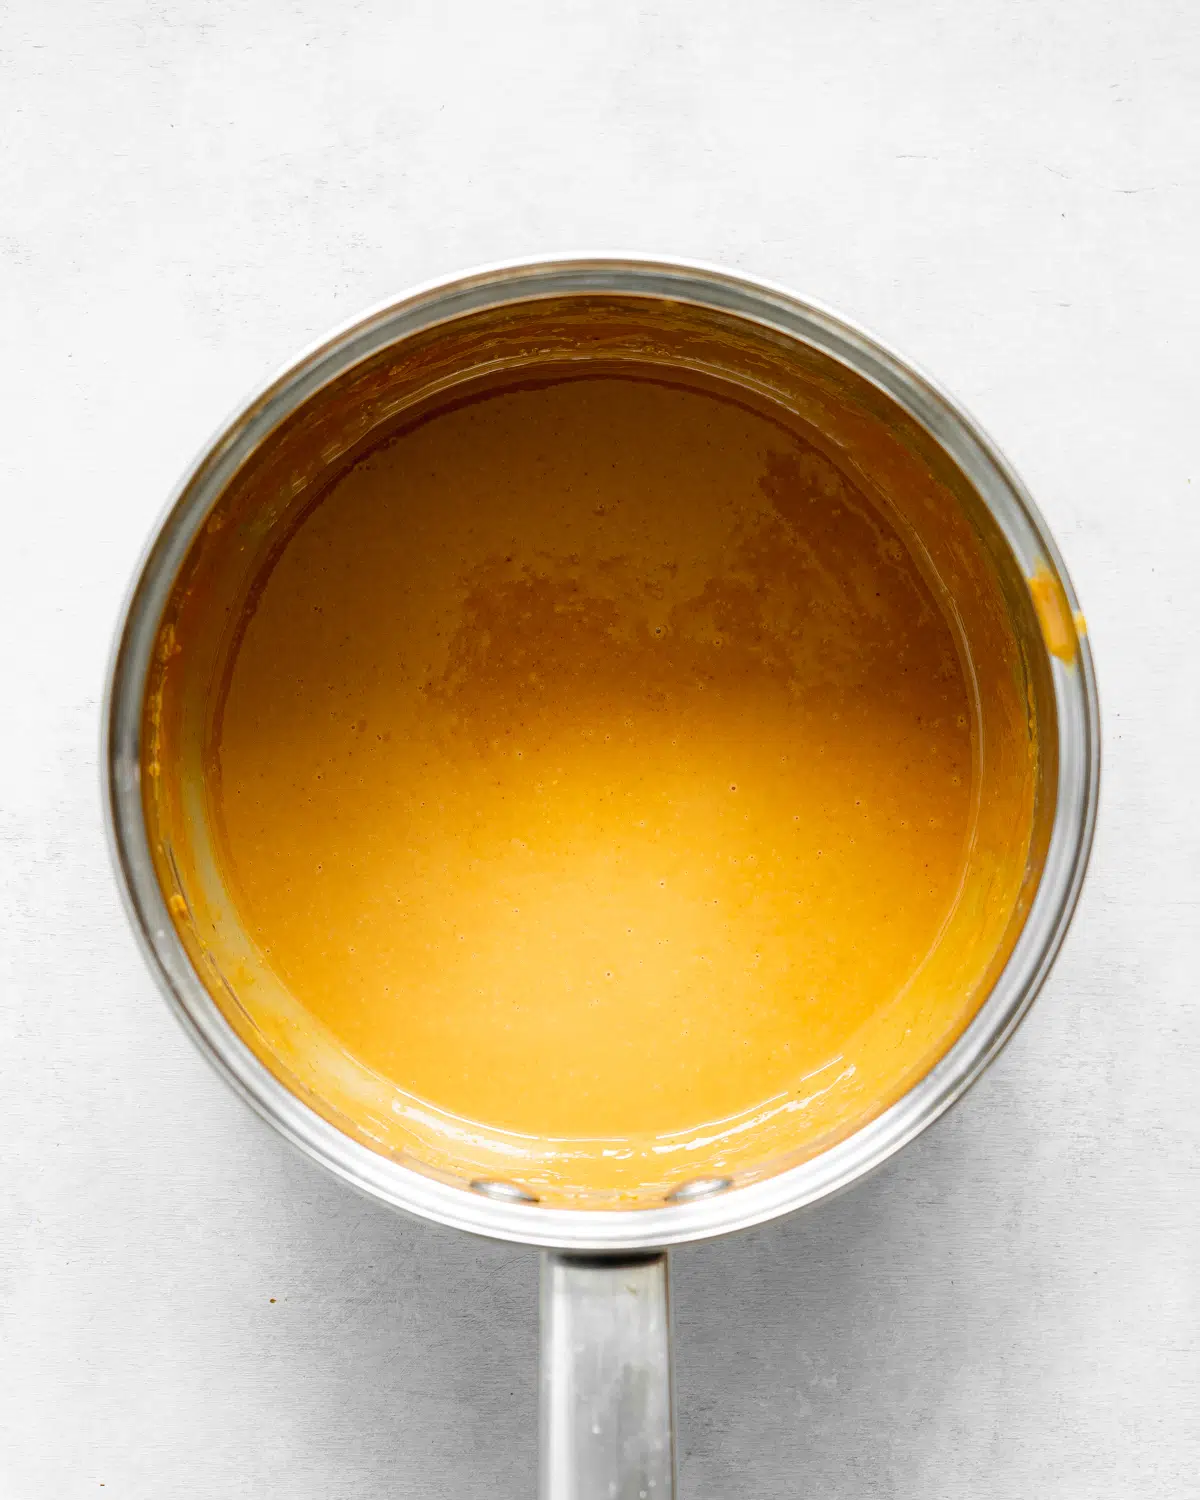
Next, melt the peanut butter in a saucepan along with some coconut oil which will help to thin it out. The coconut oil will also become set once chilled, making sure the peanut butter doesn't run out from the chocolate tart.
Assembling the chocolate peanut butter tart
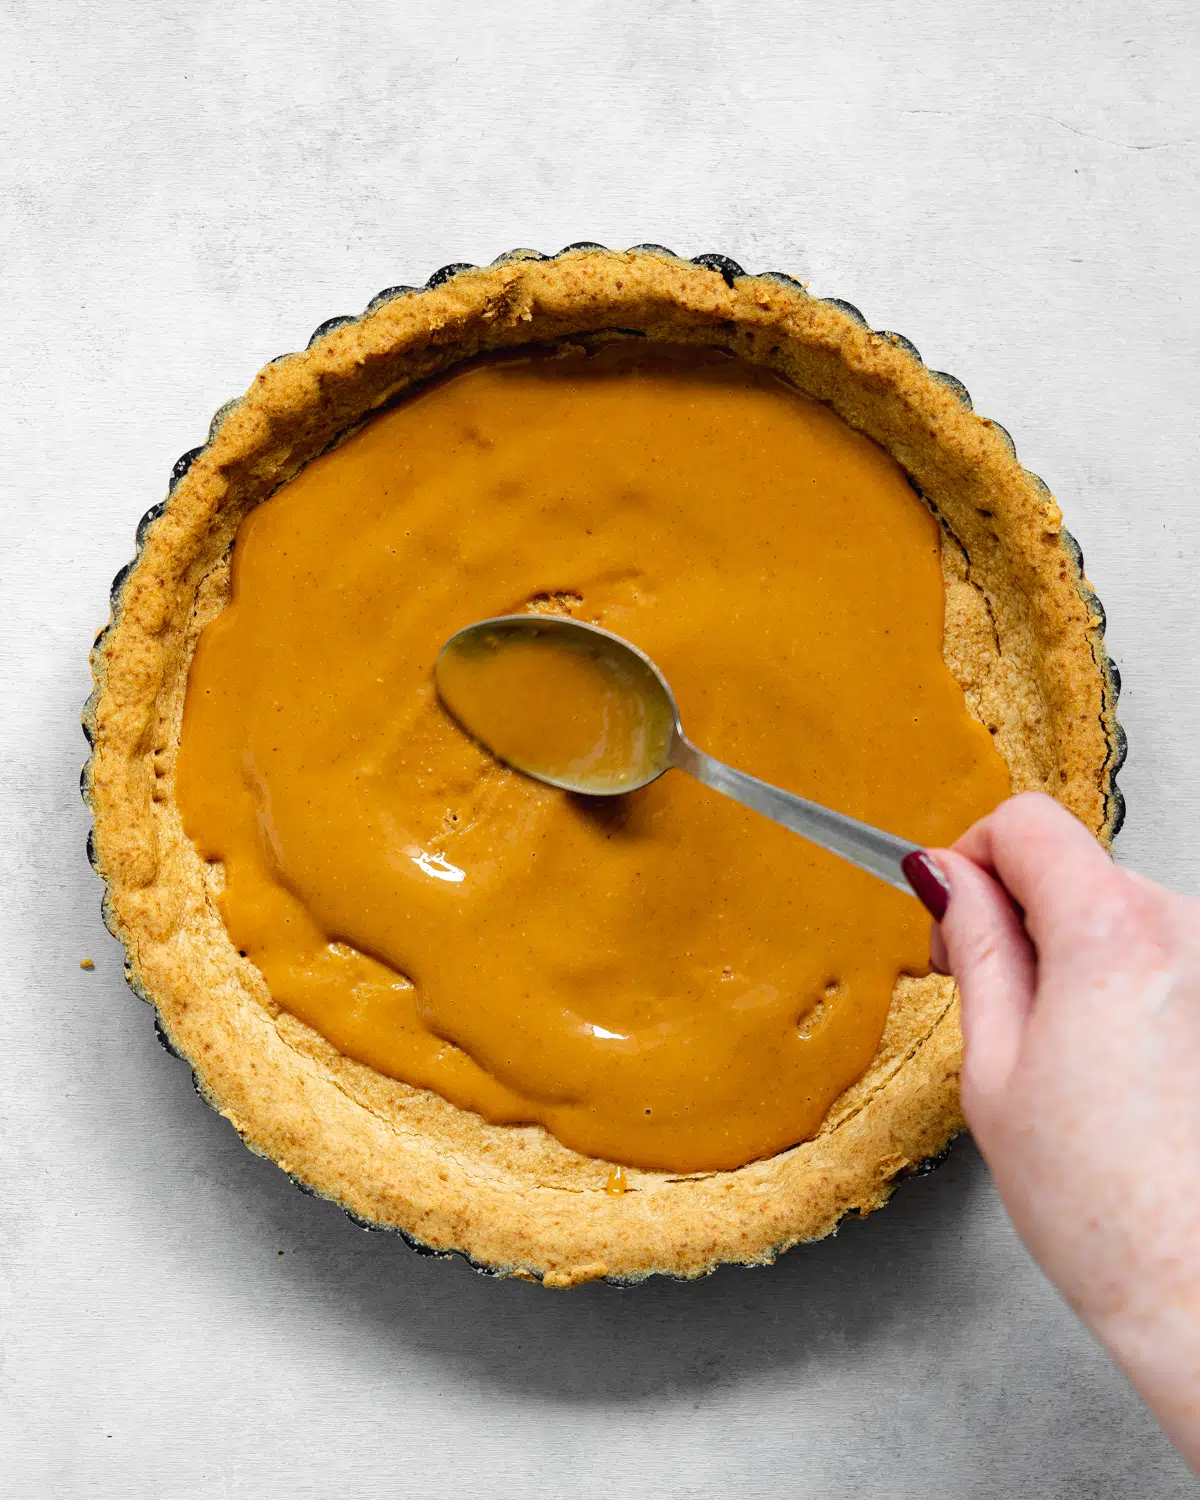
Here comes the fun part (besides eating the tart of course) assembling the tart! First, use a spoon to spread a few tablespoons of the melted peanut butter mixture over the tart base - holding aside the remainder for decorating the chocolate tart later.
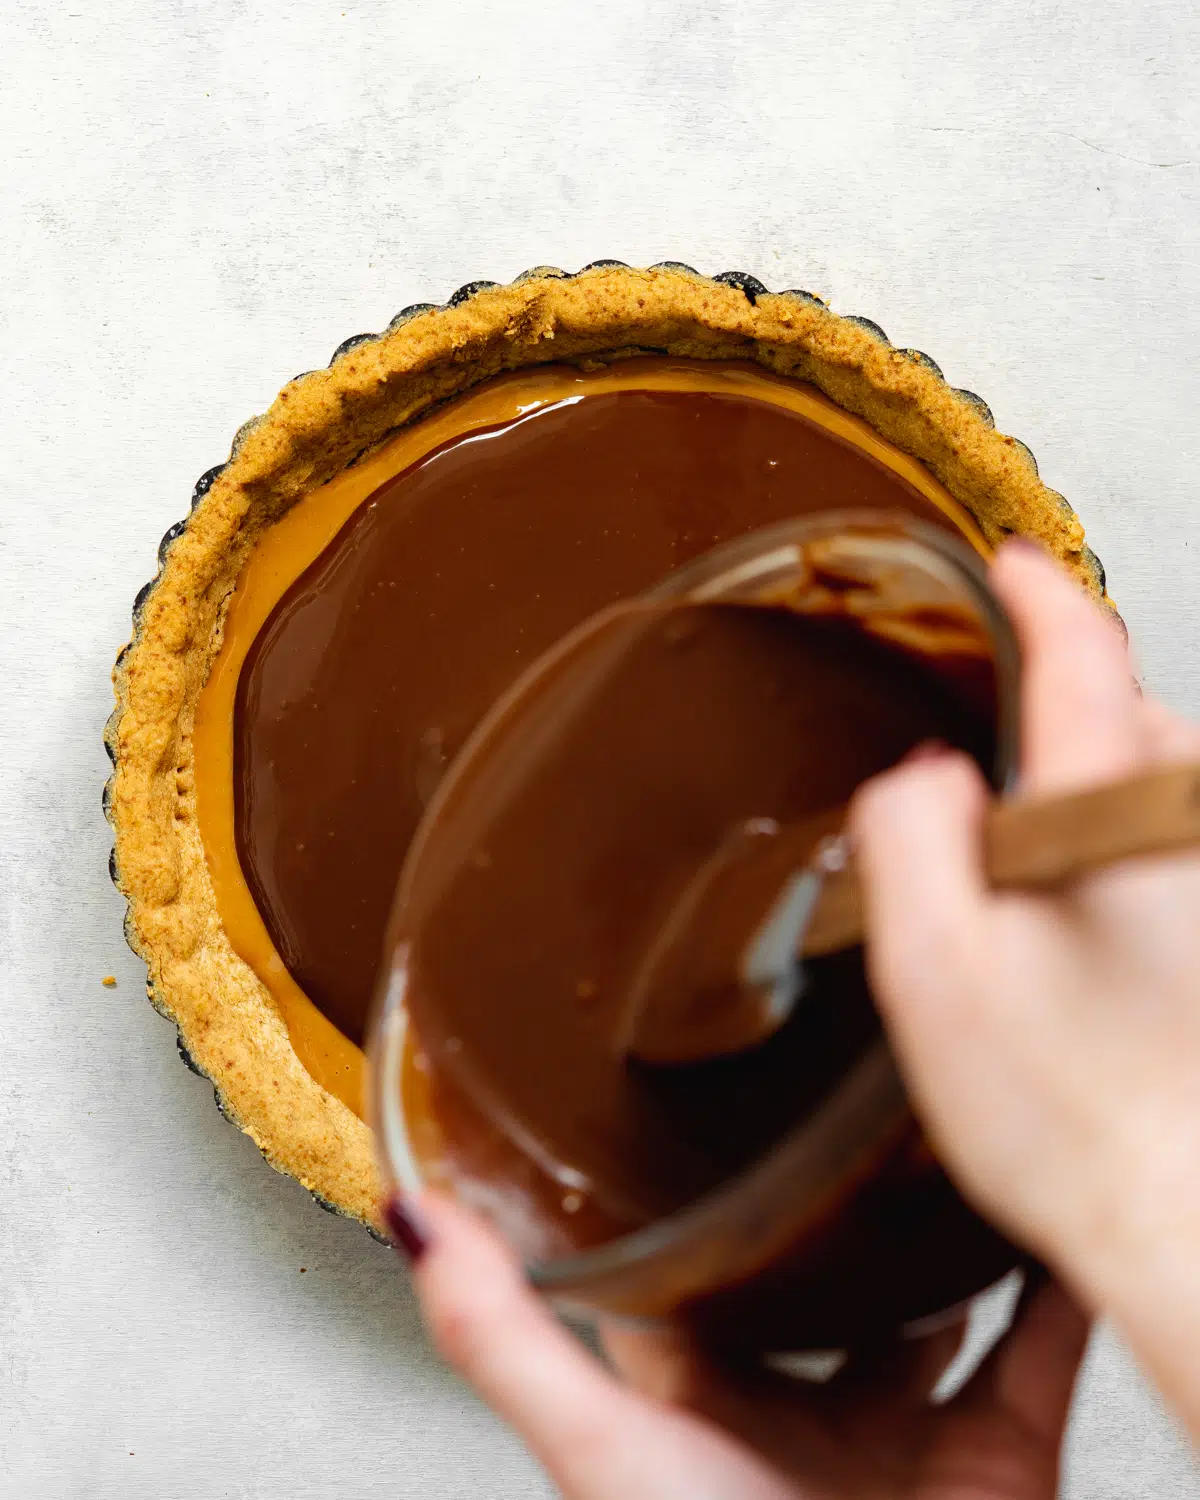
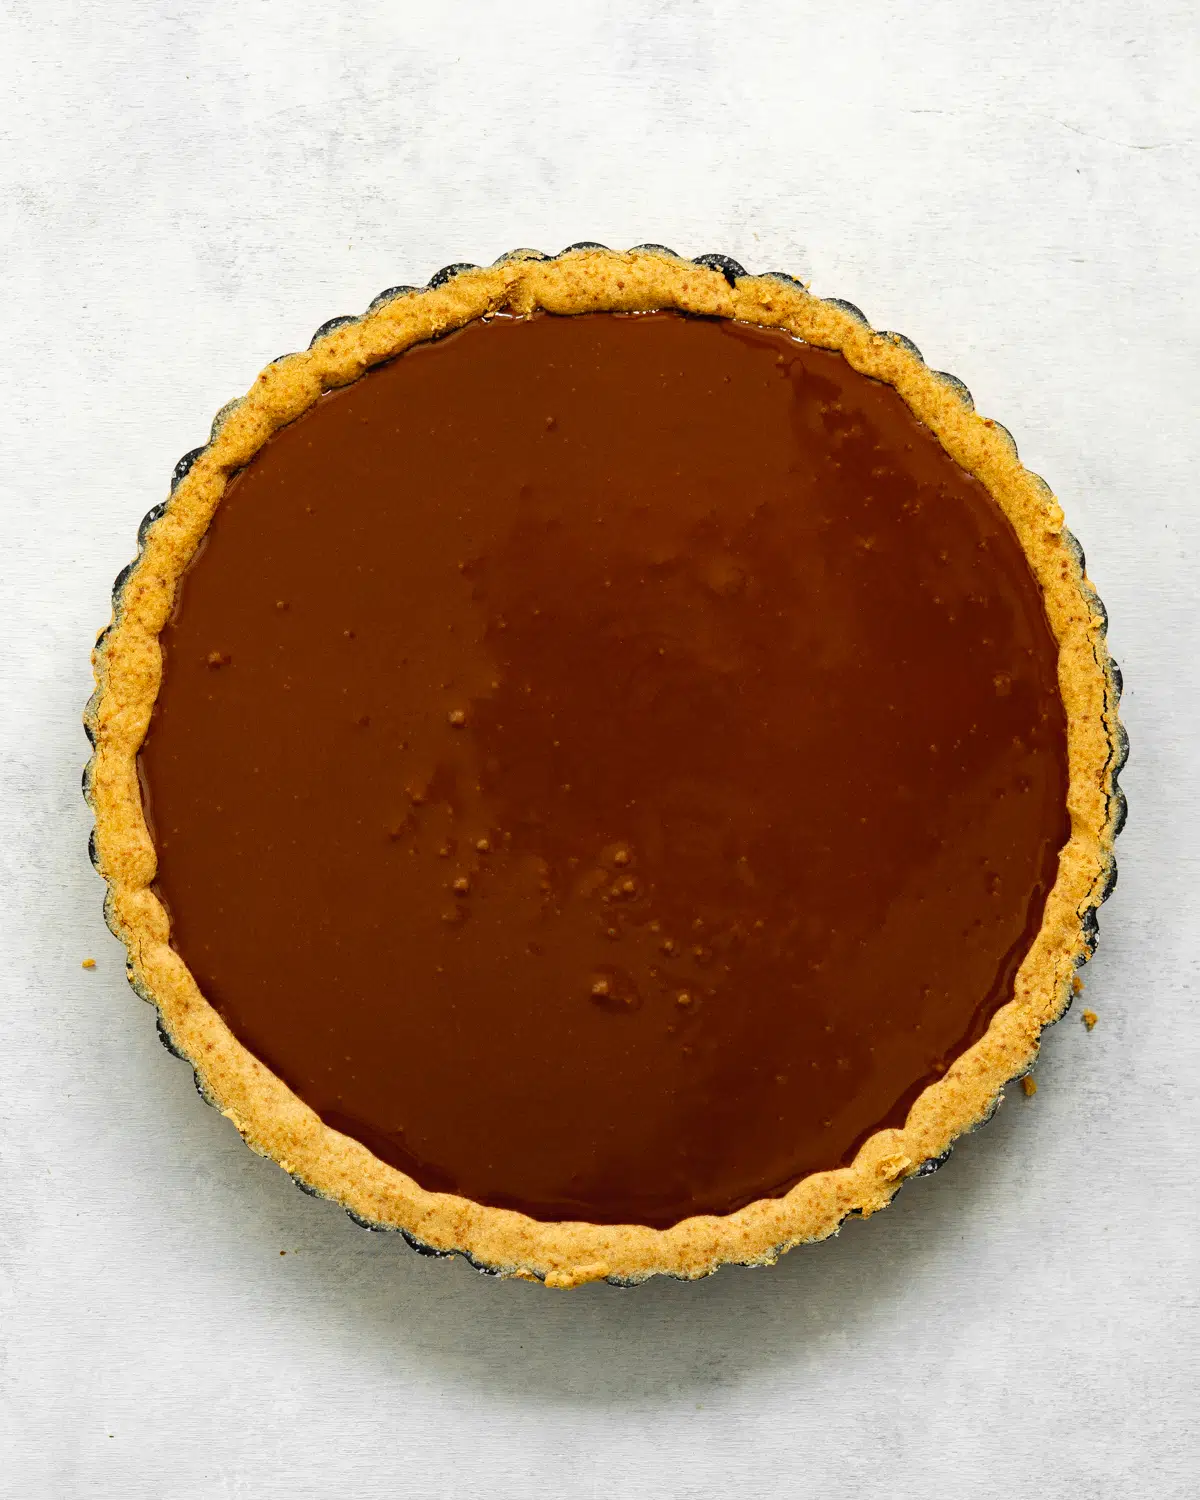
Now pour that melted chocolate ganache into the tart shell. If you find the chocolate layer to be very runny, then pop the tart in the freezer for 5-10 minutes to help it set up very slightly.
How to create a peanut butter swirl
It may look fancy and a little daunting, but creating a peanut butter swirl effect on top of the chocolate tart is actually pretty easy! The technique is similar to what's used in these peanut butter brownies.
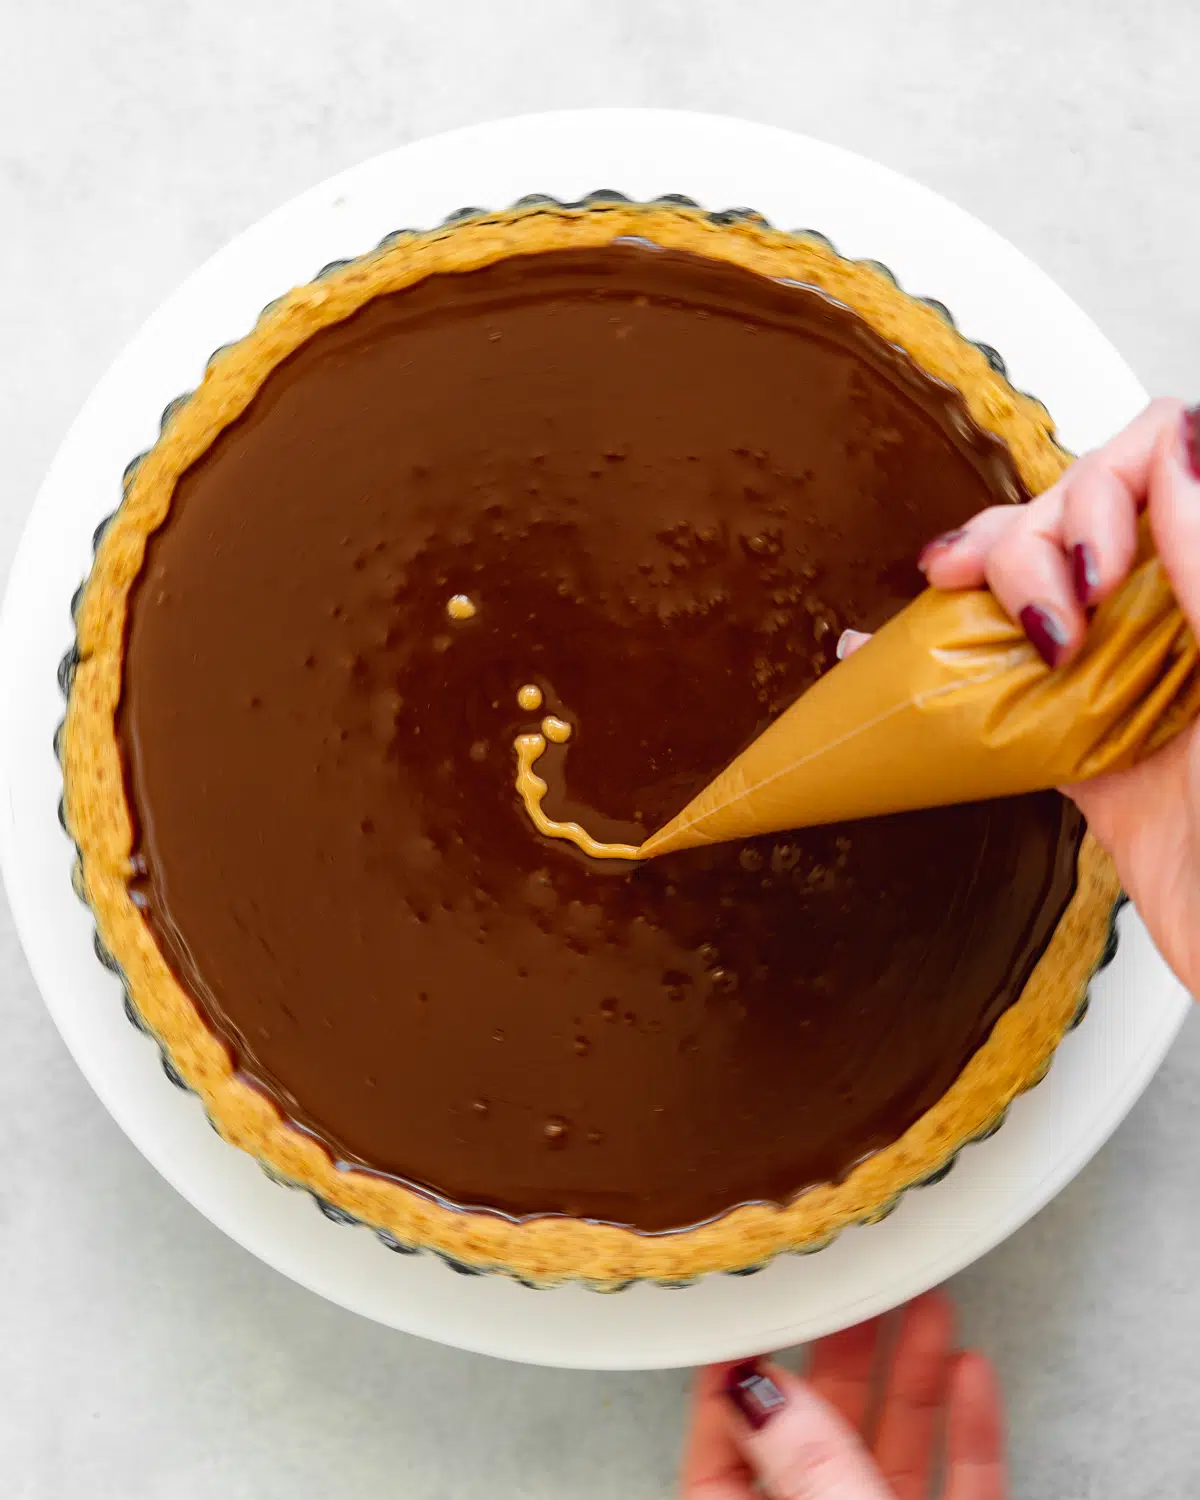
You can use a spoon, but I recommend transferring the melted peanut butter to a piping bag and cutting the bare end tip off from it.
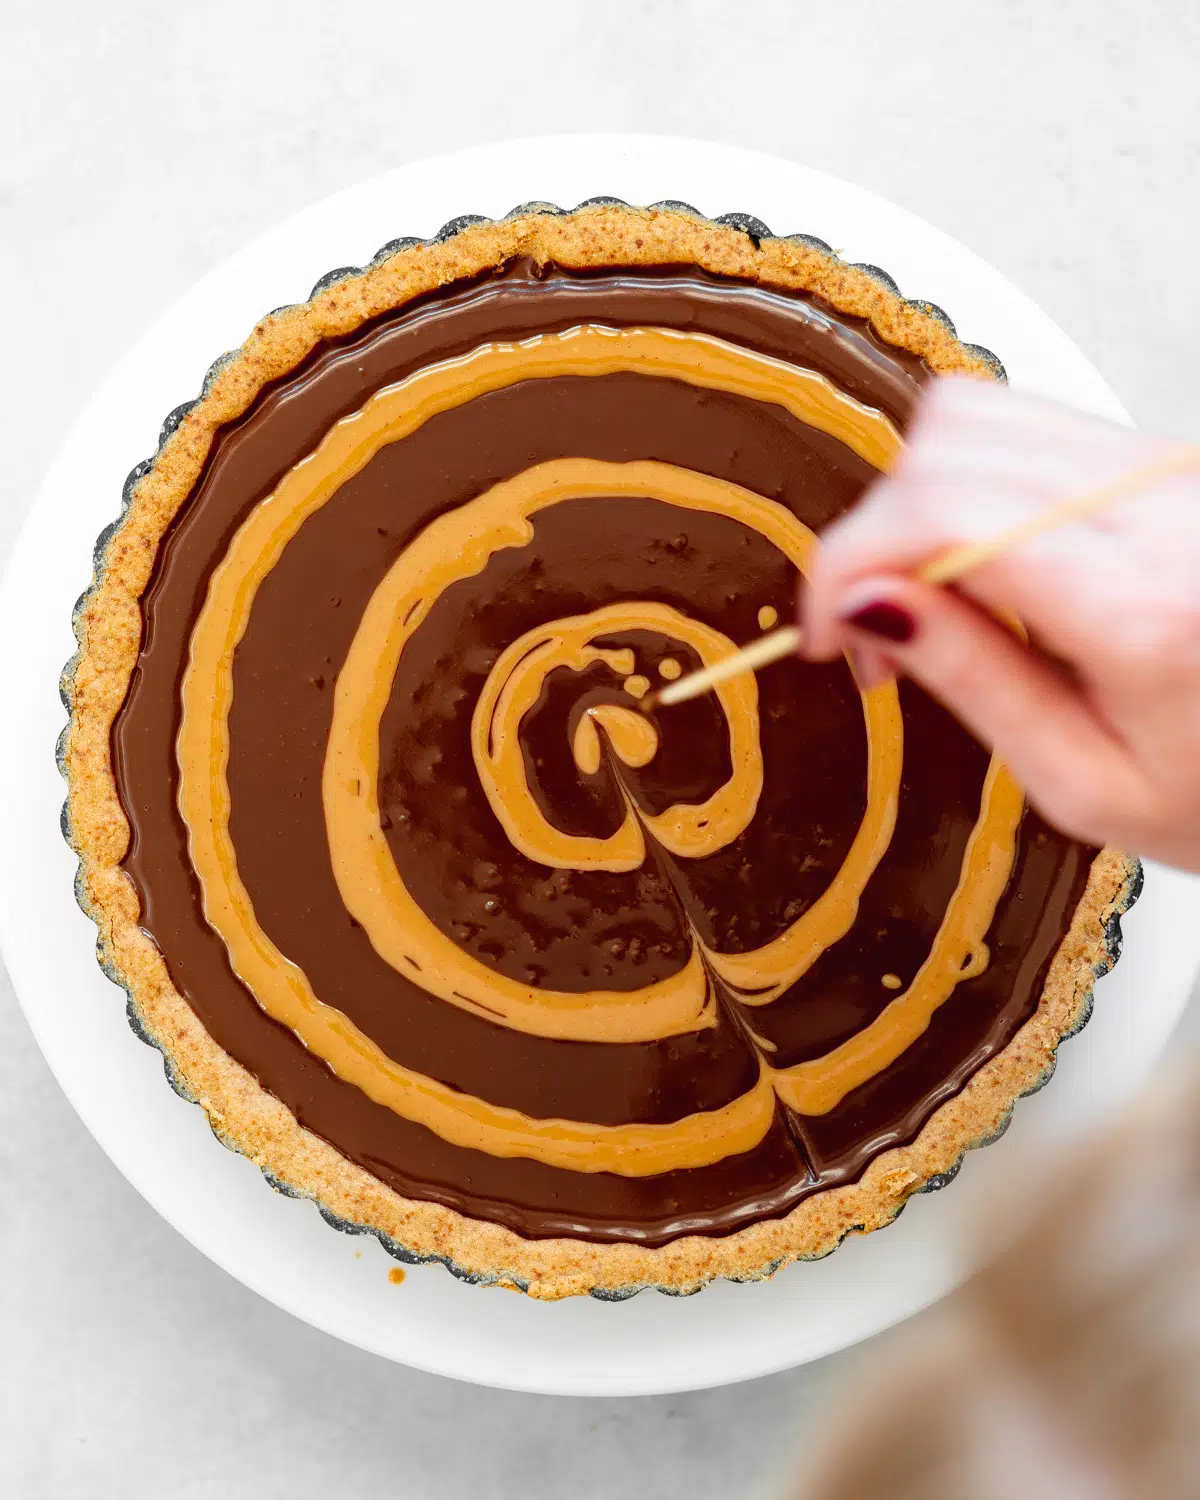
The more alike the consistency of the peanut butter and chocolate ganache, the easier it will be to create a swirl design. Pipe circular rings of the melted peanut butter on top of the chocolate tart. Then use a skewer to make a fan design, take the skewer and move it across the lines in one direction, and then in the opposite direction. Repeat this process, alternating between going towards and away from yourself with the skewer.
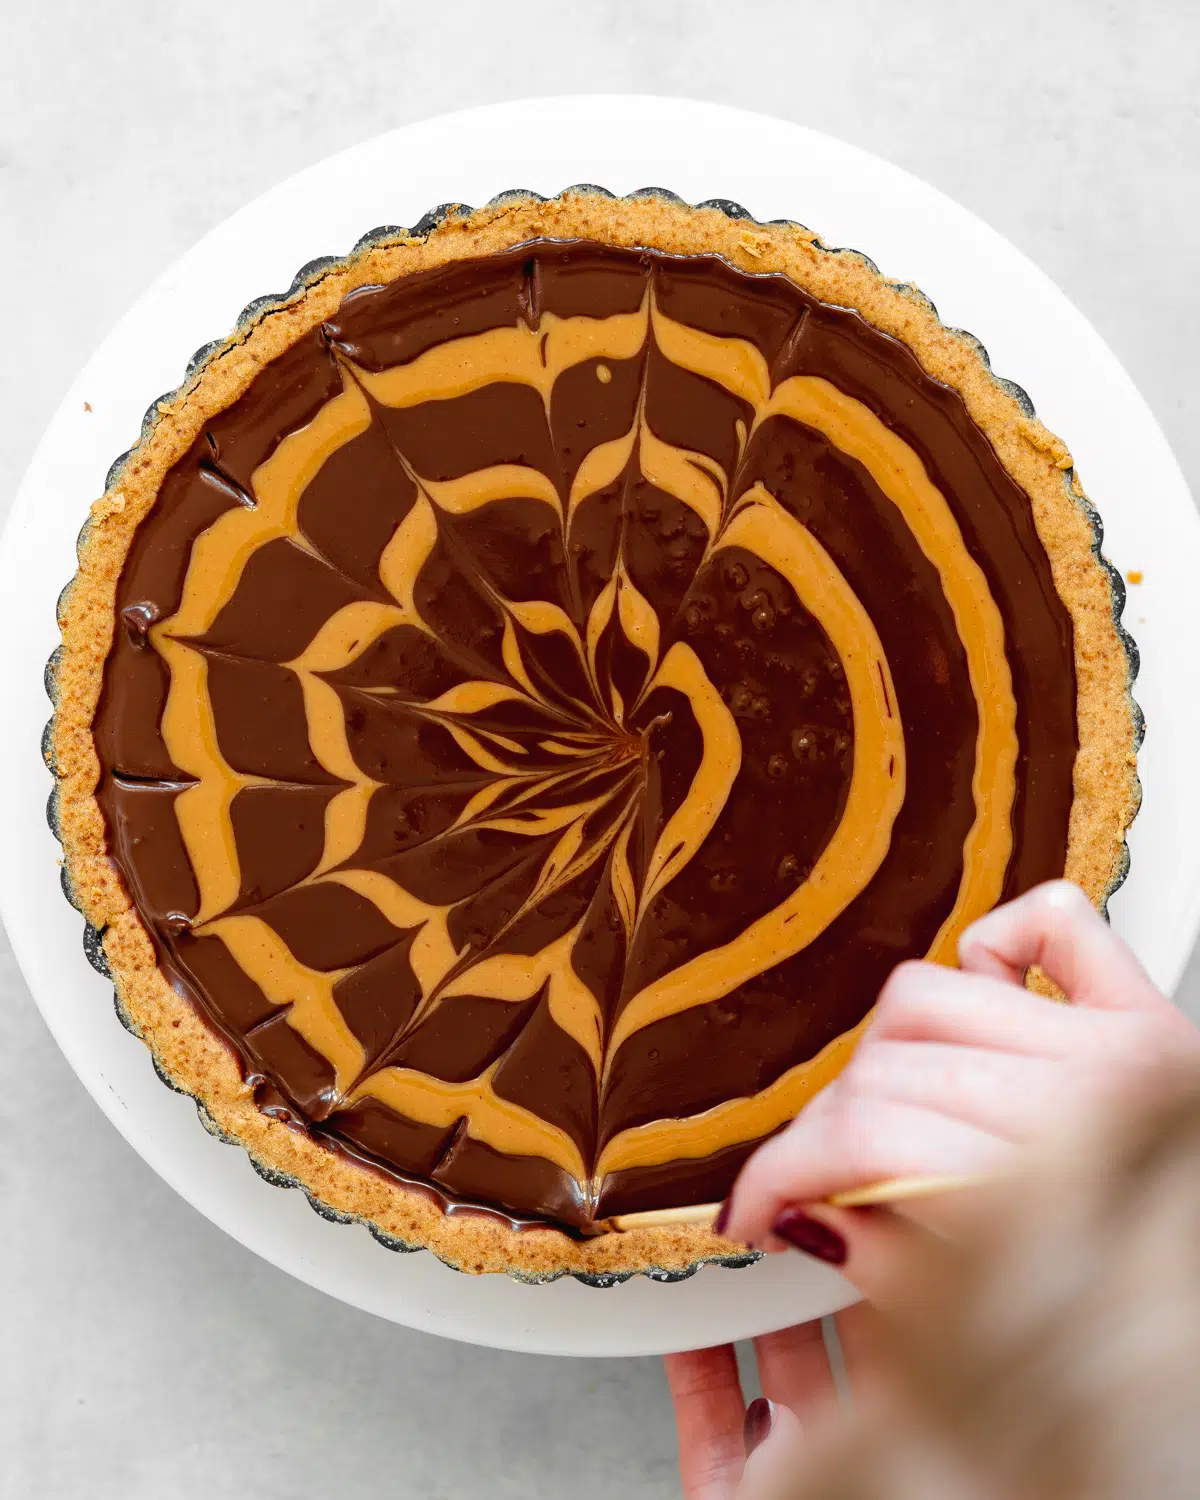
Now very carefully transfer the tart to the fridge to set for a few hours.
Storage instructions
This easy vegan chocolate peanut butter tart should be stored in the fridge in an airtight container. It will keep refrigerated for up to a week. If you prefer a softer filling, you can take the chocolate tart out of the fridge an hour or two before serving to allow it to come to room temperature.
Freezing instructions
To freeze this chocolate peanut tart, place it in an airtight container and freeze. You can freeze it whole, or cut it into individual servings before freezing. Then just take it out to defrost at room temperature for at least 2 hours before serving.
Substitutions
- Peanut butter: Swap this out for another nut butter of your choice to make an alternative flavor without peanuts. Almond butter or cashew butter would work really well.
- Coconut sugar: You can use brown sugar in its place if you can't get coconut sugar.
- Vegan butter: This can be substituted for solid coconut oil in the crust.
- Make it gluten-free: You can easily make this vegan chocolate peanut butter tart gluten-free by swapping out the plain flour for a gluten-free flour blend. I do recommend adding an extra 50g of flour for the gluten-free version.
More peanut butter desserts
Love this recipe? Please leave a 5-star ★★★★★ rating in the recipe card below and consider leaving a comment as well, thanks!
Stay in touch with me through social media @ Instagram, Pinterest, TikTok, and Facebook. And if you like one of my recipes, tag me!
📖 Recipe
Description
Ingredients
Crust
- 150 g (1 ⅕ cups) plain flour
- 80 g (2.8 oz) vegan block butter
- 80 g (2.8 oz) smooth peanut butter
- 40 g (¼ cup) coconut sugar, or brown sugar
- ½ teaspoon (½ teaspoon) sea salt
Peanut butter filling
- 100 g (3.5 oz) smooth peanut butter
- 20 g (1 tablespoon) pure maple syrup
- 40 g (2 ½ tablespoons) coconut oil, solid
Chocolate ganache filling
- 350 g (12.3 oz) chilled full-fat canned coconut milk , *see recipe notes
- 170 g (6 oz) vegan dark chocolate
- 80 g (¼ cup) pure maple syrup
- ¼ teaspoon (¼ teaspoon) sea salt
Instructions
- Before beginning, please see the recipe instructions and chill the cans of coconut milk overnight.
Crust
- Preheat your oven to 180°C (356°F). Lightly grease the base and sides of a round 9" tart tin with some oil or vegan butter, if desired you can also line the base with parchment paper.
- Add the flour, vegan butter, peanut butter, coconut sugar, and sea salt to a food processor and blend until the mixture starts to form a dough-like consistency. Spread the dough out evenly and press it firmly into the base and sides of the tin using a flat bottomed glass or cup measure. Bake for 15 minutes until slightly browned, then allow to cool (do not remove the tart from the tin).
Peanut butter filling
- Add the peanut butter, maple syrup, and coconut oil to a saucepan and melt over medium heat. Whisk continuously until the mixture is runny, then set it aside while you prepare the ganache.
Chocolate ganache filling
- Roughly chop the chocolate and place it in a heat-resistant bowl. Add the coconut milk to a saucepan and bring it to a simmer, but do not boil it. Pour the heated coconut milk on top of the chocolate and allow it to sit for 5 minutes. Whisk until smooth, then add the maple syrup and salt and whisk again.
Assembly
- Add 4 tablespoons of the melted peanut butter filling to the base of the tart and smooth out with the back of a spoon. Pour the chocolate ganache filling on top. If the ganache layer is very runny, place the tart in the freezer for 5-10 minutes. The consistency should be close as possible to the melted peanut butter to make it easier to get clean lines when creating the feathered peanut butter top.
- Transfer the remaining melted peanut butter to a piping bag (or use a spoon) to create 3 circles of peanut butter to the top of the tart. To make a fan design, take a wooden skewer and move it across the lines in one direction, and then in the opposite direction. Repeat this process alternating between going towards and away from yourself with the skewer.
- Carefully transfer the chocolate tart to the fridge to chill for 3-4 hours, until completely set. Remove the tart from the tart tin and serve.
Storage
- Store in the fridge in an airtight container. It will keep refrigerated for up to a week. If you prefer a softer filling, you can take the chocolate tart out of the fridge an hour or two before serving to allow it to come to room temperature.You can freeze it whole, or cut it into individual servings before freezing. Then just take it out to defrost at room temperature for at least 2 hours before serving.
Notes
- Chilled coconut milk: Refrigerate the cans of coconut milk overnight, then use only the thick cream from the top of the can. This recipe will need 2-3 400ml cans depending on the brand you use. I find Nature's Charm and Biona to have the best yield of coconut cream.
- Peanut butter: Swap this out for another nut butter of your choice to make an alternative flavor without peanuts. Almond butter or cashew butter would work really well.
- Coconut sugar: You can use brown sugar in its place if you can't get coconut sugar.
- Vegan butter: This can be substituted for solid coconut oil in the crust.
- Make it gluten-free: Swap plain flour for a gluten-free flour blend. I do recommend adding an extra 50g of flour for the gluten-free version.
Nutrition
© addictedtodates.com. All content and images are protected by copyright. If you want to share this recipe, please do so using the share buttons provided. Do not screenshot or republish the recipe or content in full. instead, include a link to this post for the recipe.

