You'll only need to spend about 10 minutes of active time in the kitchen to make this homemade nut milk.
Making your own non-dairy milk ensures that it is not only gluten-free, dairy-free, and soy-free, but is also free from artificial flavors, preservatives, and stabilizers. Plus, roasting the hazelnuts provides a depth of flavor you won't find in store-bought milk!
Jump to:
If you're looking to stock your refrigerator with more homemade vegan basics, check out my recipes for vegan sweetened condensed milk, vegan nutella, and strawberry chia jam.
🧾 Ingredients Needed
Here's everything you need to make this easy hazelnut milk recipe:
Ingredient Notes
Find the complete list of ingredients, quantities, and instructions in the recipe card at the end of this post.
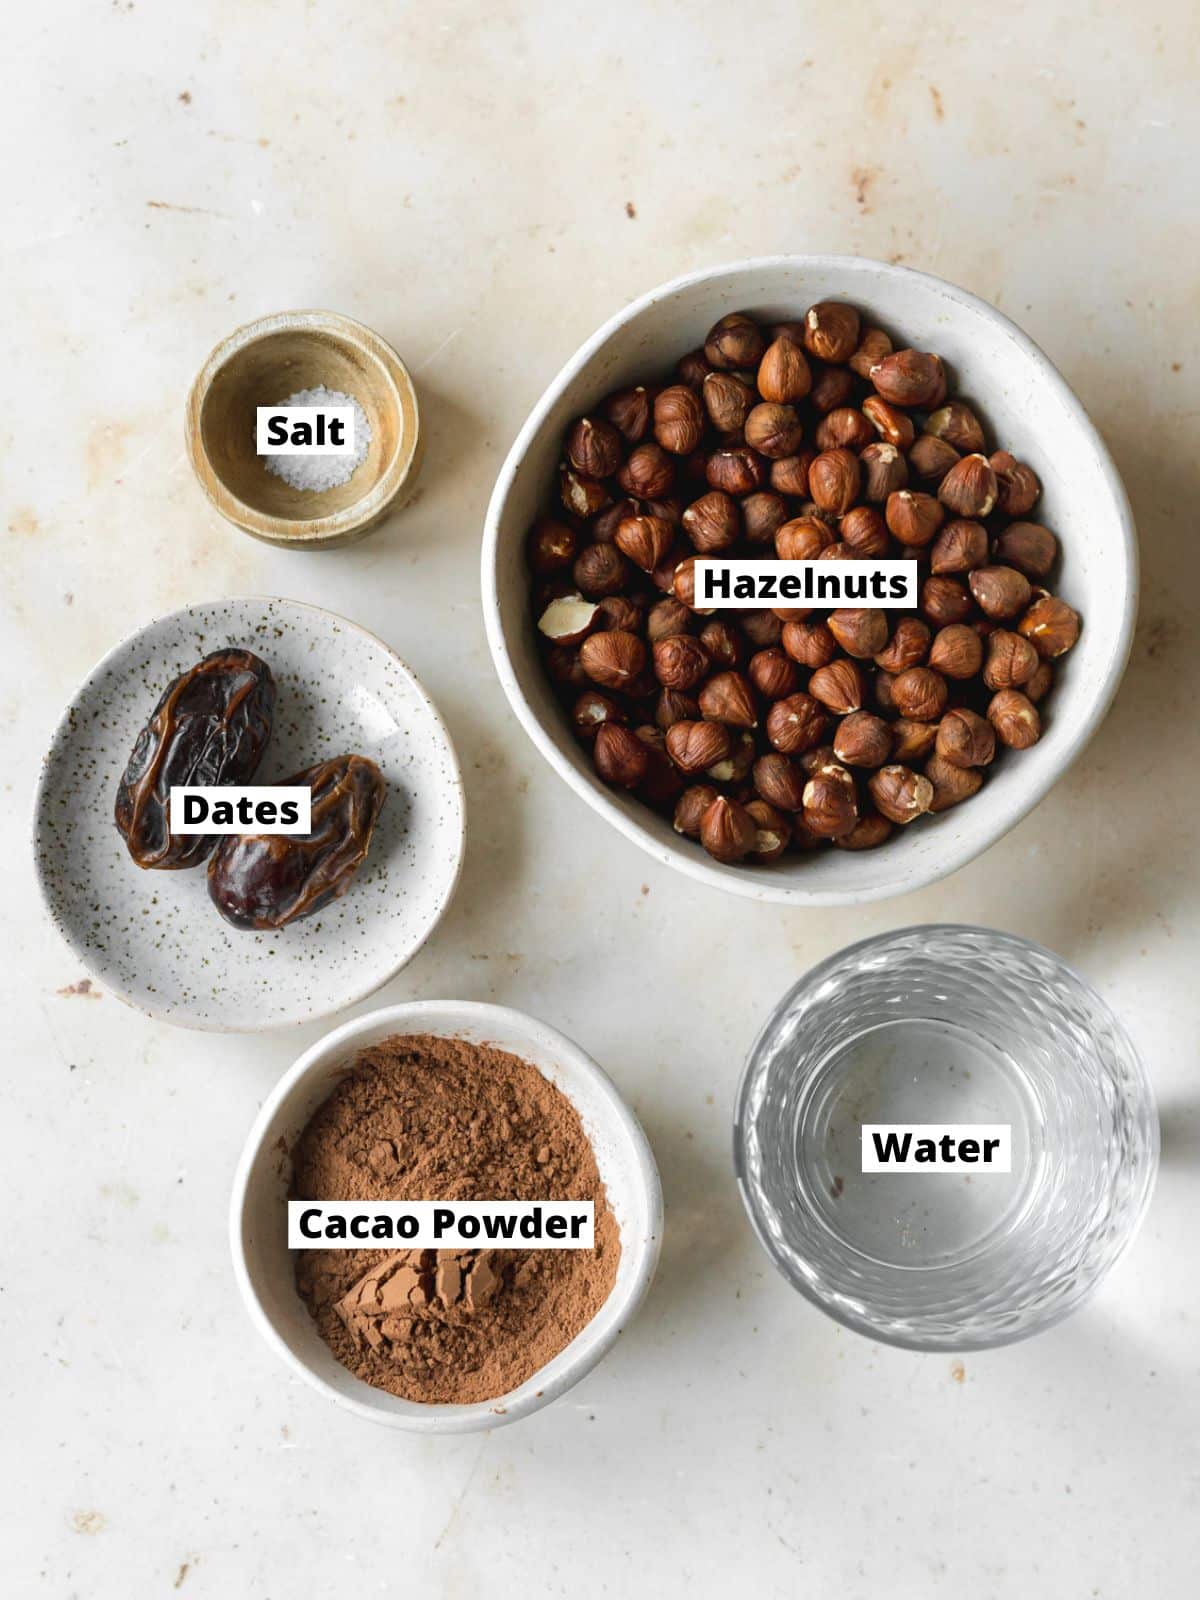
- Raw Hazelnuts: While you technically *can* buy your hazelnuts pre-roasted, I find the flavor of home-roasted nuts to be superior. As an added bonus, your house will smell amazing.
- Filtered Water: Using filtered water ensures the full, toasty flavor of the nuts shines through.
- Sea Salt: This enhances the toasted hazelnut flavor.
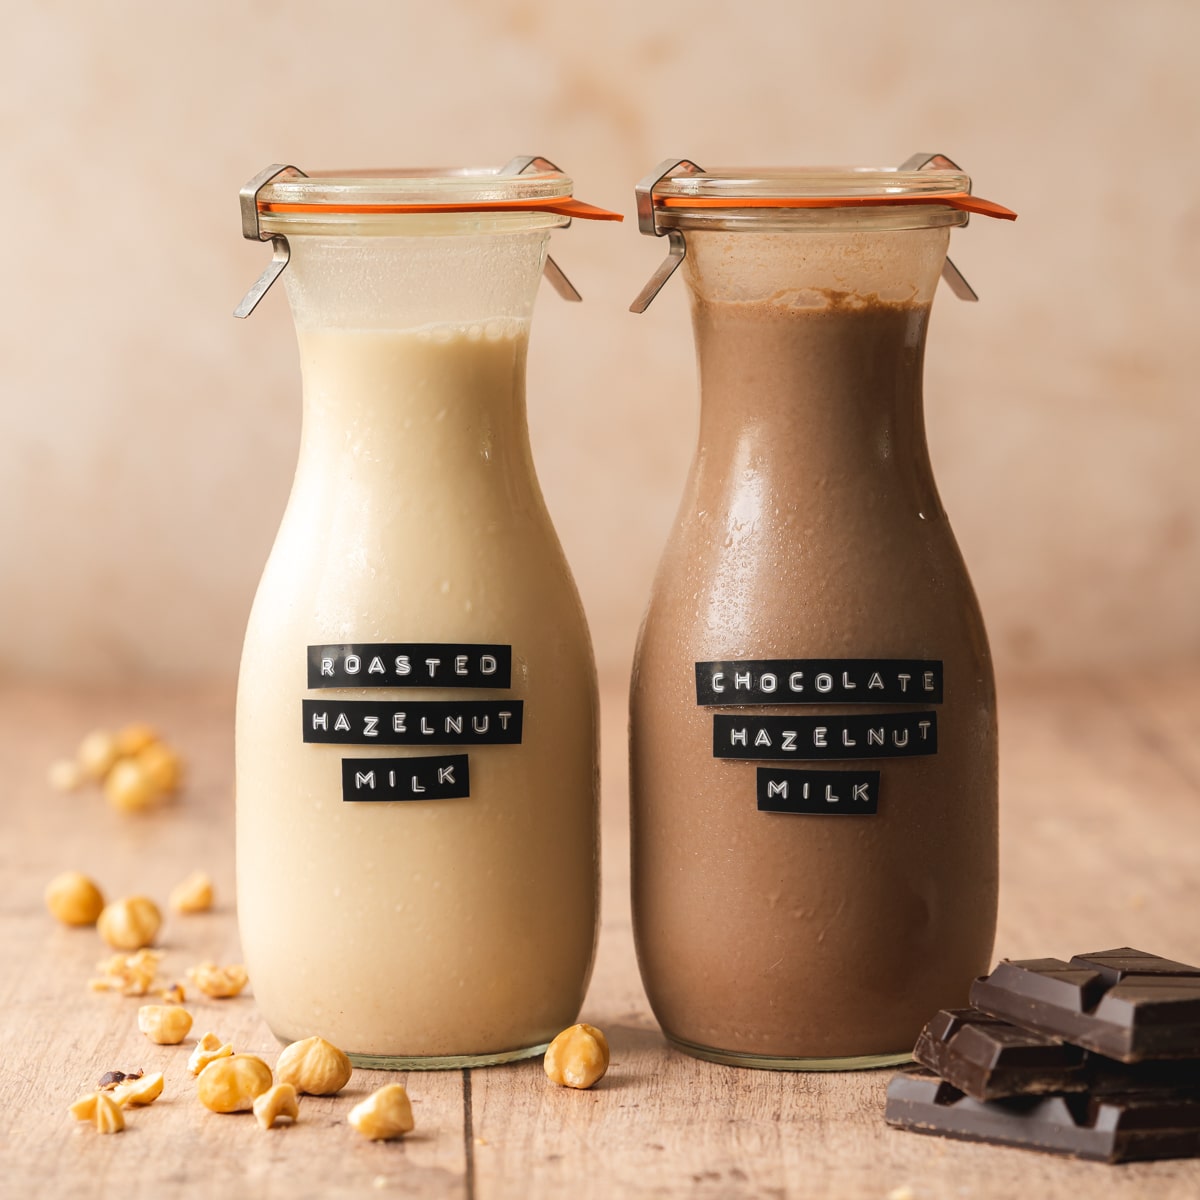
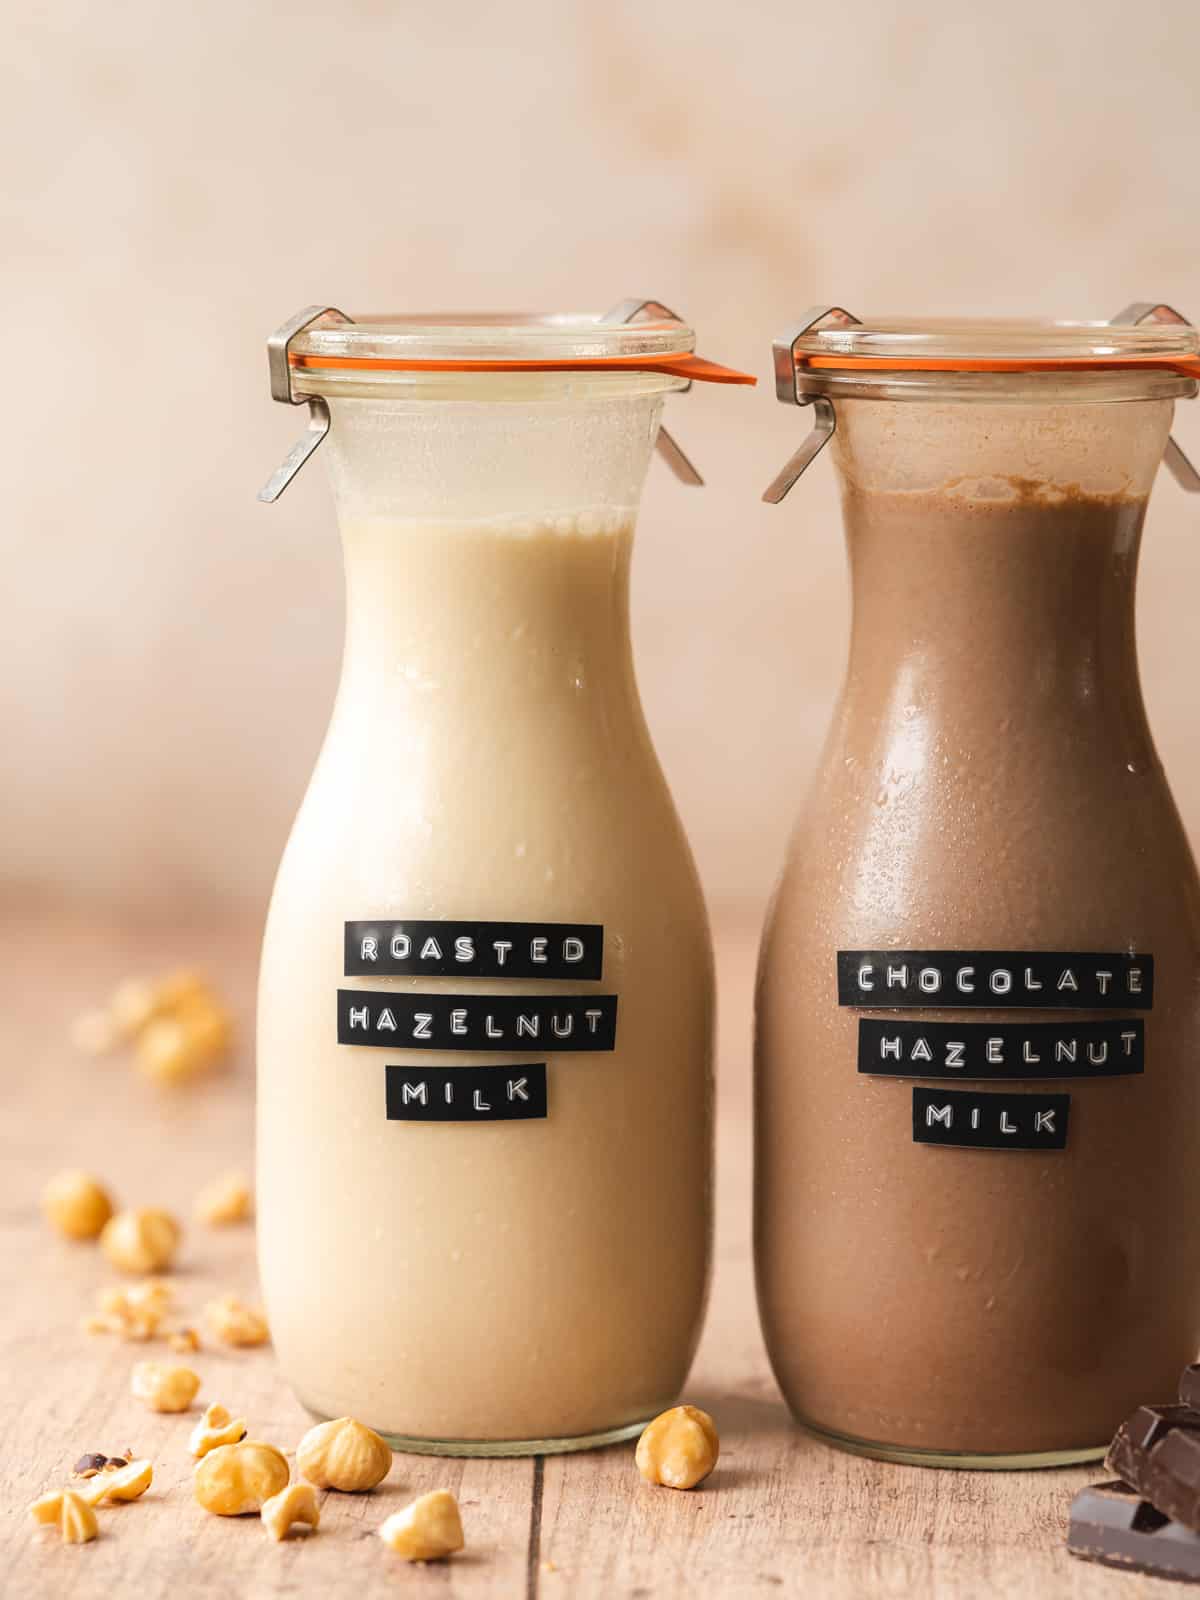
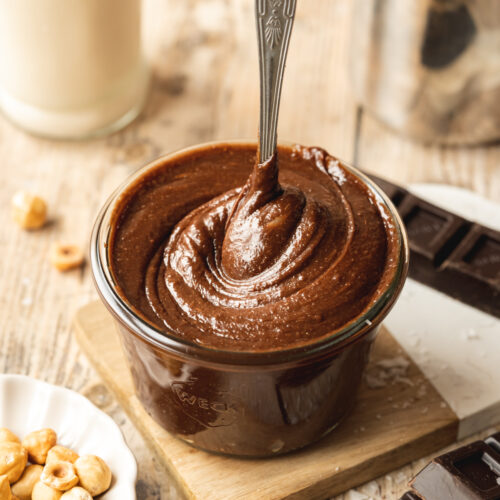
- Optional: To make chocolate hazelnut milk, you'll also need cacao powder and a medjool date.
Get Your Free E-Book!
Sign up to the Addicted to Dates newsletter for your FREE Guide To Vegan Cheesecakes!
🔪 Instructions
This hazelnut milk recipe is quite simple to prepare. Here's how it's done:
Here are step-by-step images showing how to make your own hazelnut milk. Please refer to the detailed printable recipe card at the end of this page for full measurements and written instructions:

Step 1: Start by roasting the whole hazelnuts on a baking sheet in a preheated oven until toasted. Let them cool on the tray for about 30 minutes.

Step 2: Vigorously rub the hazelnuts between your hands to remove the skins - they should come off relatively easily.

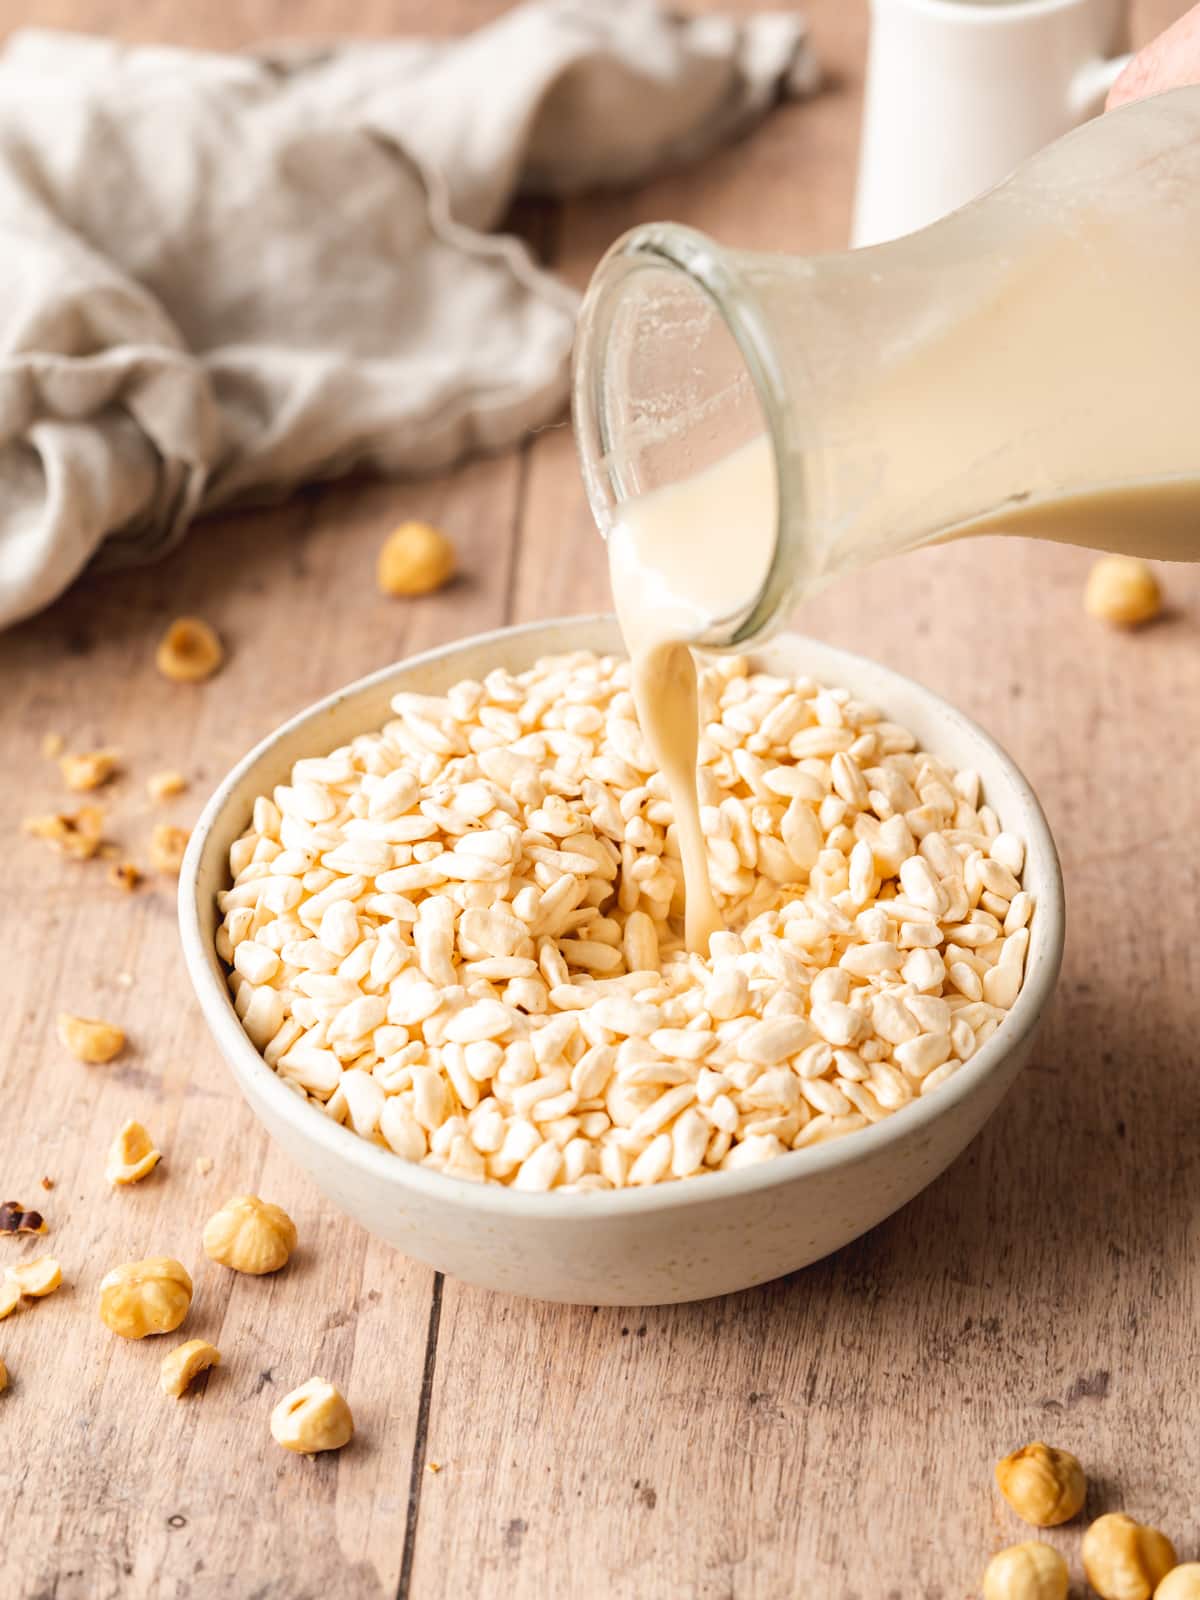
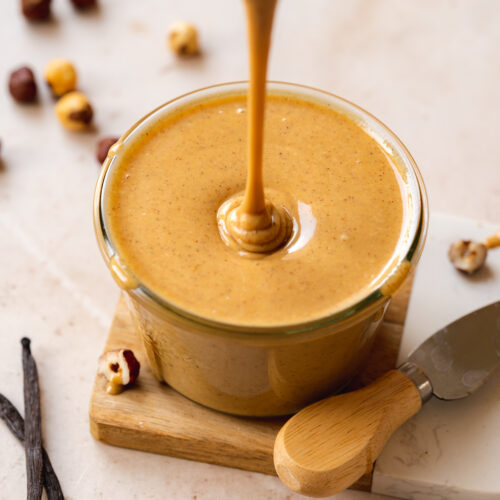
Step 3: Transfer the toasted skinless hazelnuts to a high-speed blender with water and a pinch of salt and blend for a minute.

Step 4: Place a colander or sieve over a large mixing bowl and line it with some cheese cloth or a nut milk bag. Pour the mixture through the nut bag/cheesecloth and allow it to strain for 5-10 minutes.

Step 5: You can carefully squeeze the bag by holding it closed at the top to get all of the remaining milk through.

Step 6: For a chocolate version, add the prepared milk back to the blender with the pitted date and cacao powder and blend until smooth and creamy. This should take about 2-3 minutes depending on your blender.
🍽 Serving Suggestions
This delicious homemade nut milk can be put to use in any recipe that calls for plant-based milk. Here are a few ideas to try:
- Breakfast: Drizzle some hazelnut milk over your morning cereal or porridge, or use as the base for your baked oatmeal, overnight oats, or chia pudding.
- Smoothies: Blend up some frozen fruit, vegan yogurt, and your homemade nut milk for a quick and tasty breakfast or mid-afternoon snack.
- Coffee or Tea: Perfect for hazelnut lattes or hazelnut chai.
- Sweet Treats: There's nothing like dipping your cookies into a chilled glass of homemade non-dairy milk. This recipe pairs especially well with my chocolate hazelnut cookies.
💭 Recipe Tips
Keep an eye (and your nose!) on the hazelnuts as they're roasting. There's nothing more disappointing than having to tip a tray of burnt nuts into the bin.
Use a high-powered blender. Pulverizing nuts to the point of turning them into milk is no easy feat! Make sure you use a high-speed blender for the best results.
Don't waste leftover pulp. You'll have a decent amount of leftover hazelnut pulp making the recipe. Use it to bulk up your morning oats or smoothies, turn it into a no-bake tart crust, dehydrate it and turn it into toasted hazelnut meal, or use it to make no-bake energy bites or brownies.
💬 FAQs
Store your homemade non-dairy milk in a mason jar or sealed bottle and refrigerate for up to 3 days. The mixture will naturally separate when left standing - that's the cost of skipping out on artificial ingredients and stabilizers 🤷♀️- so give it a good shake before serving.
While not all recipes are the same, my hazelnut milk is made with only hazelnuts, water, and salt. If you opt for the chocolate version, add a Medjool date and some cacao powder!
🥛 More Vegan Basics
📖 Recipe
Homemade Hazelnut Milk (Roasted & Chocolate)
Equipment
- High-speed blender
- storage jar or bottles
Ingredients
- 200 g (1 ⅔ cups) hazelnuts
- 800 ml (3 ⅓ cups) filtered water
- ¼ teaspoon sea salt
Chocolate Hazelnut Milk
- 1 medjool date pitted
- 2 tablespoons raw cacao powder or unsweetened cocoa powder
Instructions
- Roast the hazelnuts: Preheat your oven to 160°C (320°F). Place the hazelnuts on a baking sheet and bake for 12-14 minutes, until toasted. Remove the tray from the oven and allow the hazelnuts to cool for 30 minutes.Place a colander or sieve over a large mixing bowl and line it with some cheesecloth or a nut milk bag, set aside.
- Remove the skins: Rub the hazelnuts between your hands to remove the skins, they should come off relatively easily.
- Blend: Add the toasted skinless hazelnuts, water, and sea salt to a high-speed blender and blend for a minute.
- Strain: Pour the mixture through the nut milk bag/cheesecloth and allow it to strain for 5-10 minutes. You can carefully squeeze the bag by holding it closed at the top to get all of the remaining milk through.
- Chocolate milk: Add the hazelnut milk back to the blender with the pitted date and cocoa powder and blend for a couple of minutes until smooth and creamy.
- Storage: Store the hazelnut milk in a sealed jar or bottle and refrigerate for up to 3 days. The mixture will naturally separate when left standing, so give it a good shake before serving.
© addictedtodates.com. All content and images are protected by copyright. If you want to share this recipe, please do so using the share buttons provided. Do not screenshot or republish the recipe or content in full. Instead, include a link to this post for the recipe. Thank you!