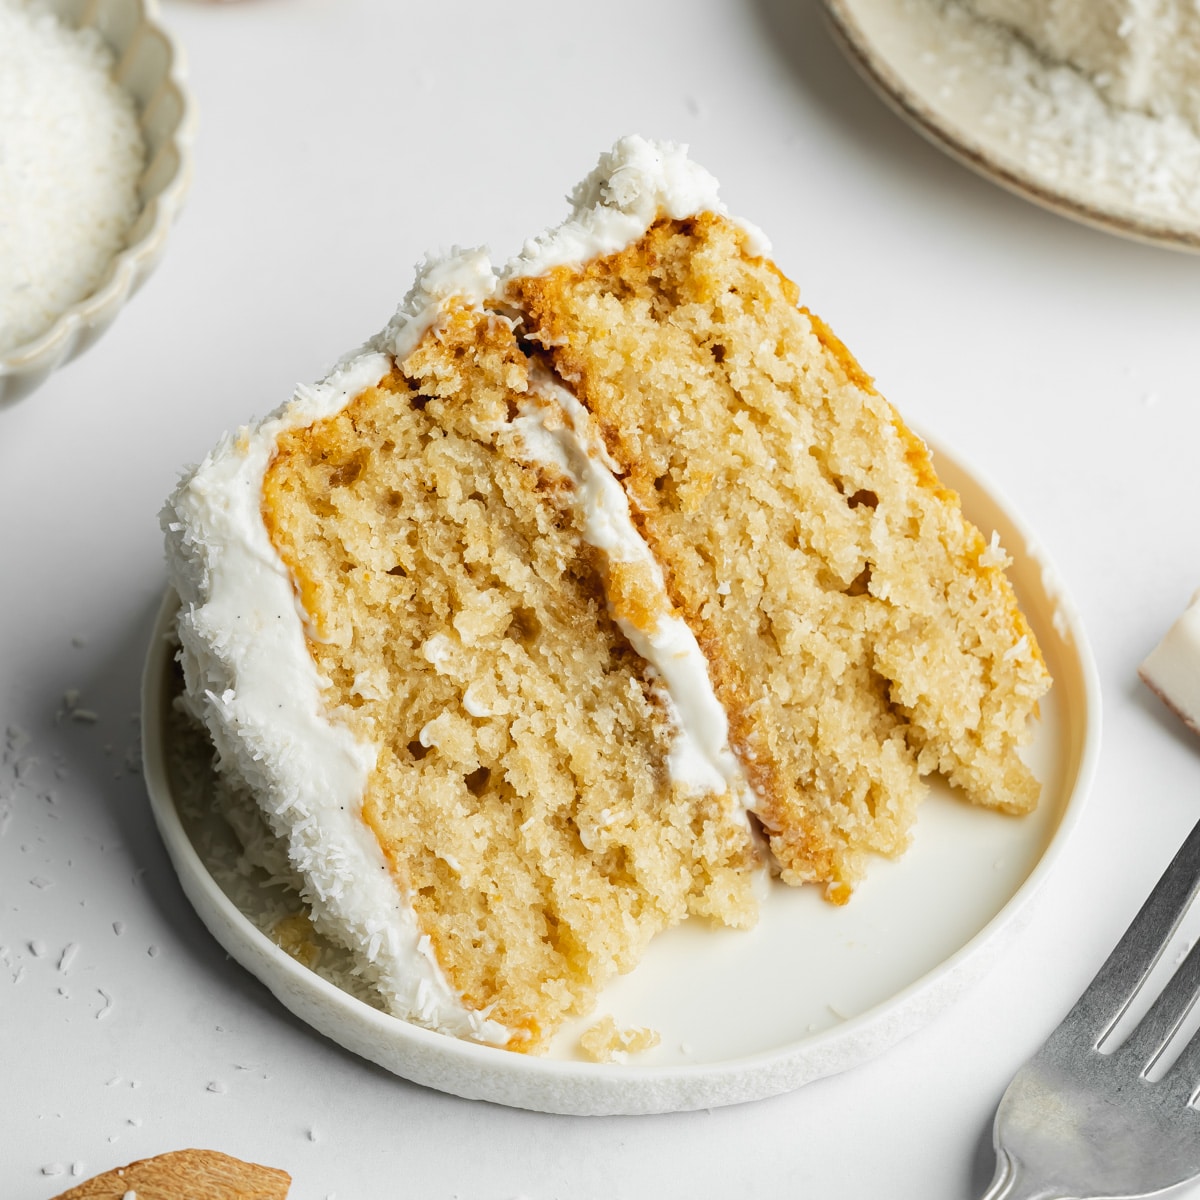
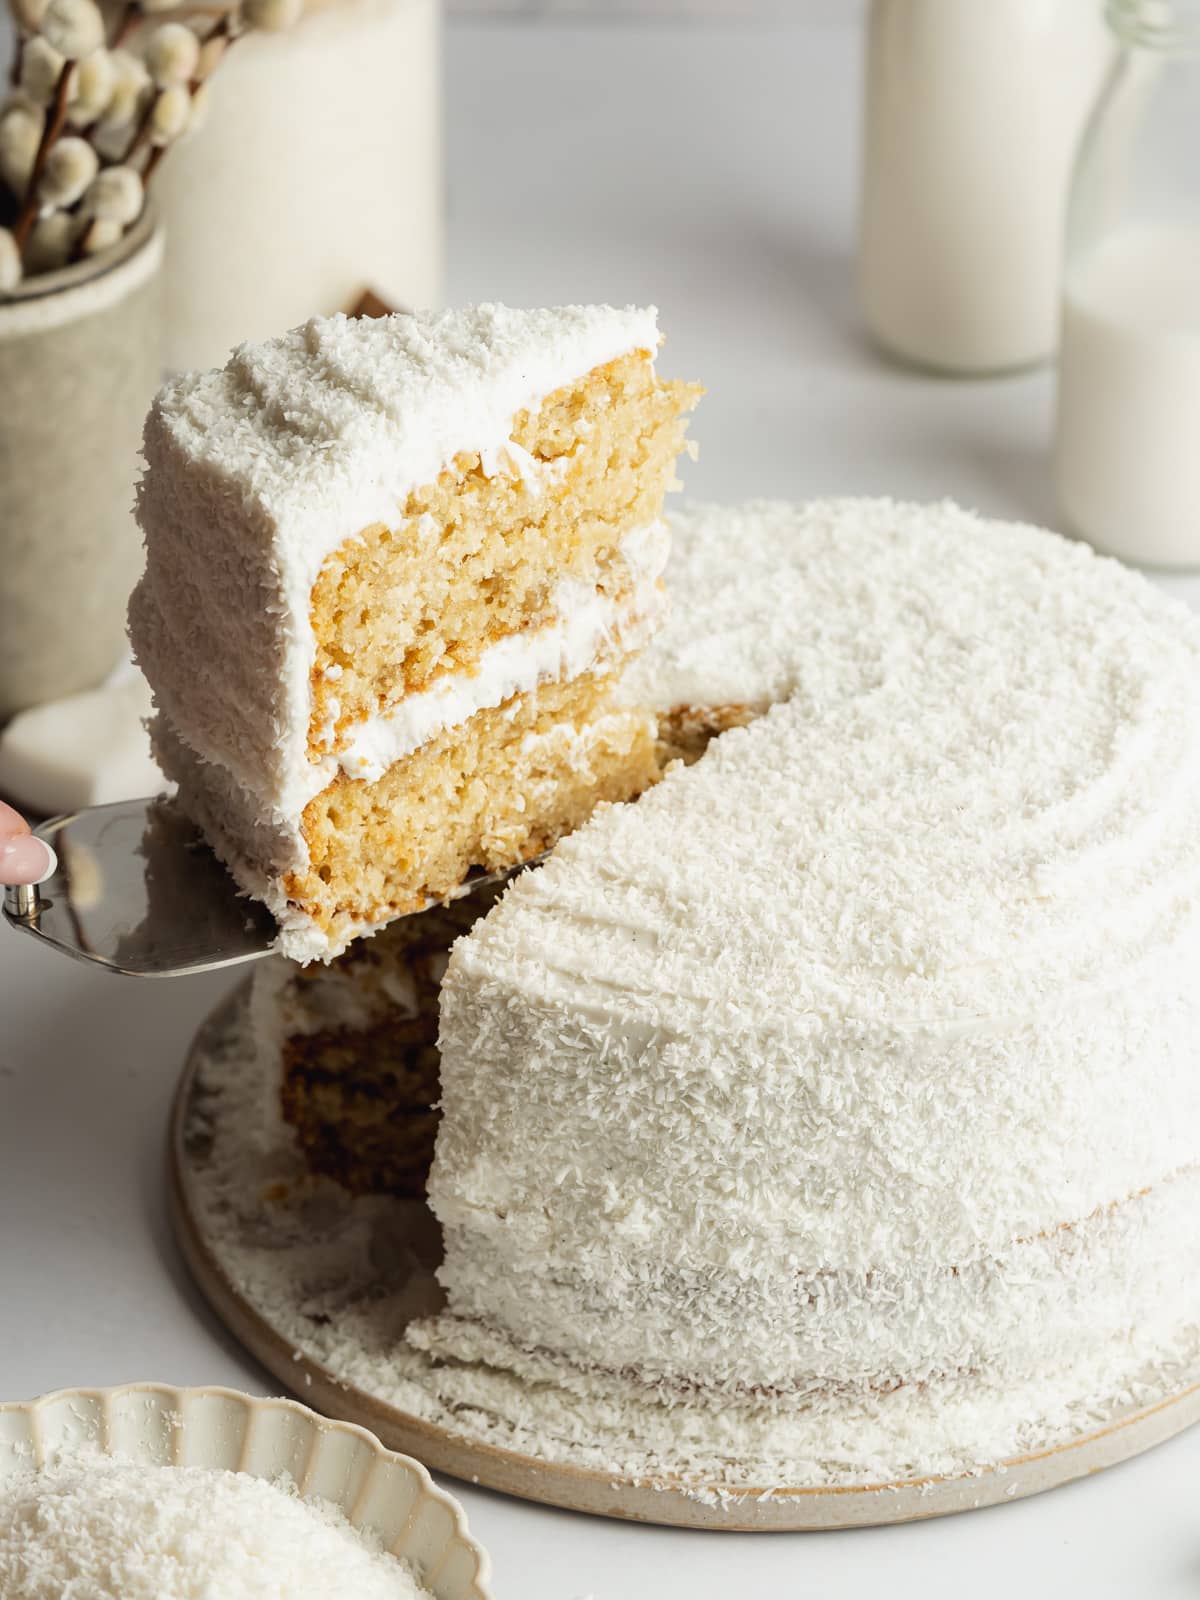
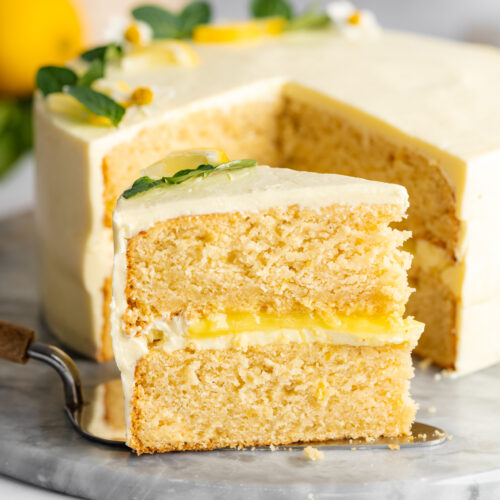
This incredibly fluffy cake is packed with coconut flavor from real coconut, without using coconut extract. Based on my vegan vanilla cake recipe, with a tropical twist!
This recipe is sponsored by Nature's Charm. All opinions are my own. Thank you for supporting the brands who sponsor my work!
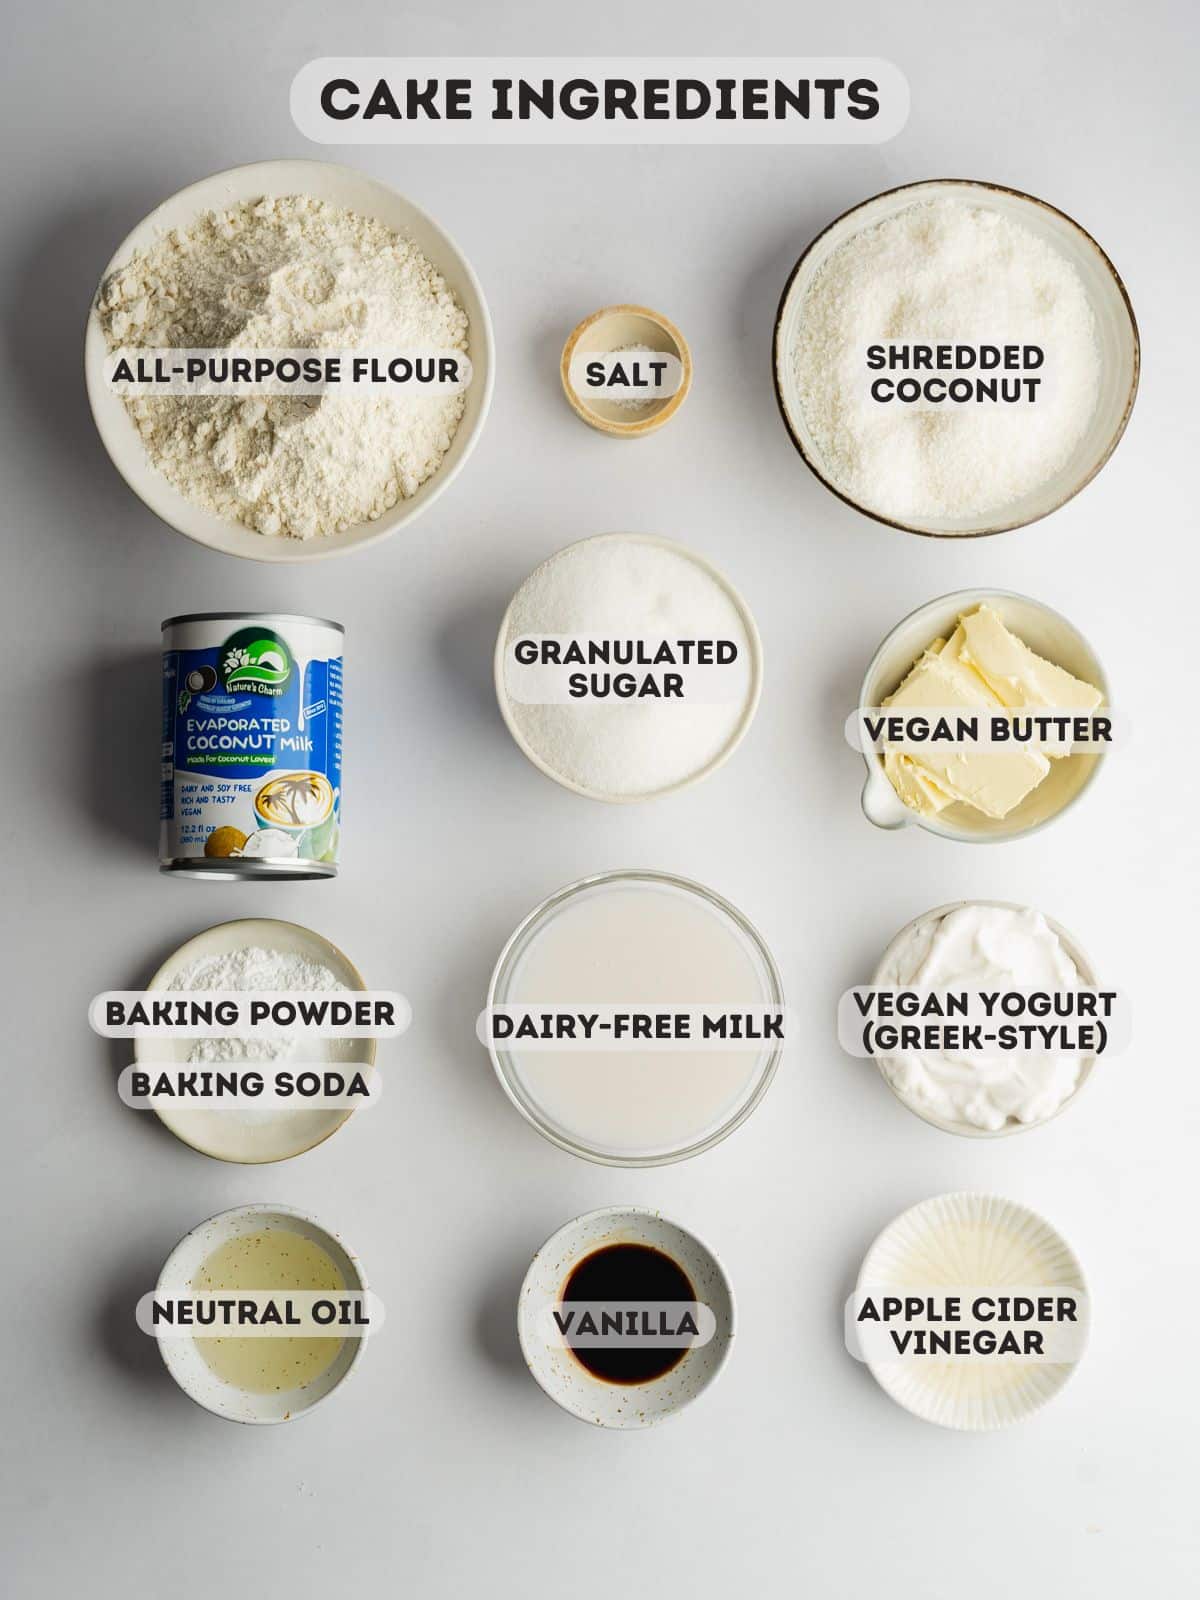
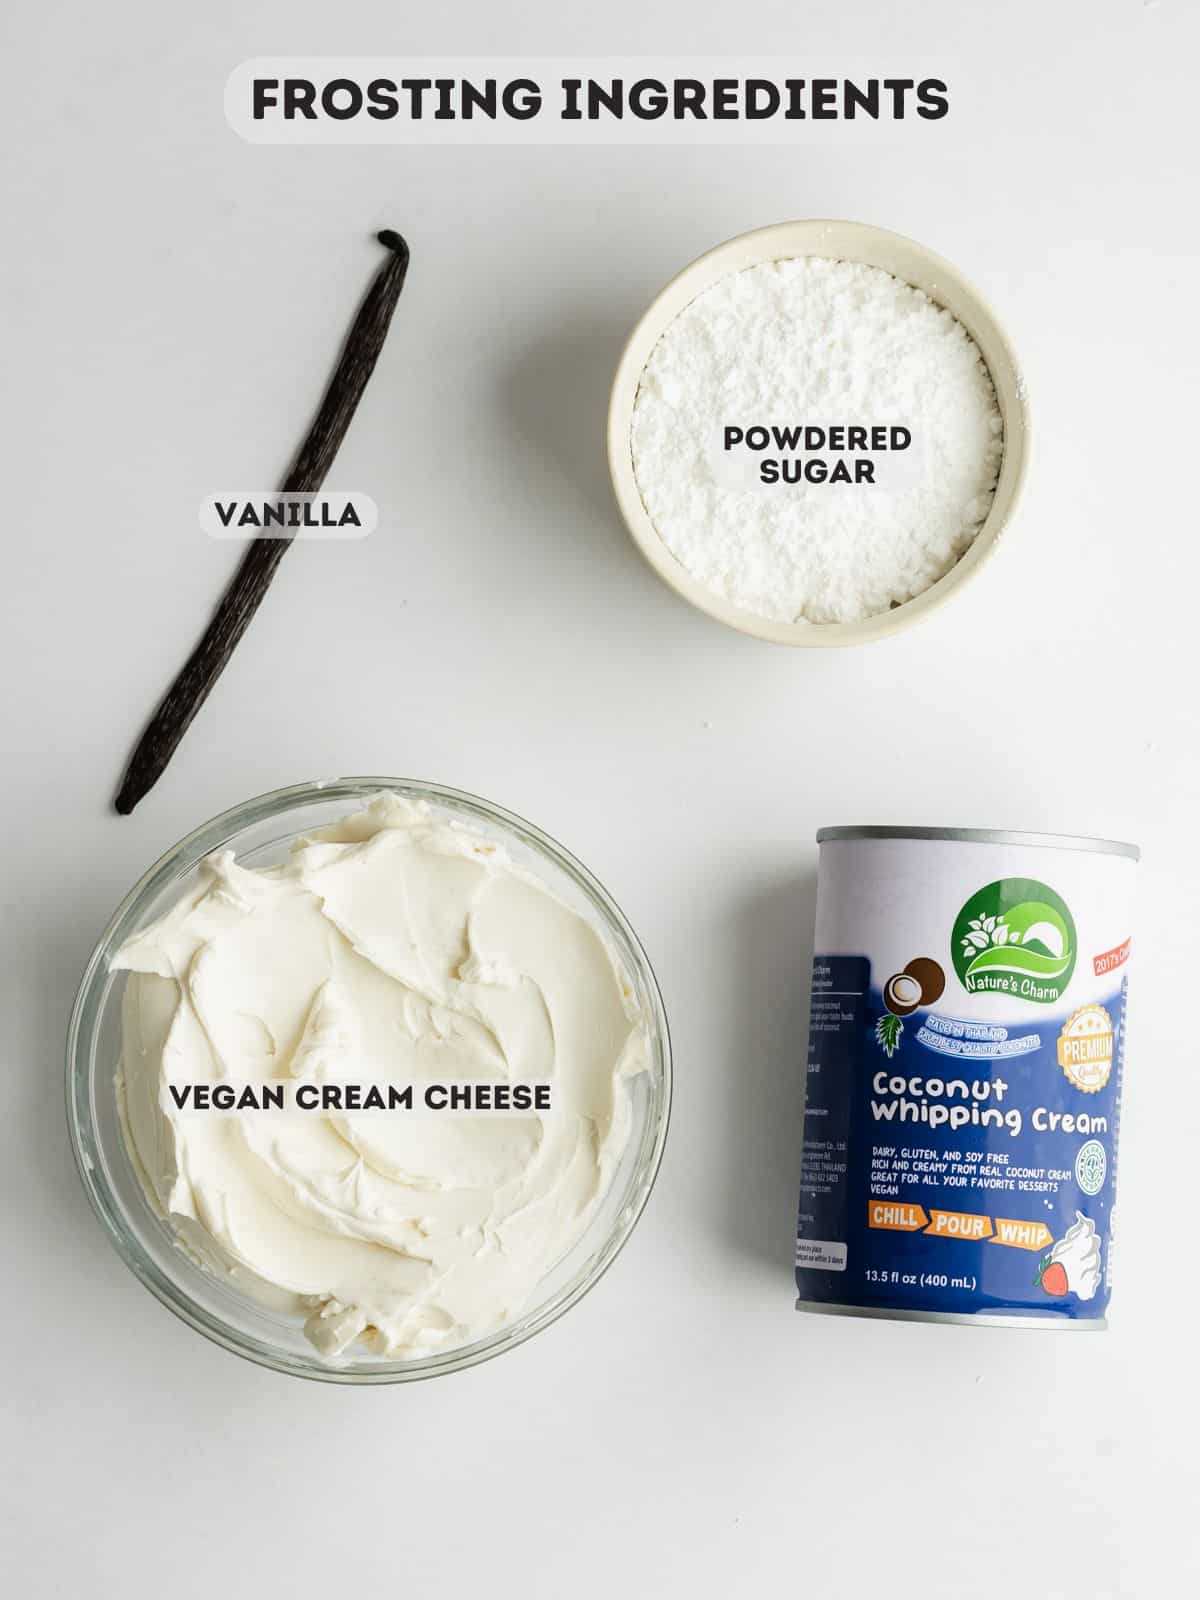
🧾 Ingredients
Here's everything you need to make this fluffy coconut cake and whispy frosting:
Ingredient Notes
Find the complete list of ingredients, quantities, and instructions in the recipe card at the end of this post.
- Non-Dairy Milk: You can opt for coconut drinking milk, oat milk, almond milk, or soy milk. This is fixed with a little apple cider vinegar or lemon juice to create a vegan buttermilk alternative.
- Vegan Yogurt: I use thick coconut yogurt for extra coconut flavor. You can also use Greek-style vegan yogurt or vegan sour cream.
- Canola Oil: Any neutral oil will work here; if using olive oil, go for a light one to avoid an overpowering taste.
- Evaporated Coconut Milk: This adds richness and a coconutty flavor to the cake. I use Nature's Charm.
- Dairy-Free Cream Cheese: If you can't find a store-bought version, try this homemade vegan cream cheese recipe.
- Unsweetened Shredded Coconut: This is often labeled as desiccated coconut.
Get Your Free E-Book!
Sign up to the Addicted to Dates newsletter for your FREE Guide To Vegan Cheesecakes!
🔪 Instructions
Here are step-by-step images showing how to make this easy coconut cake. Please refer to the detailed printable recipe card at the end of this page for full measurements and written instructions:
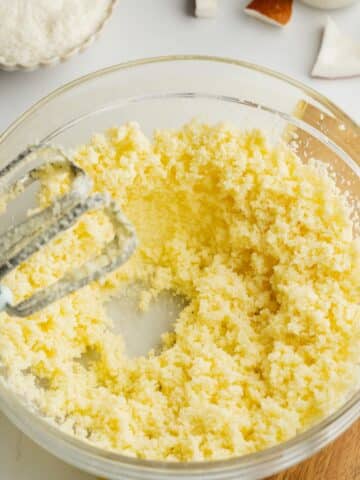
Step 1: In a large mixing bowl, cream the softened butter and sugar with an electric mixer until fluffy.
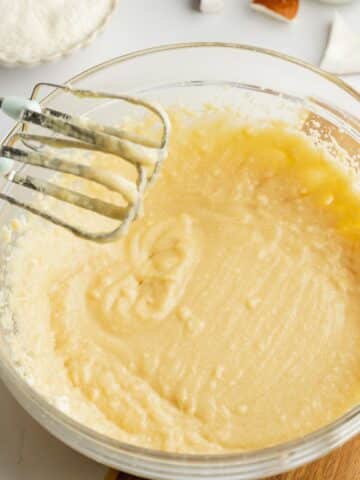
Step 2: Mix in the wet ingredients (oil, dairy-free yogurt, and vanilla extract), followed by the evaporated coconut milk.
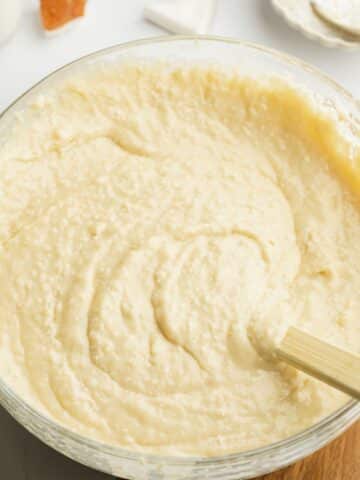
Step 3: Mix half of the vegan buttermilk and dry ingredients (all purpose flour, baking powder, baking soda, and salt), then repeat with the second half before folding in the shredded coconut.

Step 4: Transfer the cake batter to springform pans lined with parchment paper and bake until golden brown and a skewer comes out almost clean with a few moist crumbs.
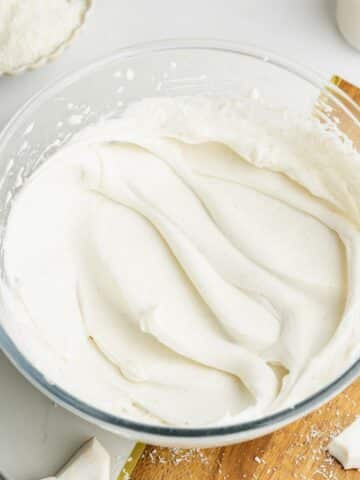
Step 5: Whip the vegan cream cheese and coconut cream until fluffy. Then mix in the powdered sugar and scraped-out vanilla pod.
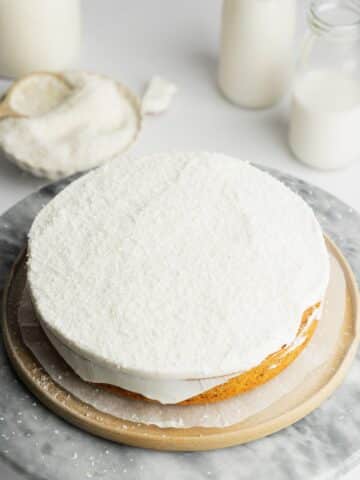
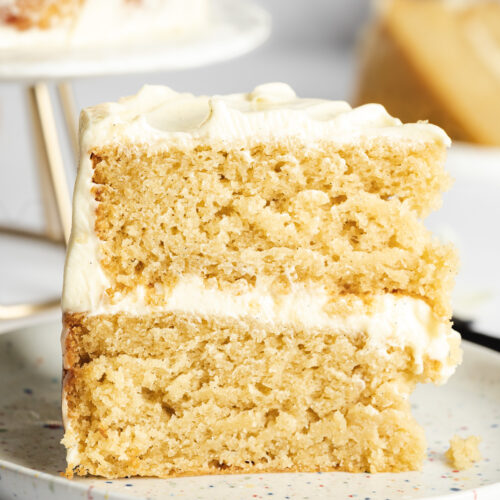
Step 6: Spread coconut frosting on the first cooled cake layer and sprinkle shredded coconut on top.
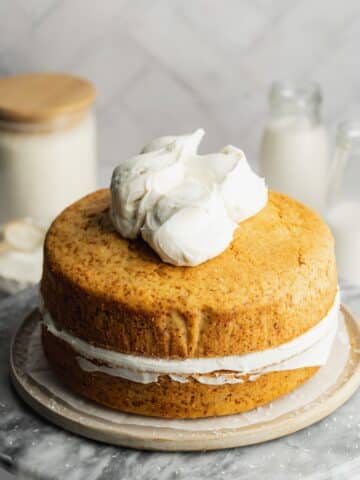
Step 7: Add the next layer of cake and frost the top and sides of the cake.
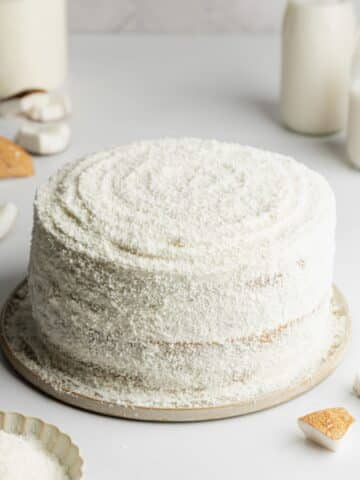
Step 8: Coat the entire cake with more shredded coconut.
💭 Recipe Tips
Use a kitchen scale to measure your ingredients and divide the batter evenly between the pans. It may seem like extra effort, but weighing everything is the most reliable way to achieve perfectly even layers.
Allow the cakes to cool completely before removing the parchment paper to avoid cracking.
Use room temperature ingredients for the cake batter, but chilled ingredients for the frosting. Room temperature ingredients help the batter emulsify more smoothly.
Freeze the first cake layer briefly after frosting. Chilling the cake for 5 minutes helps build a sturdy structure and keeps the layers from slipping.
🍽 Variations
- Celebration Cake: Decorate the top of the cake with your favorite coconut treats, such as coconut macaroons, vegan raffaello, or vegan bounty bars for extra wow factor!
- Coconut Layer Cake: Bake the cake in 3x6 inch cake pans, and reduce the baking time to 30-40 minutes.
- Toasted Coconut: Decorate the cake with toasted coconut flakes instead of shredded coconut.
- Vegan Buttercream Frosting: Switch the coconut frosting for a more stable buttercream, such as vegan Italian meringue buttercream, Swiss meringue buttercream, or add flavors with raspberry buttercream or chocolate frosting.
💬 FAQs
Keep the cake in an airtight container and refrigerate for up to 5 days. Although the cake itself stays moist at room temperature for several days, it's best to refrigerate it early on to prevent the frosting from spoiling. When you're ready to serve, take the cake out of the fridge 1-2 hours beforehand to allow it to come back to room temperature.
Yes, you can freeze the baked cake layers before frosting. Just be sure to wrap each one tightly in plastic wrap before freezing. When you're ready to use them, thaw overnight in the fridge or at room temperature for a few hours.
You can also freeze the finished cake in pre-sliced portions. Simply place the slices in zip-top bags or a freezer-safe container, with parchment paper between each slice to prevent sticking.
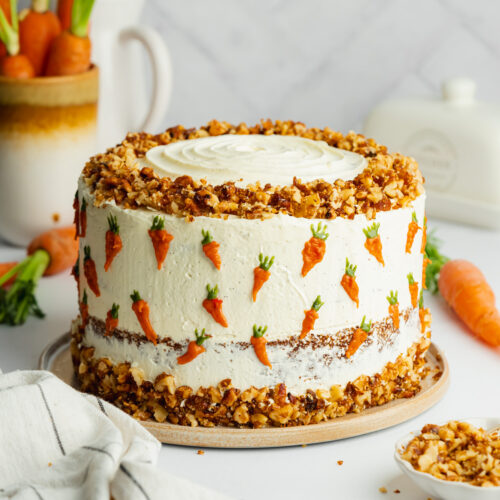
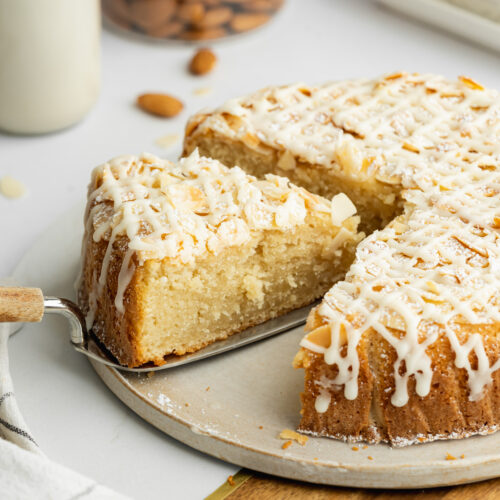
🎂 More Vegan Cakes
📖 Recipe
Vegan Coconut Cake With Whipped Cream Cheese Frosting
Ingredients
Cake
- 360 g (3 cups) all-purpose flour
- 3 teaspoons baking powder
- ½ teaspoon baking soda
- ½ teaspoon sea salt
- 180 ml (¾ cup) non-dairy milk *note 1
- 2 teaspoons apple cider vinegar or lemon juice
- 300 g (1 ½ cups) granulated sugar
- 113 g (4 oz) vegan butter softened, *note 2
- 2 tablespoons canola oil *note 3
- 160 g (½ cup + 2 tablespoon) thick coconut yogurt *note 4
- 1 tablespoon vanilla extract
- 240 ml (1 cup) evaporated coconut milk *note 5
- 120 g (1 ½ cups) shredded coconut (desiccated coconut)
Frosting
- 300 g (10.5 oz) vegan cream cheese chilled
- 400 ml (14 oz) coconut whipping cream chilled, *note 6
- 120 g (1 cup) powdered sugar
- 1 vanilla pod or 1 tbsp vanilla extract
- 100 g (1 ¼ cups) shredded coconut (desiccated coconut)
Instructions
- Prepare: Preheat your oven to fan-forced 160°C/320°F or conventional 180°C/356°F. Line the base of two 8-inch tins with a circle of parchment and the sides with a strip of parchment paper.
- Mix dry ingredients: Sift the flour, baking powder, baking soda, and sea salt into a bowl and stir to combine. Set aside.
- Make vegan buttermilk: Mix the non-dairy milk and vinegar in a jug and set aside.
- Cream the sugar and butter: Add the butter and sugar to a large bowl and whisk for 2 minutes. Don't worry if the mixture isn't completely fluffy at this stage.
- Add the wet ingredients: To the creamed butter and sugar, add the yogurt, olive oil, and vanilla extract and mix until combined. Whisk in the evaporated coconut milk.
- Make the batter: Add half of the dry ingredients and half of the vegan buttermilk to the batter and mix. Repeat with the other half of the dry ingredients and buttermilk, but stop mixing while there are still some visible pockets of flour. Fold in the shredded coconut until just combined.
- Bake: Transfer the cake batter to the lined cake pans and bake for 45-50 minutes. To check they are done, insert a skewer or toothpick into the center, it should come out almost clean with a few crumbs. If there is still wet batter on the skewer, continue to bake for another 5 minutes as needed.
- Cool the cakes: Let the cakes cool in the tins for 10 minutes and then carefully turn them out onto a cooling rack to cool further. Wait for the cakes to cool completely before making the frosting. You can refrigerate the cakes in an airtight container until ready to use.
- Frosting: Add the chilled cream cheese and coconut cream to a bowl and whisk until fluffy. Add the powdered sugar and scraped-out vanilla pod and whisk until combined.
- Assembly: Place a tiny amount of frosting on a cake turntable and secure the first sponge layer on top of it. Scoop some frosting on top of the first cake layer, and use an offset spatula/pallet knife to spread it in an even layer. Sprinkle 2 tablespoons of shredded coconut on top, and place it in the freezer briefly for 5 minutes. Repeat the next layer. Use the remaining frosting to coat around the sides and smooth it out with a cake scraper. Dust the remaining shredded coconut all over the top and sides of the cake.
Notes
- Non-Dairy Milk: Coconut drinking milk, oat, almond, or soy milk.
- Vegan Butter: Block-style butter, not margarine.
- Neutral Oil: Sunflower oil, canola oil, or light olive oil.
- Coconut Yogurt: Swap for vegan Greek-style yogurt or vegan sour cream.
- Evaporated Coconut Milk: I use Nature's Charm.
- Coconut Whipping Cream: I use Nature's Charm.
© addictedtodates.com. All content and images are protected by copyright. If you want to share this recipe, please do so using the share buttons provided. Do not screenshot or republish the recipe or content in full. Instead, include a link to this post for the recipe. Thank you!