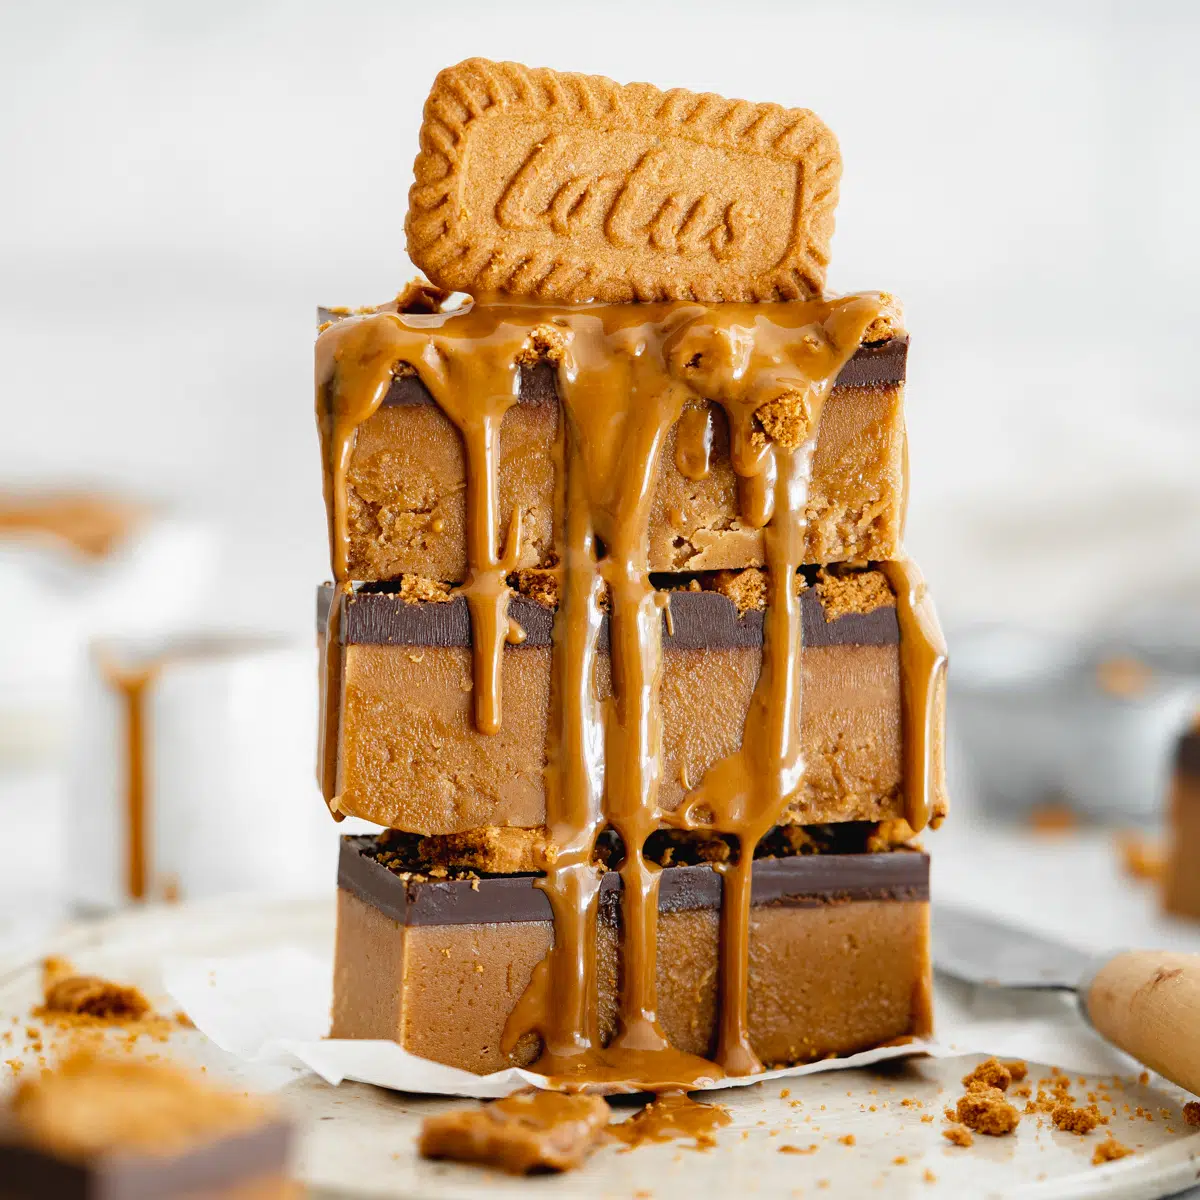
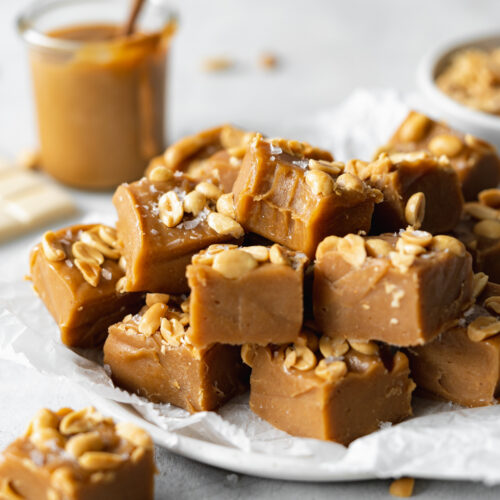
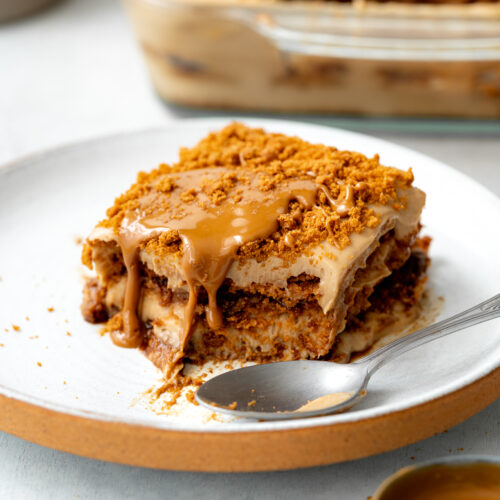
This easy no-bake cookie butter fudge is everything you could want from a biscoff dessert. These little bites are full of flavor, with a rich fudgy texture just like conventional fudge. I love having a stash in the fridge alongside my vegan cookie dough fudge for when my sweet tooth kicks in!
📖 Recipe Overview
- Rich and decadent
- Only 5 ingredients
- Incredibly easy to make
- No fancy equipment needed
- Perfect for biscoff lovers!
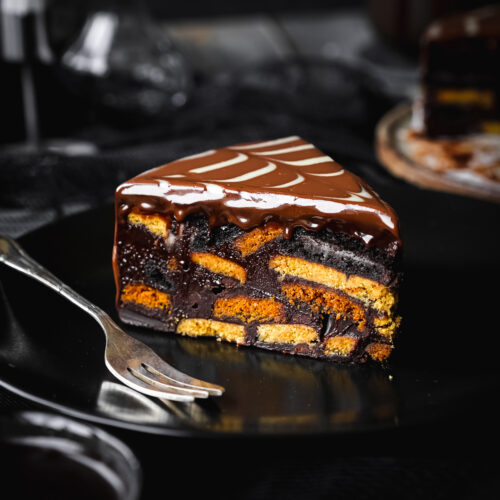
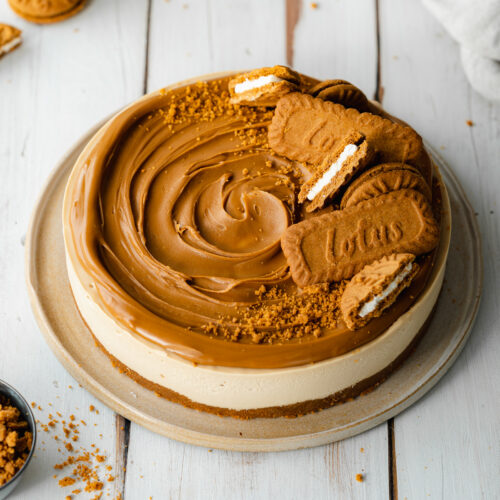
If you love Lotus Biscoff desserts, try my lotus biscoff cheesecake, banana biscoff cream pie, homemade speculoos cookies, and biscoff brownies next!
🧾 Ingredients Needed
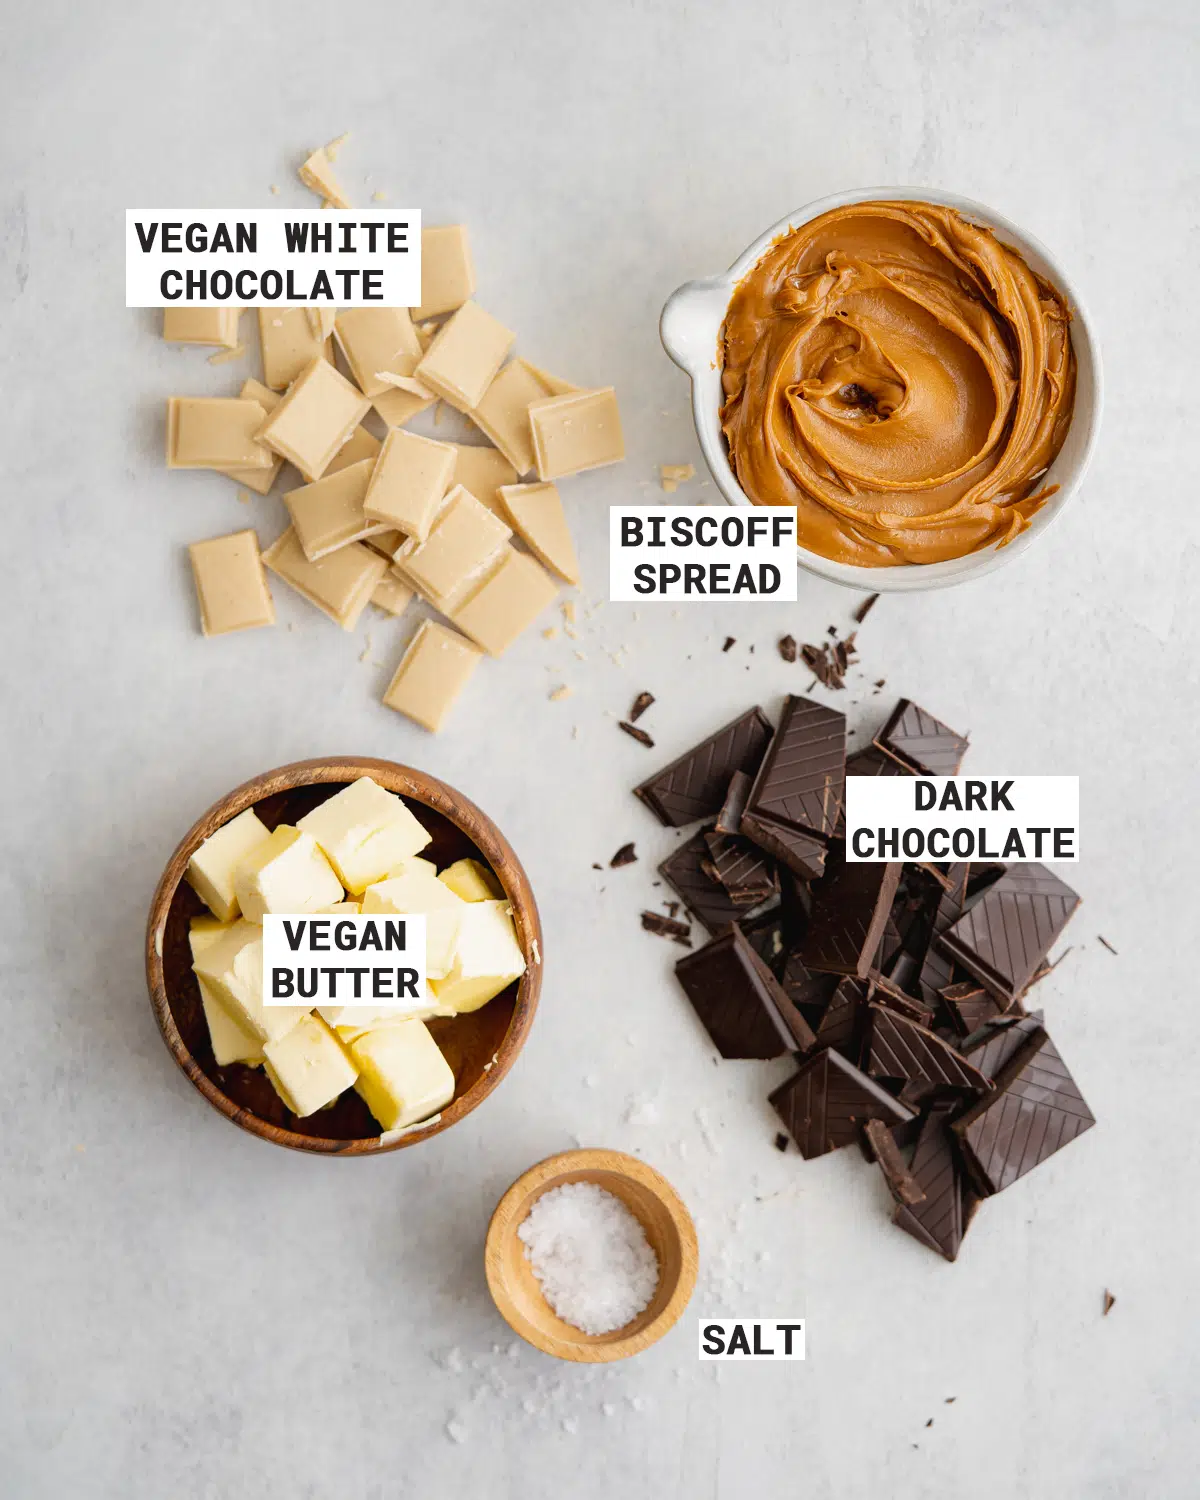
As promised, you just need to grab 5 ingredients to make this incredibly easy vegan fudge recipe:
Ingredient Notes
- Biscoff spread: I use lotus biscoff spread, which is the main ingredient for this recipe. You can also add some optional crushed lotus cookies on top of the fudge if desired.
- Vegan white chocolate: Dairy-free white chocolate is one of the main ingredients of this recipe, and it's what will set the cookie butter into a firm fudge. I like to use iChoc white vanilla. but you could also use some homemade vegan white chocolate.
- Dark chocolate: Use a good quality dark chocolate or vegan milk chocolate if preferred. Most dark chocolate is vegan-friendly by default, but remember to check the labels as some companies still manage to sneak dairy into them.
- Vegan butter: There are many brands of vegan-friendly butter available these days, it’s important to note that this recipe calls for stick butter, not the spreadable kind from a tub of margarine, I use flora unsalted plant butter.
- Sea salt: This helps to balance out the sweetness of the vegan fudge.

Get Your Free E-Book!
Sign up to the Addicted to Dates newsletter for your FREE Guide To Vegan Cheesecakes!
🥣 How To Make Cookie Butter Fudge
Find the complete list of ingredients, quantities, and instructions in the recipe card at the end of this post.
Step 1: Biscoff Fudge Layer
For this layer, all we'll be doing is melting the ingredients together! Honestly, it couldn't be any easier. Simply place the vegan white chocolate, butter, salt, and 290g (1 ¼ cups) of the biscoff spread into a large heat-resistant bowl. Now sit the bowl on top of a saucepan with simmering water (known as a bain-marie or water bath).
Make sure the water does not touch the bowl but allow the steam to rise up and gently melt the ingredients. Be careful that absolutely no water splashes into the bowl as water will cause the fudge to seize. whisk until smooth and evenly melted through.
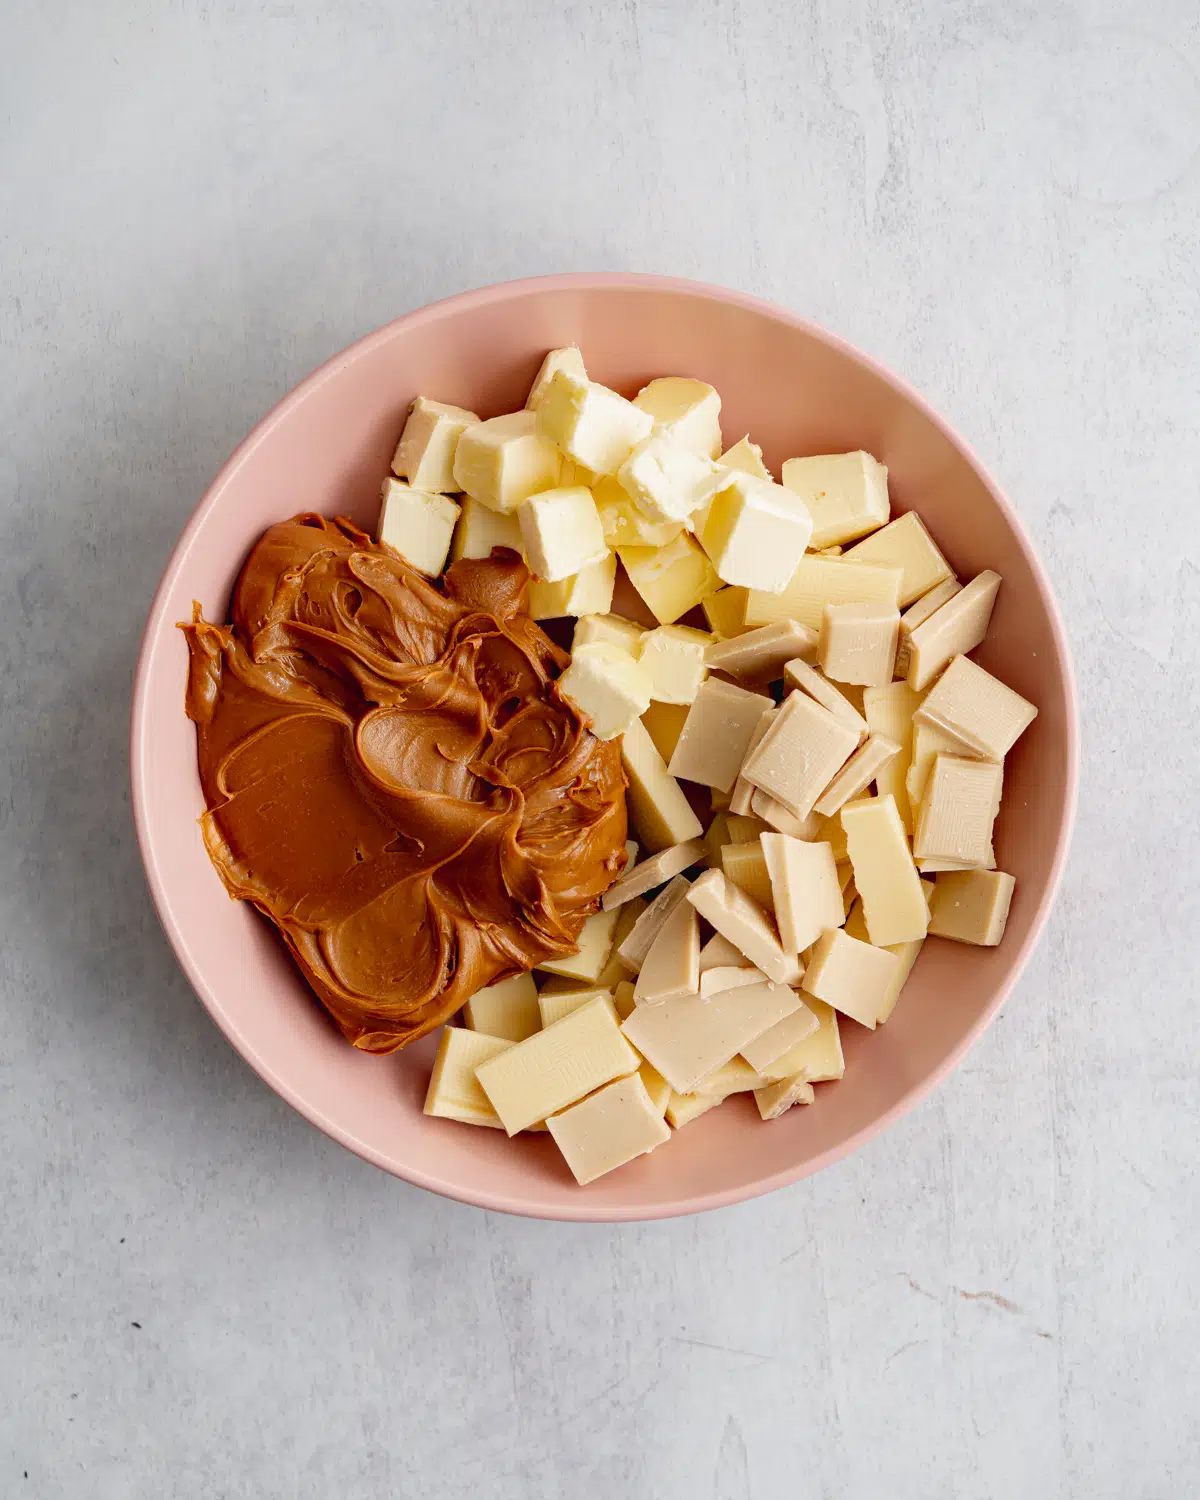
Once melted, pour the biscoff fudge into the lined loaf pan and place it in the fridge to set for 2 hours.

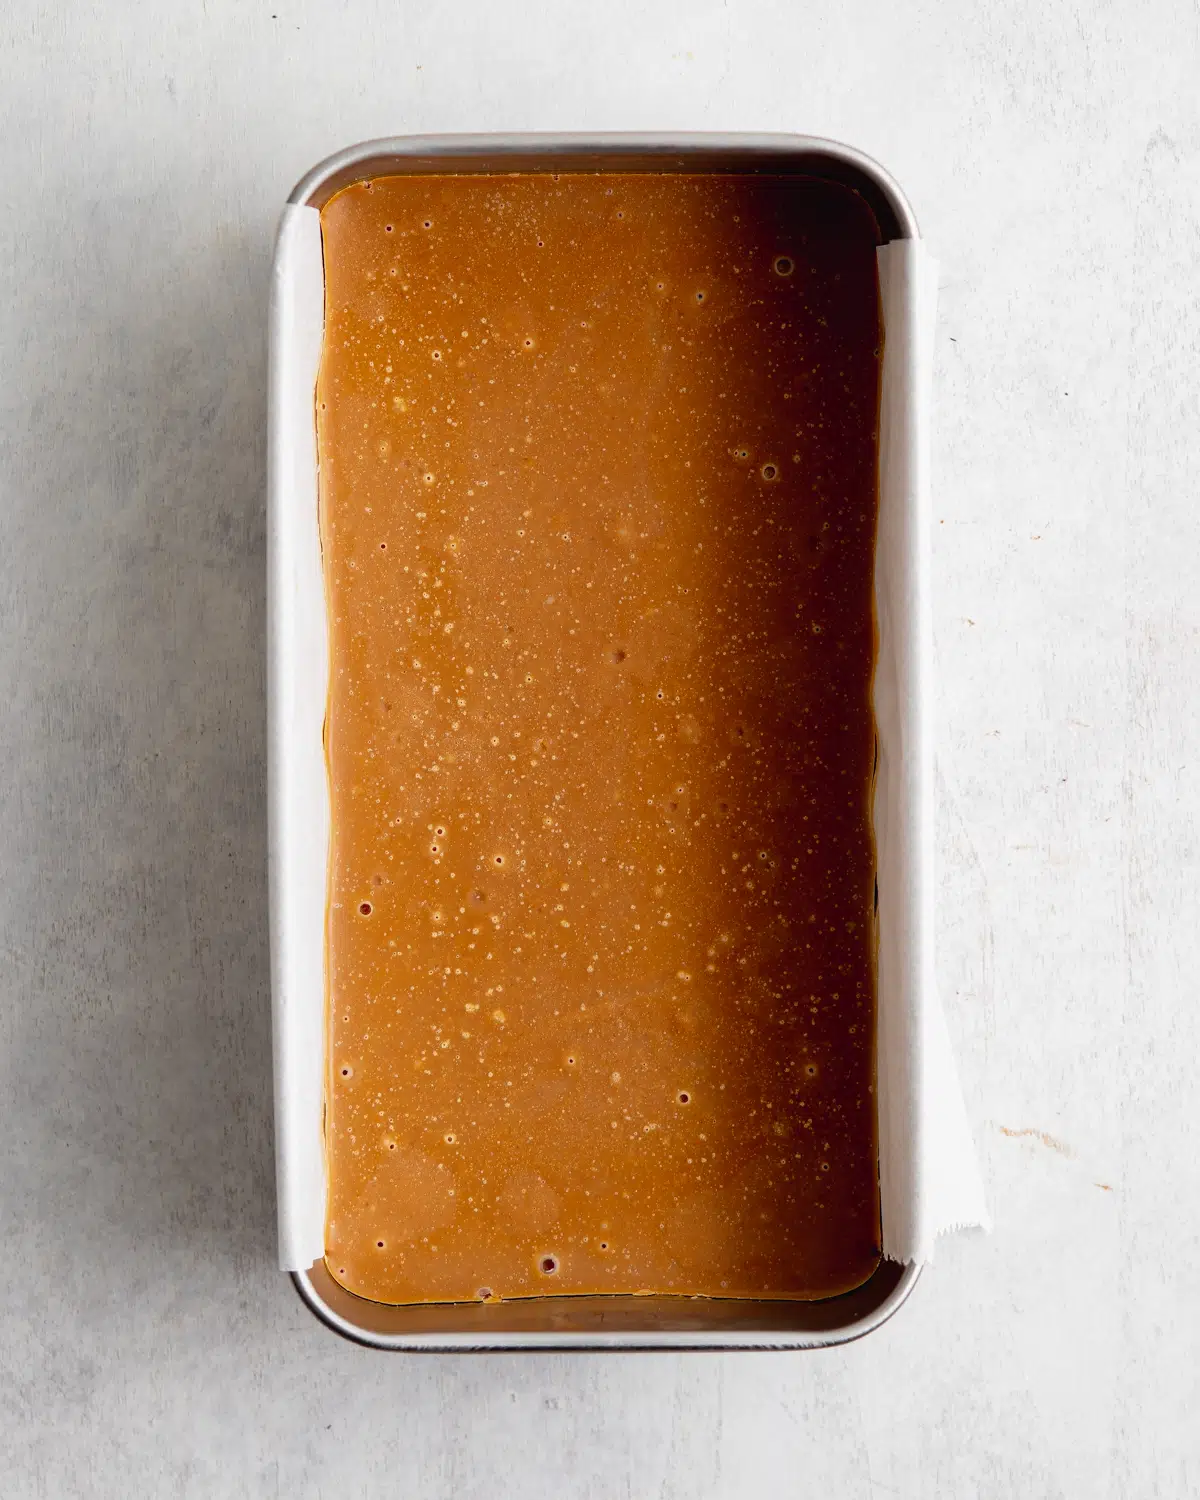
Step 2: Chocolate Fudge Layer
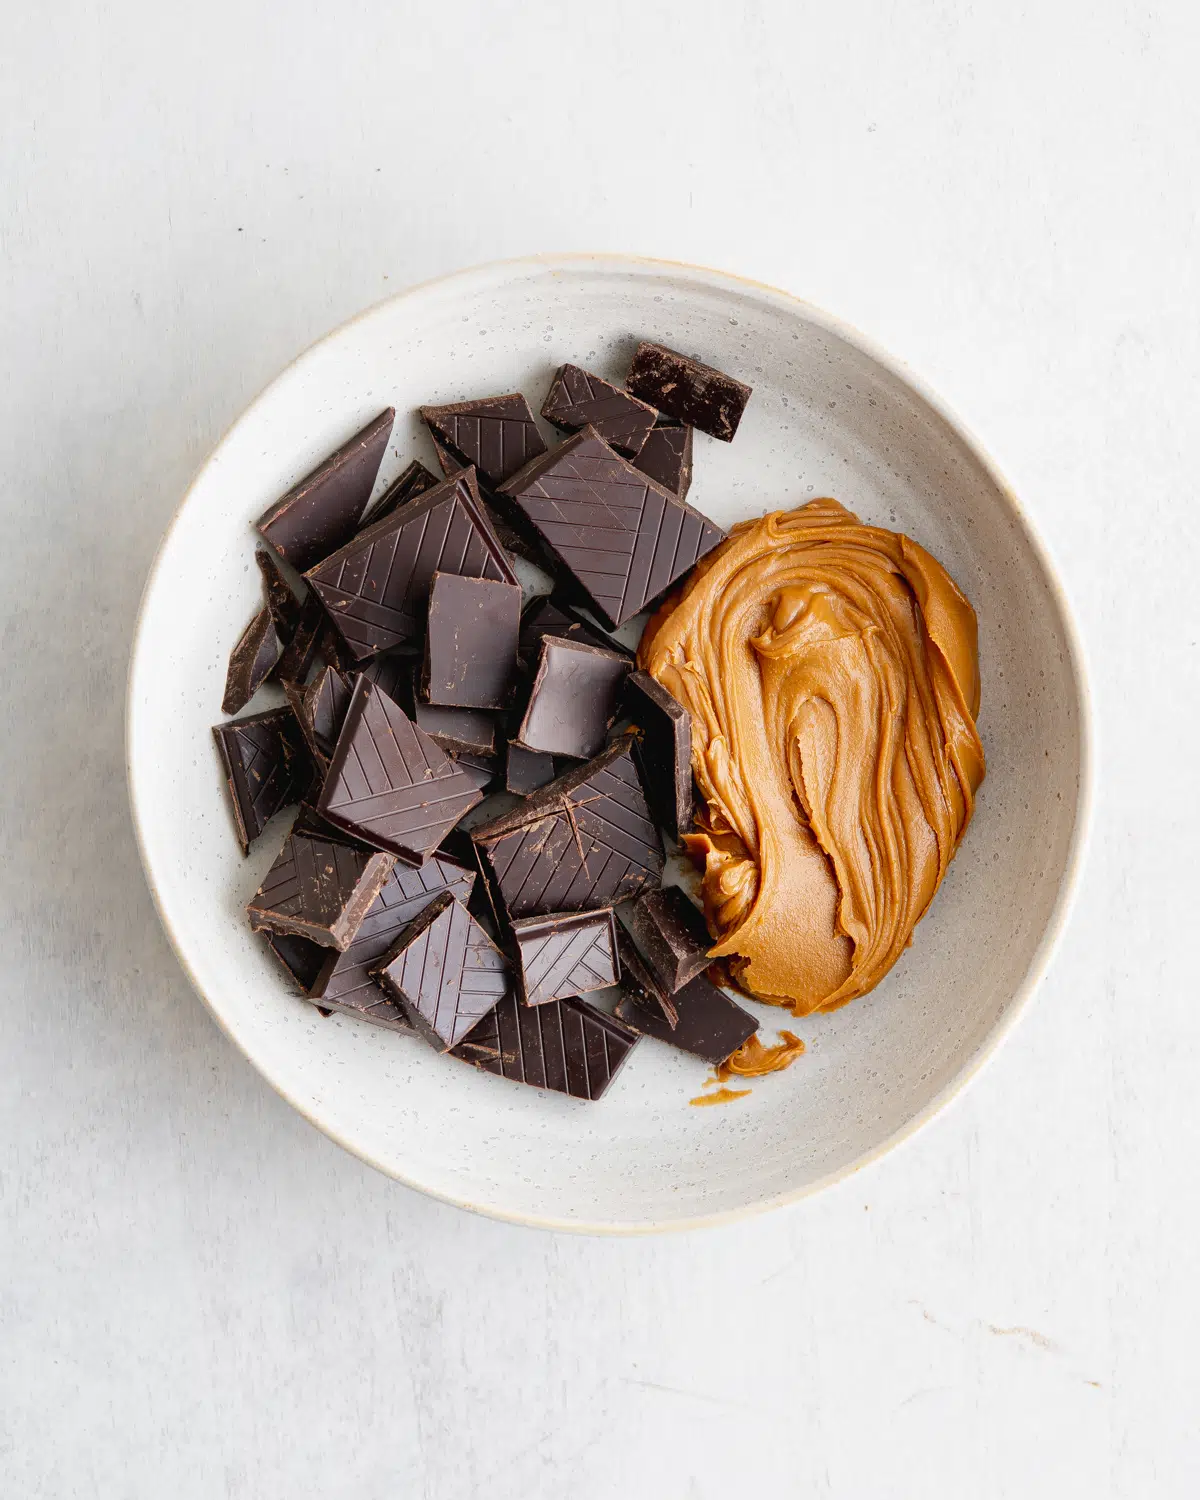
Similar to the biscoff layer, this part just requires melting! Add the dark chocolate and the remaining biscoff spread (60g / ¼ cup) to a large bowl and melt over the water bath as you did with the biscoff layer. Whisk until smooth and evenly melted.
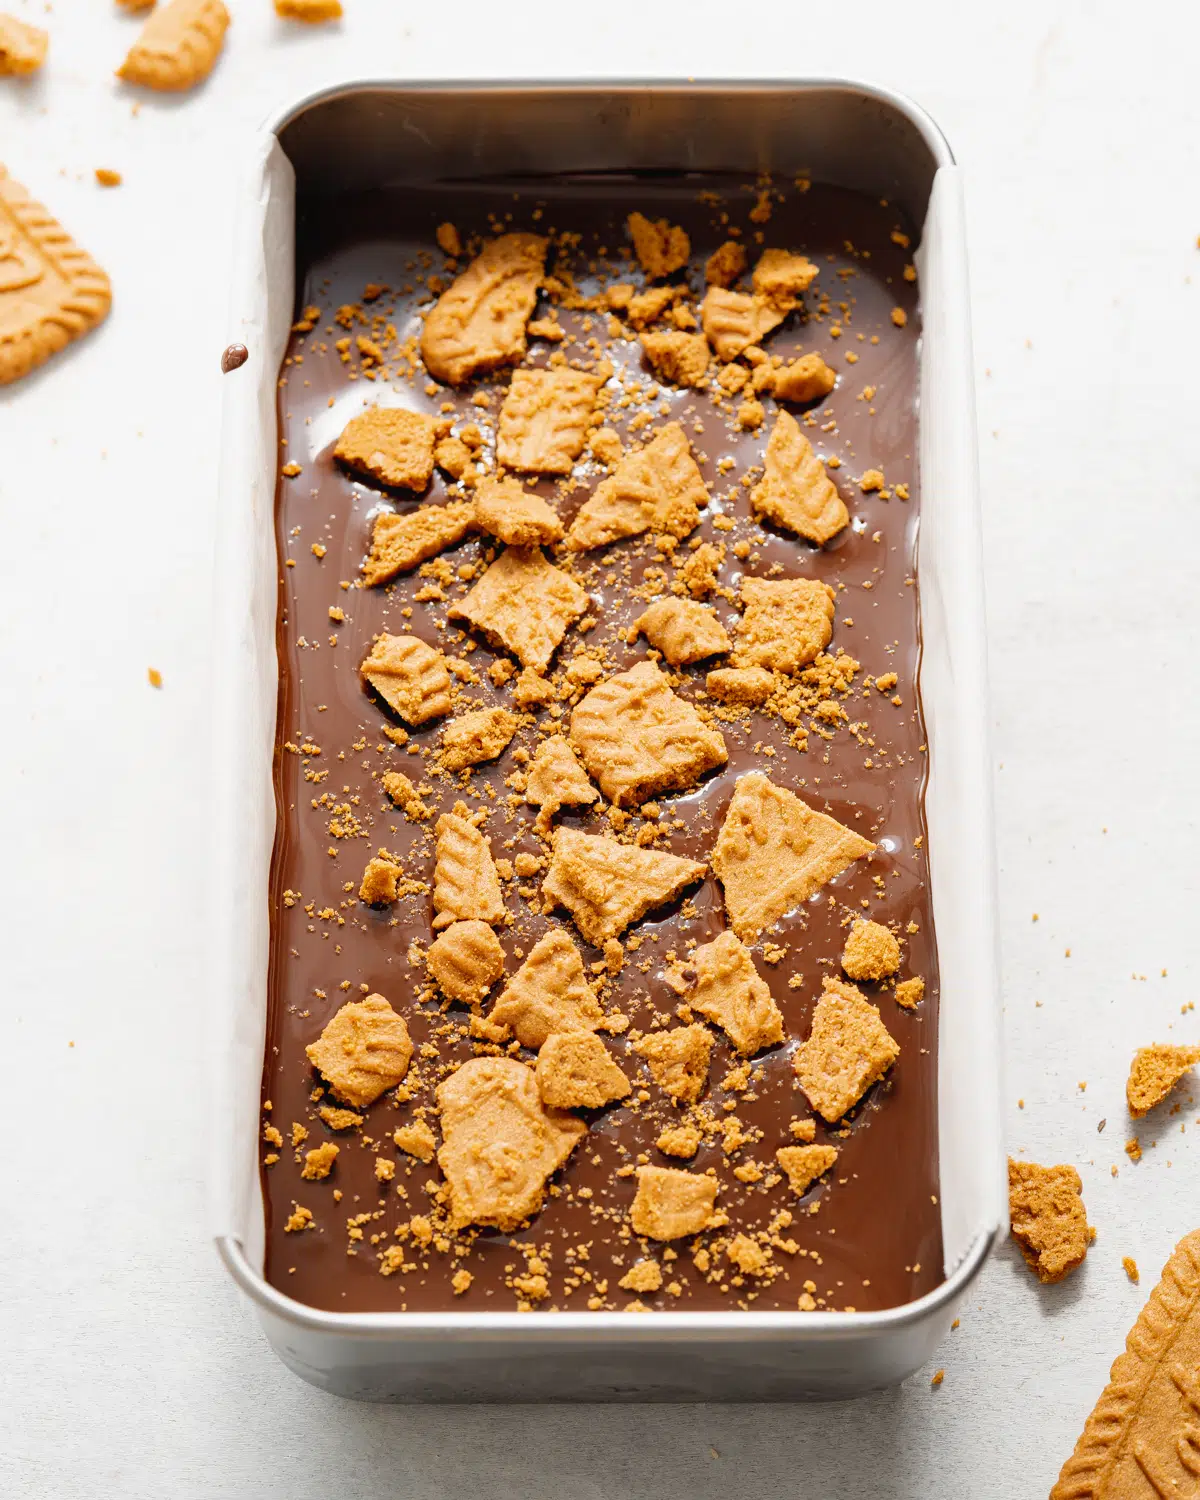
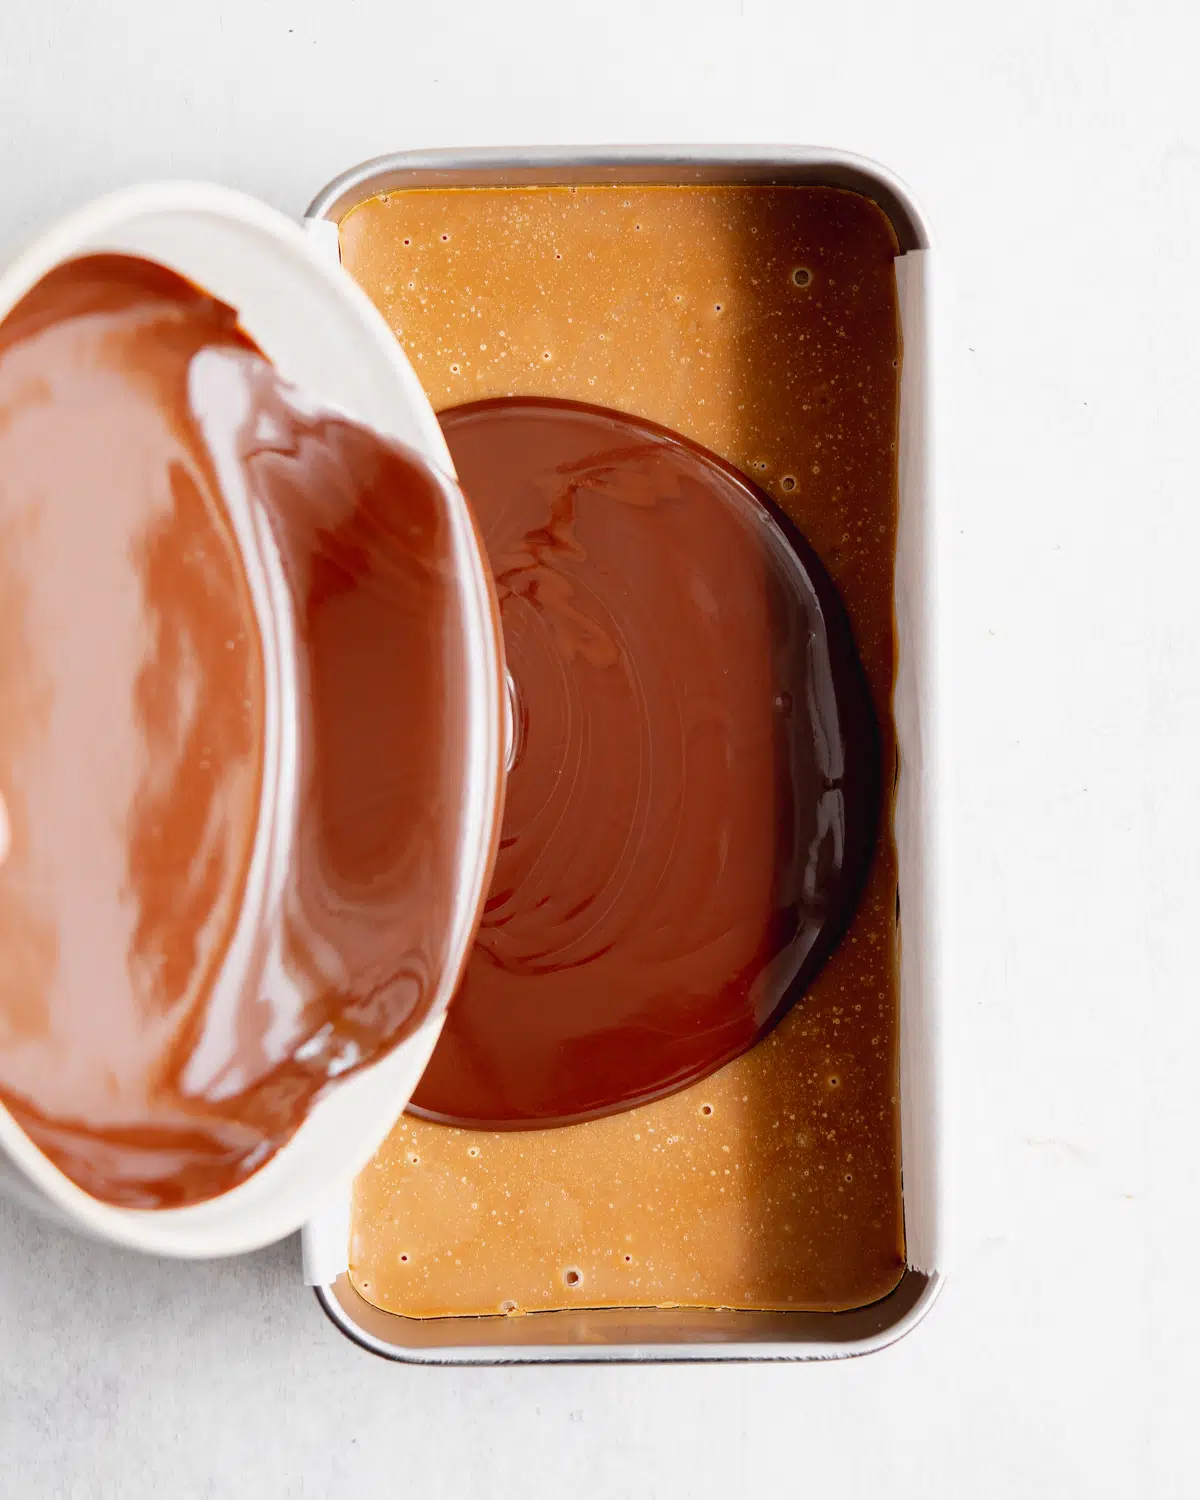
Pour the melted chocolate on top of the set biscoff fudge and crumble some lotus cookies on top before it sets. Place back in the fridge to set completely for at least 30 minutes.

Step 3: Set and Slice
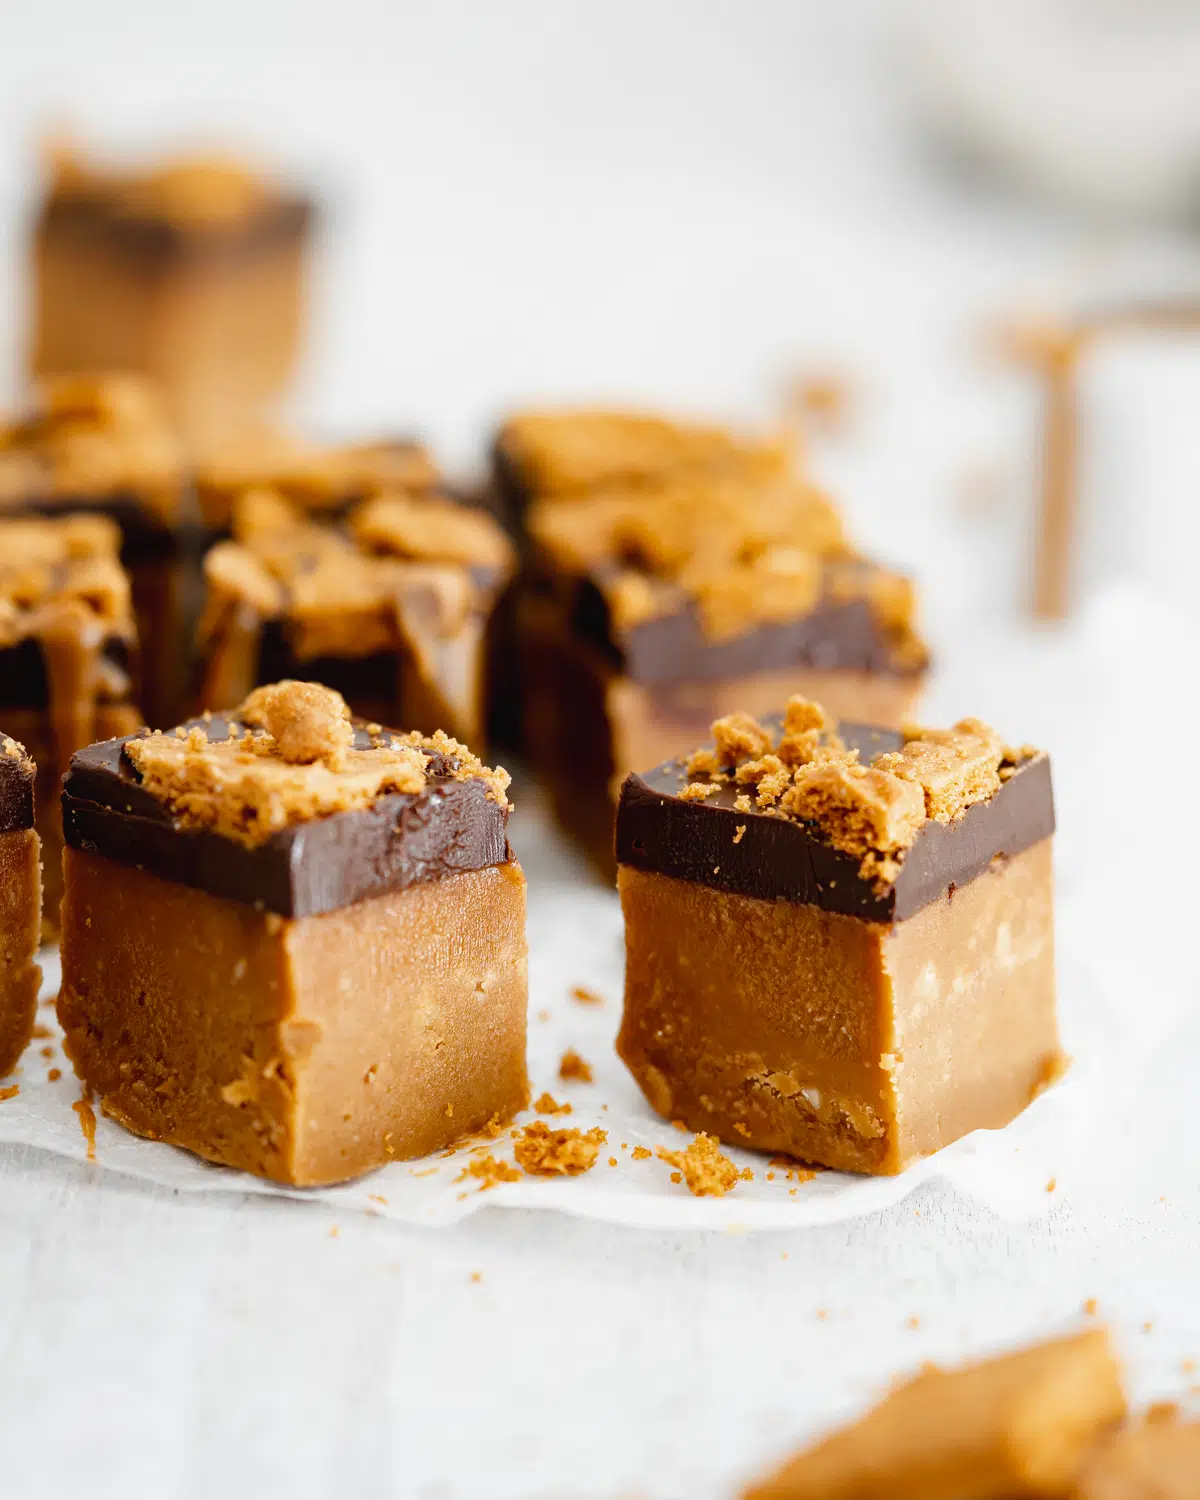
Once set, remove the fudge from the pan and cut it into serving pieces. Sprinkle with some sea salt if desired, and a good drizzle of biscoff spread!

🍯 Variations
- Dark chocolate biscoff fudge: Swap out the vegan white chocolate for dark chocolate to make a super chocolatey cookie butter fudge.
- Chocolate chip cookie butter fudge: You can add some dairy-free chocolate chips throughout the cookie butter fudge layer for a biscoff cookie dough fudge variation of this recipe.
- Plain cookie butter fudge: Leave out the dark chocolate for a 4 ingredient fudge to make this recipe even easier (and quicker!).
- Fudge bars or bites: Chop the fudge into bite-sized pieces or leave them as bigger bars depending on your sweet tooth! I personally find the bite-sized pieces perfect as this recipe is quite rich. Having said that, I always end up going back for more than one piece!
💬 FAQs
Place the fudge pieces in an airtight container and refrigerate for up to 2 weeks.
This vegan fudge can be stored in your freezer for up to a month. Cut the set fudge into servings and place them in an airtight container before freezing. Defrost for an hour before serving.

🍫 More Easy No Bake Desserts

Love this recipe? Please leave a 5-star ★★★★★ rating in the recipe card below and consider leaving a comment as well, thanks!
Stay in touch with me through social media @ Instagram, Pinterest, TikTok, and Facebook. And if you like one of my recipes, tag me
📖 Recipe
Vegan Cookie Butter Fudge with Chocolate
Ingredients
- 250 g (8.8 oz) vegan white chocolate
- 350 g (1.5 cups) biscoff smooth biscuit spread
- 120 g (4.2 oz) vegan butter
- 100 g (3.5 oz) dark chocolate vegan friendly
- ½ teaspoon (3 g) sea salt plus extra for garnish
- 4 lotus biscuits optional
Instructions
- Line a 9" loaf pan with parchment paper and set aside.
- Place the vegan white chocolate, butter, salt, and 290g (1 ¼ cups) of the biscoff spread into a large heat-resistant bowl. Set the bowl on top of a saucepan with simmering water (known as a bain-marie or water bath). Make sure the water does not touch the bowl but allow the steam to rise up and gently melt the ingredients. Be careful that absolutely no water splashes into the bowl as water will cause the fudge to seize.
- Whisk until smooth and evenly melted through. Once melted, pour the biscoff fudge into the lined loaf pan and place it in the fridge to set for 2 hours.
- Add the dark chocolate and the remaining biscoff spread (60g / ¼ cup) to a large bowl and melt over the water bath as you did with the biscoff layer. Whisk until smooth and evenly melted.
- Pour the melted chocolate on top of the set biscoff fudge and crumble some lotus cookies on top before it sets. Place back in the fridge to set completely for at least 30 minutes.
- Once set, remove the fudge from the pan and cut it into serving pieces. Sprinkle with some sea salt if desired.
Storage
- Store any unused fudge in an airtight container in your fridge for up to 2 weeks. Alternatively, it can be stored in your freezer for up to a month. Cut the set fudge into servings and place them in an airtight container before freezing. Defrost for an hour before serving.
© addictedtodates.com. All content and images are protected by copyright. If you want to share this recipe, please do so using the share buttons provided. Do not screenshot or republish the recipe or content in full. Instead, include a link to this post for the recipe. Thank you!

