




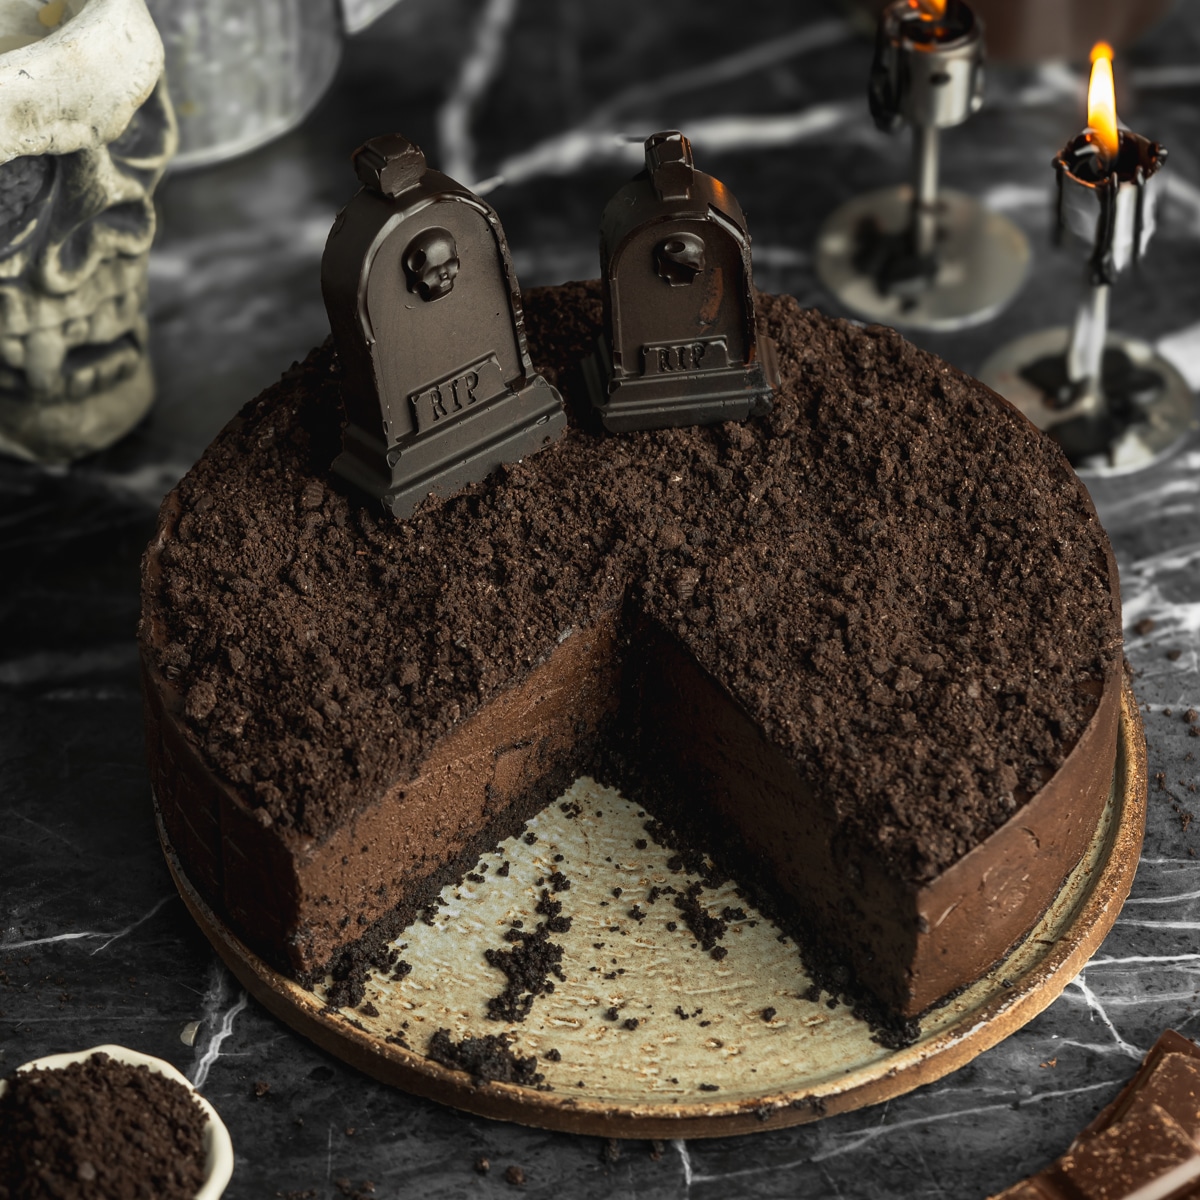
It's rich and intensely chocolatey without being overly sweet, with black cocoa giving the filling an even deeper color and chocolate flavor. It's also completely no-bake and needs plenty of time to set, making it an ideal Halloween dessert to prepare the day before.
The graveyard decoration looks suitably spooky but is really simple to put together - just crushed Oreos and dark chocolate made in a tombstone mold.
For another dramatic dark chocolate centerpiece, my vegan black velvet cake gets its deep color from black cocoa too, with no artificial food coloring.
Jump to:
Why this recipe works
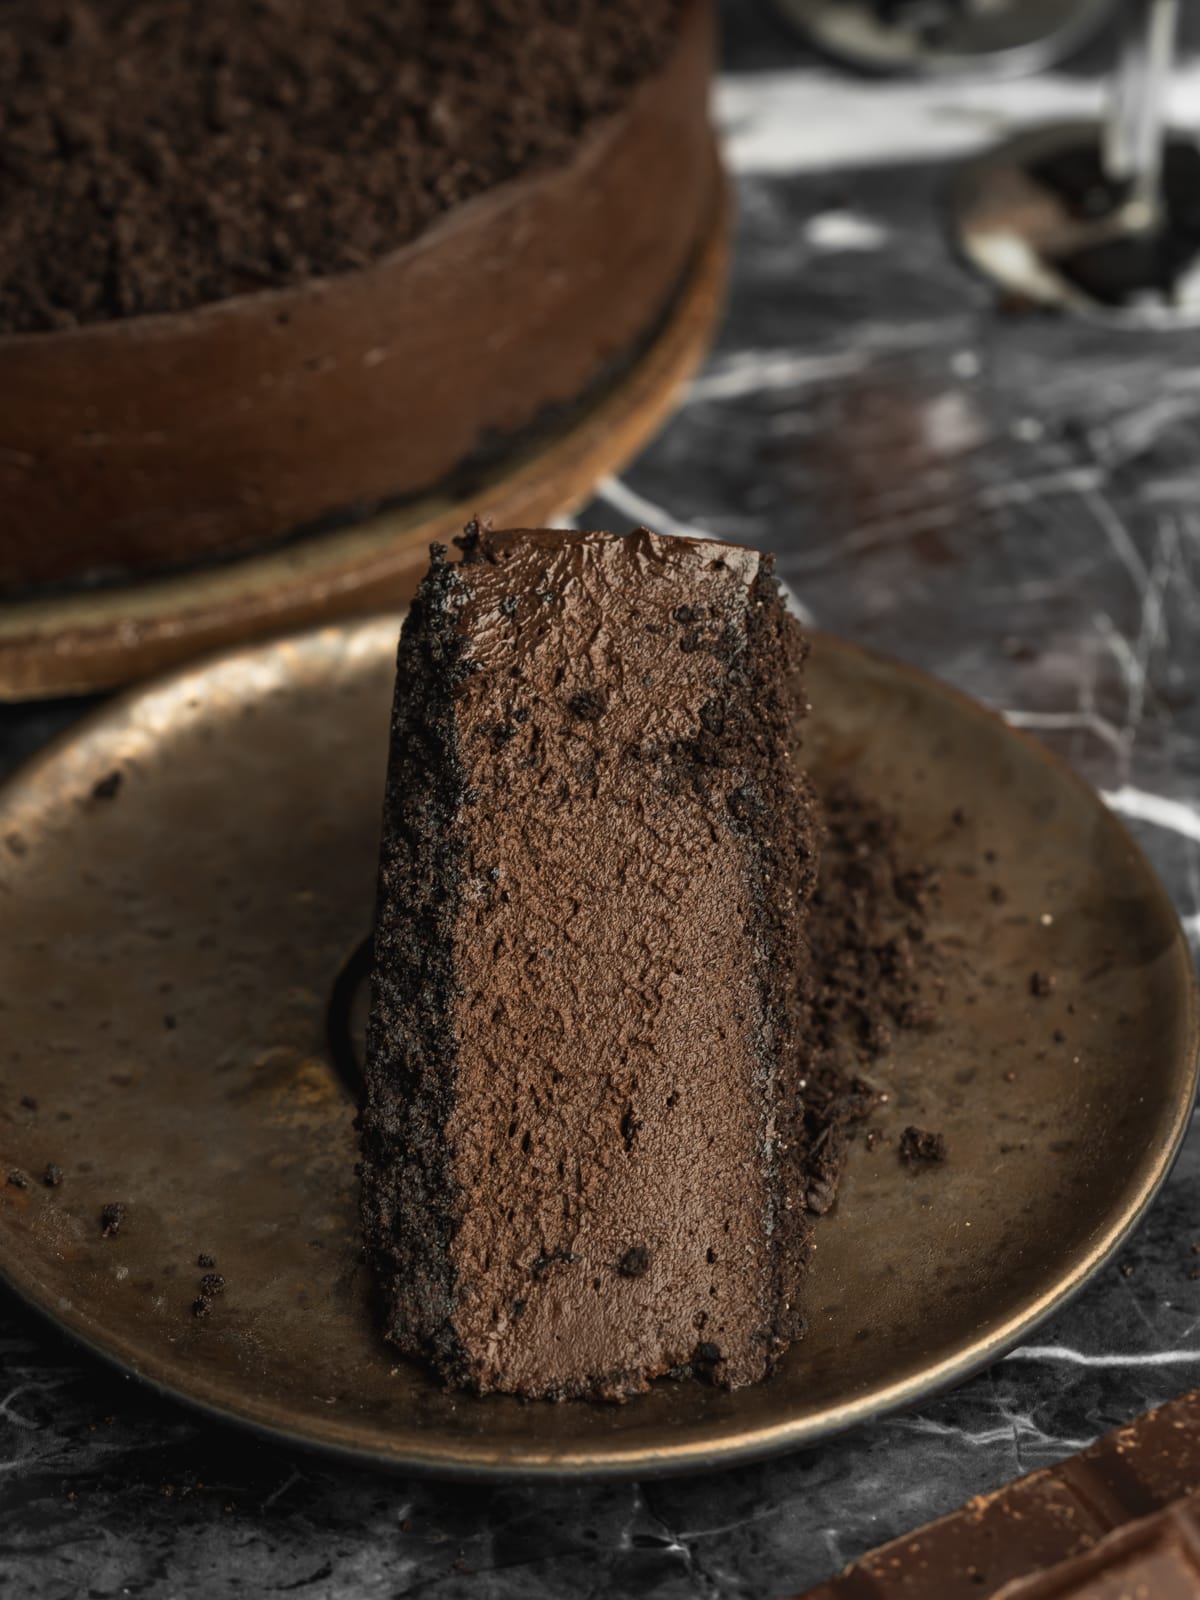
Ultra-creamy chocolate filling. The combination of cream cheese, coconut whipping cream, yogurt, and melted dark chocolate gives it a smooth, mousse-like texture that still slices cleanly once chilled.
Deep chocolate flavor and color. Dark chocolate, chocolate fudge sauce, and black cocoa create a much richer flavor than using cocoa alone, without needing black food coloring.
Perfect for making ahead. It needs at least 6 hours to set, but I much prefer leaving it overnight. That makes it particularly useful when you're hosting or preparing several things for Halloween.
Easy graveyard decoration. Crushed Oreos and chocolate tombstones give it plenty of Halloween impact without complicated piping or decorating.
Ingredients
Here's everything you need to make this recipe. Find the complete list of ingredients, quantities, and instructions in the recipe card at the end of this post.
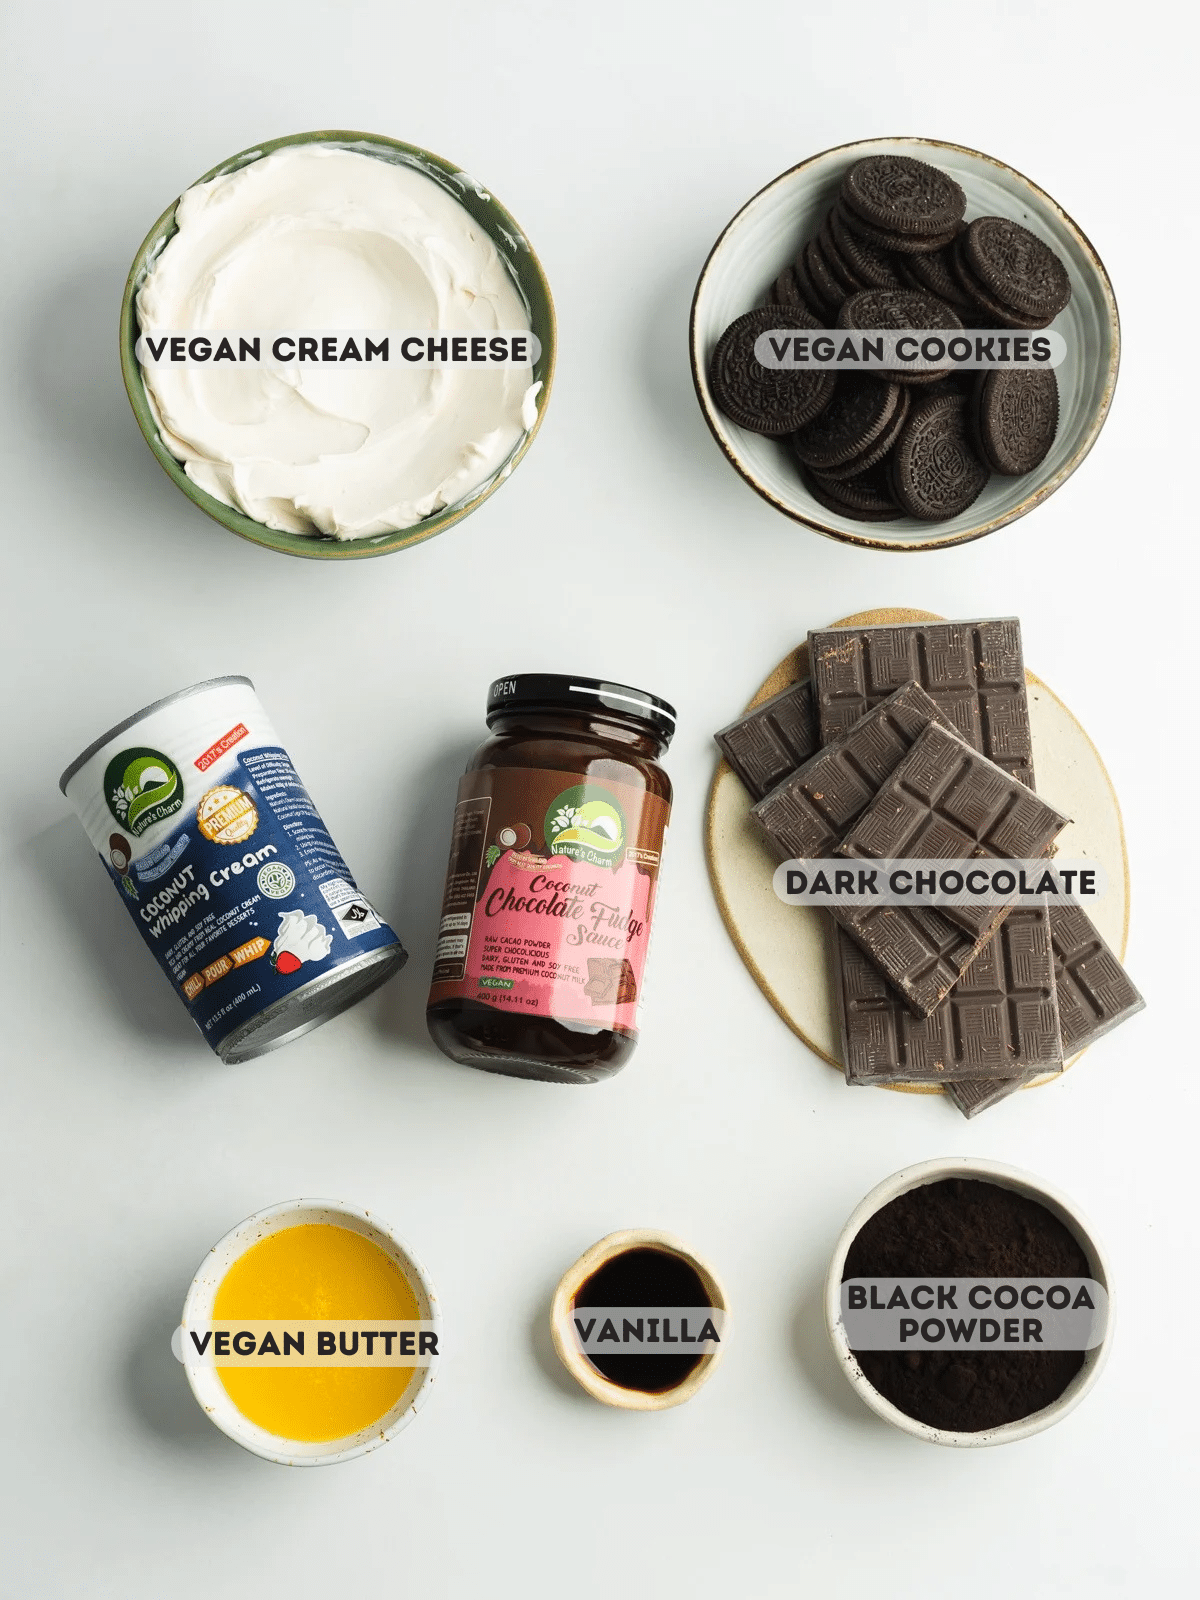
Vegan cream cheese: Use a thick cream cheese rather than a soft or watery variety, as this gives the filling the best texture and helps it set properly.
Coconut whipping cream: Use a coconut cream specifically designed for whipping rather than regular coconut milk. This keeps the filling light and creamy rather than dense.
Dark chocolate: This gives the cheesecake its rich chocolate flavor and also helps the filling firm up once chilled. Use a good-quality dark chocolate that you enjoy eating on its own.
Chocolate fudge sauce: This adds extra rich chocolate flavor as well as sweetness, so the filling tastes more rounded and fudge-like rather than relying on dark chocolate alone. I use Nature's Charm Chocolate Fudge Sauce. If you're stuck, you can use Nature's Charm condensed milk instead, or substitute maple syrup or agave - the flavor will just be a little less chocolate-forward.
Black cocoa powder: This deepens both the chocolate flavor and the dark color of the filling. Black cocoa is highly alkalized and much darker than regular cocoa powder, so I wouldn't swap it for raw cacao or natural cocoa if you want the same result.
Oreos: I use these for both the crust and the crumb topping. Process the crust cookies whole, including the filling.
Get Your Free E-Book!
Sign up to the Addicted to Dates newsletter for your FREE Guide To Vegan Cheesecakes!
How to make it
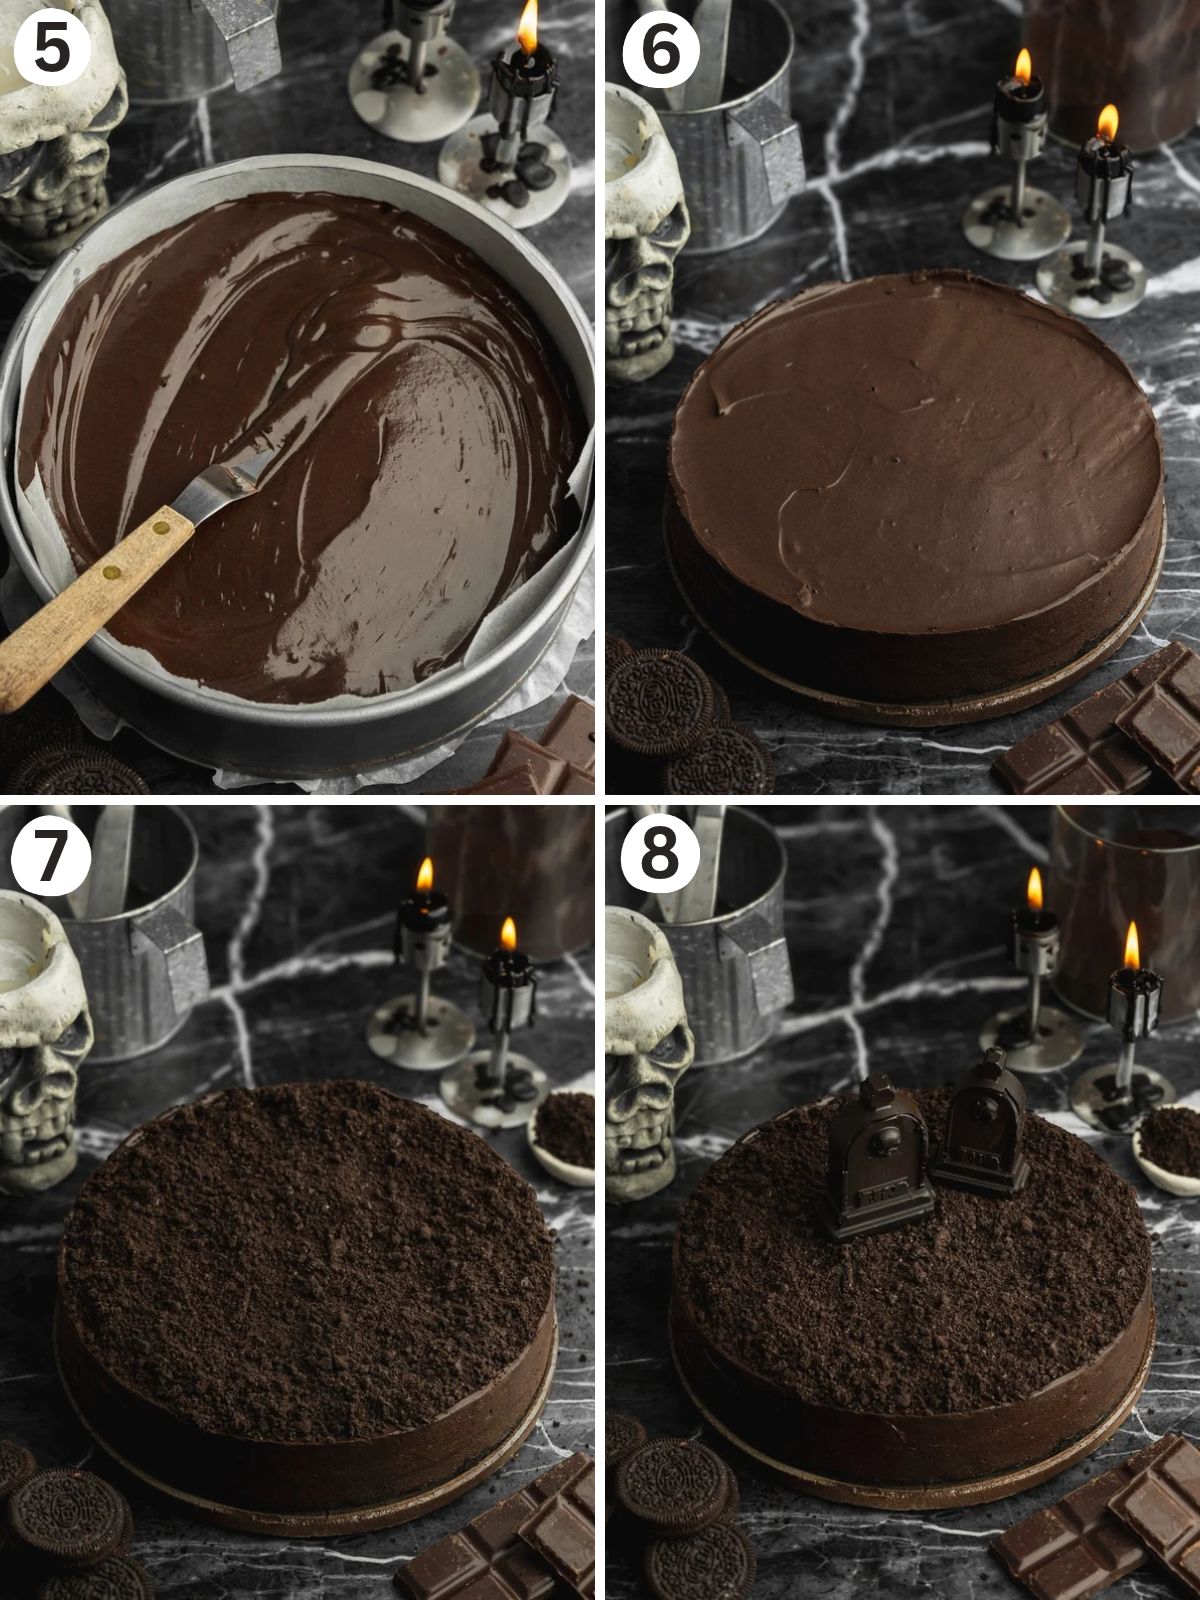
Here's a visual overview of this cheesecake. Please refer to the detailed card at the end of this page for full written instructions.
For the crust, make sure the Oreo mixture is packed down really firmly. I use the bottom of a ¼-cup measure or a flat-bottomed glass rather than just pressing it with my fingers - this gives you a much cleaner base when slicing.
The most important part of the filling is the temperature of the melted chocolate. I let it cool for around 15-20 minutes before adding it. It should still be completely fluid, but no longer feel hot. If it goes in too warm, it can soften the filling; if it cools too far, it can start setting on contact and leave little flecks of chocolate throughout.
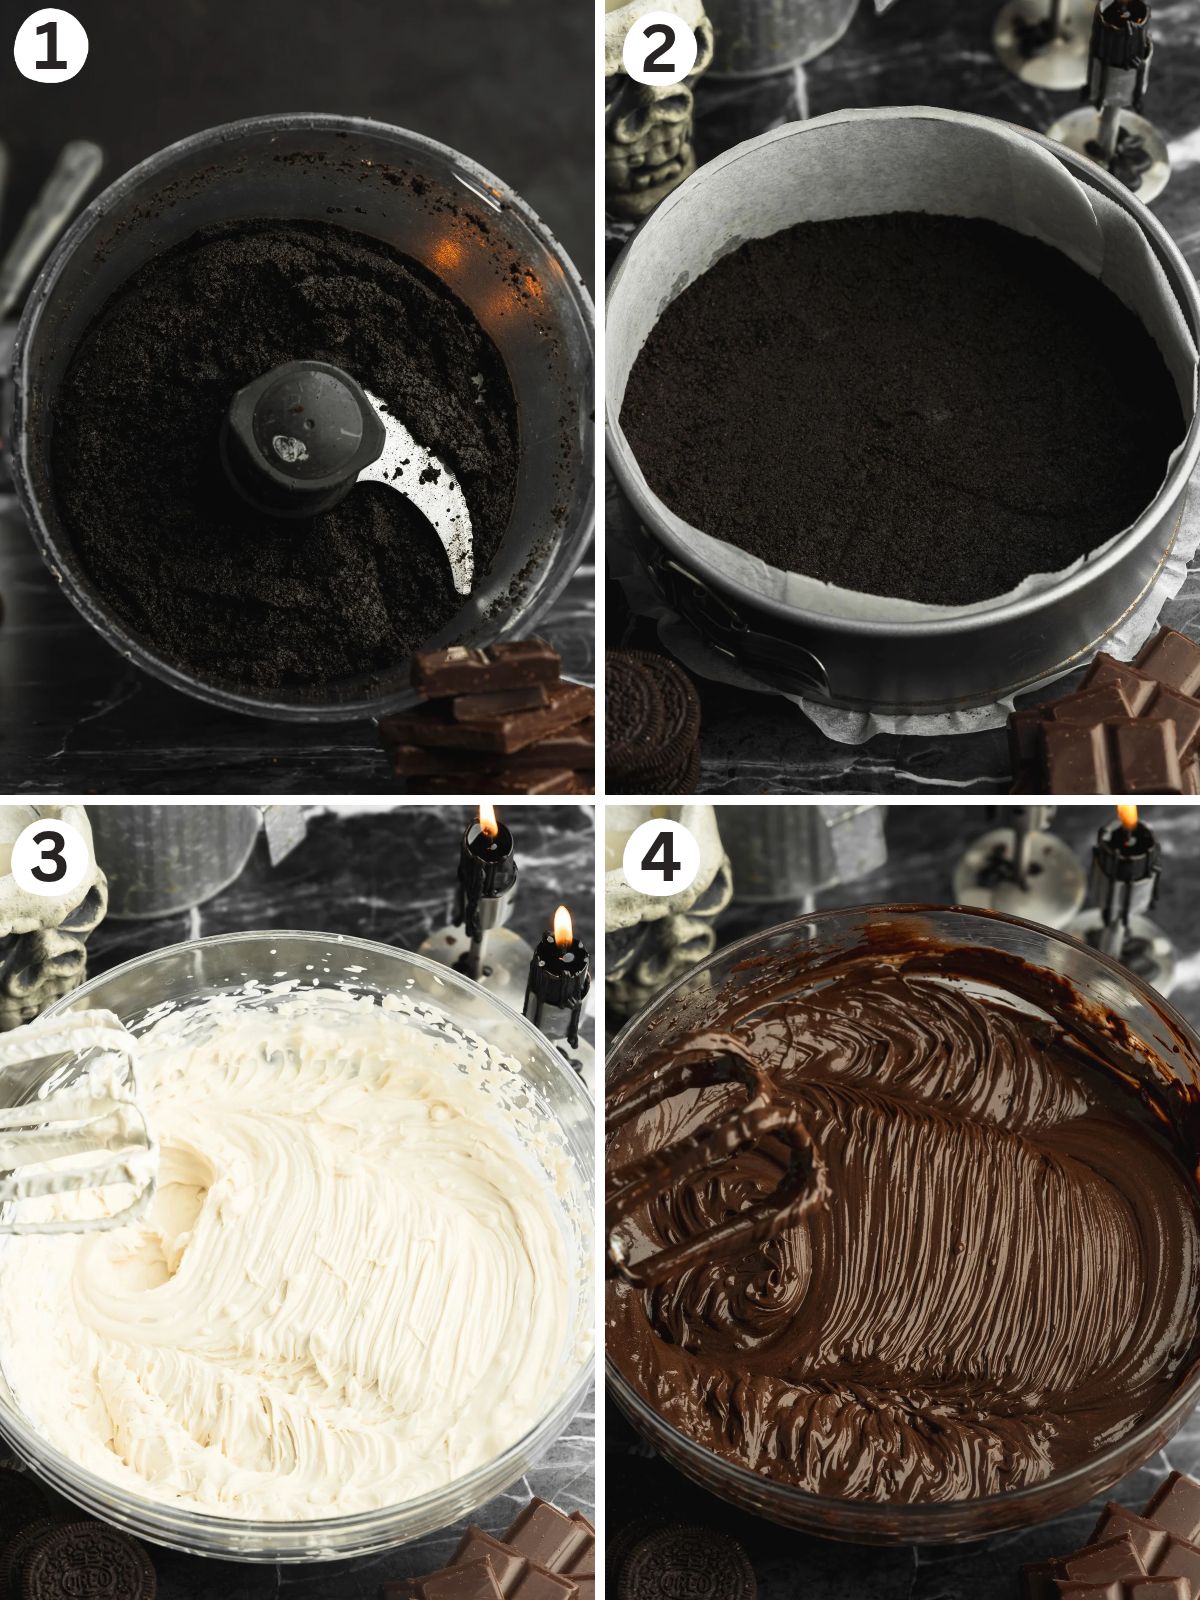
Once the chocolate is whisked in, the filling will start to thicken fairly quickly. This is exactly what you want, so transfer it to the crust and smooth the top straight away rather than leaving it sitting in the bowl.
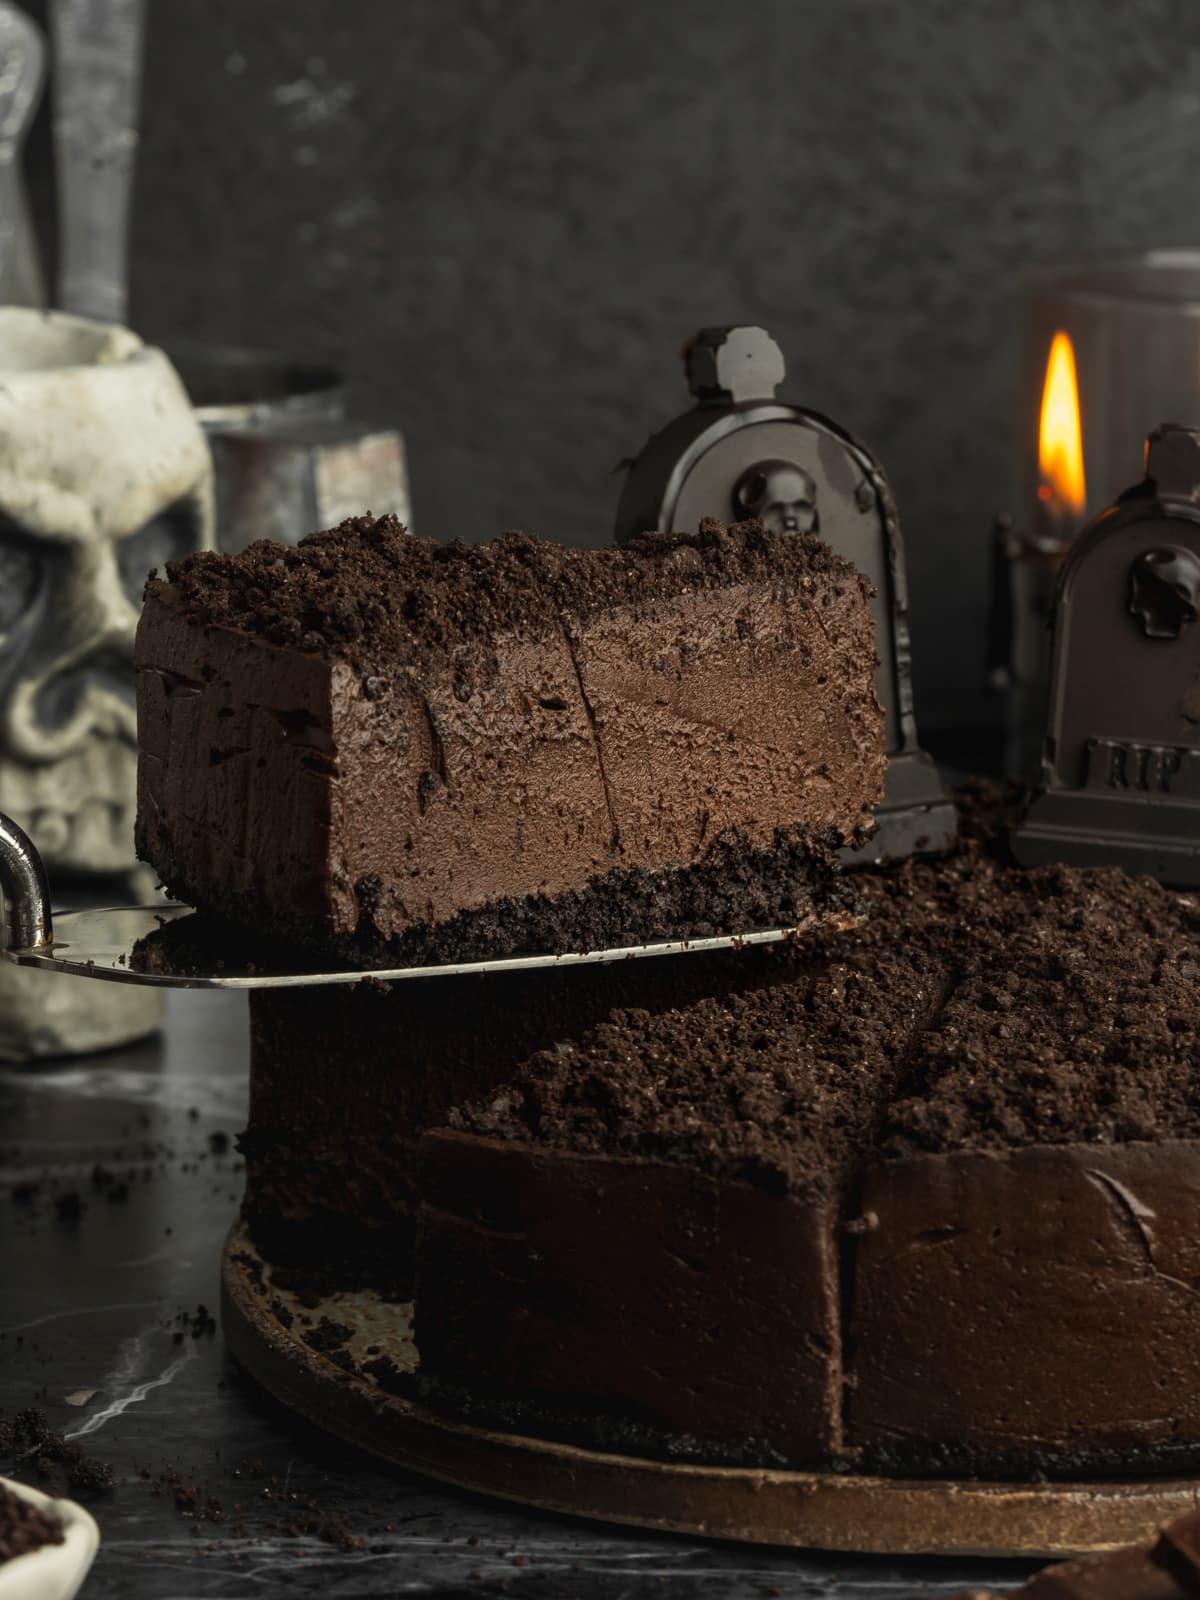
Although the cheesecake will set after around 6 hours, I get the best texture after an overnight chill. It stays really creamy through the center but is firm enough to release from the pan and slice neatly.
For the decoration, I like the Oreo crumbs slightly uneven rather than completely powdered - a few larger pieces make the graveyard "soil" look much more natural. Make sure the chocolate tombstones are completely firm before removing them from the mold so the finer details don't snap.
Christina's recipe tips
Let the chocolate cool before adding it. This is the most important detail for getting a smooth filling. It should still pour easily but shouldn't feel warm.
Use thick cream cheese and yogurt. Very loose dairy-free products add unnecessary moisture and can give you a softer set.
Don't rush the chill time. Six hours works, but overnight gives you the texture I prefer and makes the cheesecake much easier to release and slice.
Decorate after setting. Add the cookie crumbs and tombstones once the cheesecake is completely firm so they sit neatly on top rather than sinking into the filling.
Slice the cheesecake cold. Run a sharp knife under hot water, wipe it completely dry, then cut. Repeat between slices for the cleanest edges.
Make Ahead & Storage
This cheesecake is ideal for making the day before. Chill it overnight, then add the Oreo crumbs and chocolate tombstones shortly before serving.
Store leftovers in an airtight container in the fridge for up to 5 days. You can also freeze individual slices and thaw them in the fridge as needed.
More Vegan Apple Desserts


📖 Recipe
Vegan Halloween Cheesecake (Dark Chocolate)
Ingredients
Crust
- 16 (160 g) oreo-style cookies
- 50 g vegan block-style butter melted
Filling
- 260 g vegan dark chocolate
- 400 g vegan cream cheese
- 240 g coconut whipping cream I use Nature's Charm
- 80 g vegan Greek-style yogurt
- 120 g vegan chocolate fudge sauce *note 1
- 80 g black cocoa powder *note 2
- 1 teaspoon vanilla extract
Topping
- 8 (80 g) oreo-style cookies centers removed
- 100 g vegan dark chocolate
- 30 g black cocoa powder *note 2
Instructions
- Prepare: Line the base and sides of a 7-inch or 8-inch cake tin with a removable base with parchment paper.
- Make the crust: Add the cookies and melted butter to a food processor and blend until evenly combined. The mixture should hold together when pressed between your fingers.
- Press the cookie mixture firmly and evenly into the base of the prepared tin. Use a ¼-cup measure or flat-bottomed glass to compact and smooth the surface. Place in the freezer while you prepare the filling.
- Melt the chocolate: Melt the chocolate over a bain-marie (double boiler), stirring until completely smooth. Remove from the heat and set aside to cool for 15-20 minutes.
- Make the filling: Add the cream cheese and coconut whipping cream to a large mixing bowl and whisk with an electric mixer for 2-3 minutes, until smooth and fluffy. Add the yogurt, chocolate fudge sauce, black cocoa powder, and vanilla, and whisk again until smooth. Lastly, add the cooled melted chocolate and whisk until evenly combined.
- Set the cake: Transfer the filling to the prepared cake tin and smooth the surface with a spatula. Refrigerate for at least 6 hours, or preferably overnight, until completely set. Once set, carefully remove the cheesecake from the tin.
- Make the chocolate decorations: Melt the dark chocolate over a double boiler until smooth. Whisk in the black cocoa powder, then spoon or pour the mixture into a silicone tombstone mold. Refrigerate for about 30 minutes, or until completely firm. Carefully remove the chocolate decorations from the mold and set aside until needed.
- Garnish: Add the Oreos to a zip-top bag and crush them with a rolling pin. Scatter the cookie crumbs over the top of the cheesecake, then arrange the chocolate decorations on top.
- Storage: Store the cheesecake in an airtight container in the fridge for up to 5 days. Alternatively, freeze individual slices and defrost them in the fridge as needed.
Notes
- Vegan Chocolate Fudge Sauce: This is the sweetener and adds a rich chocolate flavor. If needed, you can swap it with vegan condensed milk, maple syrup, or agave; the flavor won't be as rich.
- Black Cocoa Powder: You can substitute the black cocoa powder with an equal amount of Dutch-processed cocoa powder.
© addictedtodates.com. All content and images are protected by copyright. If you want to share this recipe, please do so using the share buttons provided. Do not screenshot or republish the recipe or content in full. Instead, include a link to this post for the recipe. Thank you!