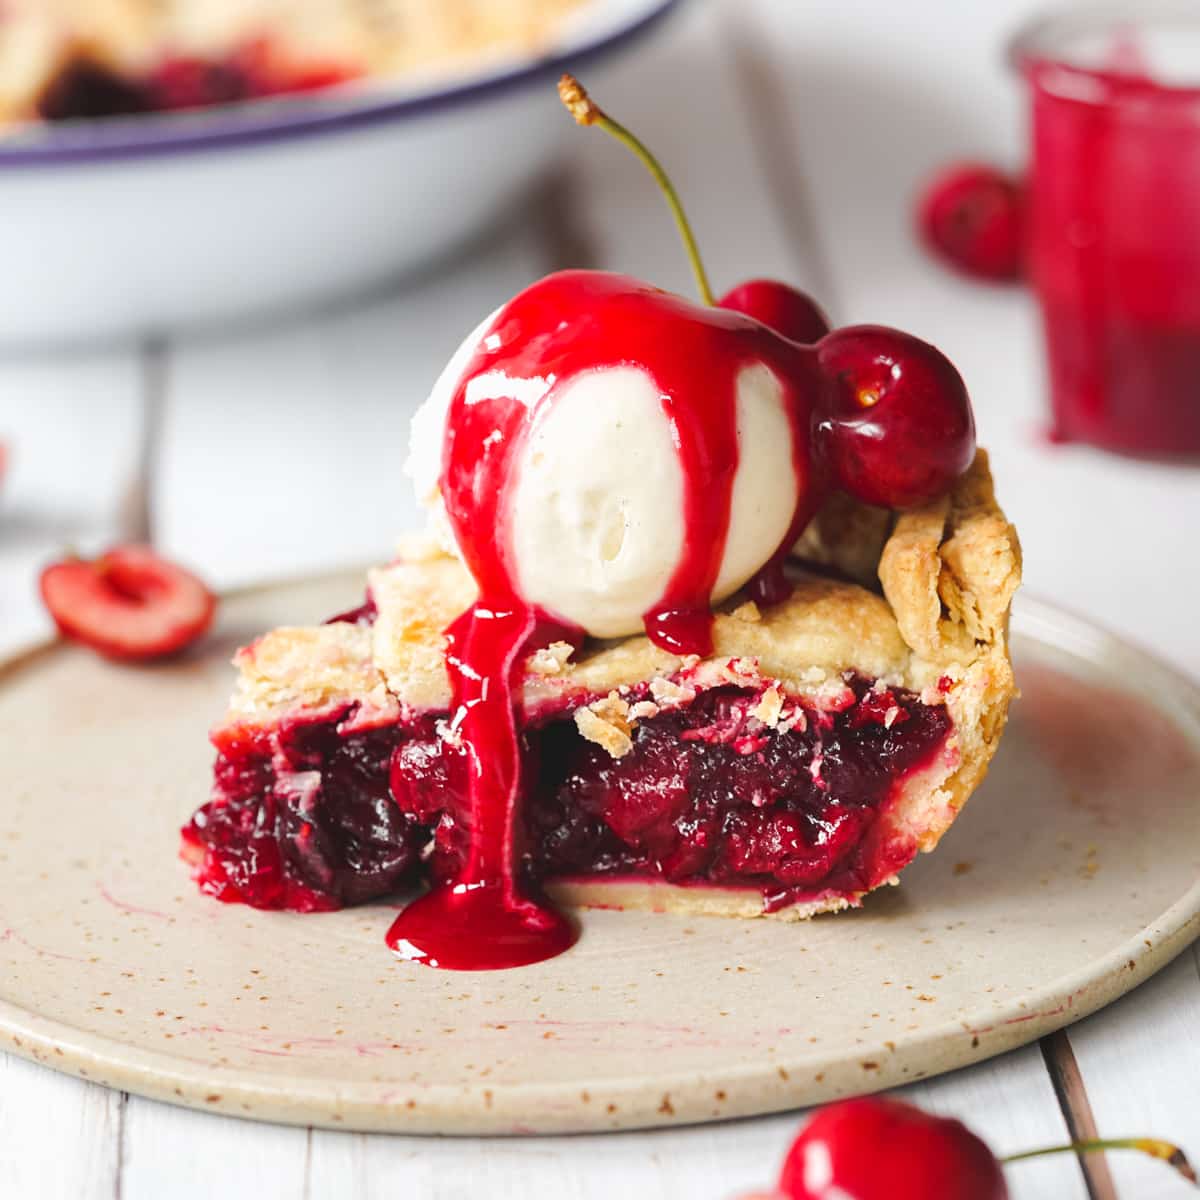

This easy vegan cherry pie has the juiciest homemade cherry pie filling encased in a buttery, flaky vegan pie crust. The sweet cherry filling is bursting with plump juicy cherries which are left whole so that they retain their shape.
It's just perfect for making the most of seasonal cherries for summer gatherings, barbeques, and Fourth of July celebrations. I've always been a huge fan of cherries, but I get that they're not everyone's cup of tea. If you love them, then this pie will be heaven.
Seriously, it should come with a warning label, my partner demolished the best part of an entire pie in just a day when I was testing the recipe! And if not, you can always try vegan lemon meringue, apple pie, or strawberry pie instead.
📖 Recipe Overview
- Made with less than 10 simple ingredients.
- Tastes incredible made with fresh or frozen cherries.
- Perfectly set filling and slices, no runny fillings here!
- Perfect for summer gatherings, BBQs, and the Fourth of July
- Completely eggless and dairy-free.
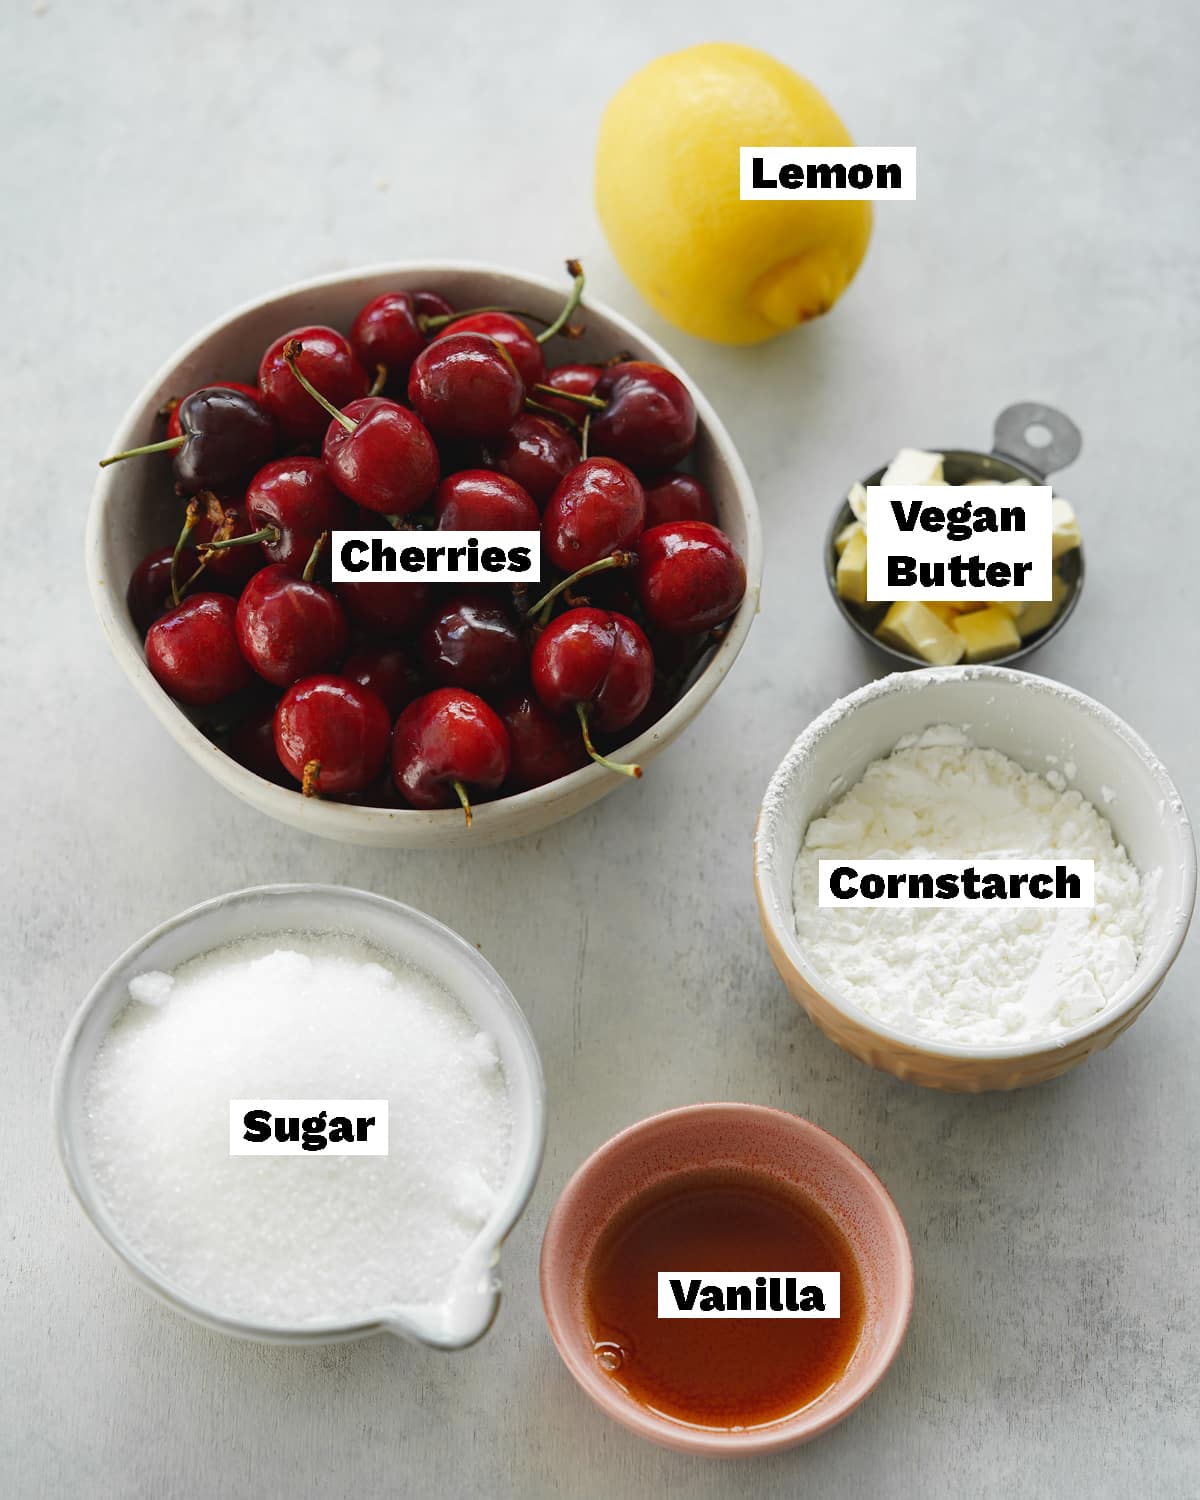
🍒 Ingredients Needed
Ingredient Notes
You'll also need a batch of homemade pie crust.
- Because fresh cherries aren't always available, I've added an option for making this cherry pie with frozen cherries as well. That means you can also enjoy it for Thanksgiving, Christmas, or any time of year you fancy! I've made this cherry pie using both fresh and frozen cherries and both were amazing. Fresh morello cherries gave a really intense flavor whereas frozen black cherries and sour cherries gave a more natural flavor.
- The vanilla extract really enhances the sweetness and gives the filling an intense cherry flavor. You can also add a half teaspoon of almond extract to give a slight marzipan flavor, but I don't find it necessary.
- Cornstarch is the thickening agent for vegan cherry pie filling. You can also use arrowroot starch in its place.
🥣 How To Make Vegan Cherry Pie
Find the complete list of ingredients, quantities, and instructions in the recipe card at the end of this post.
Before you get started on the cherry filling, go ahead and make a batch of vegan pie crust. It will need to chill in the fridge for an hour while you prepare the other elements of the pie.
Make the cherry pie filling
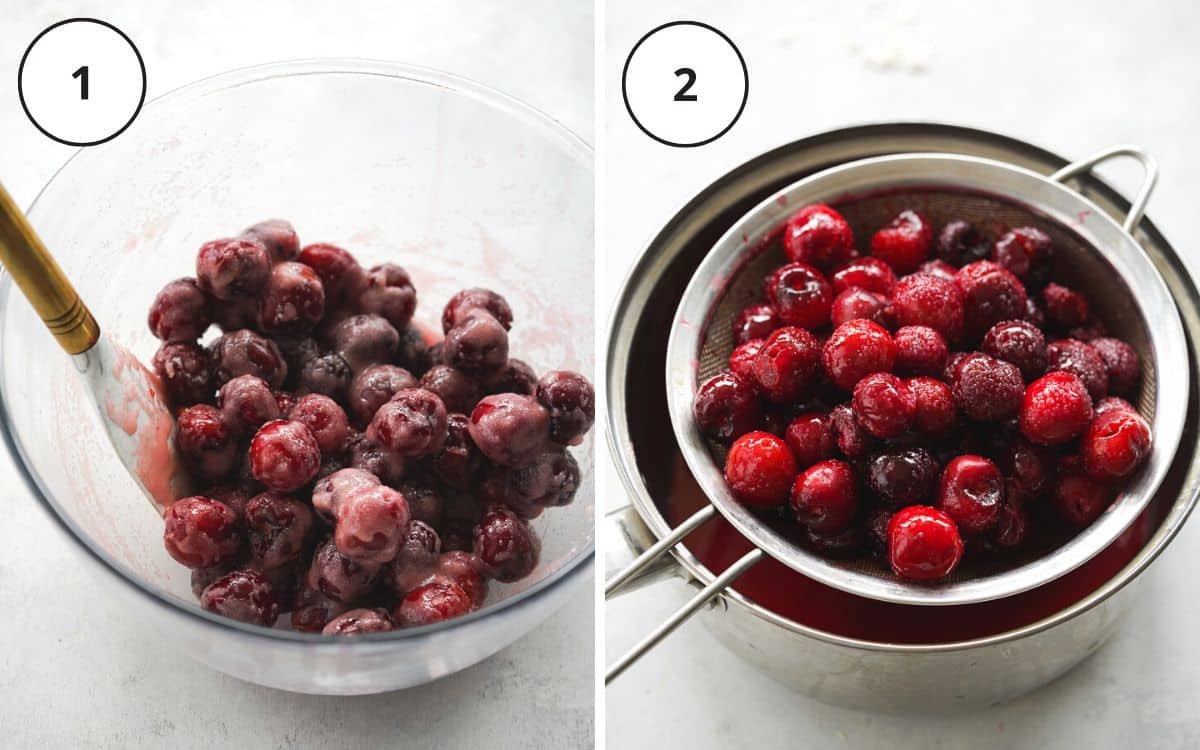
(1) To a medium bowl, add the pitted cherries, sugar, cornstarch, vanilla extract, and lemon juice. Toss the ingredients together until the cherries are evenly coated and allow them to sit for 30 minutes.
(2) The cherries will start to release their juices. Set a fine-mesh sieve over a saucepan and pass the cherries through it. Reserve the cherries for later.
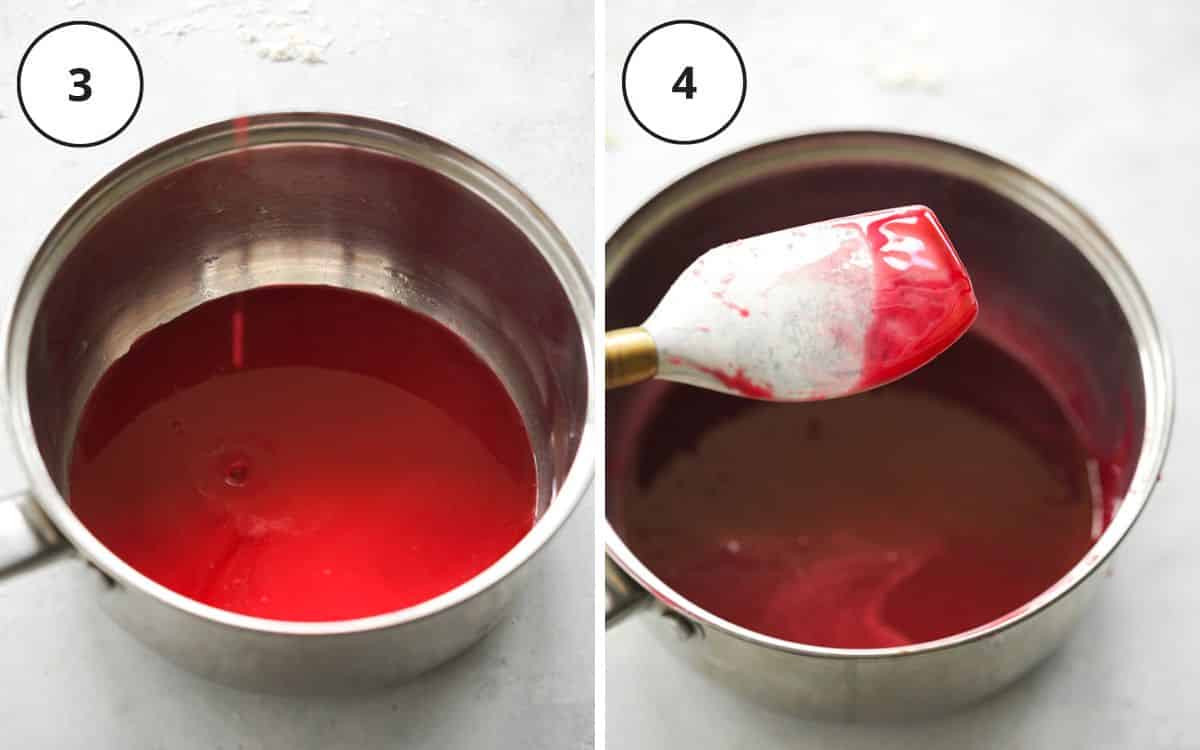
(3+4) Cook the cherry juice mixture over medium heat for 5 minutes until it thickens enough to coat the back of a spatula. The heating process will activate and cook the cornstarch helping to thicken the filling. Make sure you stir the mixture as it heats to prevent it from burning to the bottom of the pan.
Once thickened, add the filling back to the reserved cherries, stirring well to combine.
If you're using frozen cherries, you'll need to create a cornstarch paste and cook it out similar to the cherry layers in my Black Forest cheesecake and Black Forest cake recipes.
Assembling the pie
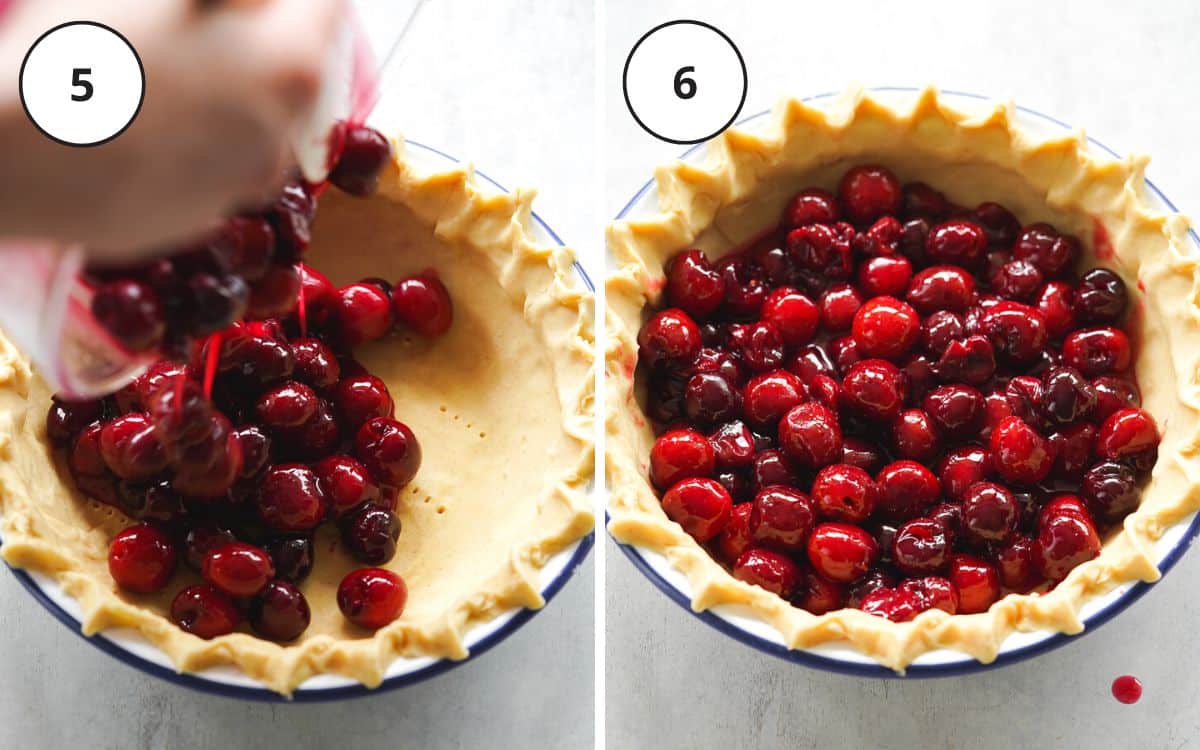
(5) Roll out the pie pastry on a lightly floured surface to a circumference wider than your pie tin. Using the rolling pin, very carefully lift the dough into the pie tin. Trim around the outer edges of the pastry with scissors, and crimp them using a fork or with your fingers.
(6) Add the cherry filling to the pie crust in an even layer.
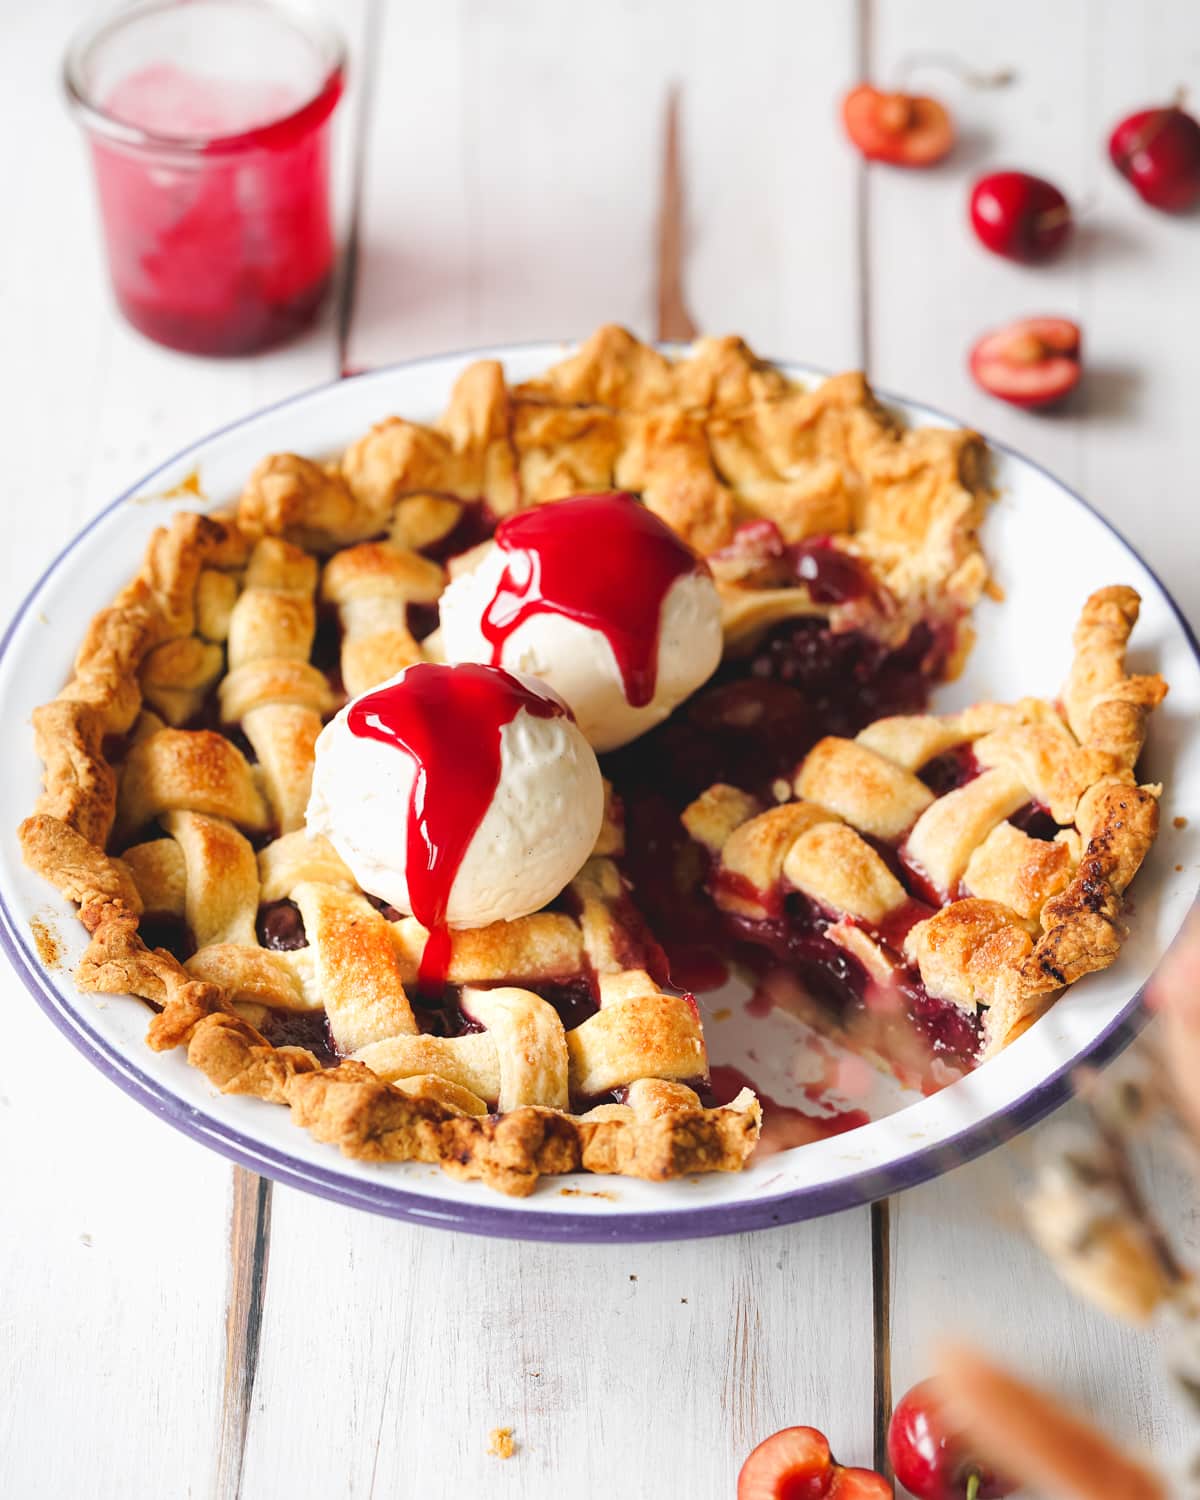
(7) Roll out the second disc of dough and either leave it in one whole piece or create a lattice design as shown on Sally's Baking Recipes. Once you have added the top piece(s) of pastry, trim away any excess pastry that hangs over the edge and crimp the edges of the pastry to secure it. If leaving the top piece hole, use a knife to create slits in the pastry to prevent steam from building up underneath it.
(8) Brush some melted vegan butter over the top of the pastry and sprinkle it with granulated sugar. This will create a beautiful golden pastry once baked. Lastly, bake the pie at 200°C (392°F) for 20 minutes, and for a further 30 minutes at 190°C (374°F) until golden brown.

📝 Recipe Tips
If you don't have a cherry pitter, you can use a straw, decorating tip, chopstick, or wooden skewer to remove the pits, as shown on Kitchen Confidante.
Make sure that you preheat your oven properly. The oven temperature affects the texture, flavor, and browning of the pie crust. If it's too cool, you'll end up with a soggy crust. I usually aim to preheat the oven a good 30 minutes before baking.
To make sure you get the cleanest slices and set the filling, chill the pie for at least an hour before serving. The filling will firm up in the fridge which means you won't have a runny cherry pie filling!
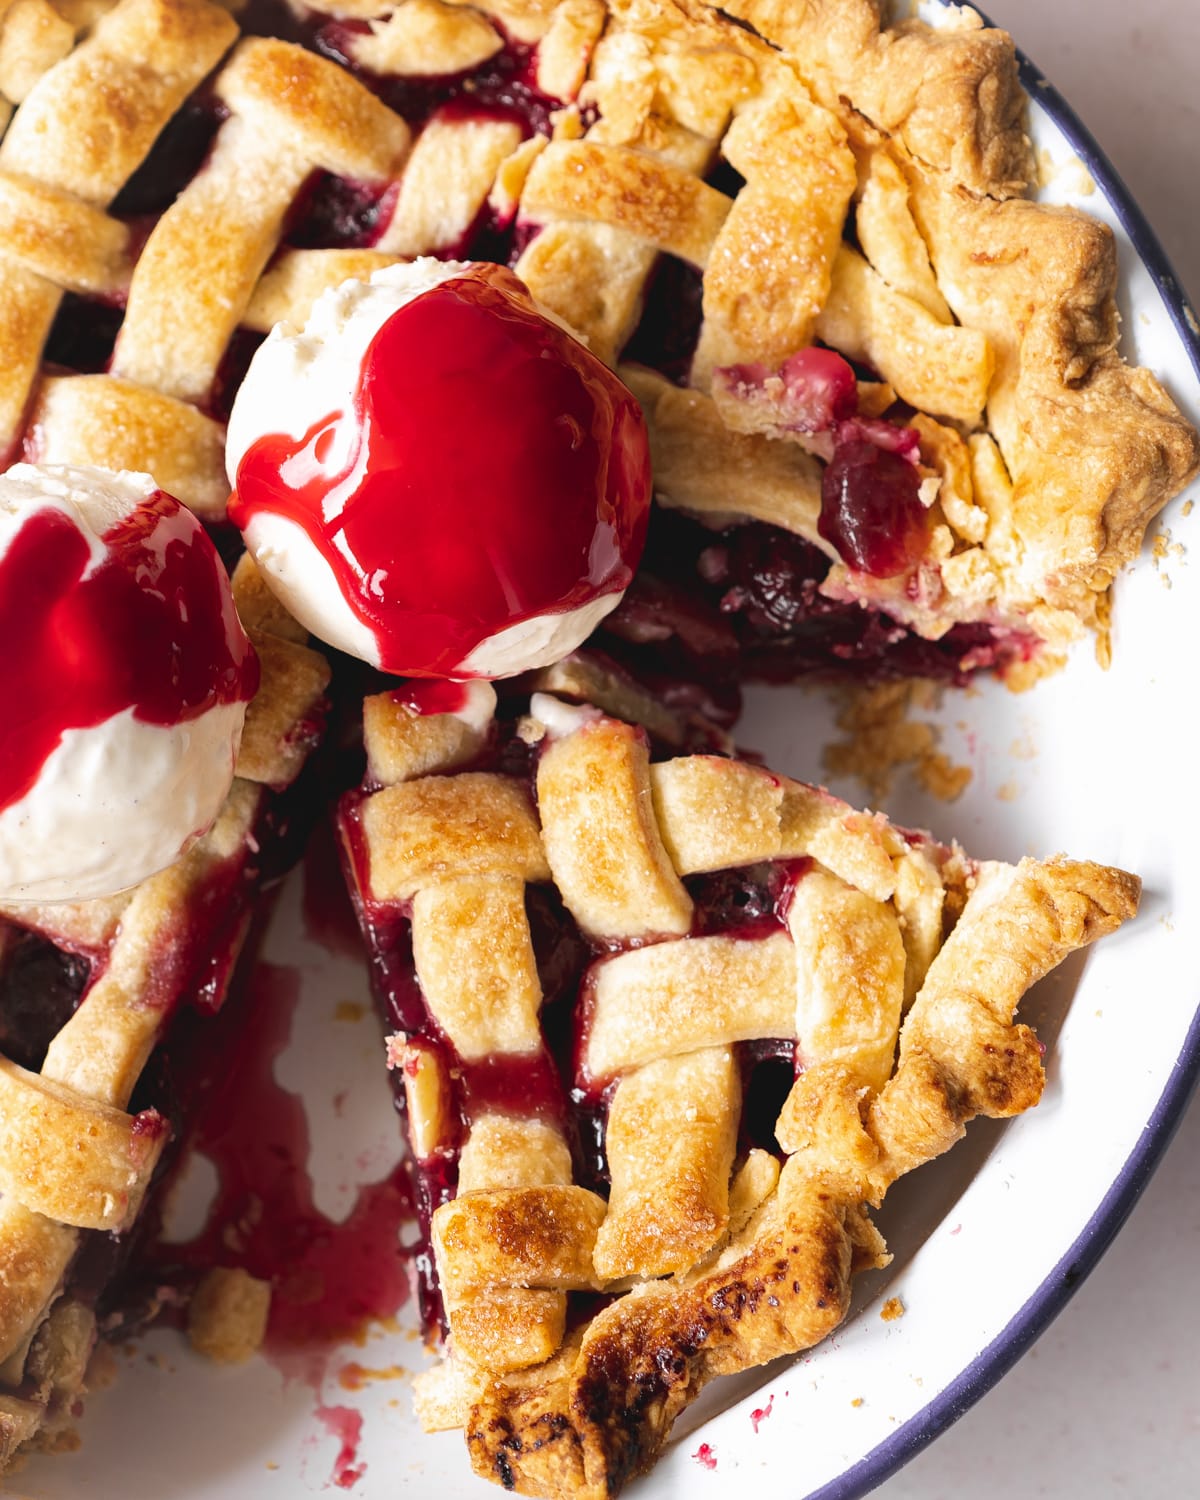
I highly recommend serving your vegan cherry pie with a few scoops of homemade vanilla ice cream or a dollop of vegan whipped cream.
💬 FAQs
Yes, both work wonderfully. The cooking methods are slightly different for both, as frozen cherries release a lot more juices during the defrosting process.
Although I personally prefer this tart when freshly baked, you can freeze it in an airtight container or wrapped well in plastic wrap for up to a couple of months. Thaw it in the fridge overnight.
The pie will be ready when the top of the pastry is golden brown and crisp. You should also see the filling bubbling through the slats in the pastry!
You can use whichever you prefer/are in season. Sour cherries will give a more tart flavor and bright color, whereas dark cherries will give a fragrant sweet flavor.
🥧 More Vegan Pies

Love this recipe? Please leave a 5-star ★★★★★ rating in the recipe card below and consider leaving a comment as well, thanks!
Stay in touch with me through social media @ Instagram, Pinterest, TikTok, and Facebook. And if you like one of my recipes, tag me!
📖 Recipe
Vegan Cherry Pie
Ingredients
- 1 batch vegan pie crust prepared at least 1 hour ahead
- 600 g (4 ⅓ cups) fresh or frozen cherries pitted, *see notes
- 150 g (¾ cups) granulated sugar plus extra for garnish, *see notes
- 40 g (⅓ cup) cornstarch
- 1 tablespoon lemon juice
- 1 tablespoon vanilla extract
- 2 tablespoons vegan butter for glazing
Instructions
Make the pie crust
- Prepare the pie crust recipe through to step 6.
Filling Method 1 (Using fresh cherries)
- Wash the cherries and remove the pits. I find the recipe works best if the cherries are left whole rather than halved or quartered.
- To a medium bowl, add the pitted cherries, sugar, cornstarch, lemon juice, and vanilla extract. Toss to coat the cherries and allow to sit at room temperature for 30 minutes. The cherries will release some of their juices, strain the juice into a large bowl by sitting the cherries into a fine-mesh sieve or strainer. Set the cherries aside.
- Add the cherry juices to a saucepan and simmer over medium heat for 5 minutes, stirring frequently with a rubber spatula or whisk. The mixture will thicken. Remove the cherry mixture from the heat and stir in the cherries. Allow to cool to room temperature for 10-15 minutes.
Filling Method 2 (Using frozen cherries)
- Add the frozen cherries to a saucepan and gently heat and stir until defrosted over a medium-low heat for 5 minutes. Drain the juices from the cherries by placing them in a fine-mesh sieve or strainer over a large bowl.
- In a medium bowl, whisk together the sugar, cornstarch, lemon juice, and vanilla extract, and ¼ cup of the strained cherry juices to form a paste.
- Add the cherry juices back to the saucepan along with the cornstarch paste and simmer over medium heat for 5 minutes, stirring frequently with a rubber spatula or whisk. The mixture will thicken. Remove the cherry mixture from the heat and stir in the cherries. Allow to cool to room temperature for 10-15 minutes.
Assembly
- Meanwhile, preheat your oven to 200°C (392°F). Lightly grease the tart tin with some oil or vegan butter.
- Remove the dough discs from the fridge and allow them to sit at room temperature for 5 minutes before rolling out. On a lightly floured surface, roll out one of the dough discs to a circumference wider than your pie tin. Carefully lift the pastry into the tart tin using your rolling pin.
- Gently press the dough into the base and sides of the tin, being careful not to stretch it. Use scissors to trim off the excess pastry around the edges of the pan. To crimp the edges of the dough pinch the edges of the crust with your fingers, or crimp the edges using a fork. Pierce several holes into the base of the pastry using a fork.
- Roll out the second disc of dough and either leave it in one whole piece or create a lattice design as shown on Sally's Baking Recipes. Once you have added the top piece(s) of pastry, trim away any excess pastry that hangs over the edge and crimp the edges of the pastry to secure it. If leaving the top piece hole, use a knife to create slits in the pastry to prevent steam from building up underneath it.
- Melt the 2 tablespoons of vegan butter and brush it on top of the pastry in an even layer. Sprinkle with granulated sugar.
Bake the pie
- Bake in your oven which has been preheated to 200°C (392°F) for 20 minutes. Reduce the temperature to 190°C (374°F) and bake for another 30 minutes until golden brown.
Serving and storage
- Once baked, allow the pie to come to room temperature for 30 minutes before chilling in the fridge. The filling will set once chilled making it much easier to slice the pie! I recommend chilling for at least an hour or up to a day before serving.
- Cover any leftover pie well with plastic wrap and refrigerate for up to 5 days.
Notes
- Note, you can use either fresh or frozen cherries but the cooking methods are different as outlined in the recipe above.
- Some white sugar in the US is not vegan, if in doubt use organic sugar.
- If you don't have a cherry pitter, you can use a straw, decorating tip, chopstick or wooden skewer to remove the pits, as shown on Kitchen Confidante.
- For the cleanest slices, chill the pie for at least an hour before serving. The filling will firm up in the fridge which means you won't have a runny cherry pie filling!
- Serve with a few scoops of homemade vanilla ice cream or a dollop of vegan whipped cream.
© addictedtodates.com. All content and images are protected by copyright. If you want to share this recipe, please do so using the share buttons provided. Do not screenshot or republish the recipe or content in full. Instead, include a link to this post for the recipe. Thank you!
