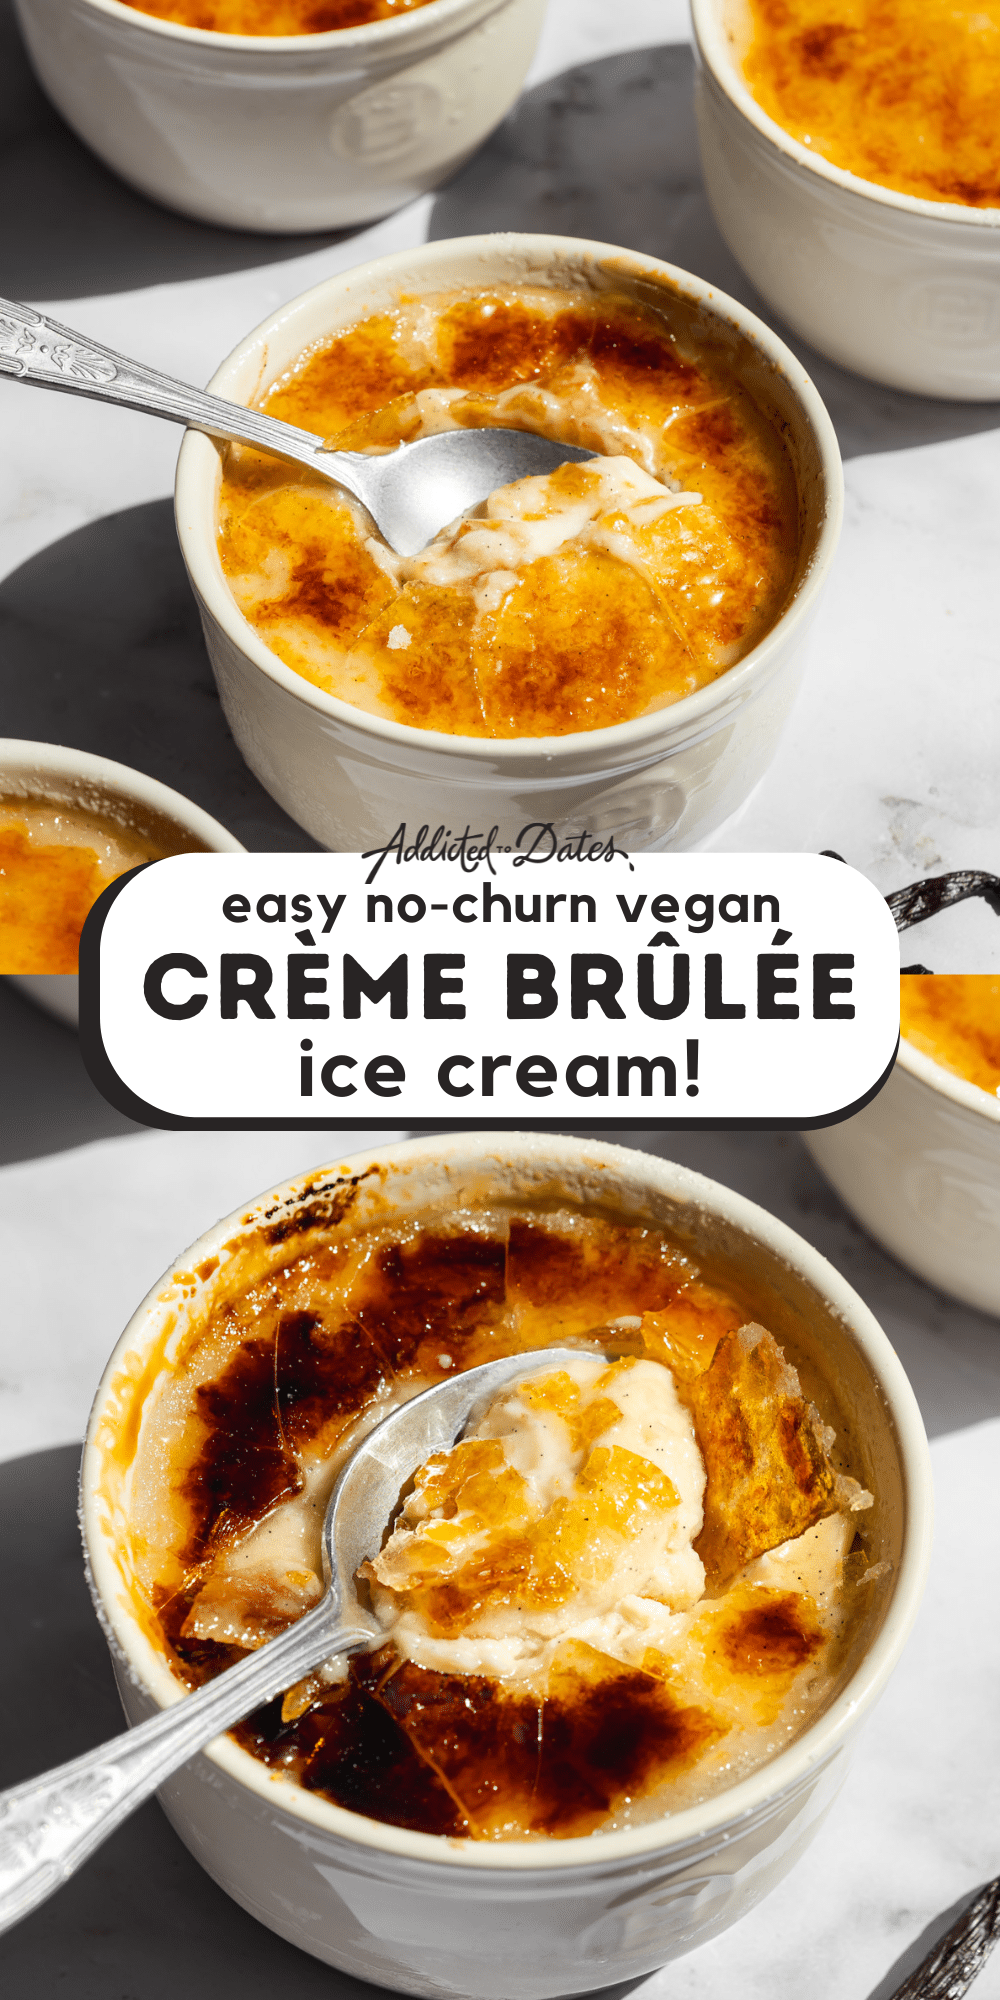
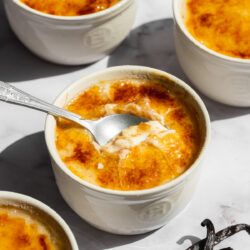
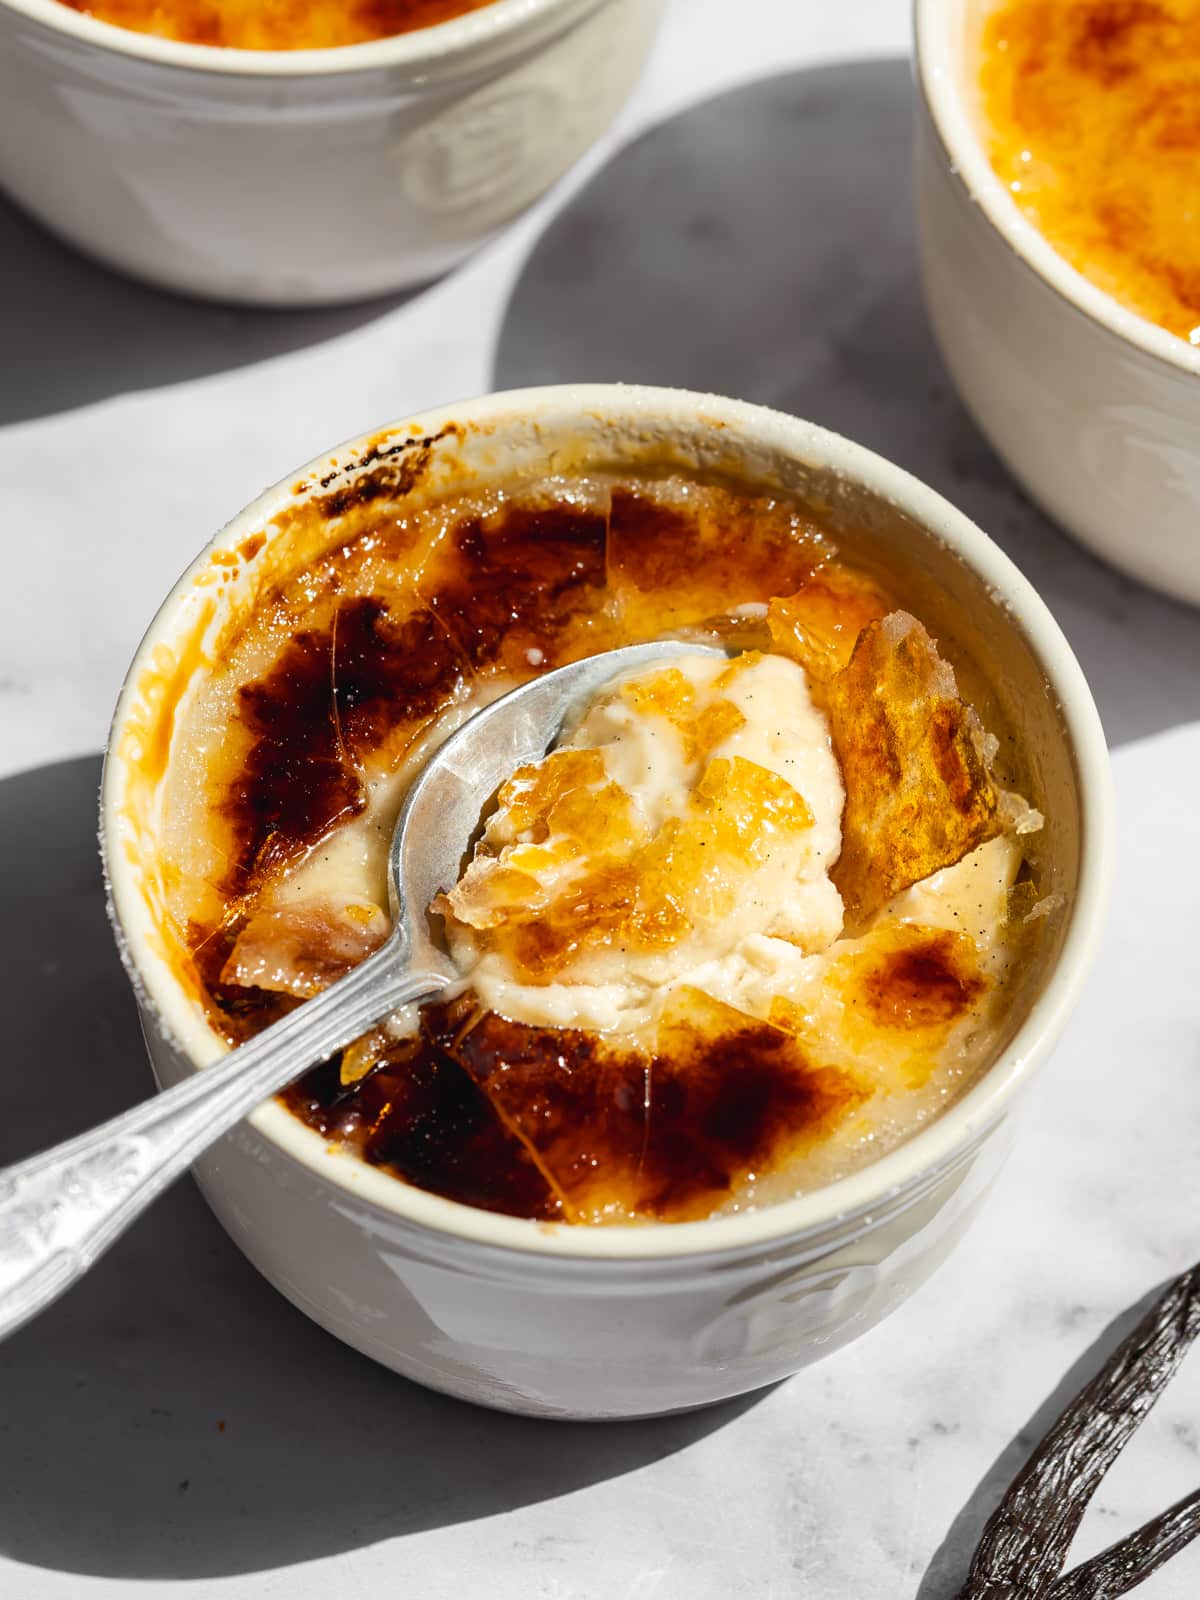
The flavors of vanilla ice cream and creme brulee are married in this easy frozen custard with no need for an ice cream maker!
This recipe is sponsored by Nature’s Charm. All opinions are my own. Thank you for supporting the brands who sponsor my work!
🧾 Ingredients
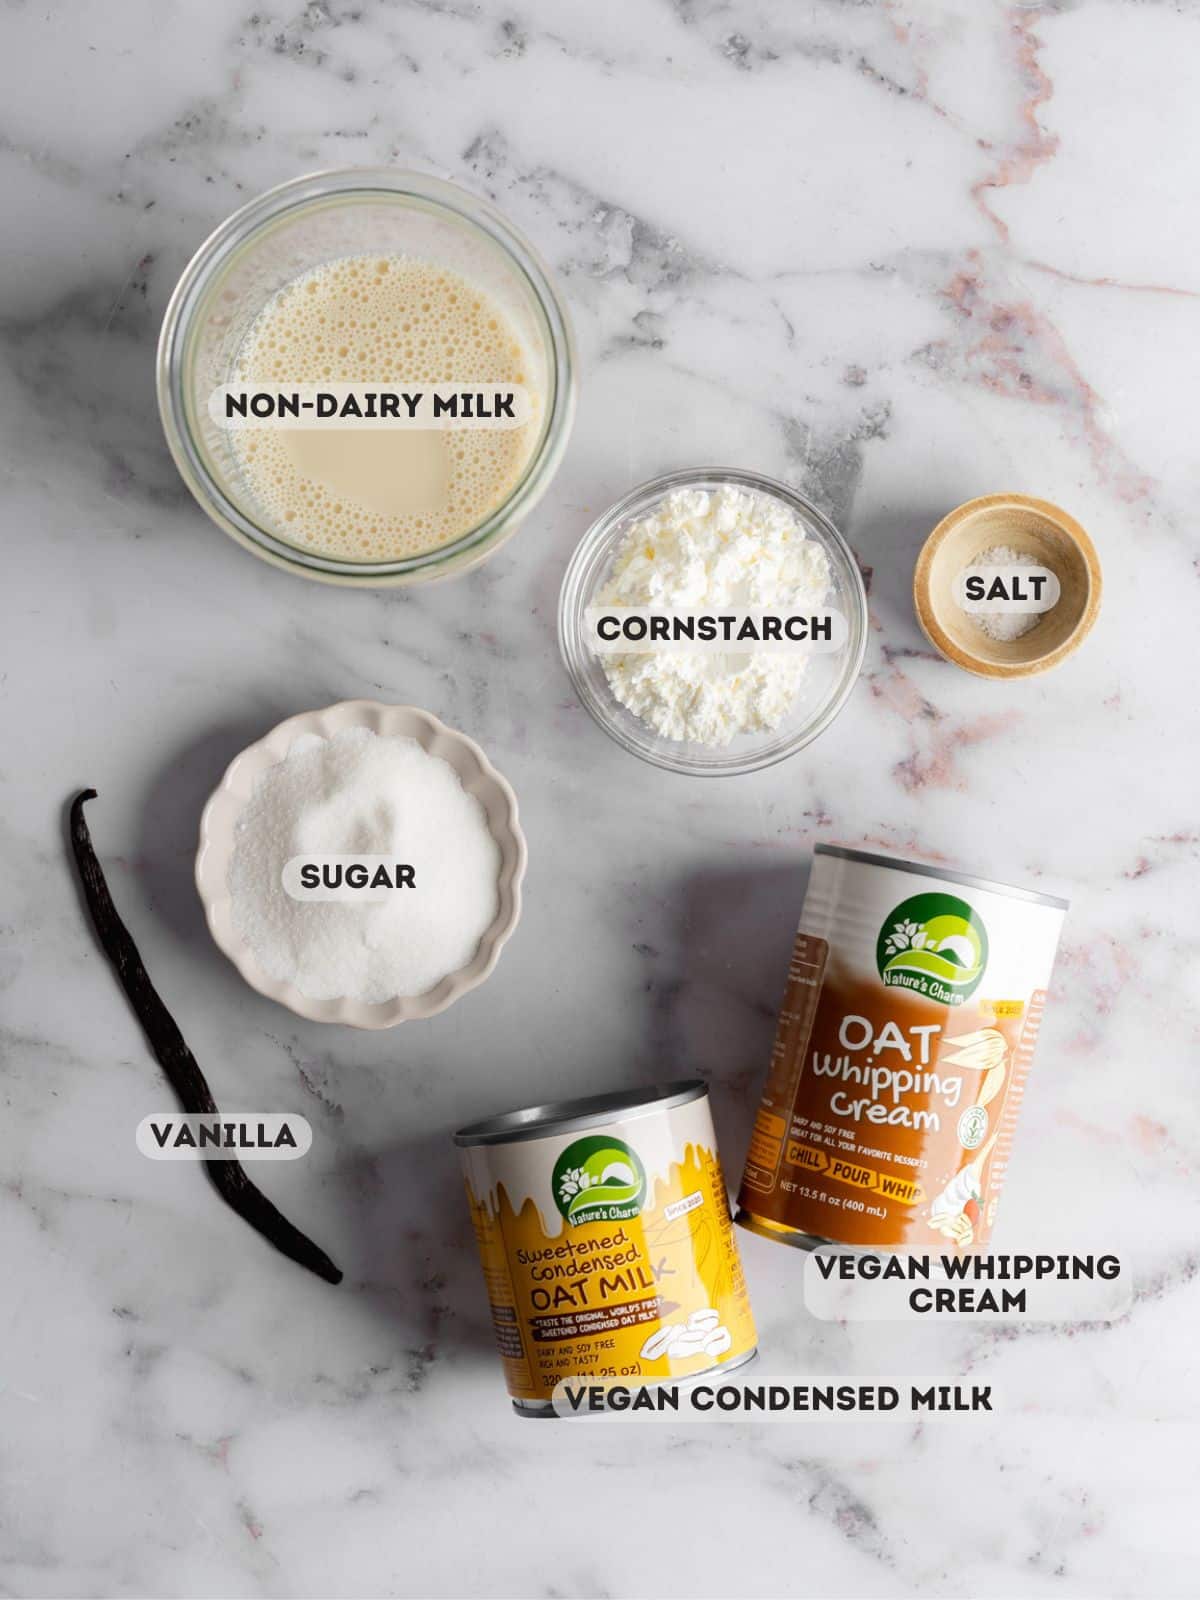
Here's everything you need to make crème brûlée ice cream from scratch:
Ingredient Notes
Find the complete list of ingredients, quantities, and instructions in the recipe card at the end of this post.
- Vanilla: Since vanilla is the key flavor here, a real vanilla pod is best, but vanilla bean paste is also a great option.
- Oat Whipping Cream: I've tested this with both Nature's Charm oat cream and coconut whipping cream. Coconut cream will give a slightly creamier richer consistency.
- Vegan Condensed Milk: Again, sweetened condensed oat milk or coconut milk work well here, both from Nature's Charm.
- Dairy-Free Milk: I love the creamy consistency soy milk gives but you can also use oat milk or almond milk.
- Cornstarch: Traditional creme brulee is thickened with egg yolks, to keep this recipe vegan we're using cornstarch. You can also use ground arrowroot powder.
Get Your Free E-Book!
Sign up to the Addicted to Dates newsletter for your FREE Guide To Vegan Cheesecakes!
🔪 Instructions
Here are step-by-step images showing how to make this easy vegan ice cream. Please refer to the detailed printable recipe card at the end of this page for full measurements and written instructions:

Step 1: Whisk the soy milk, cornstarch, vegan condensed milk, and sliced open vanilla pod in a saucepan. Gently simmer on low-medium heat for about 5 minutes whilst whisking until it thickens enough to coat the back of a spoon.
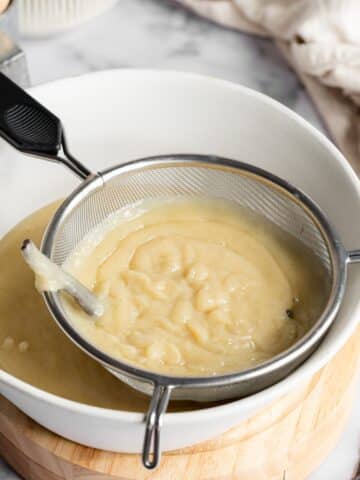
Step 2: Pass the mixture through a fine-mesh sieve into a medium bowl to remove the vanilla pod and any residue.
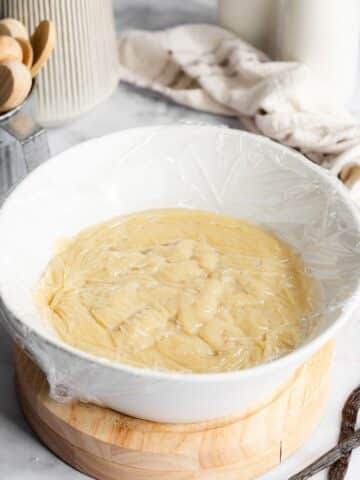
Step 3: Cover the surface of the custard with plastic wrap and chill for one hour until completely cool.

Step 4: In a large bowl, whisk the whipping cream with an electric mixer or stand mixer until light and fluffy.
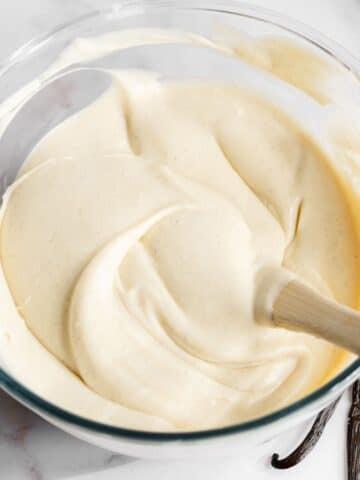
Step 5: Carefully fold the cooled custard through the whipped cream with a rubber spatula until evenly mixed.
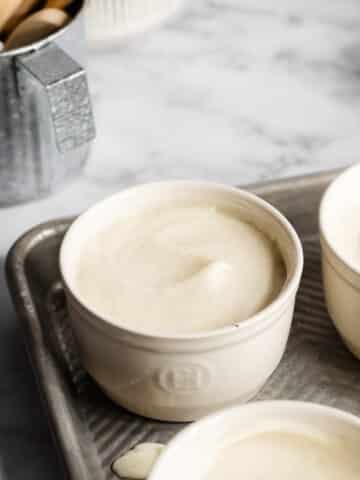
Step 6: Transfer the ice cream base between 4-8 ramekins, cover, and freeze for at least 4 hours.
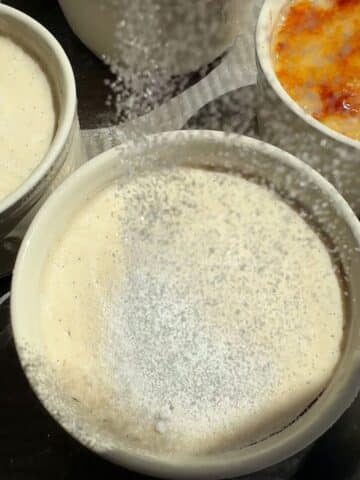
Step 7: Sprinkle sugar in an even layer on top of each crème brûlée.

Step 8: Use a blowtorch to caramelize the sugar until golden brown for a beautiful crispy top. If desired, you can top it with fresh berries or fresh fruits before serving!
💭 Expert Tips
Let the ice cream sit at room temperature for 10-15 minutes before serving to help it soften slightly.
Use white sugar for the topping. You can use superfine (caster) or granulated sugar, brown sugar tends not to crisp up as well due to the higher moisture content. Side note: If you're based in the US, go for organic sugar to ensure it's vegan.
Use a kitchen torch for the brûleéd top. I do not recommend attempting to brown them under the broiler as it will get too hot and you'll end up with melted ice cream!
💬 FAQs
No, the top should only be browned right before serving as it will not stay crunchy in the freezer. Sugar is hygroscopic and pulls in moisture from the environment, so it could turn into more of a caramel sauce after freezing and defrosting!
I use 4x 10.5cm/4 inch ramekins but feel free any heat-proof and freezer-safe container. You can also use a smaller size and increase the number of individual servings!
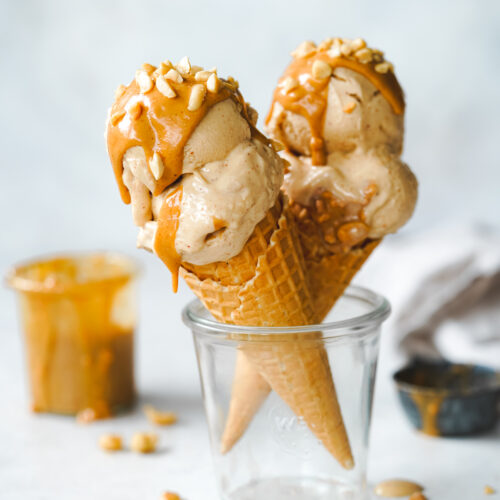
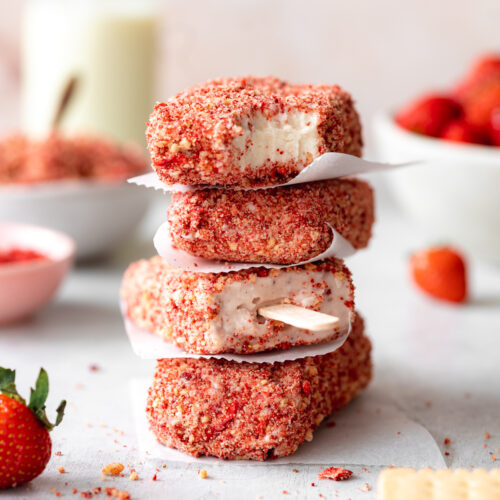
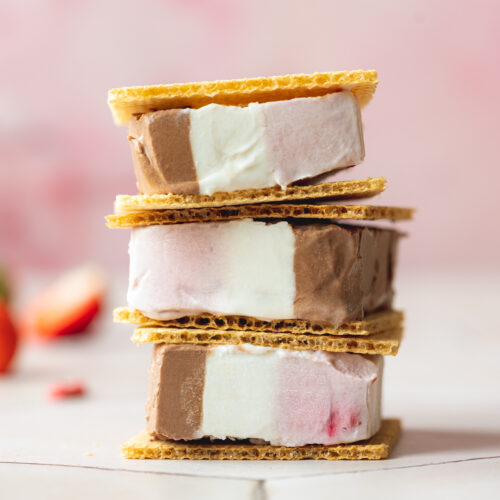
🍨 More Vegan Ice Cream
📖 Recipe
Vegan Creme Brulee Ice Cream (No Churn)
Ingredients
- 420 ml (1 ¾ cups) soy milk *see note 1
- 30 g (3 tablespoons) cornstarch
- 240 g (8.5 oz) vegan condensed milk *see note 2 I use Nature's Charm
- 1 vanilla pod *see note 3
- ¼ teaspoon sea salt
- 400 ml (13.5 oz) vegan whipping cream (chilled overnight) *see note 4 I use Nature's Charm
- 60 g (5 tablespoons) granulated sugar
Instructions
- Add the soy milk, cornstarch, and condensed milk to a saucepan and whisk well to remove any lumps. Cut the vanilla pod down the center and scrape out the seeds. Add the seeds and the pod to the saucepan and place on medium heat.
- Gently simmer on low-medium heat for about 5 minutes whilst whisking until it thickens enough to coat the back of the spoon.
- Pass the mixture through a fine-mesh sieve into a medium bowl to remove the vanilla pod and any residue.
- Cover the surface of the custard with plastic wrap and chill for one hour.
- In a large bowl, whisk the whipping cream with an electric mixer or in a stand mixer until light and fluffy.
- Whisk the chilled custard mixture and pour it into the bowl with the whipping cream. Carefully fold the custard through the whipped cream with a rubber spatula until evenly mixed.
- Transfer the ice cream between 4-8 ramekins, cover, and freeze for at least 4 hours.
- Let the ice cream sit at room temperature for 10-15 minutes before serving. Then sprinkle sugar in an even layer on top of each dessert. Use a blowtorch to caramelize the sugar until browned.
Notes
- Soy Milk: Replace with almond milk or oat milk.
- Vegan Condensed Milk: I use Nature's Charm condensed oat milk, you can also use condensed coconut milk.
- Vanilla Pod: Replace with 1 tablespoon vanilla bean paste.
- Vegan Whipping Cream: I use Nature's Charm oat whipping cream, but you can also use their coconut whipping cream.
© addictedtodates.com. All content and images are protected by copyright. If you want to share this recipe, please do so using the share buttons provided. Do not screenshot or republish the recipe or content in full. Instead, include a link to this post for the recipe. Thank you!


