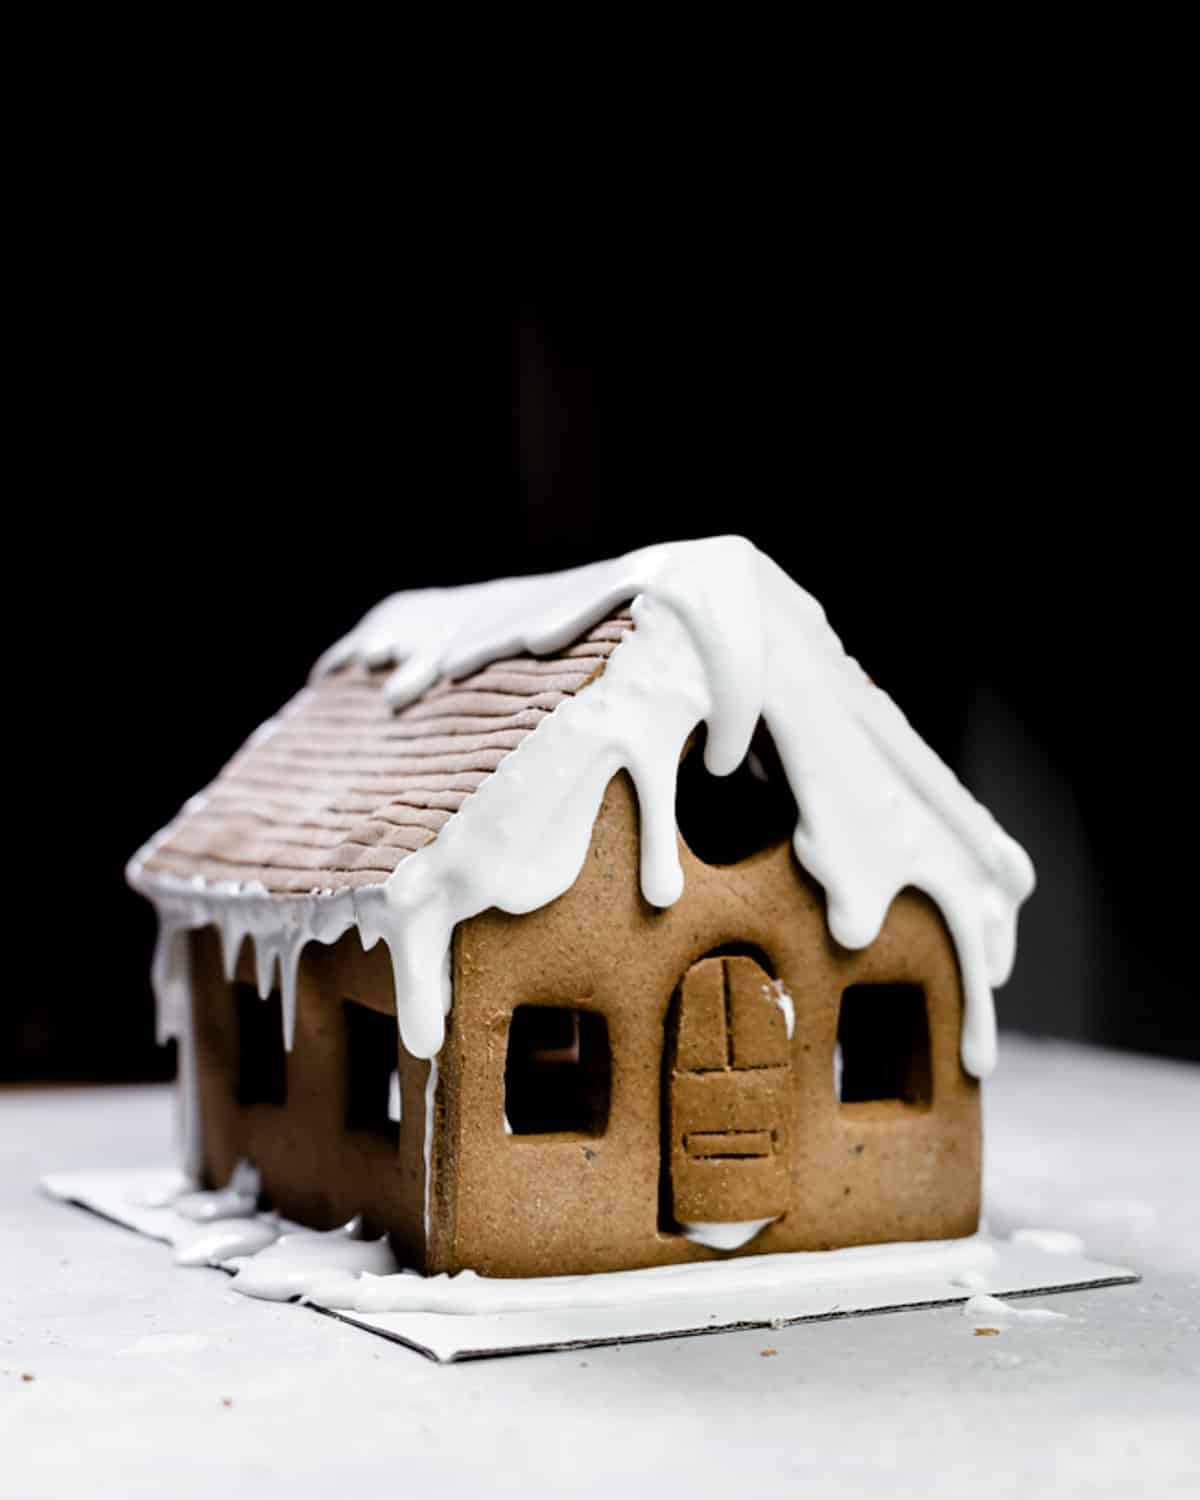
Have you ever made your own vegan gingerbread house? Although it does take a little time and patience to build, it is so rewarding to see your gingerbread construction. If you don't plan on eating it, it will last for a few weeks and makes a great Xmas decoration. You can even double the recipe and make a miniature vegan gingerbread village! Making a gingerbread house is the perfect festive activity that the entire family will enjoy - plus you get to eat it afterward.
This gingerbread house is an adaptation of my vegan gingerbread cookies recipe with some adjustments to make it a more stable biscuit recipe.
Here's what's to love about this recipe
- Completely eggless and dairy-free
- Surprisingly easy to make
- Can be adapted as gluten-free
- A great activity for the entire family
- Makes a beautiful edible Christmas decoration
- Makes an amazing Xmas gift for neighbors and friends

Ingredient notes
- Ground flaxseeds: Flaxseeds act as the binding agent and egg substitute for this gingerbread cookie recipe. When water is added, flax swells up and forms a gel-like consistency. This helps to create a more stable vegan gingerbread house recipe.
- Plain flour: Plain white flour or spelt flour works best for this recipe. For the gluten-free option, gluten-free plain flour also works perfectly.
- Vegan butter: Vegan butter is rubbed into the flour to form the base of these soft gingerbread cookies while adding favor.
- Spices: For this gingerbread recipe, ground ginger, ground cinnamon, and ground nutmeg are combined which makes them super flavorsome.
- Salt: As always, I add a little salt to this recipe as it enhances all the other flavors of the cookies.
- Coconut sugar: Coconut sugar has a deep caramel flavor and color to the gingerbread dough.
- Molasses: Molasses, blackstrap molasses or black treacle is the liquid sweetener used to give this gingerbread a deep flavor and color.
- Plant-based milk: You can use any plant-based milk of your choice here. I normally use soy or oat milk. Be mindful to take into account what milk you use if you are gluten-free.
- Orange zest: This is optional, but highly recommended! The fresh orange zest flavor really comes through and helps to balance the “spiciness” of these cookies.
- Aquafaba: Aquafaba is the viscous liquid left over from cooking chickpeas or other white legumes. Chemically, aquafaba has many of the same components as eggs, making it an ideal substitute for many recipes. The addition of aquafaba to the icing makes it hard when it’s exposed to air.
- Icing sugar: Icing sugar is the main ingredient of vegan royal icing. If you live in the US, be sure to opt for an organic variety to ensure that it’s vegan-friendly.
- Lemon or orange juice: A touch of orange or lemon juice livens up the icing with a citrus twist. This marries in well with the subtle orange zest flavor of the gingerbread house.
How to make this recipe (with step-by-step images)
(Full ingredient quantities and instructions can be found in the recipe card at the end of this post)
Make the cookie dough
First, prepare the flax egg by mixing the milled flaxseeds and 2 ½ tablespoons water and allowing them to sit and soak for at least 5 minutes.
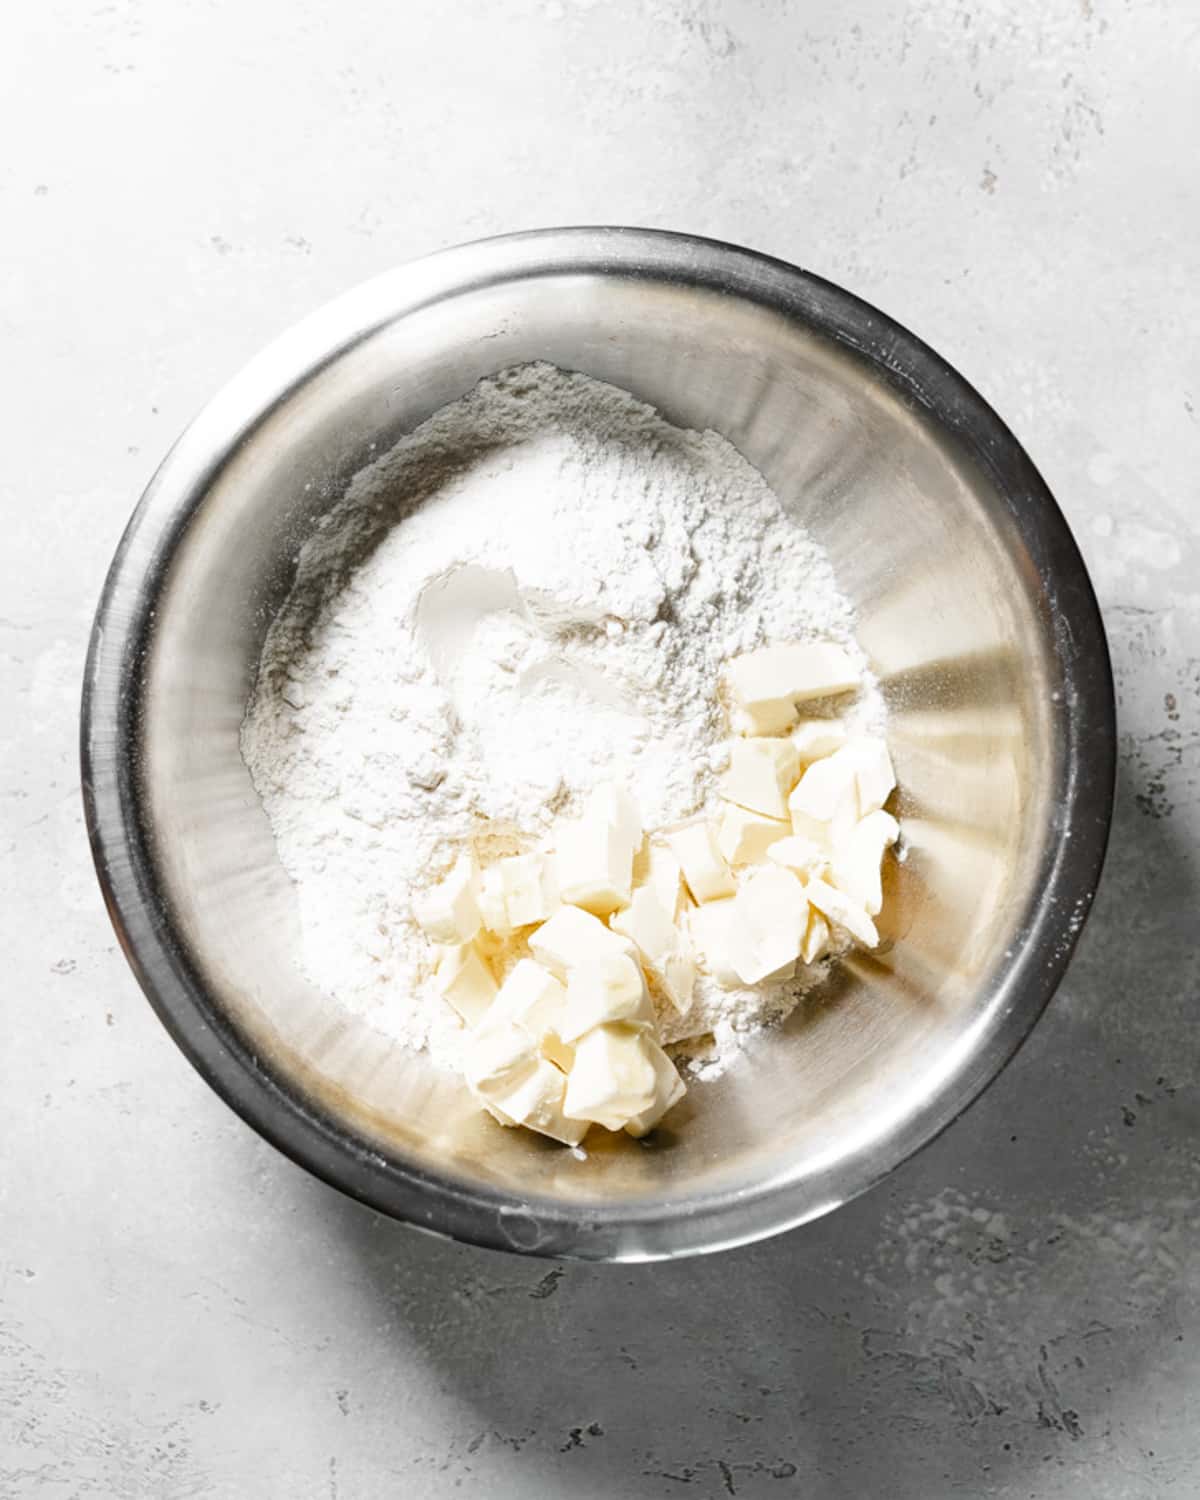
Next, sift the flour into a large bowl and add the chunks of butter. You're going to rub the butter into the flour using the "rubbing in method" until the mixture resembles a "crumble" consistency.

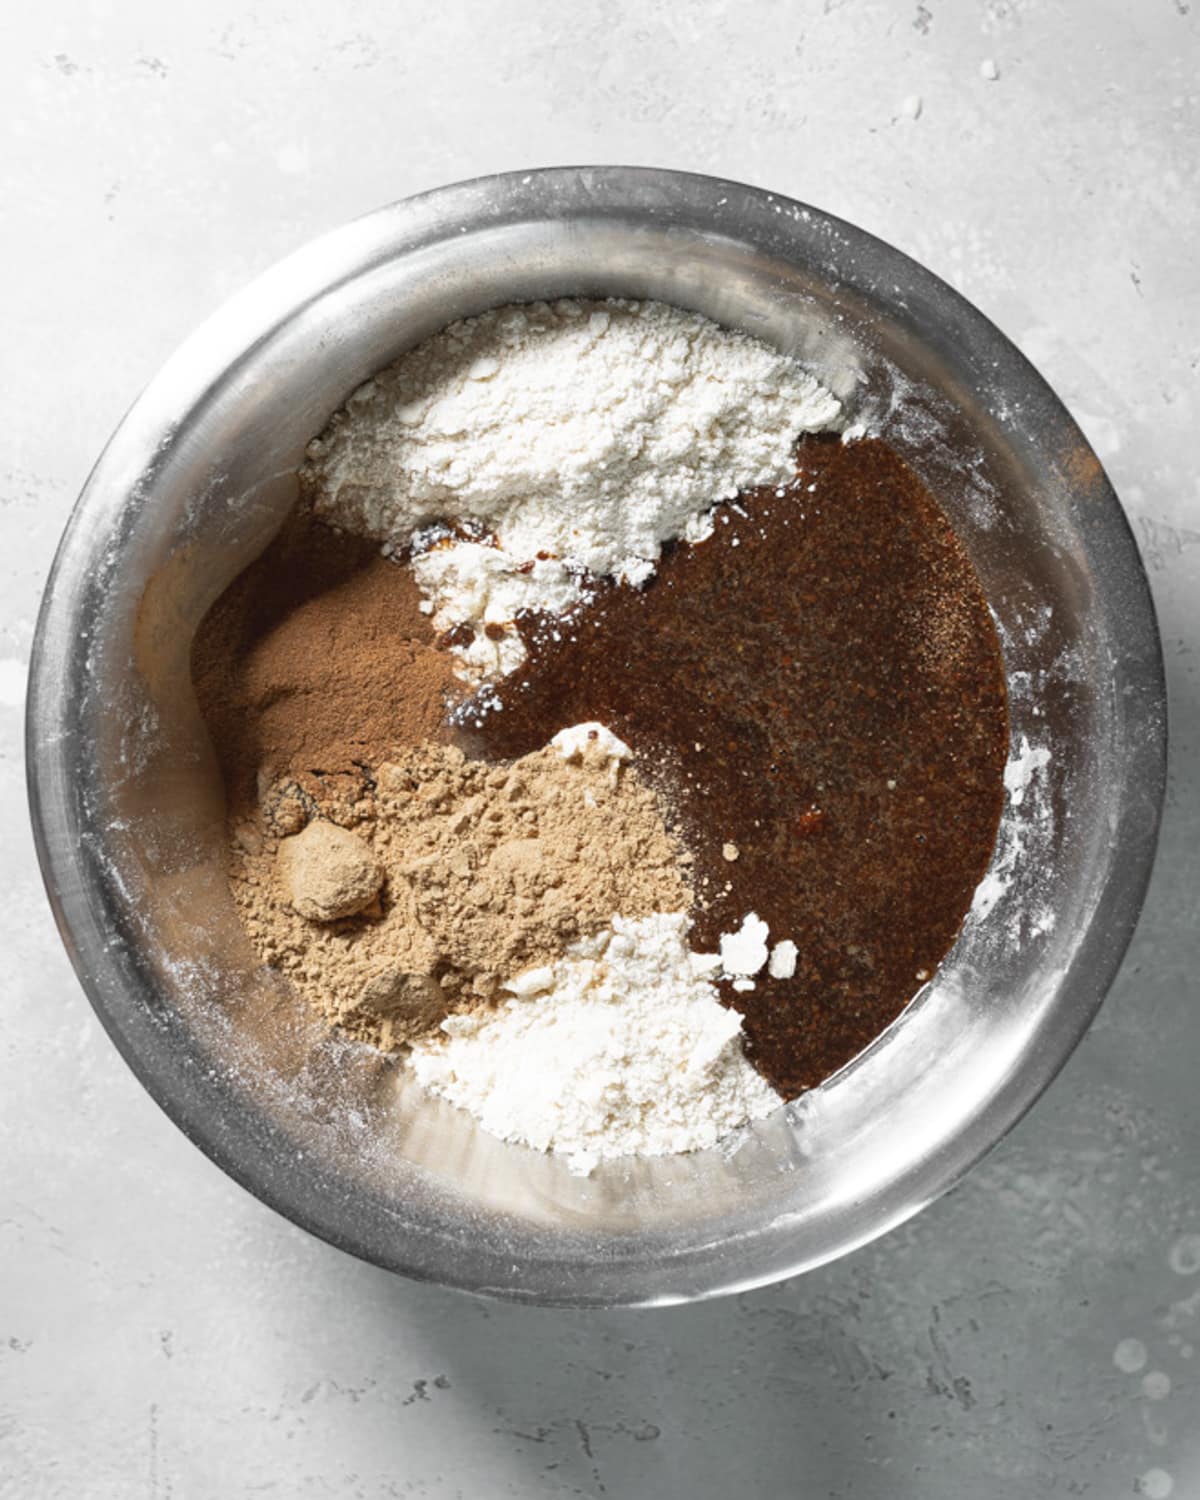
Add the remaining dry ingredients (in this case the spices and salt) and stir to evenly combine the ingredients.
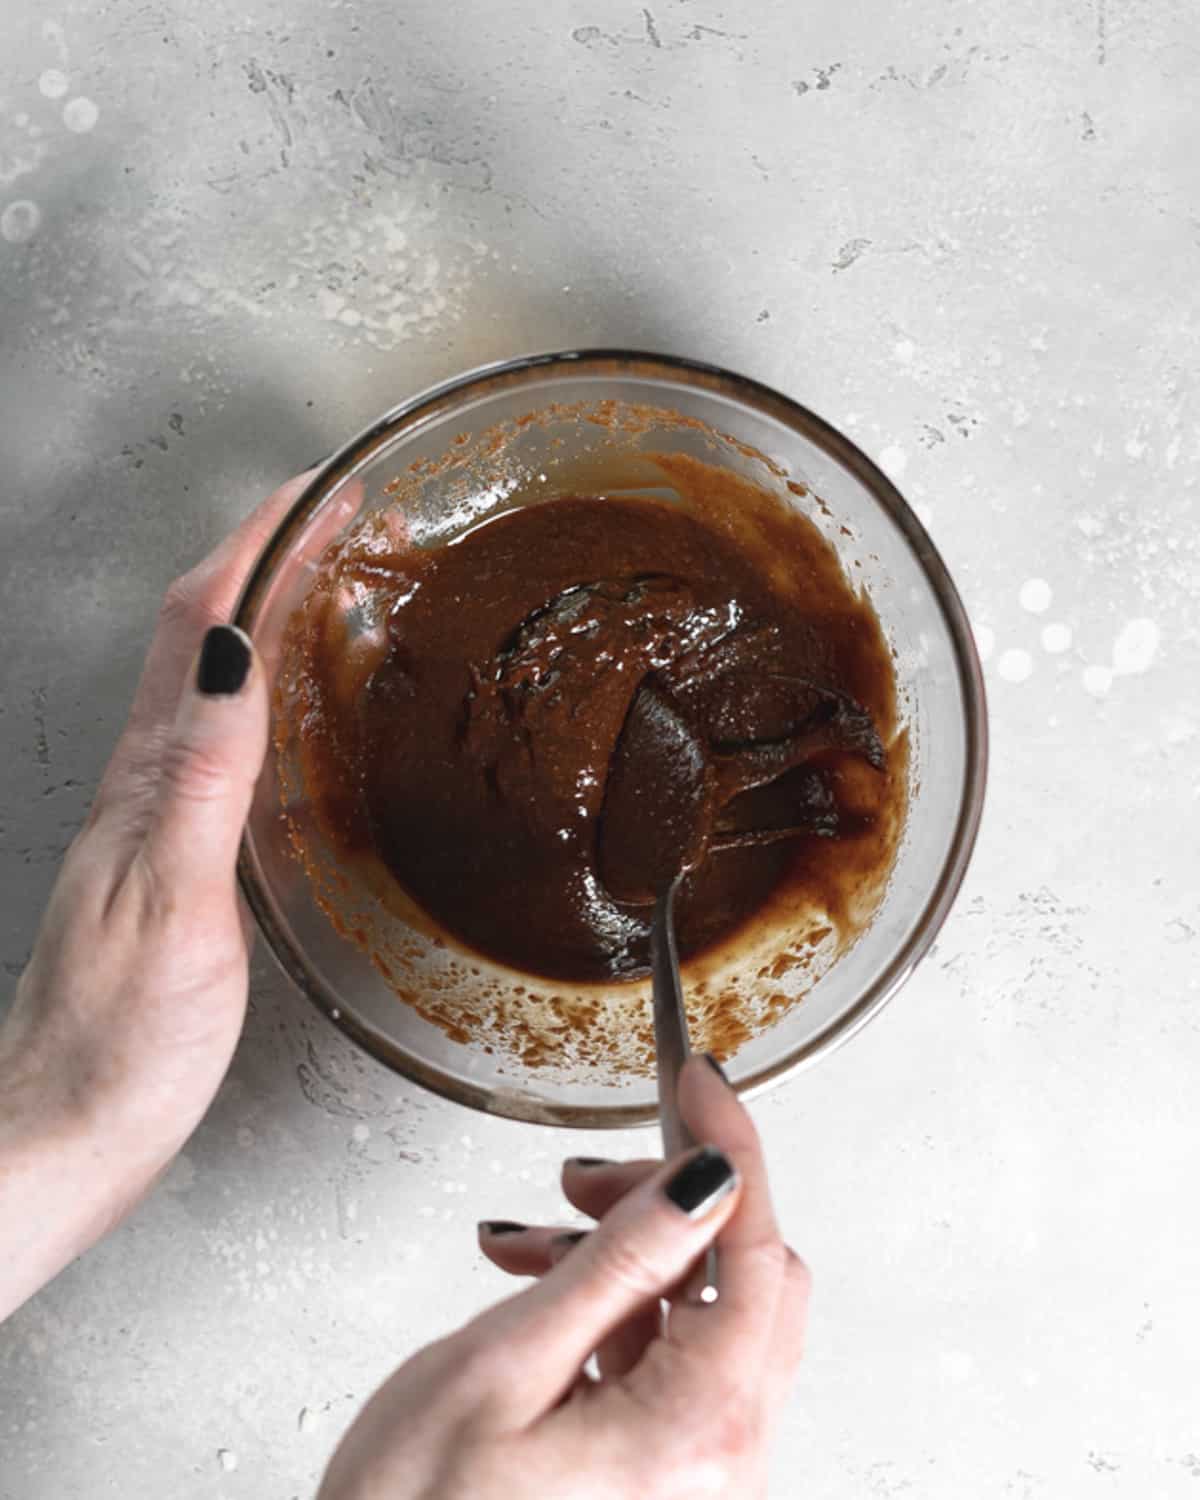
In a separate bowl, mix together the other ingredients (the flax egg, coconut sugar, molasses, plant-based milk, and orange zest) to form a paste. Add the paste to the dry ingredients.
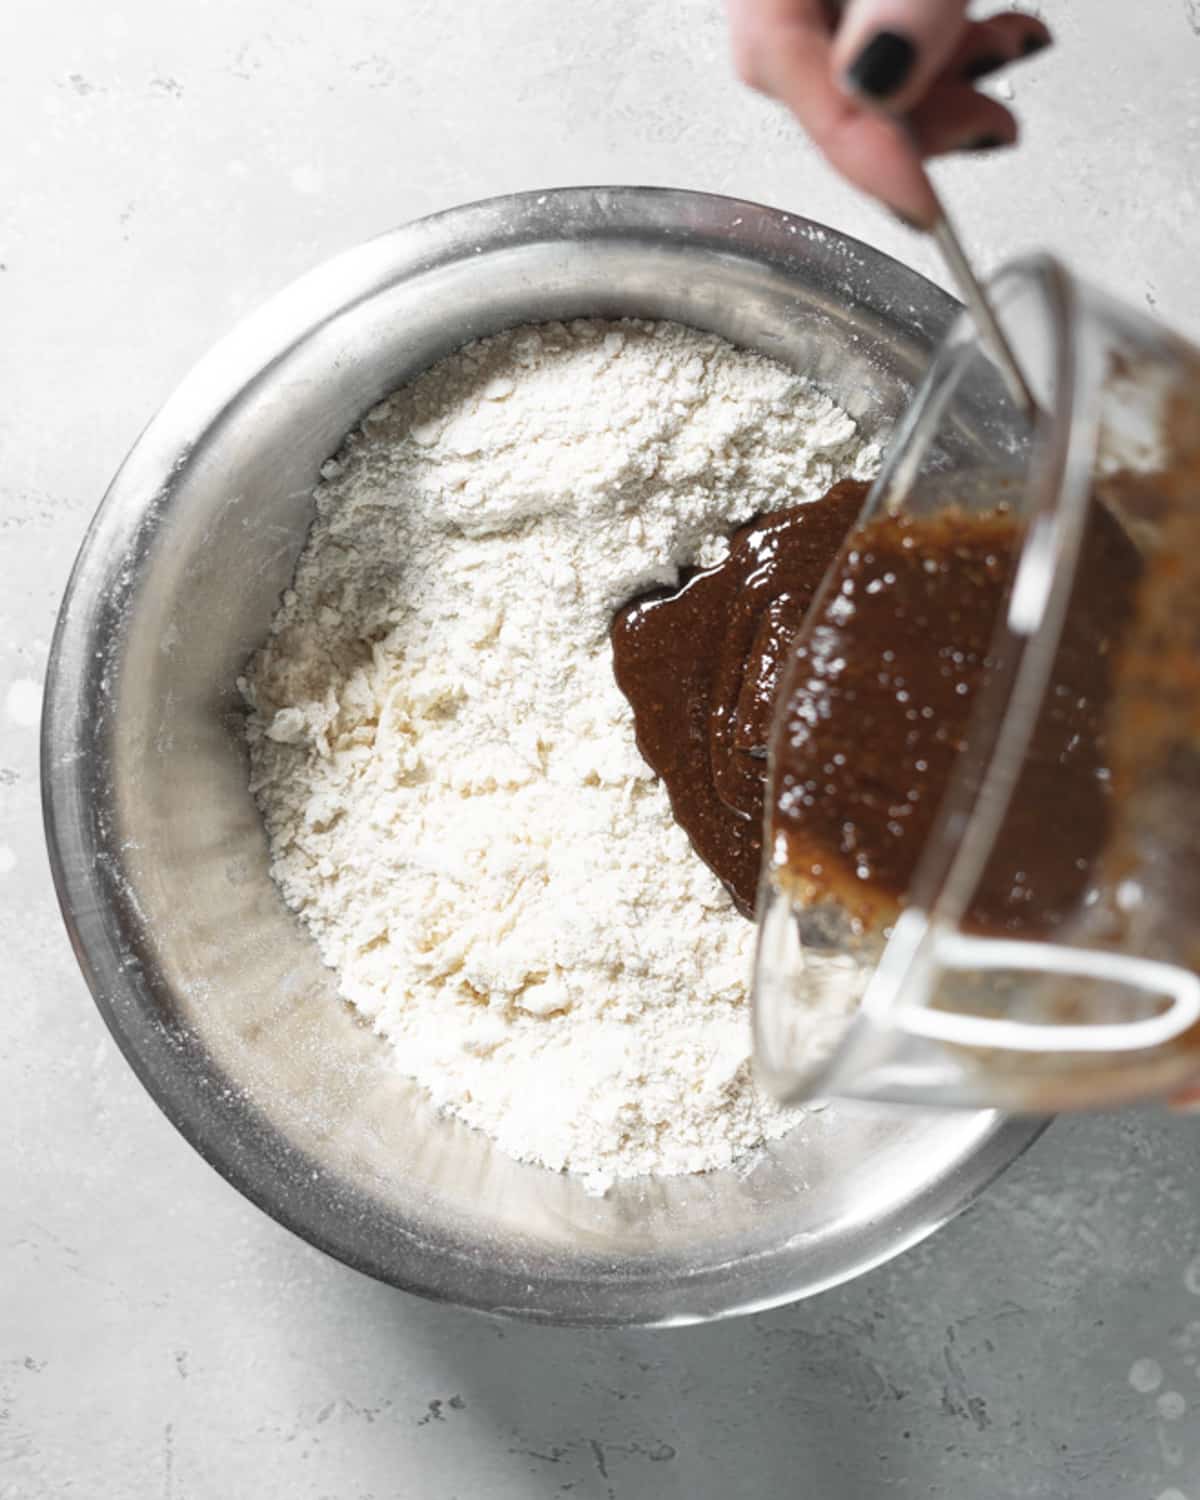
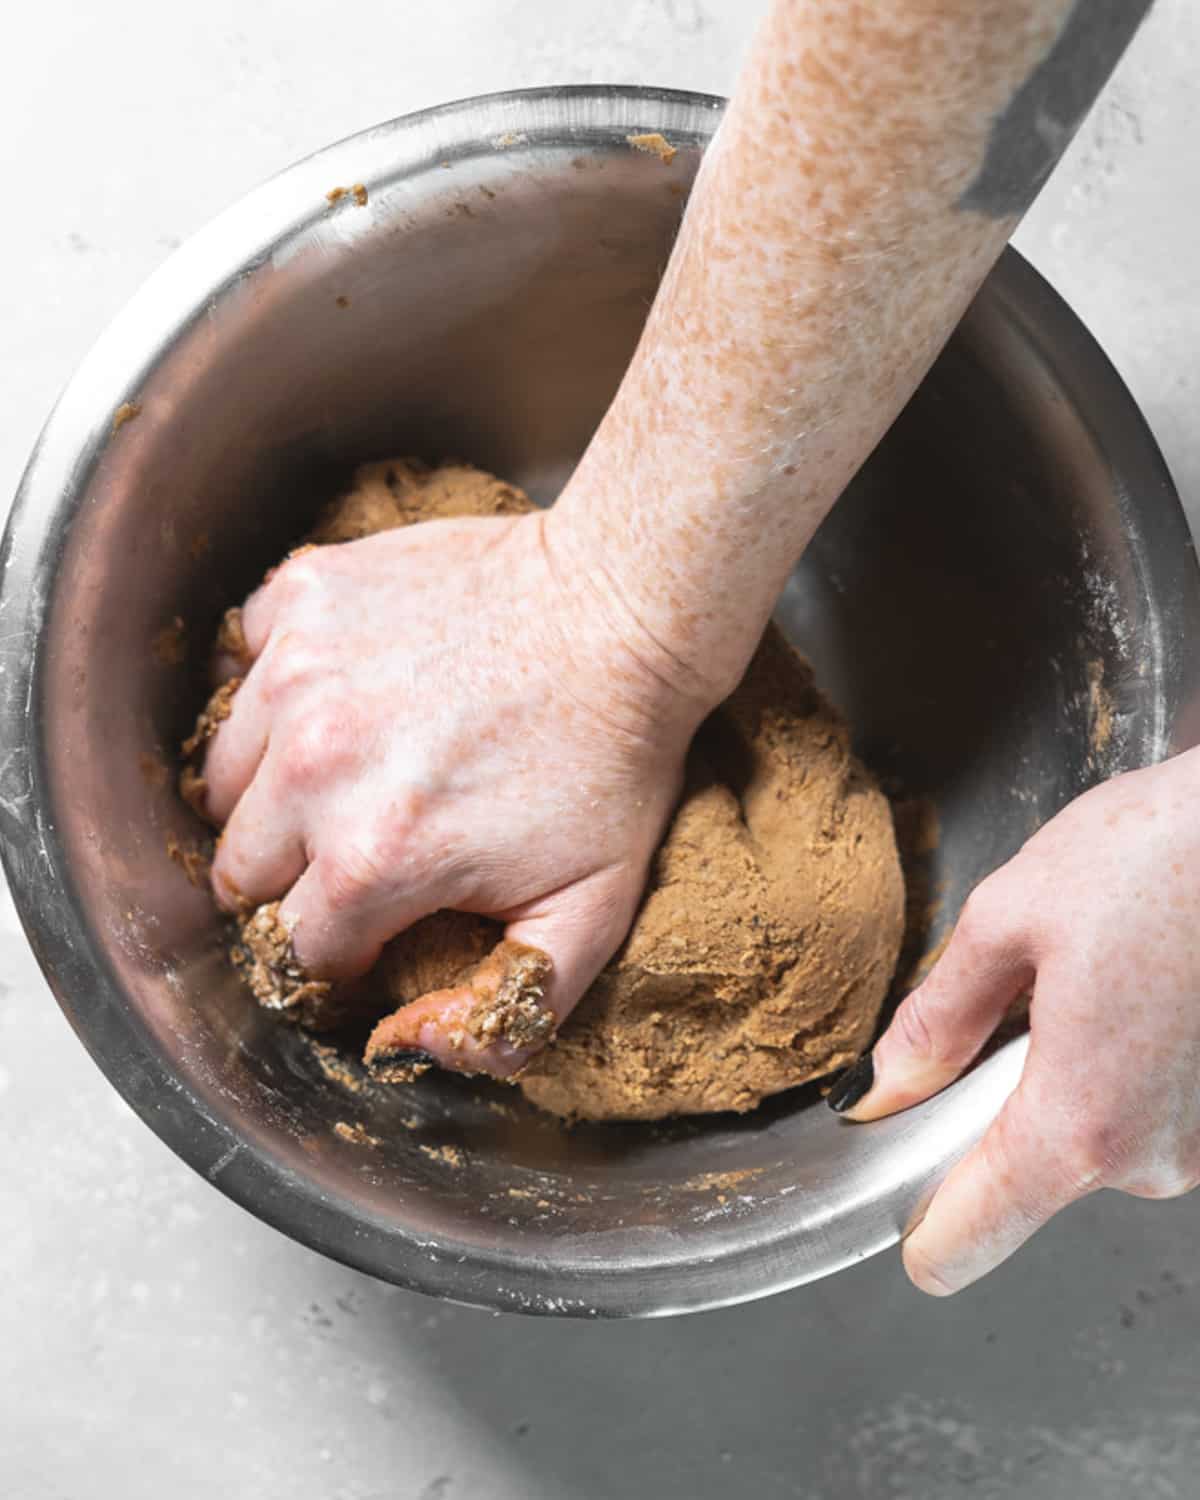
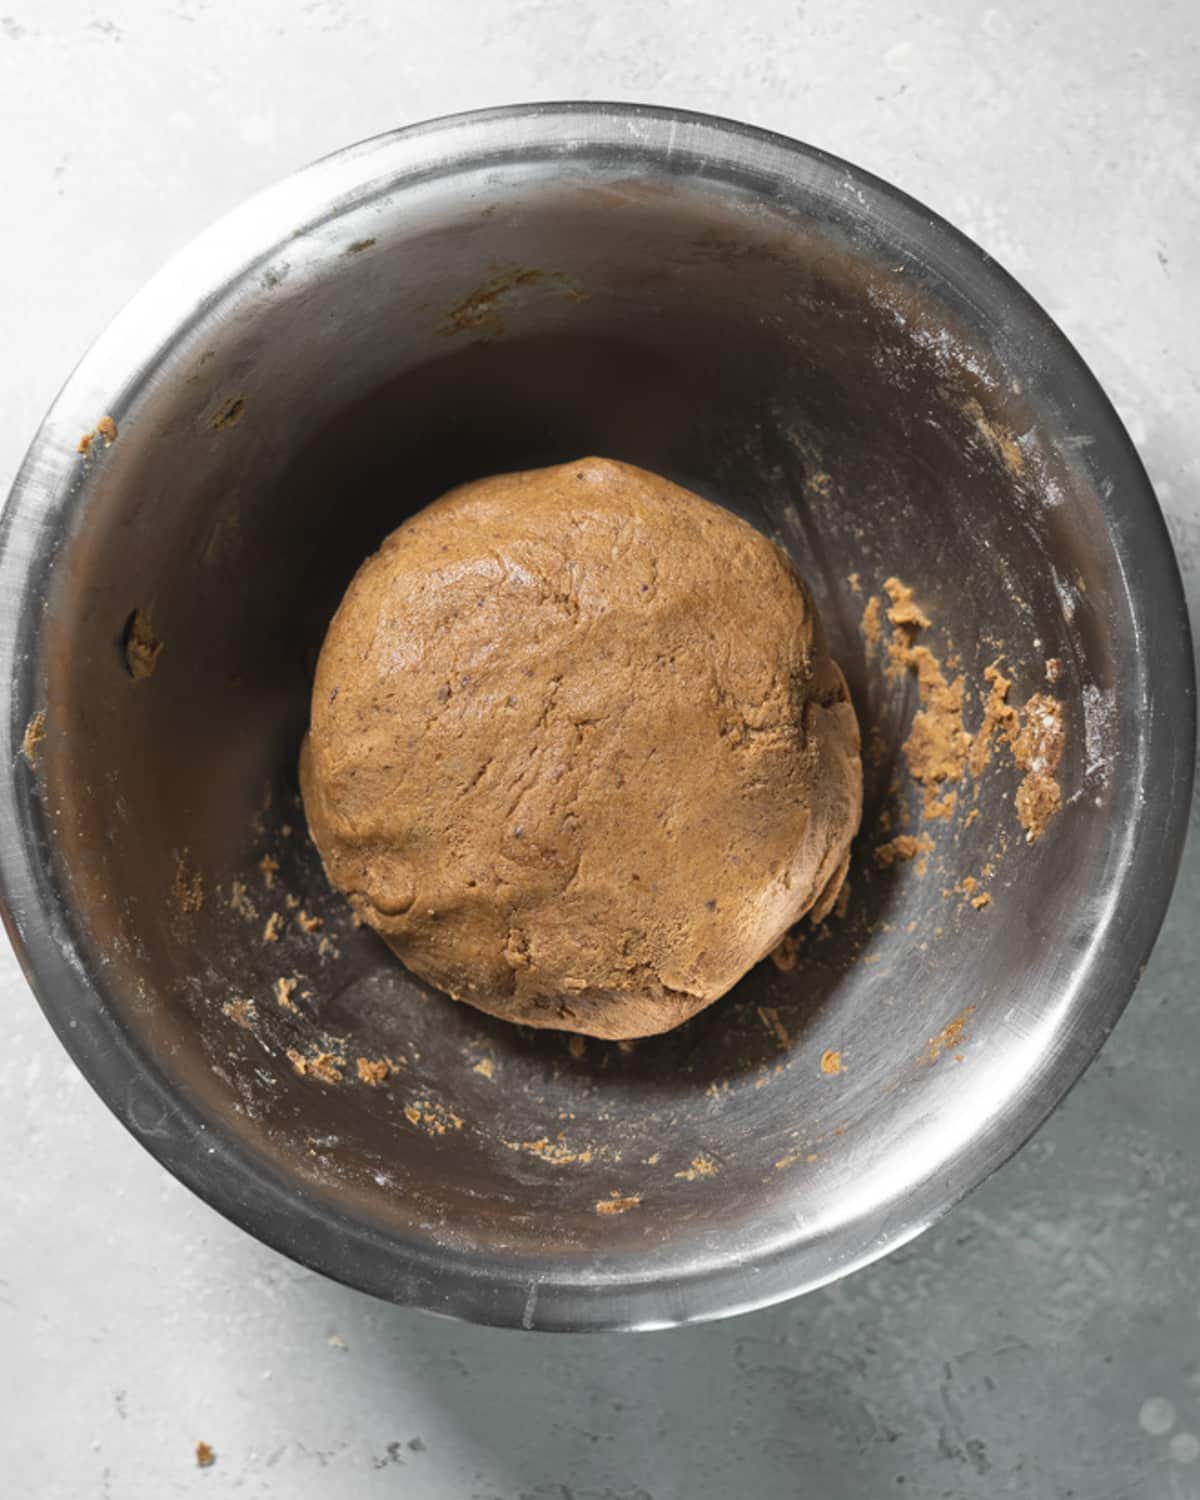
Next, use your hands to knead the mixture until a dough forms. Now roll the dough into a ball and cover wrap in cling film or place in an airtight container, and place in the fridge to chill for 20 minutes.
Cut out the gingerbread cookies
I used a gingerbread house kit for this design. Here are the Christmas cookie cutters that I used for this exact house. If you'd like to create your own template you can print them out and cut the cookies out using a knife. See the image below for reference to the dimensions of the house in this recipe. Note: the roof should be 10cm in height (not 17cm as shown in the image).
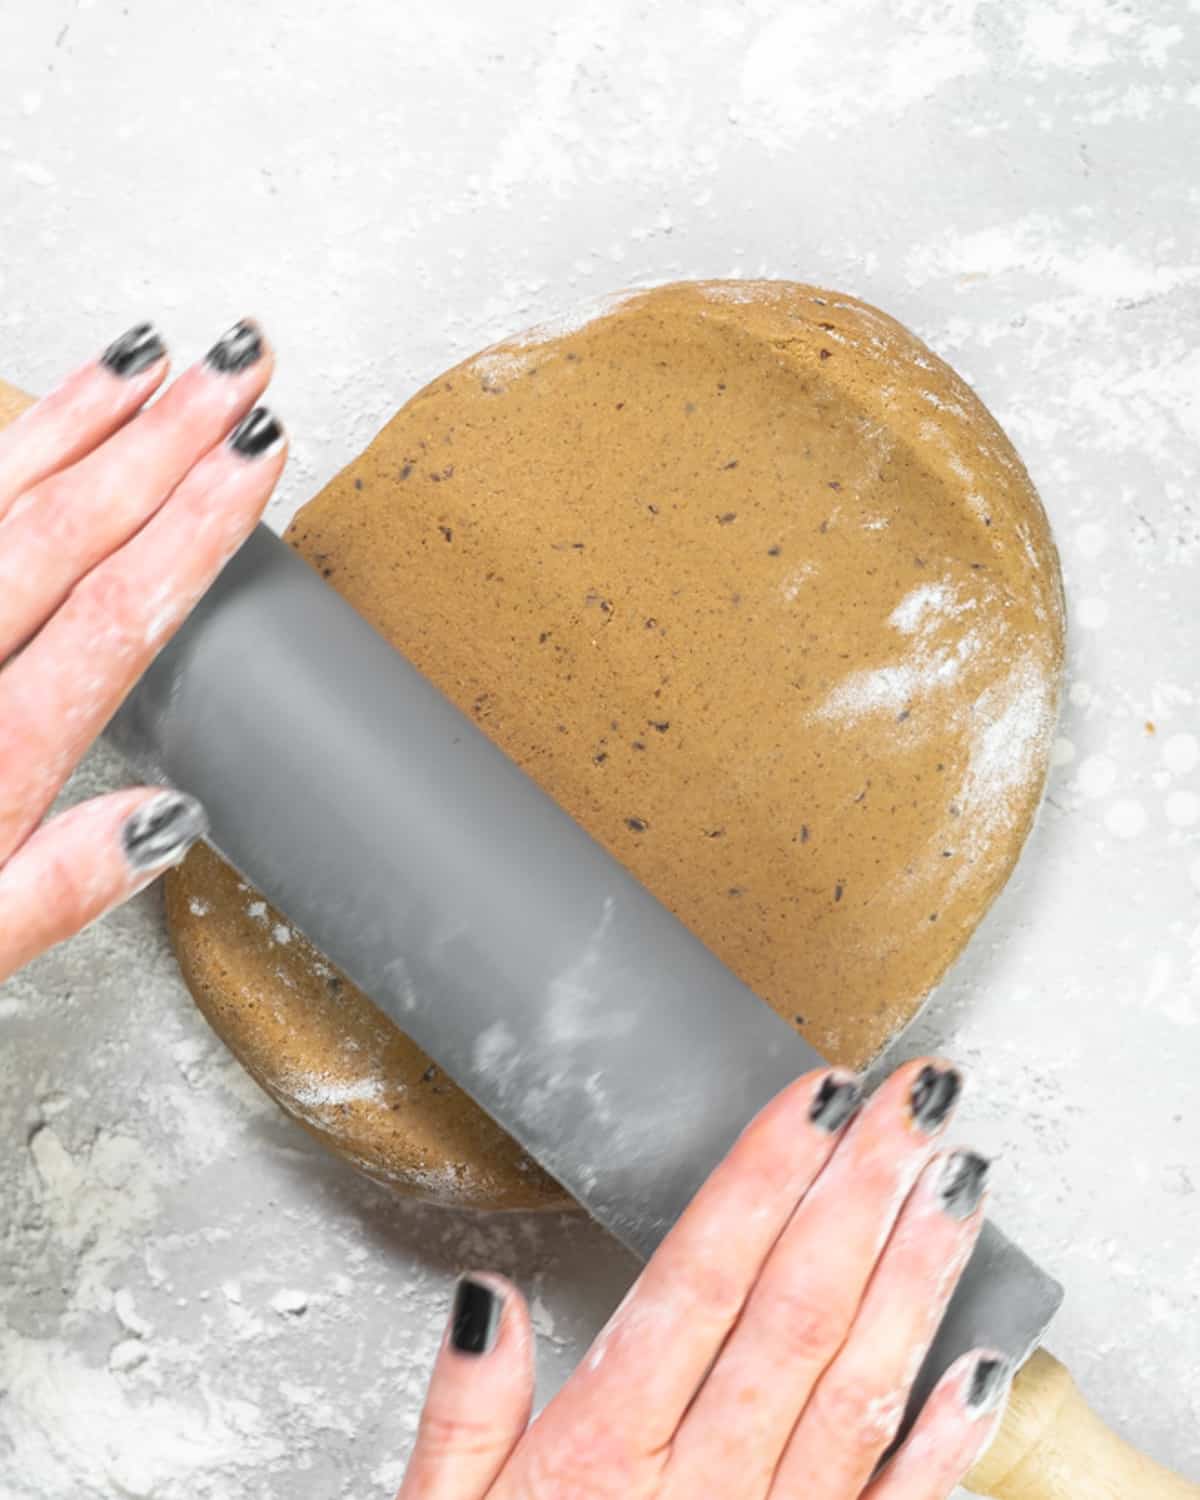
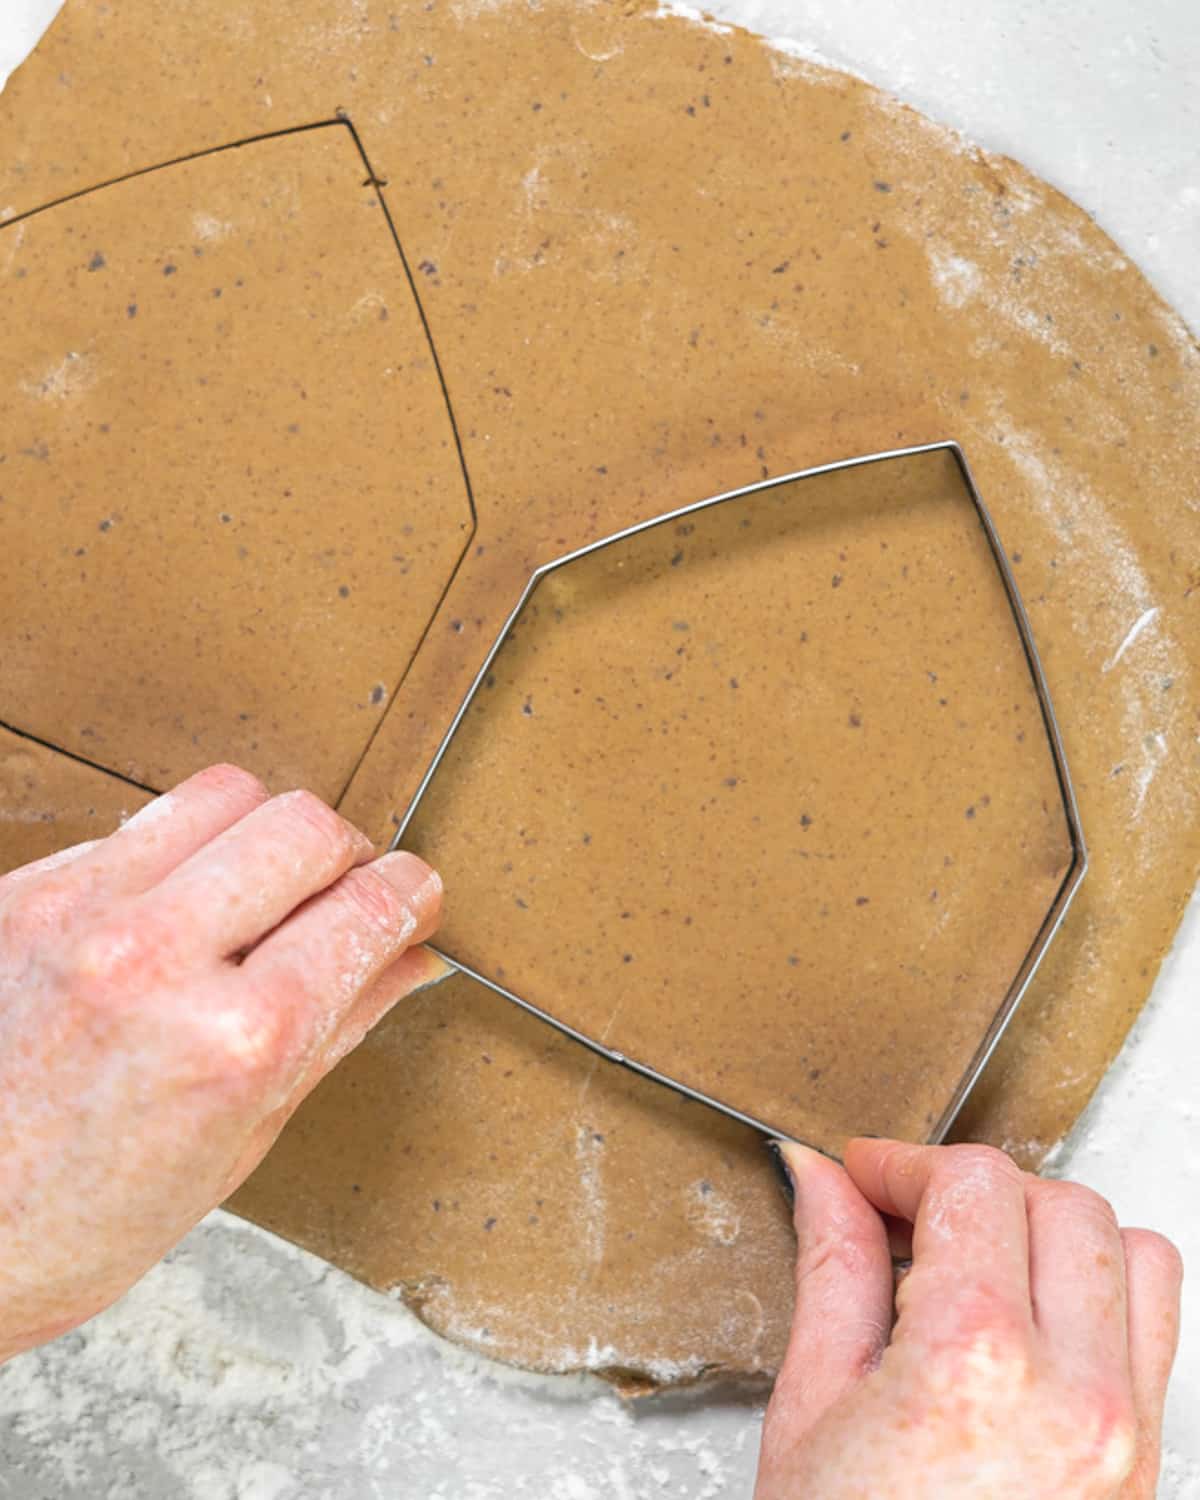
Flour your countertop and rolling pin and roll out the dough to approximately ½ inch in height. If using gingerbread house cookie cutters, cut out the two end walls of the house.

Cut out windows and a door. Repeat this by re-rolling the remaining dough for the two side walls.
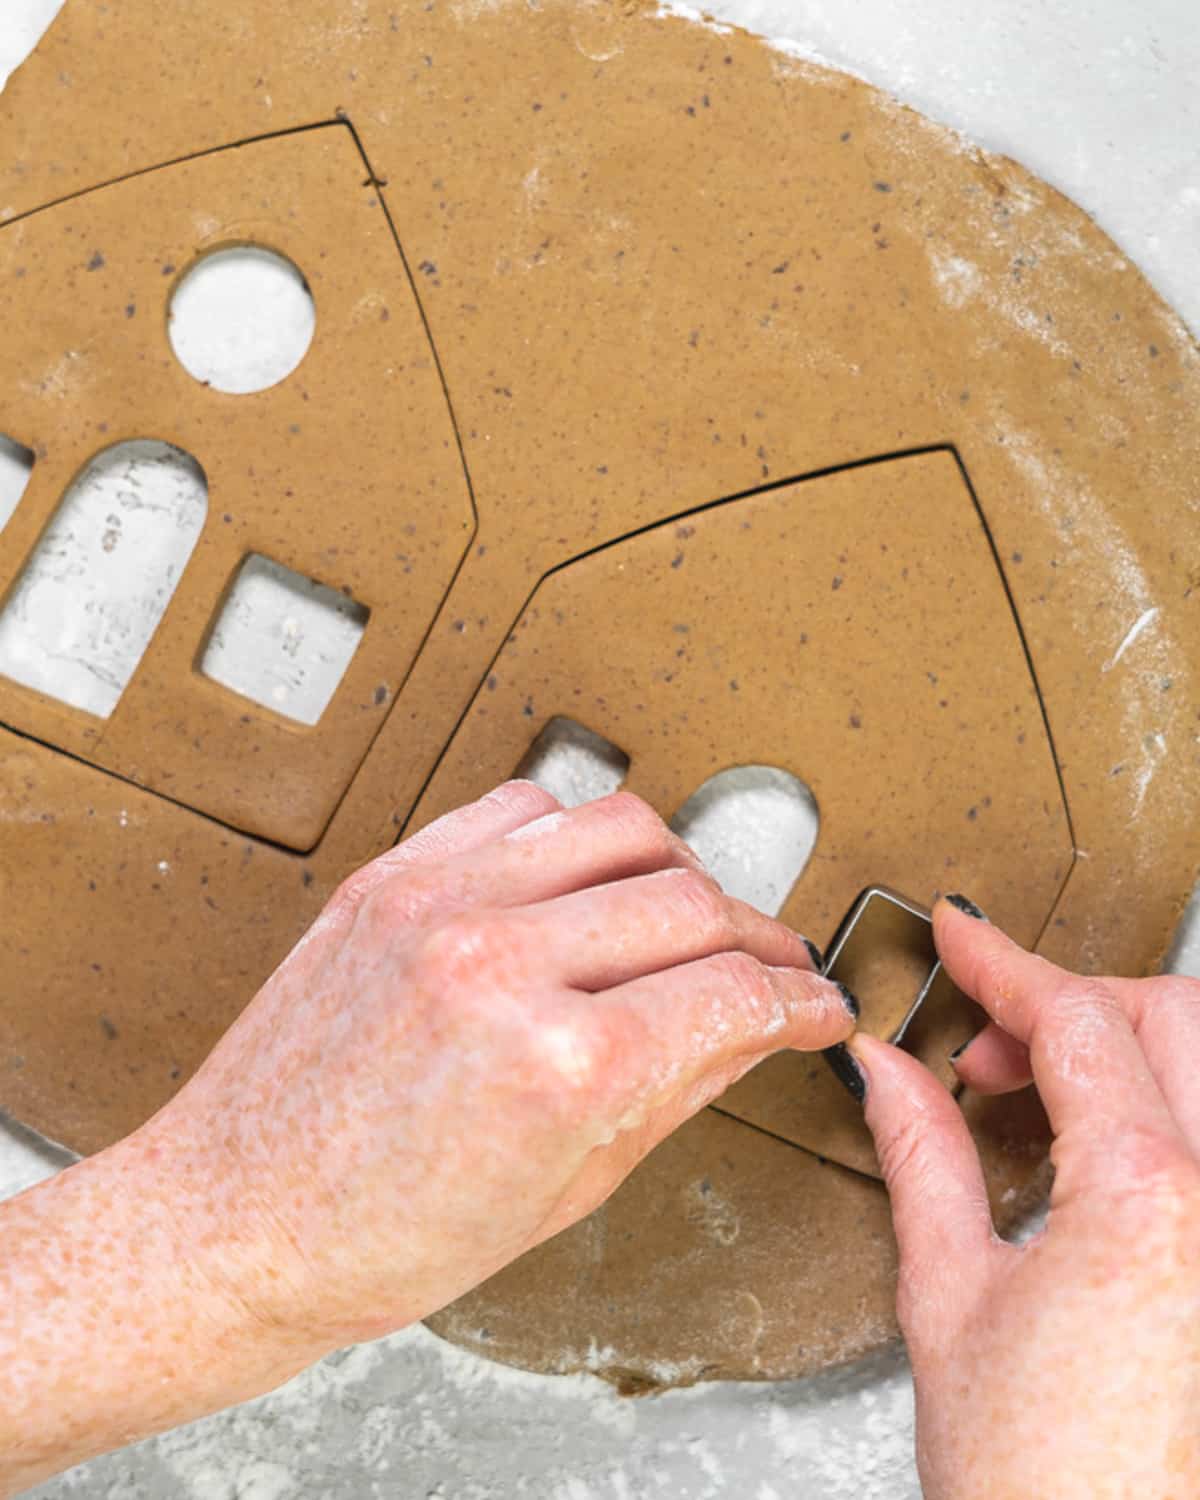
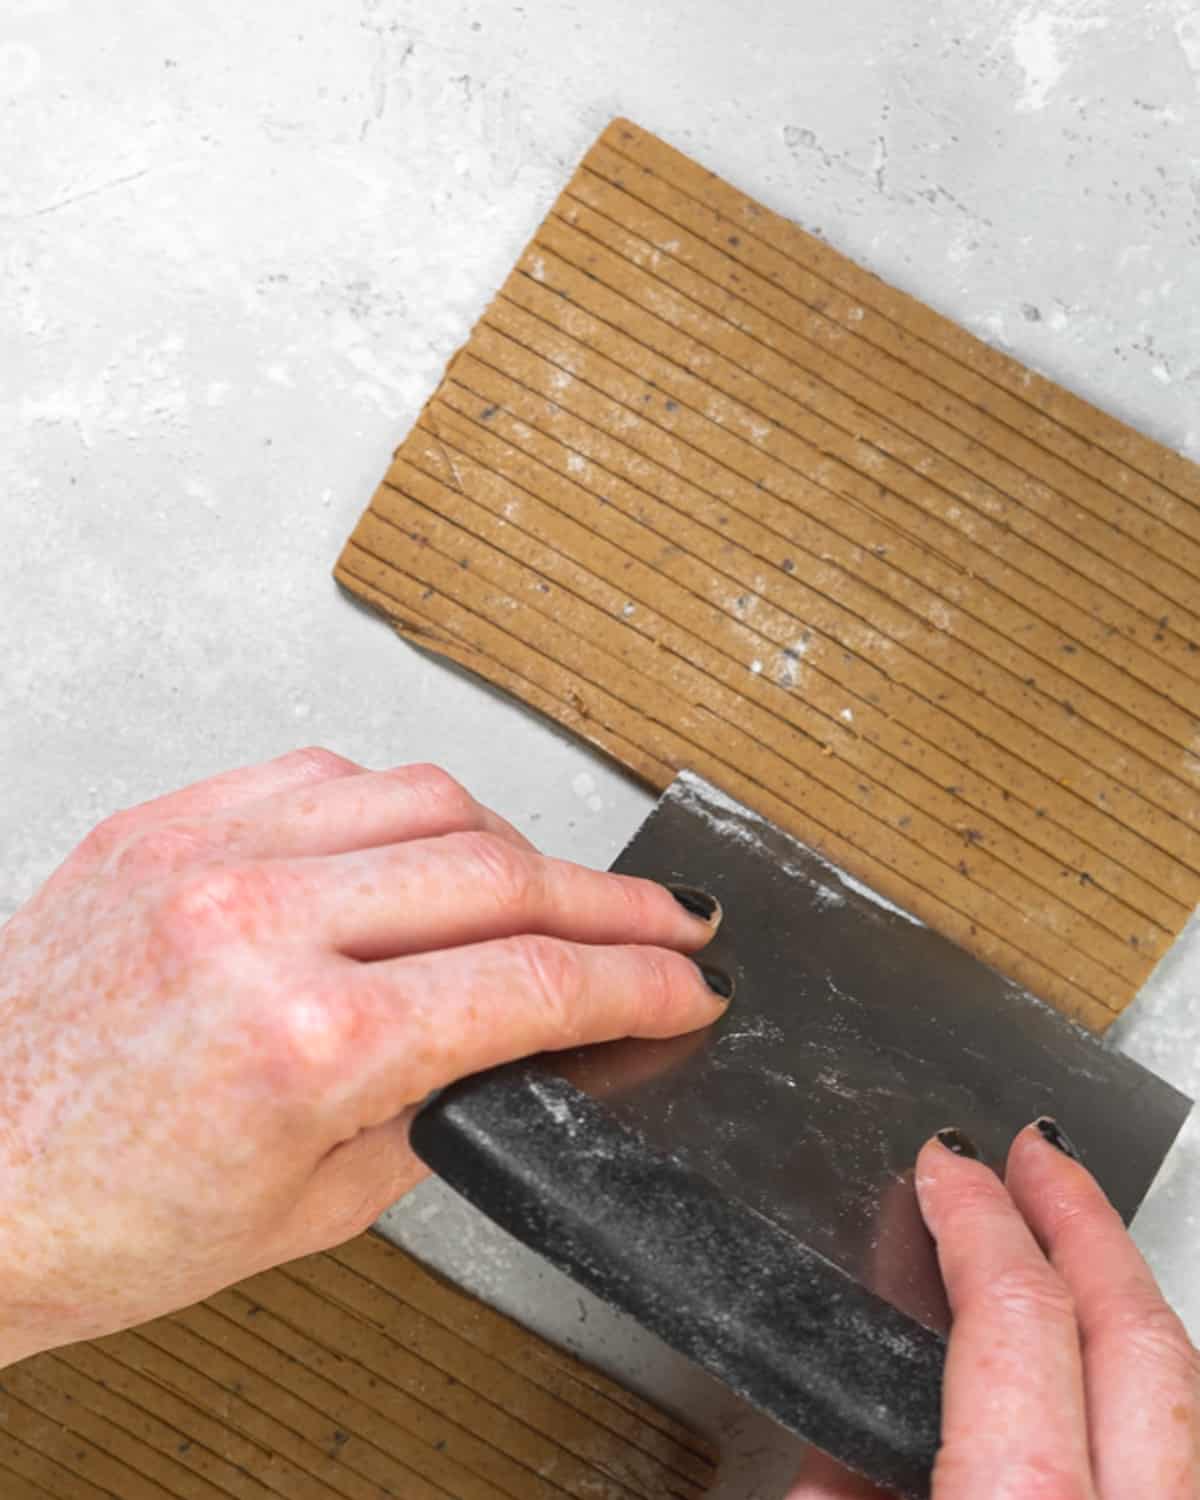
Lastly, re-roll the remaining dough to a ¼ inch in height, and cut the 2 roof panels, as making them lighter will ensure they aren't too heavy on top of the structure of the house. For the roof panels, you can use a knife or cake scraper to carefully draw a roof tile design.
Carefully slide the cookies onto a baking tray lined with parchment paper or a silicone mat.
Bake the gingerbread cookies for 12 minutes until they start to brown, then place them on a cooling rack to cool completely for at least 30 minutes.
How to make vegan royal icing (glue sugar)
Meanwhile, prepare the royal icing by adding the aquafaba to a large bowl and whipping with a handheld whisk or stand mixer for 5 minutes. Once bubbly, add the icing sugar in quarter increments whilst continuing to whisk. Lastly, add the lemon or orange juice and whisk for 2-3 minutes until the mixture is thick.

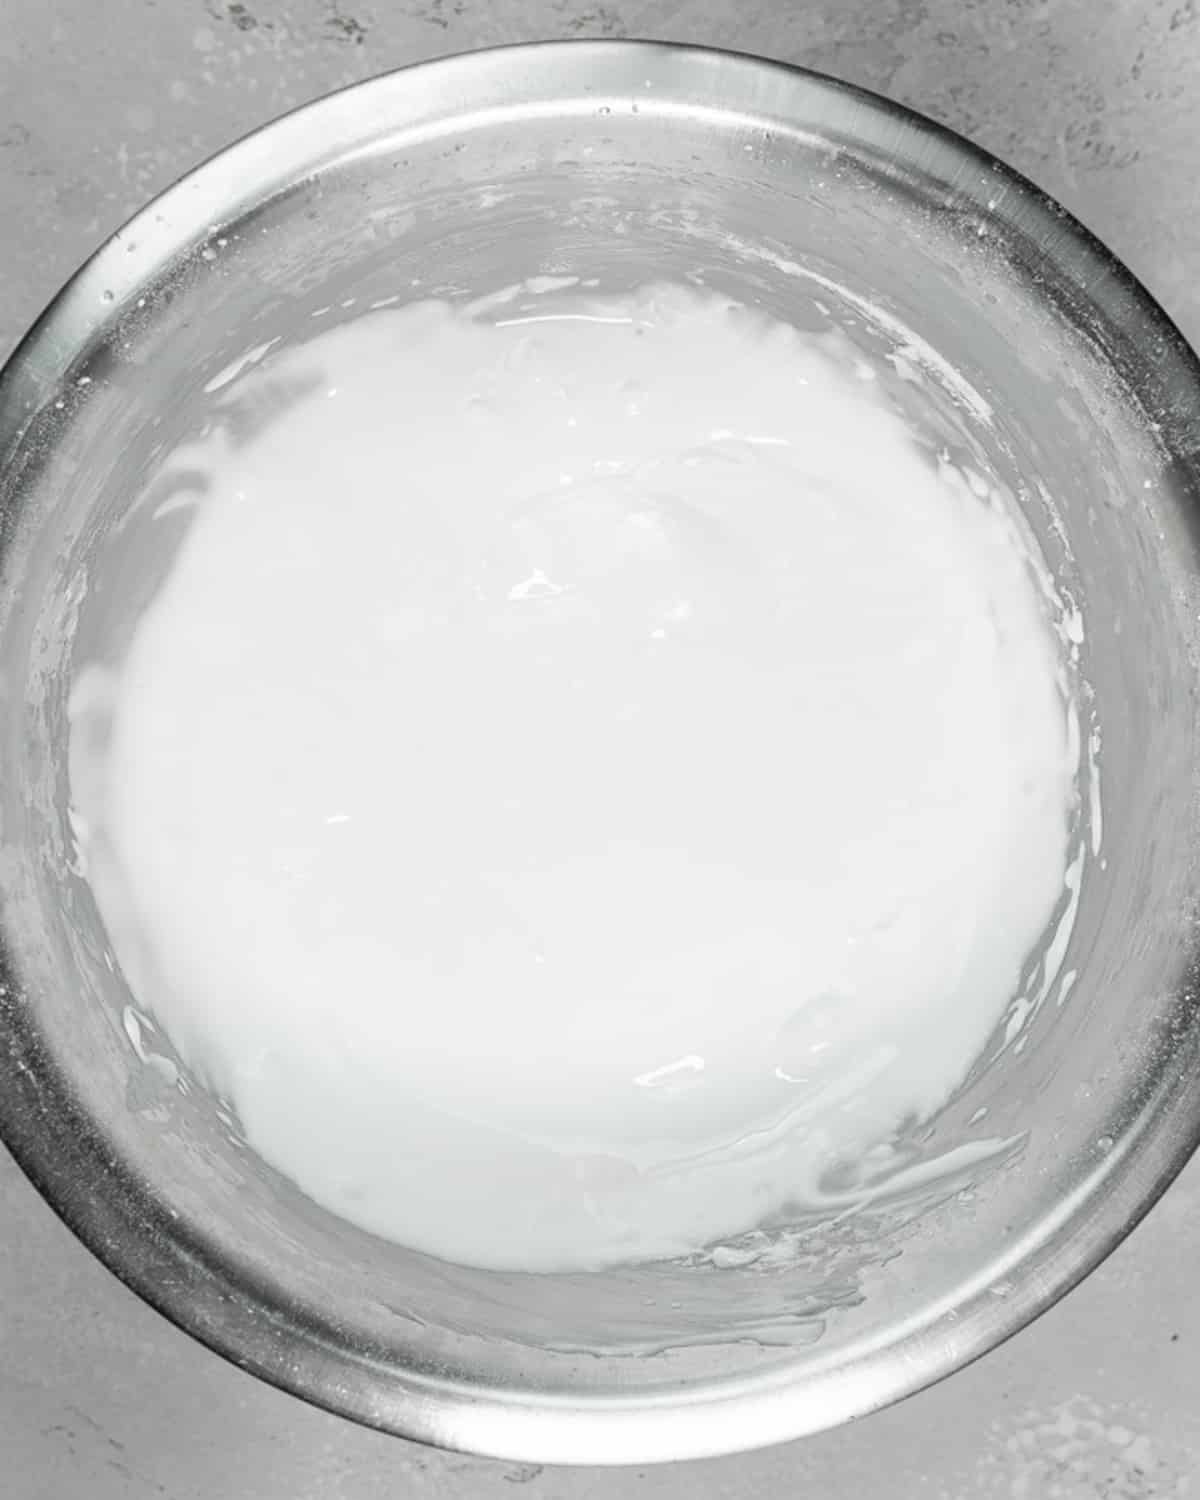
Transfer the icing to a piping bag. When ready to use, snip the top of the bag with scissors. I use a clothes peg to seal the end while I'm not using it, as the icing will harden when exposed to air.
Assembling the gingerbread house
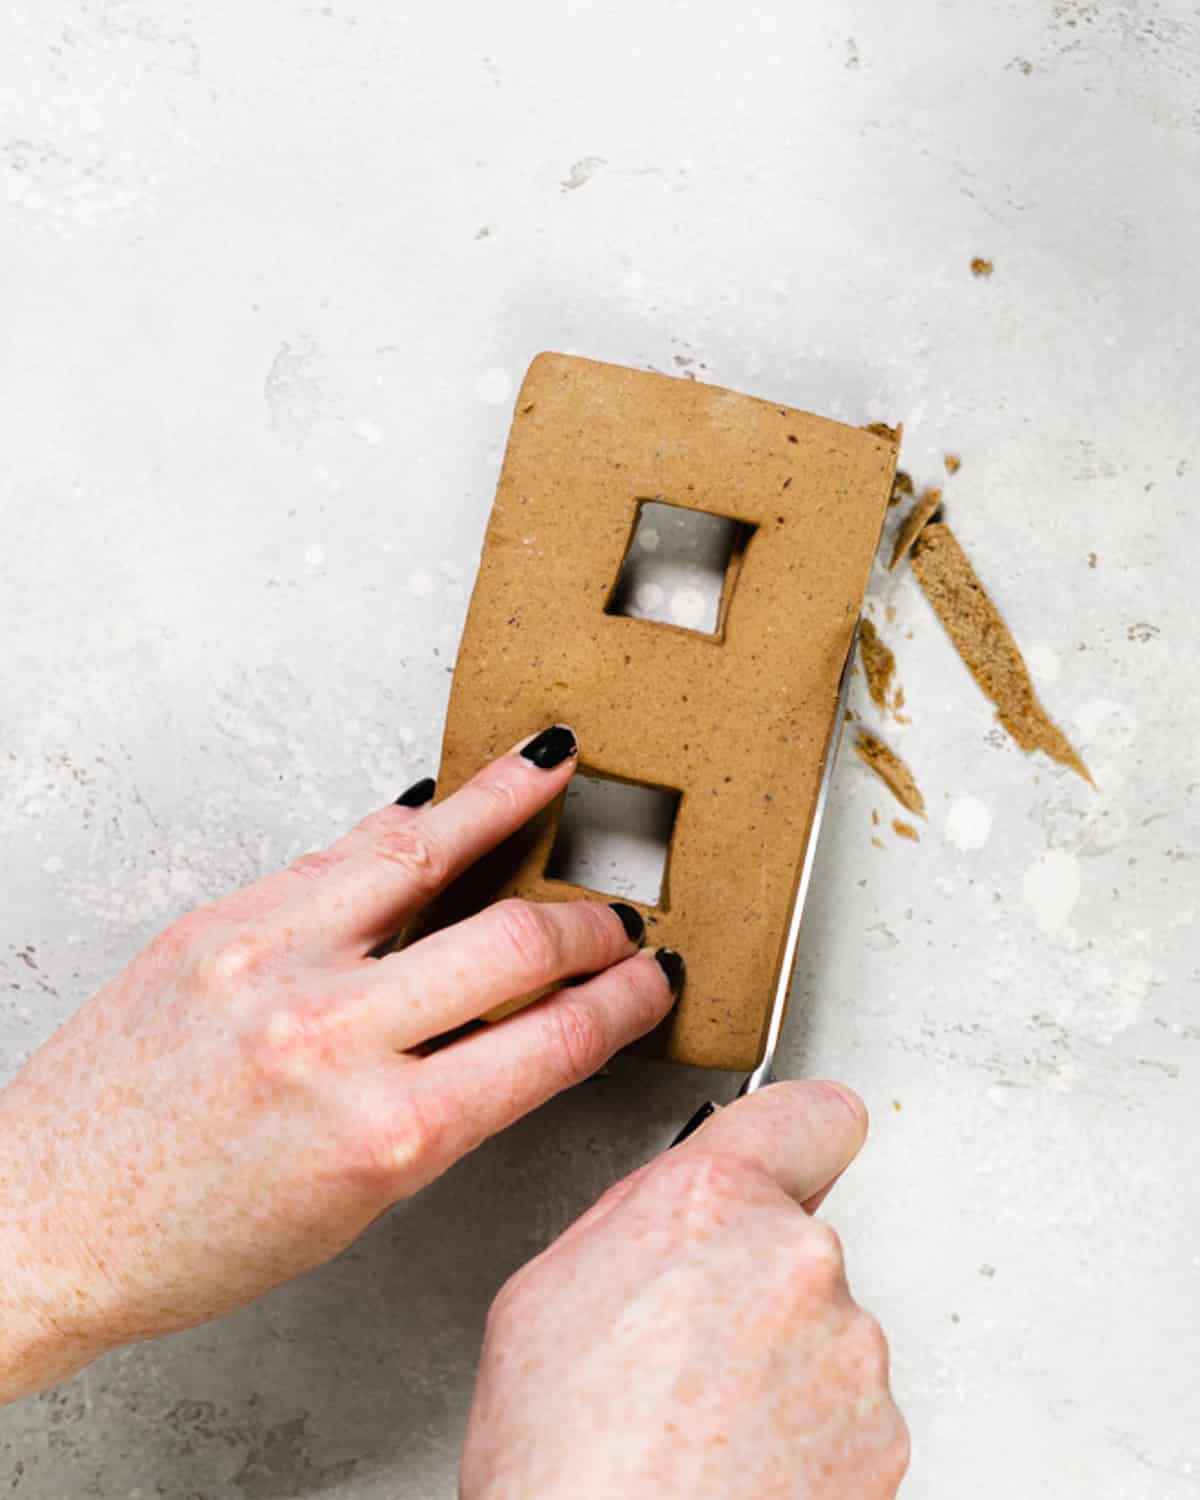
Once completely cooled, gently trim away any uneven edges of the cookie panels and ensure that all the pairs are uniform.
Get a flat piece of cardboard to use as the base for building your gingerbread house. Pipe icing on the bottom of one side panel and one front panel of the house, then pipe icing on the side ends and press them together.
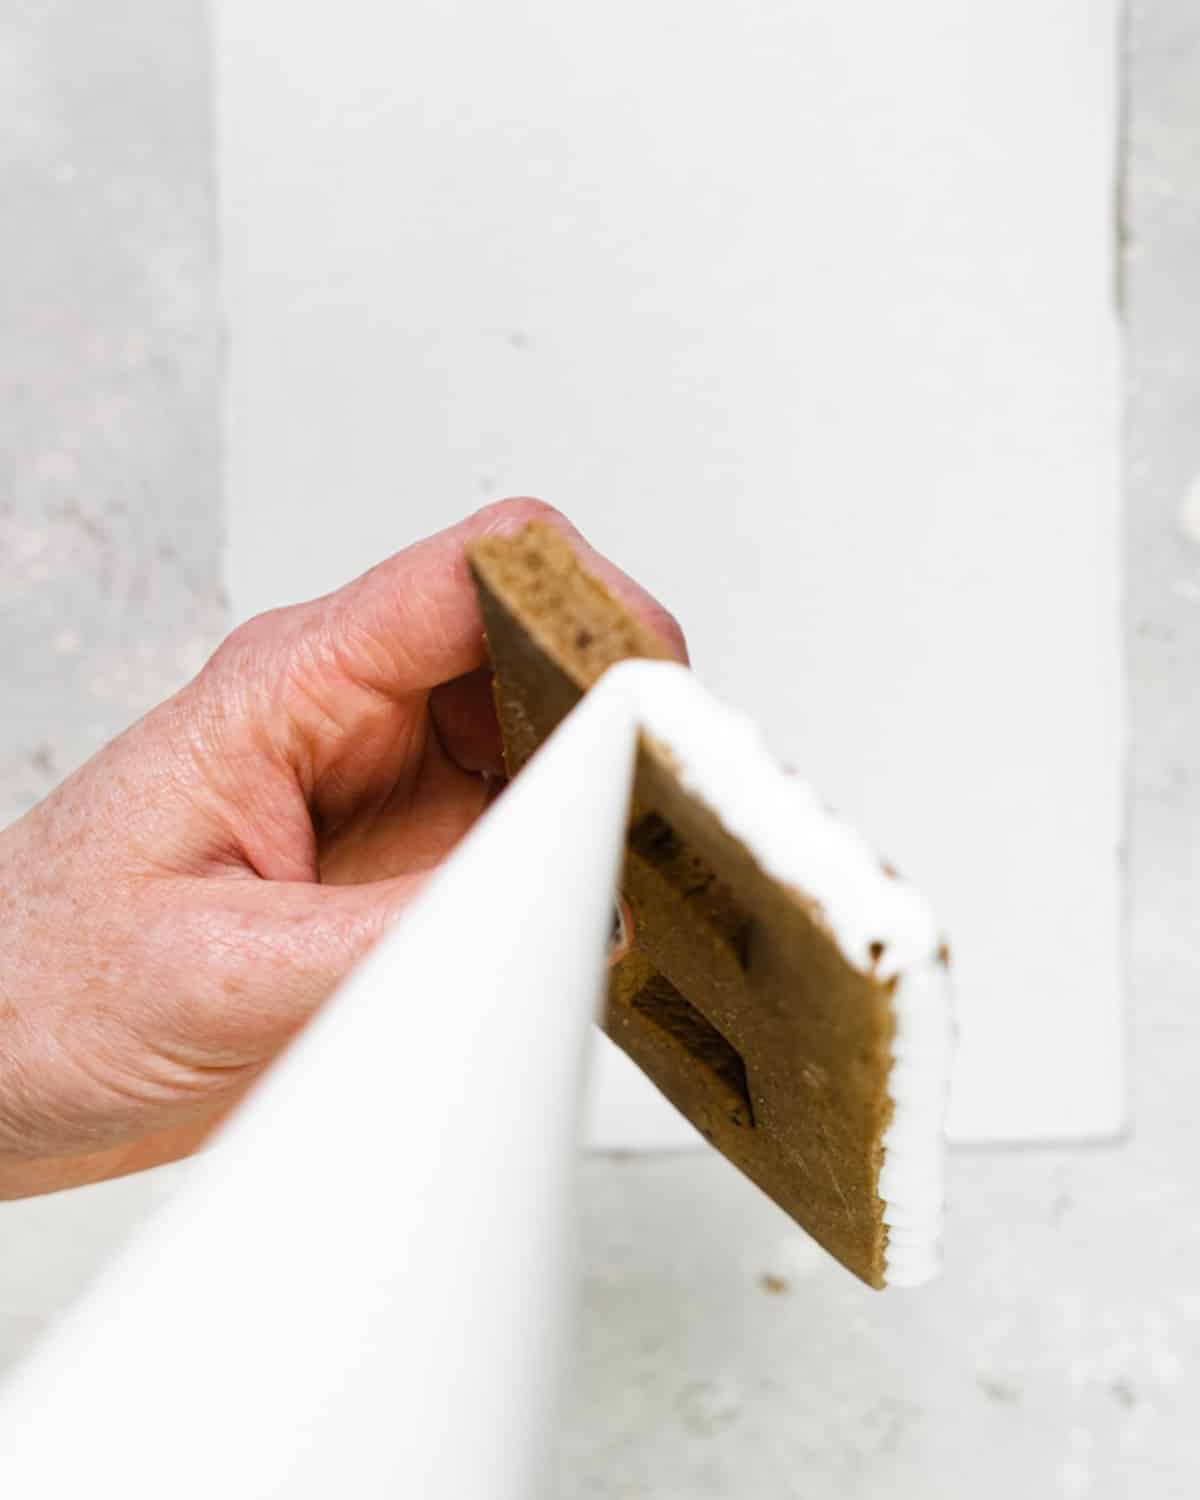
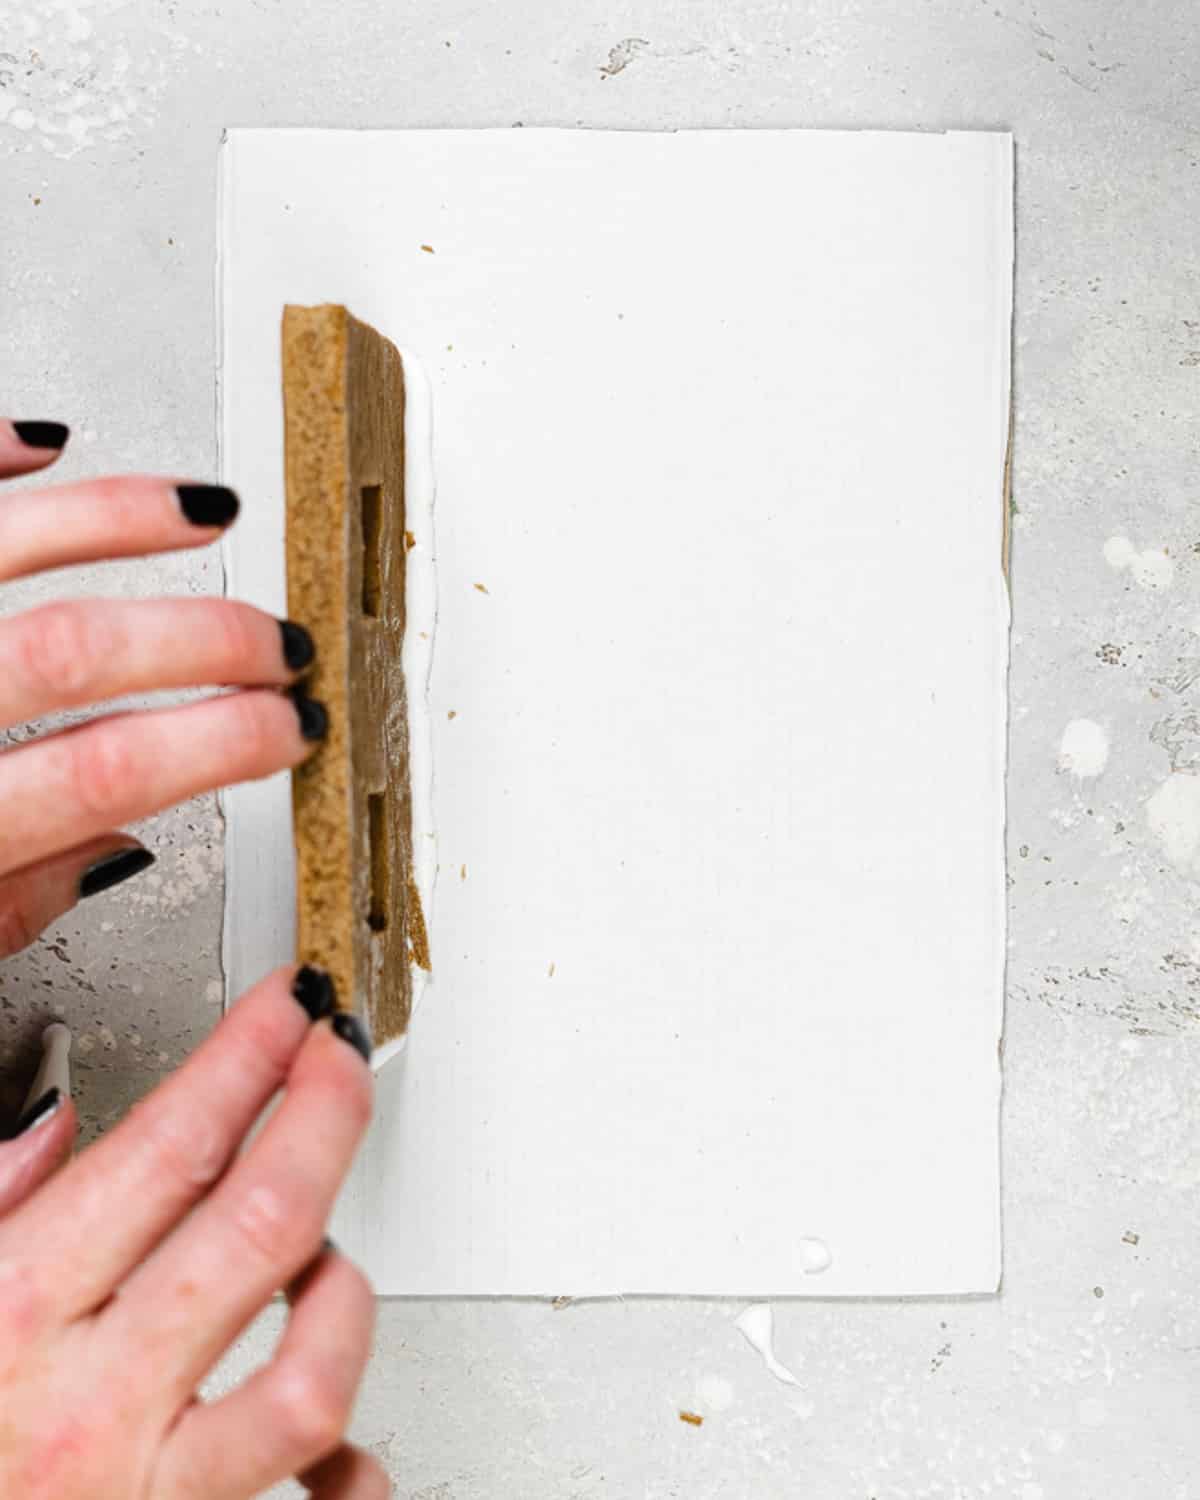
Repeat this with the remaining 2 panels of the house. If needed, use some food cans as props to support the sides while they dry. Allow it to dry for at least an hour before adding the roof!
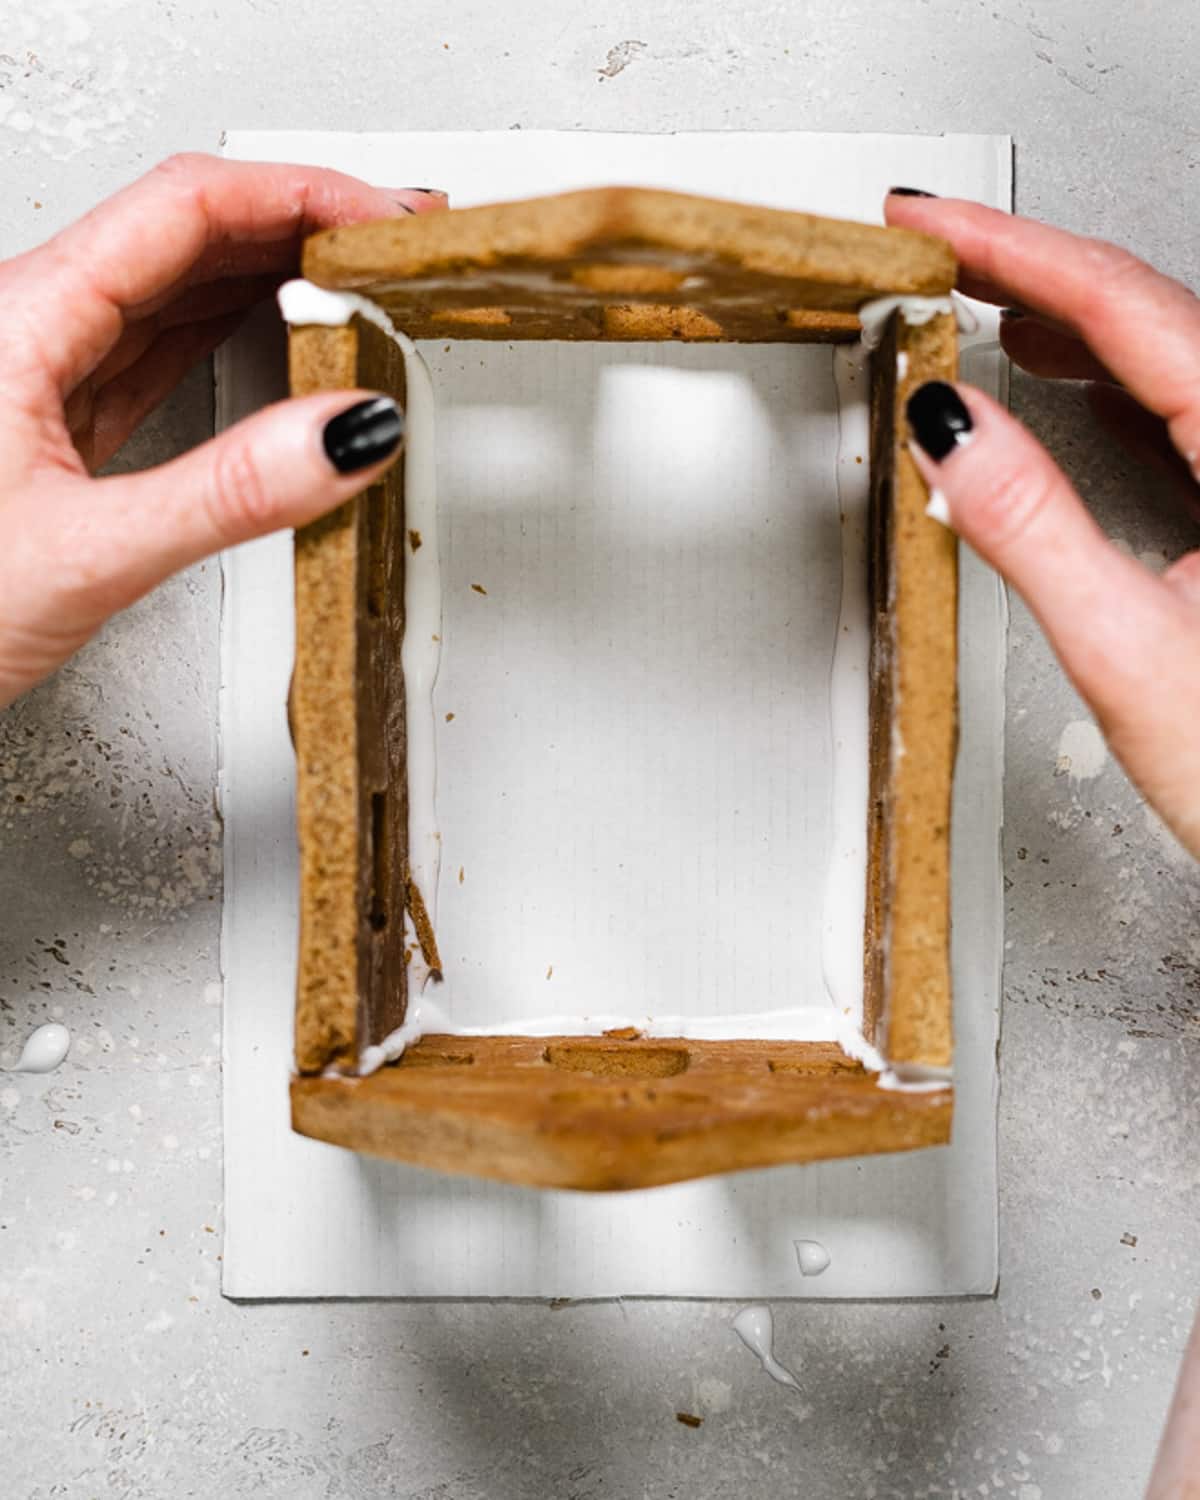
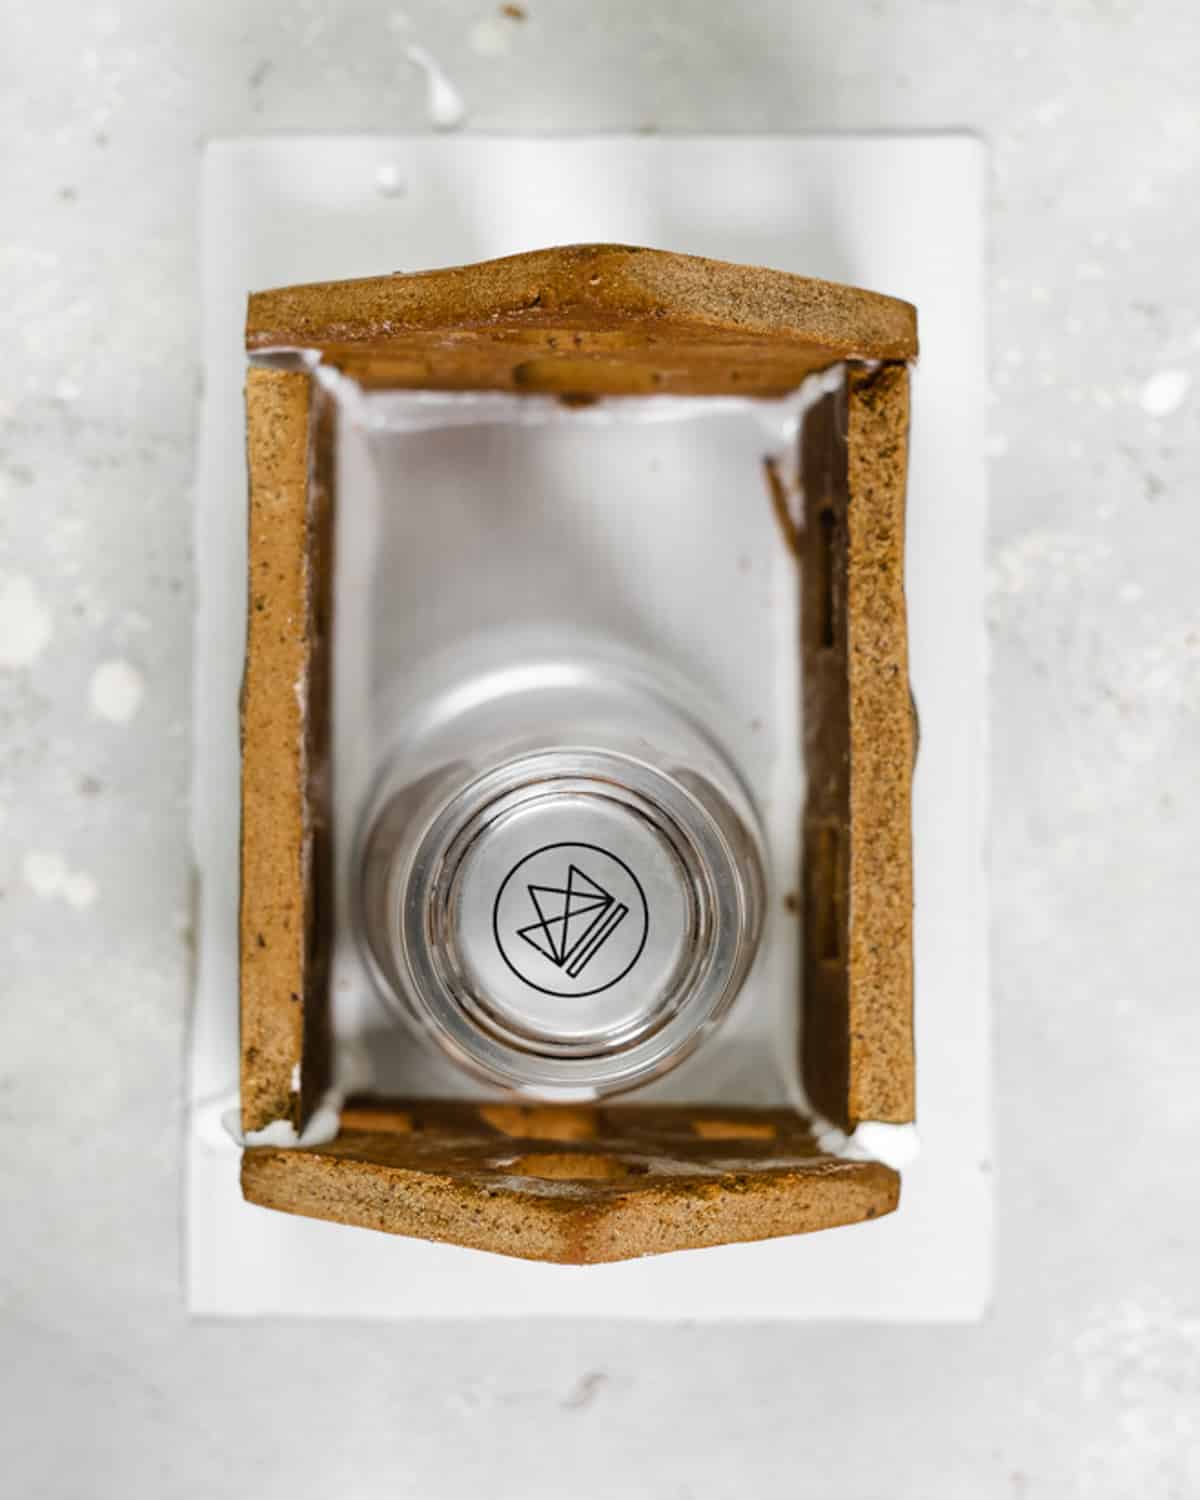
Once the outside structure of your house is complete and the icing (cement!) has dried, you can add the roof. Pipe royal icing on the top edges of all the house panels and carefully place one roof piece on top. Again, you can use a can or small glass to prop up the side of the roof while it drys.
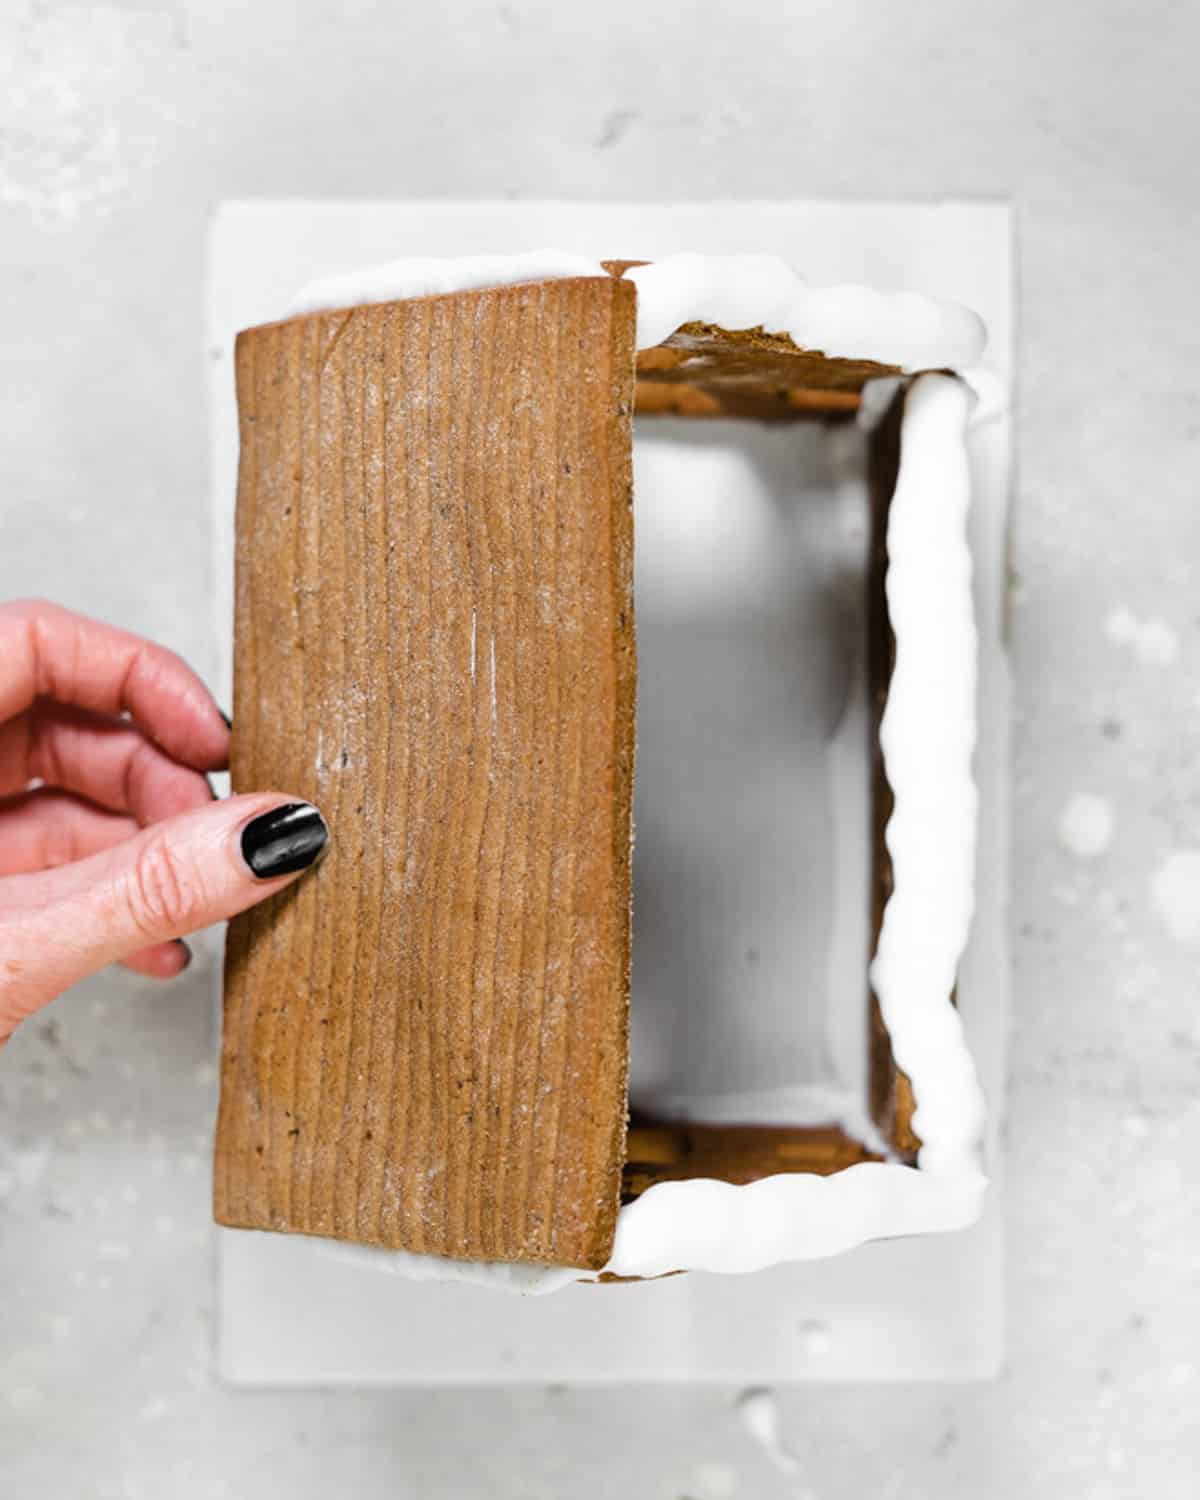
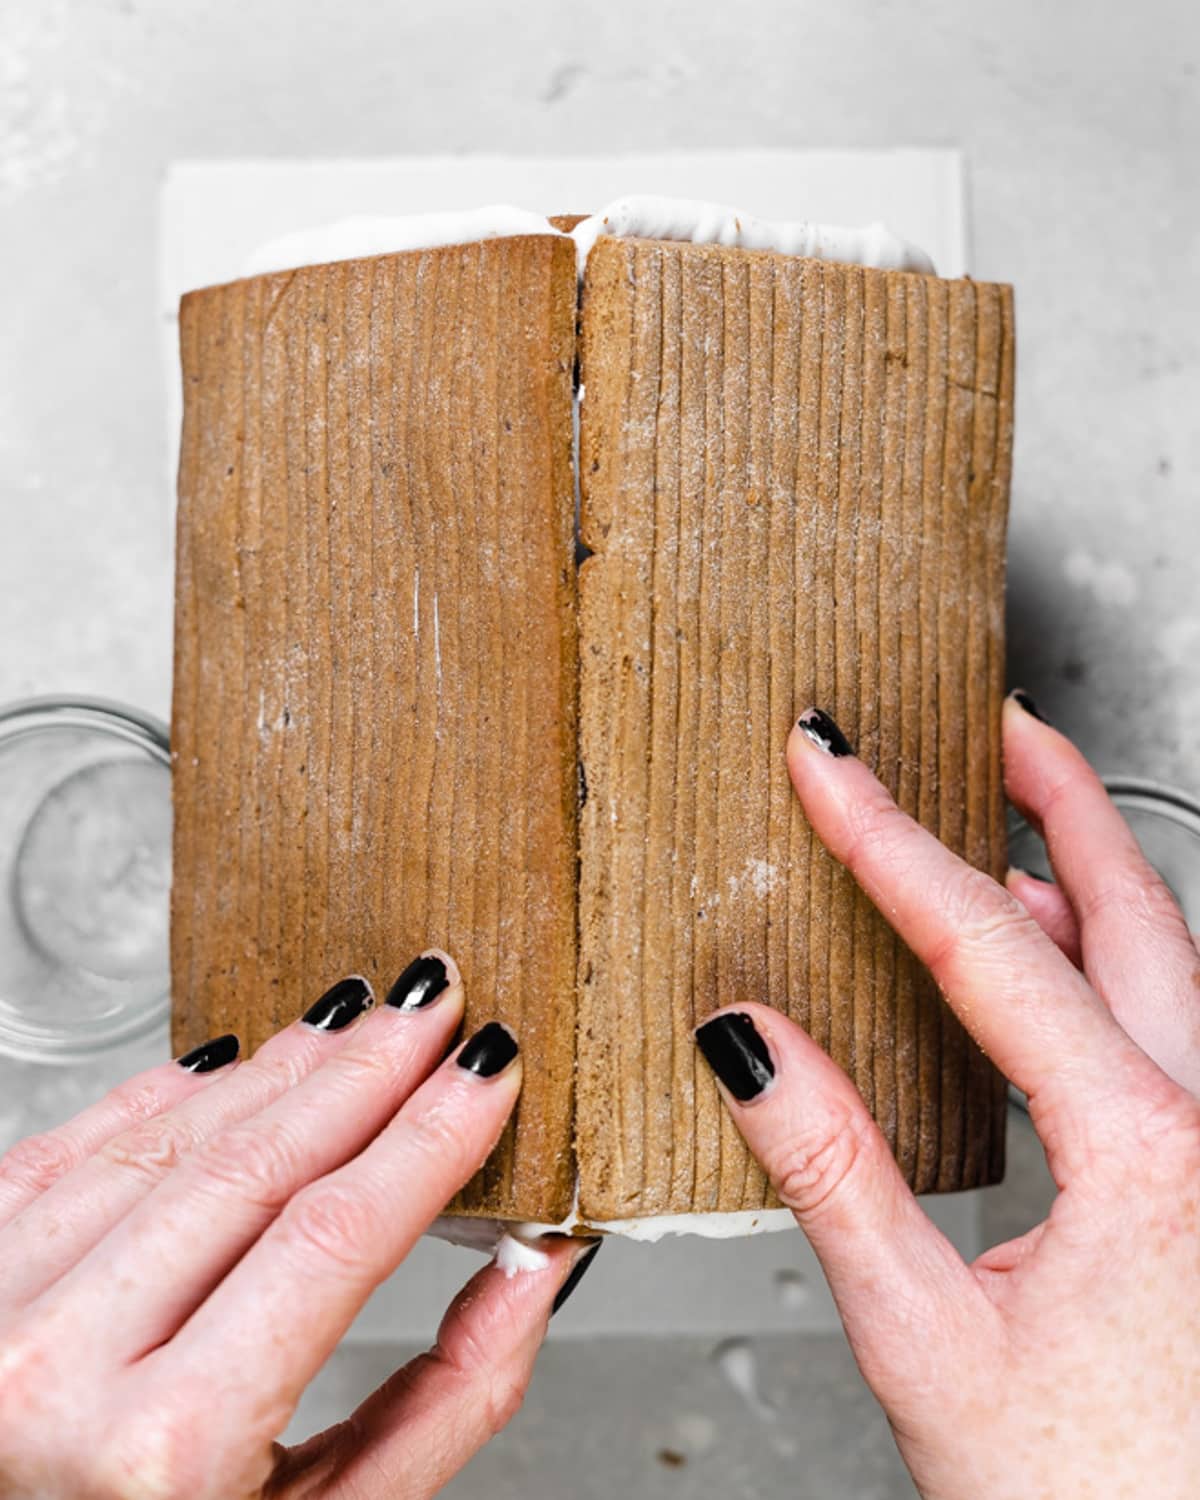
Add a thick layer of royal icing to the top of the first roof panel, then place the second roof panel onto the house. I'd recommend using some glasses to prop up the sides and support the roof panels while they dry.

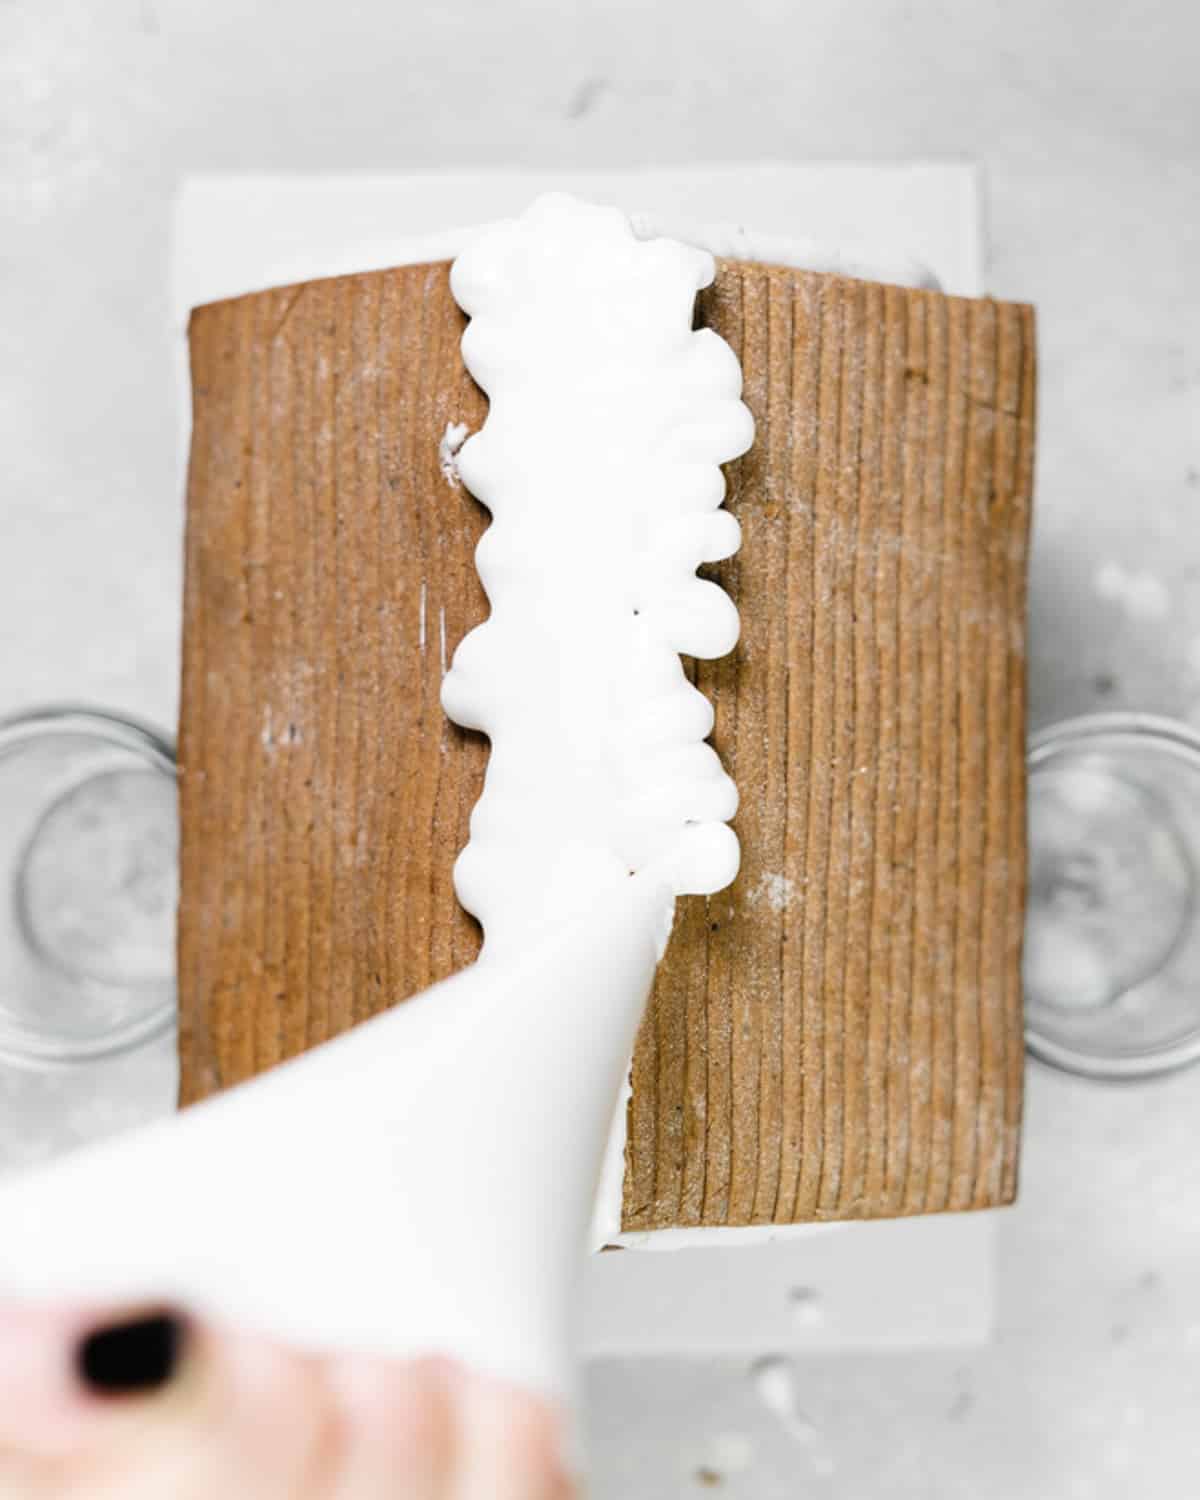
Allow your vegan gingerbread house to set for at least 2-3 hours (preferably overnight). Make sure you seal the piping bag so that the remaining royal icing doesn't dry out. The royal icing can be stored at room temperature until ready to use.
Once the house is completely dry, you can start to decorate and add any details that you'd like.
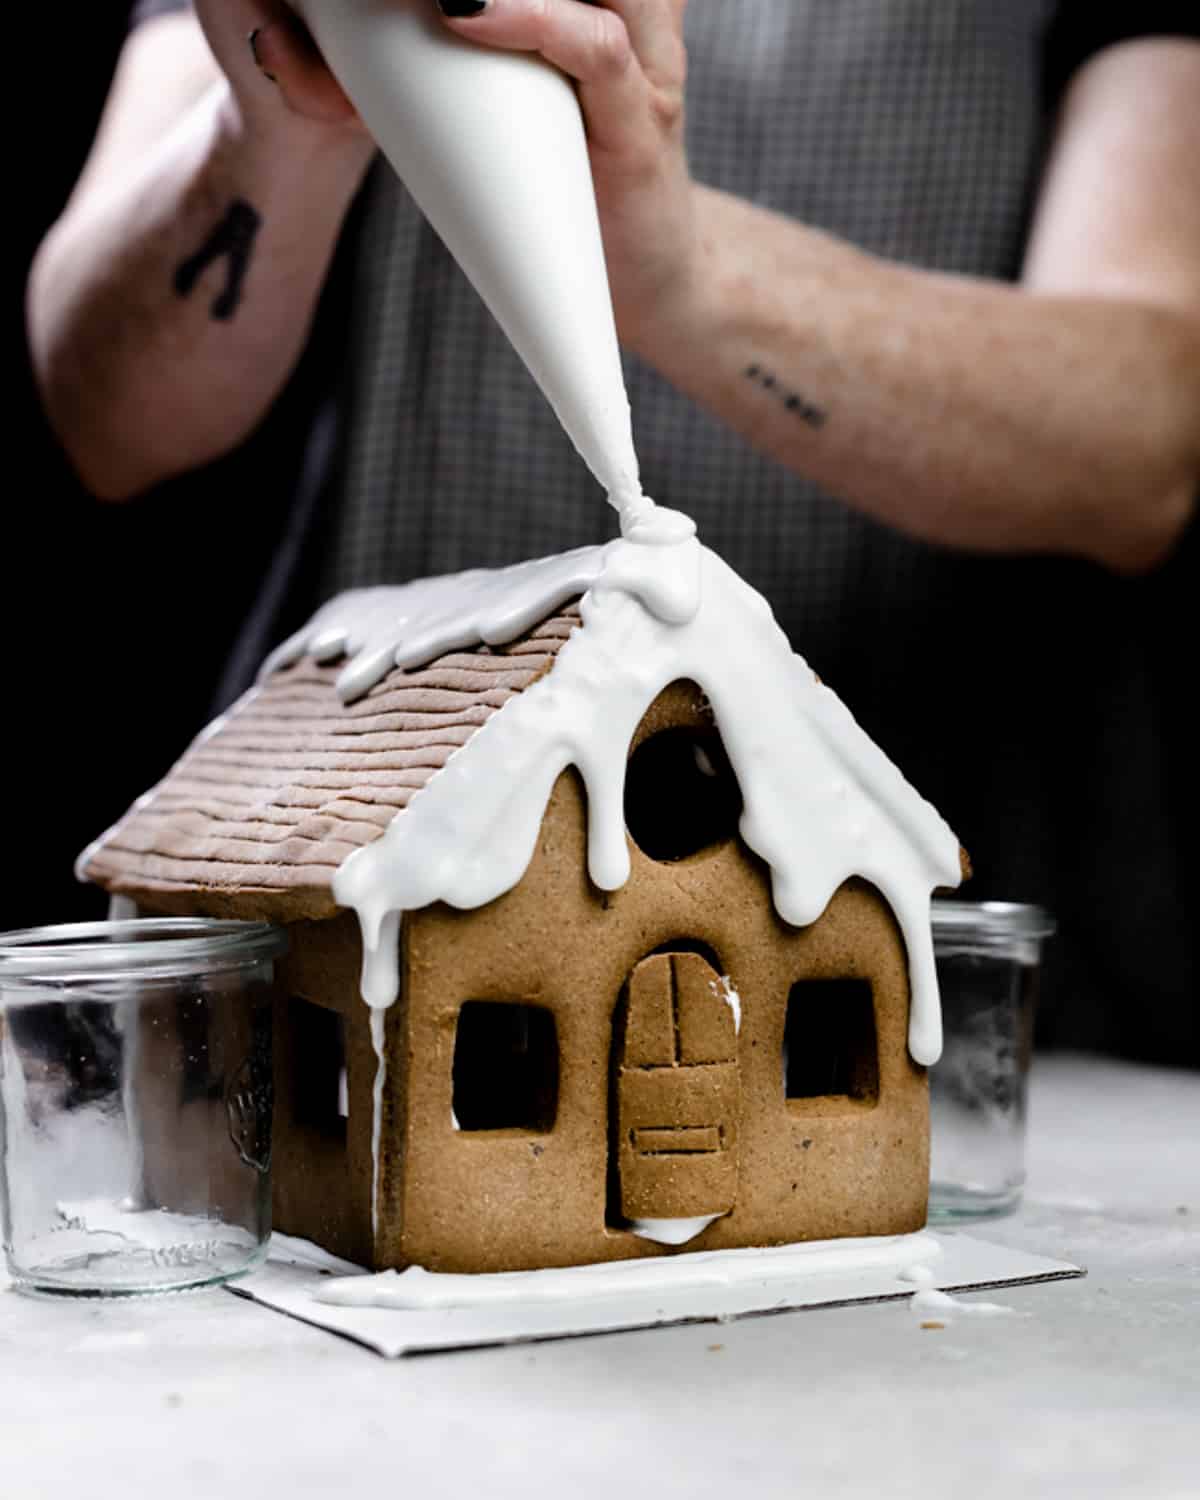
Vegan gingerbread house decorations
- Fresh rosemary: Fresh rosemary sprigs make the perfect little "evergreen trees". Simply pipe some of the vegan royal icing onto the cardboard base to secure the trees.
- Wooden lolly sticks: Wooden lolly sticks can be cut to size to create a "picket fence" and held together using a little vegan royal icing.
- Icing sugar: Sift icing sugar on top of the roof of the house for the effect of freshly fallen snow.
- Cornflour: You can also use cornflour to dust the base and around the gingerbread house to give the effect of snow.
- Fairy lights: I added some fairy lights inside and outside of the house for a homely look.


Substitutions
- Molasses: You can use pure maple syrup in place of the molasses if preferred.
- Vegan butter: If you're not able to get vegan butter you can try using coconut oil in its place. Although I haven't tried using coconut oil in this recipe, this is commonly used in place of vegan butter in cookie recipes.
- Plain flour: You can use spelt flour or whole grain flour in place of plain flour. If you're gluten-free you can opt for all-purpose gluten-free flour in place of regular flour.
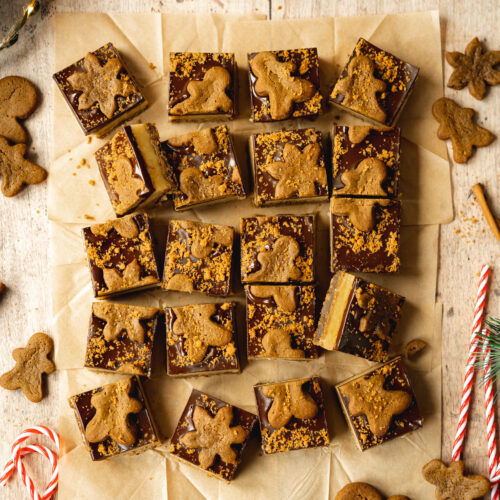
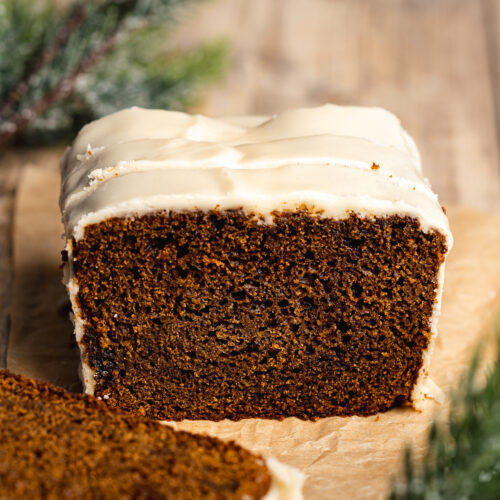
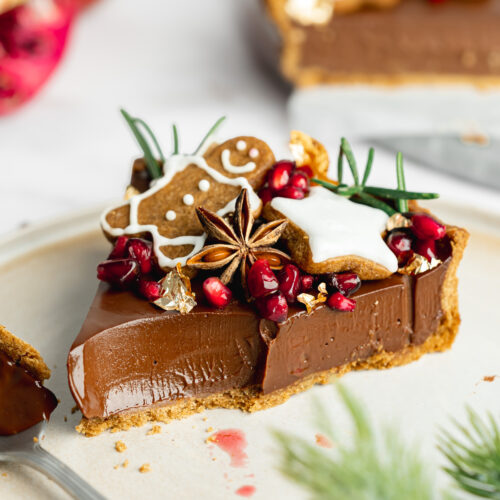
More vegan gingerbread recipes
Love this recipe? Please leave a 5-star ★★★★★ rating in the recipe card below and consider leaving a comment as well, thanks!
Stay in touch with me through social media @ Instagram, Pinterest, TikTok, and Facebook. And if you like one of my recipes, tag me!
📖 Recipe
Vegan Gingerbread House
Equipment
- Christmas cookie cutters (https://amzn.to/3mFo6Py)
Ingredients
Vegan gingerbread
- 1 tablespoon ground flaxseeds *see notes
- 350 g (2 ¾ cups + 2 tablespoons) plain flour use GF all purpose if needed
- 150 g (5.3 oz) vegan butter cut into small chunks, bring to room temperature for about an hour
- 1 tablespoon ground ginger
- 2 teaspoons ground cinnamon
- 1 teaspoon ground nutmeg
- Pinch (Pinch) salt
- 150 g (⅔ cup) soft brown sugar or coconut sugar
- 30 g (1 oz) molasses
- 30 ml plant-based milk
- 1 tablespoons orange zest optional
Eggless royal icing
- 80 g (⅓ cup) aquafaba unsalted
- 500 g (4 ¼ cups) icing sugar *use organic if based in the US
- 1 tablespoon lemon juice or orange juice
Instructions
Gingerbread cookies
- Prepare the flax egg by mixing the milled flaxseeds and 2 ½ tablespoons water and allowing them sit and soak for at least 5 minutes.
- Sieve the flour into a large bowl and add the chunks of butter. Rub the butter into the flour until the mixture resembles a "crumble" consistency. Add the ground ginger, ground cinnamon, ground nutmeg, and salt and stir to evenly combine the ingredients.
- In a separate bowl, mix the flax egg, coconut sugar, molasses, plant-based milk, and orange zest (if using) to form a paste. Add the paste to the dry ingredients and knead until a dough forms. Roll the dough into a ball and cover wrap in cling film or place in an airtight container, and place in the fridge to chill for 20 minutes.
- Preheat your oven to 175°C (350°F).
- Flour your countertop and roll out the dough to approximately ½ inch in height. If using gingerbread house cookie cutters, cut out 2 of each part (2 sidewalls, 2 end walls and cut out windows and a door. Lastly cut the 2 roof panels at ¼ inch in height, as making them lighter will ensure they aren't too heavy on top of the structure of the house.
- Note: If you don't have gingerbread house cookie cutters, alternatively you can download a gingerbread house template online and use this as a guide to cut out the parts. I have listed the gingerbread cookie cutter set that I've used in the equipment section of this recipe so that you can refer to it for size guidelines.
- For the roof panels, you can use a knife to carefully draw a roof tile design.
- Place the cookies on a baking tray lined with parchment paper or a silicone mat. Bake for 12 minutes until they start to brown, then place them on a cooling rack to cool completely for at least 30 minutes.
- Once completely cooled, gently trim away any uneven edges of the cookie panels and ensure that all the pairs are uniform.
Royal icing
- To make the royal icing, add the aquafaba to a large bowl and whip with a handheld whisk or stand mixer for 5 minutes. Add the icing sugar in quarter increments whilst continuing to whisk. Lastly, add the lemon or orange juice and whisk for 2-3 minutes until the mixture is thick.
- Transfer the icing to a piping bag. When ready to use, snip the top of the bag with a scissors. I use a clothes peg to seal the end while I'm not using it, as the icing will harden when exposed to air.
Assembly
- Get a flat piece of cardboard to use as the base for building your gingerbread house. Pipe icing on the bottom of one side panel and one front panel of the house, then pipe icing on the side ends and press them together. Repeat this with the remaining 2 panels of the house. If needed, use some food cans as props to support the sides while they dry. Allow it to dry for at least an hour before adding the roof!
- Once the outside structure of your house is complete and the icing (cement!) has dried, you can add the roof. Pipe royal icing on the top edges of all the house panels and carefully place one roof piece on top. Again, you can use a can or small glass to prop up the side of the roof while it drys.
- Add a thick layer of royal icing to the top of the first roof panel, then place the second roof panel onto the house. I'd recommend using some glasses to prop up the sides and support the roof panels while they dry.
- Allow it to set for at least 2-3 hours (preferably overnight). Make sure you seal the piping bag so that the remaining royal icing doesn't dry out. The royal icing can be stored at room temperature until ready to use.
- Once the house is completely dry, you can start to decorate and add any details that you'd like. You can use the remainder of the royal icing to create a snow effect on and around the gingerbread house.
- To decorate, you can use fresh sprigs of rosemary to resemble evergreen trees and a picket fence made from wooden lolly sticks. Dust the roof of the house with some icing sugar for the feel of freshly fallen snow.
Notes
- Flax egg: Mix 1 tbsp milled flaxseeds and 2.5 tbsp water and sit for at least 5 minutes before stirring.
- Molasses: You can use pure maple syrup in place of the molasses if preferred.
- Vegan butter: If you're not able to get vegan butter you can try using coconut oil in its place. Although I haven't tried using coconut oil in this recipe, this is commonly used in place of vegan butter in cookie recipes.
- Plain flour: You can use spelt flour or whole grain flour in place of plain flour. If you're gluten-free you can opt for all-purpose gluten-free flour in place of regular flour.
© addictedtodates.com. All content and images are protected by copyright. If you want to share this recipe, please do so using the share buttons provided. Do not screenshot or republish the recipe or content in full. Instead, include a link to this post for the recipe. Thank you!




I think the measurements are wrong for the roof - it says 17cm x 17cm but that makes a square. Could you please check the vertical measurement and confirm what it should be? I'm guessing something more like 10 but I don't want to mess it up. Thanks!
Hi Sarah,
Oh how strange, thanks for the heads up. You're spot on, its 10cm. I'll see if I can find an updated stencil. Hope you enjoy making the recipe!
Worked well. The icing made way more than we needed so next time I would halve the icing recipe.
Hi Ella,
Lovely! Thanks so much for your feedback, appreciate it!
I was about to give up on vegan gingerbread houses, but thanks to your amazing recipe, making these will become a family tradition. I was skeptical about the lack of leavening agents, but it worked out so well because I think that helped set a more solid structure. The icing sets hard, so there is no need for isomalt, which I avoid when making houses with little ones. Fantastic recipe from start to finish. Doesn't need a single tweak. Thank you so much!
The brown sugar amount has a typo — 150 g is equivalent to 2/3 cup. Can’t wait to taste this recipe (currently baking!)
Thanks Courtney, hope you enjoy the recipe!
We made this recipe at altitude and it still worked great!! The cookies are yummy and crispy, great flavor, and the icing is delicious. I did cheat and used melted sugar to glue the pieces together quickly but the icing is holding my candy on perfectly. Thank you for helping make my toddler's allergen-free Christmas magical!
Hi Lianna,
That's fantastic, and I love the melted sugar hack 🙂
Will the gingerbread dough work in silicone house molds?
Hi Kay,
That's not something I've tried unfortunately so I can't say. I would suggest trying a small piece to see if it holds a strong enough structure
Hi I don’t understand something so I need your help to understand
What do you mean when you say one side panel, front panel and side ends?
What part of the house are you referring to? I know English very well but I am not native so some words I don’t understand.
Hi Vicente,
The side panel is the panels on each side of the house, and the front one is the front-facing panel with the front door. By side ends, I mean add the icing to the outer edges to glue the panels together. If you need any more help just let me know, sorry if it’s not clear! There are step-by-step images in the post above in case that also helps
Okay thanks
Is there any possibility to do this recipe in one day and eat it on another day?
Is there somewhere I can store it for the house to still be good on the other day?
Hi Vicente,
Absolutely, you can store it at room temperature for a few days. Just make sure you cover it whether that be an airtight box or with some clingfilm so that it is not exposed to the air.
Hi when you say cut out you mean to use the cutters to make the format of something right? Like to use a cutter to make the format of a window.
Hi Vicente,
Yes indeed, cut out using cookie cutters
I expected the aquafaba would make the icing like royal icing (with egg) i.e. super strong. But it didn't seem to make any difference to just using water (except for the fluffier texture) so it was difficult to get a strong structure.
The gingerbread itself however - delicious!!
Hi Claire,
Thank you so much for your feedback! I'm glad you enjoyed the gingerbread. I do find that aquafaba royal icing can take a little longer to dry out, but once it does it should become strong enough to hold it together. Sometimes it helps to add a little more sugar to strengthen the paste.
Hi, I was wondering why the recipe only made half the amount of sides than what it was supposed to.
Hi Poisy,
What size cutters did you use?
Hi, I think they were the ones you gave us with measurements.
A couple things in case it might help anyone out:
I made this with spelt flour because I have a gluten intolerant relative for whom, spelt is a lot more manageable. The dough turned out quite wet so I did add a fair bit more flour to it. I can confirm however, it still tastes absolutely delicious!
I also doubled the recipe, halved the size of the house templates and made six mini houses for a family decorating competition. Then there was just enough dough left over for a tasting cookie!
Thanks so much for the recipe and happy baking everyone!
Hi Jessica,
Thanks so much for sharing your feedback! Your decorating competition sounds like so much fun 🙂
Should the butter be softened or straight out of the fridge?
Hi Lucy,
This works best if the vegan butter is slightly softened so best to take it out of the fridge an hour or so before. I'll add a note to the recipe 🙂
Thank you for the answer!
I doubled the recipe and substituted molasses with maple syrup and it still worked great. The dough was easy to work with, and the cookies I made with the leftover dough were soft and tasty. I definitely recommend the recipe.
That's fantasic, thank you so much for your amazing feedback Lucy!
I feel silly, but where is the baking temperature?
Hi Jess,
No not at all! That's my error, it's been updated in the recipe now. Thanks so much for calling it out 🙂
Hey Christina, just found your blog today and love your content! Sharing via Tailwind Tribes 🙂 Keep it up!
Hi Alena,
Thank you so much you are so kind!
I followed your wonderful recipe and made a gingerbread house for my nieces. It worked out perfectly! I was concerned it was going to be difficult, but the recipe was super easy to follow and the taste of the gingerbread cookies turned out to be absolutely delightful! The royal icing was easy to work with as well, such a great idea with the aquafaba! Thank you for this recipe, we all enjoyed it so much!
Hi Annika,
Thank you so much for the amazing feedback! I'm so happy to hear that you loved the recipe and enjoyed making it for your nieces!