With customizable soft pastel colors, this vegan royal icing is perfect for decorating vegan sugar cookies, gingerbread cookies, or to glue and decorate a gingerbread house.
I personally try to avoid buying artificial colorings whenever possible, and wanted a way to create beautifully decorated cookies without all of those chemicals!
But you can totally use regular vegan food coloring with this base royal icing recipe if you want to.
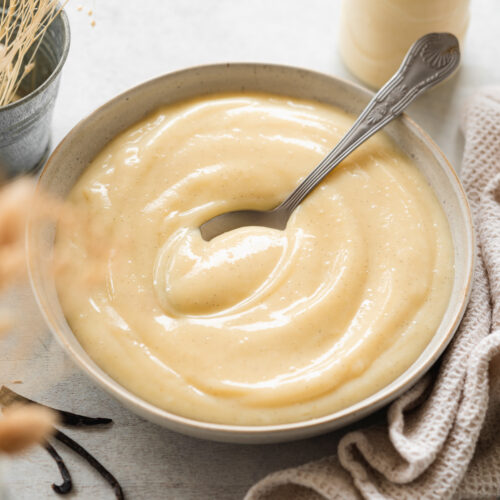
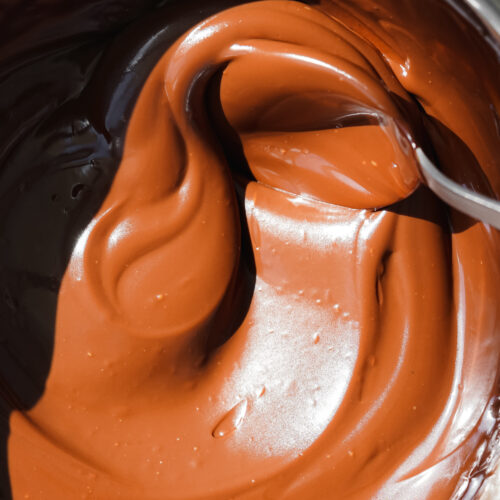
Also check out my easy vegan buttercream, chocolate frosting, and cream cheese frosting which can all be used to decorate vegan cookies!
🧾 Ingredients Needed
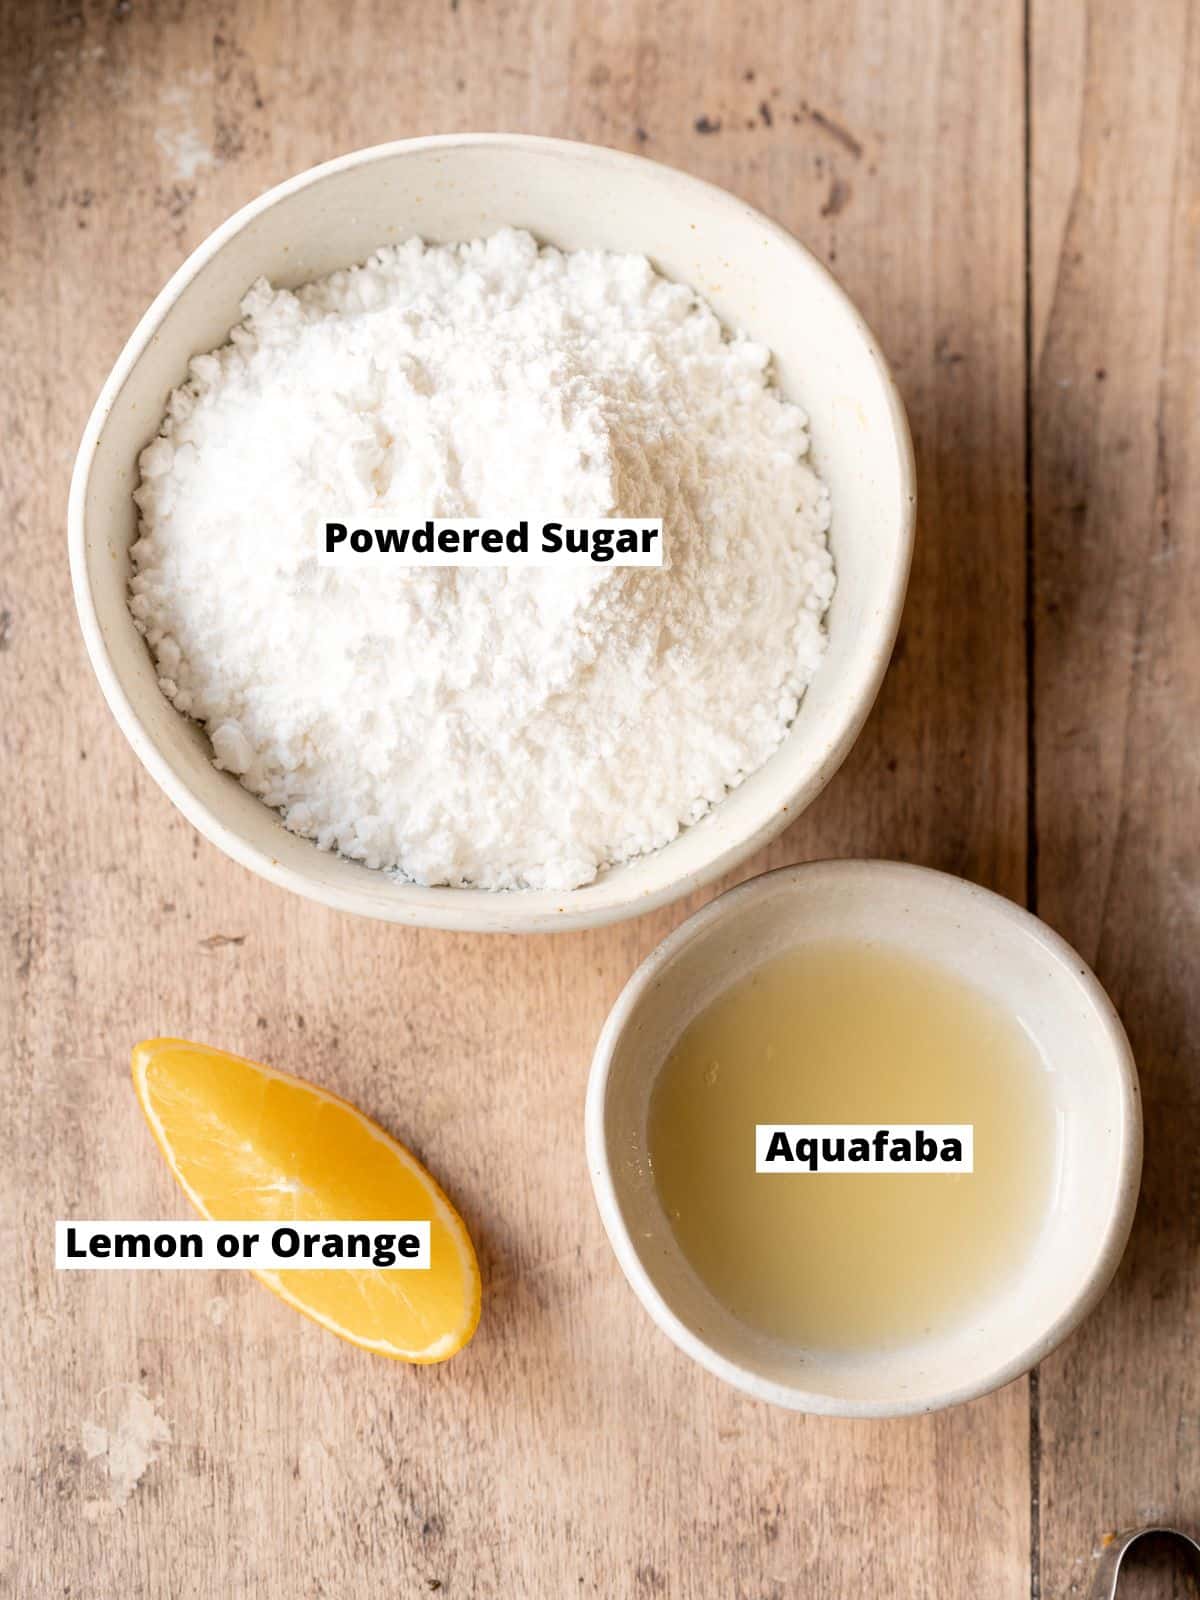
Here are the main ingredients you need to make this eggless royal icing recipe from scratch:
Ingredient Notes
- Aquafaba. This is the viscous liquid from a jar or can of chickpeas (aka. chickpea brine). It's used in place of egg whites or meringue powder which are commonly used in standard royal icing. This is what hardens the icing to a dry consistency.
- Powdered sugar. Also called confectioner's sugar or icing sugar as we know it in Ireland and the UK. If you're based in the US, use organic sugar to ensure it is vegan.
- Lemon juice or orange juice. Helps prevent sugar crystallization and also adds a fresh flavor.

Get Your Free E-Book!
Sign up to the Addicted to Dates newsletter for your FREE Guide To Vegan Cheesecakes!
🥣 How To Make Vegan Royal Icing
Find the complete list of ingredients, quantities, and instructions in the recipe card at the end of this post.
- Whisk the aquafaba in a mixing bowl or stand mixer with a whisk attachment until foamy.
- Sift in the powdered sugar in 4 increments, whisking between each one. Then whisk in the lemon juice.
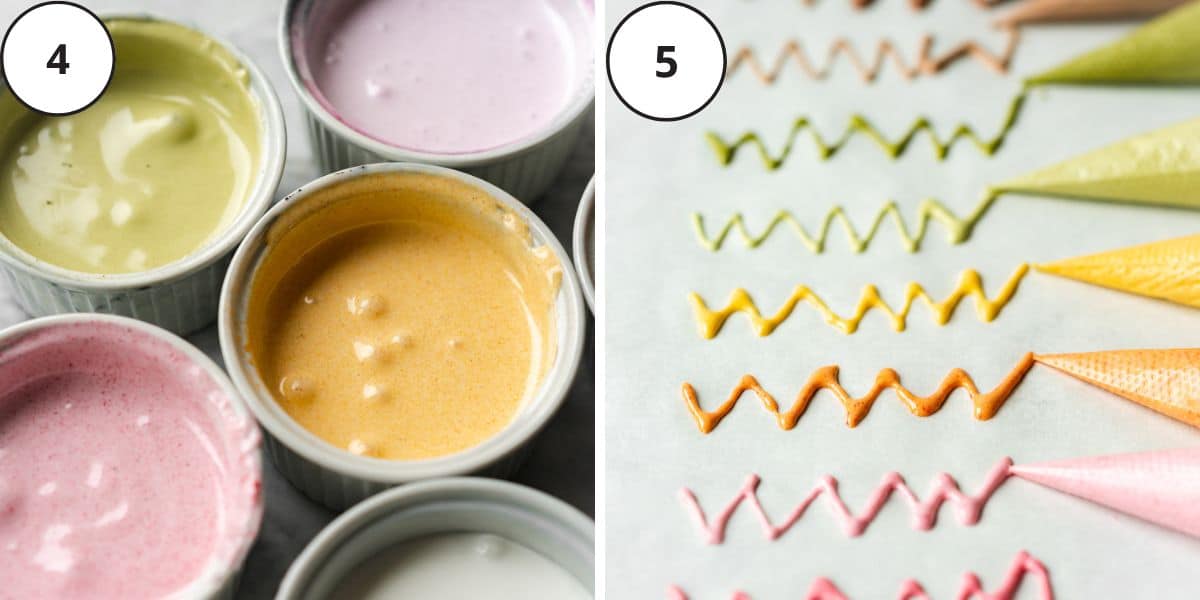
- To outline cookies, you need quite a thick consistency that holds its shape as shown below, similar to an Italian meringue consistency. To flood cookies with icing, you may want to thin it out with a little more liquid.

- Separate the icing into bowls and add any colors or flavors you need.
- Snip the tip off of the icing bag so there is a small opening when you're ready to use it. The size of the opening will depend on how fine the lines you want to draw are.
🌈 Natural Colors
You can customize this vegan royal icing recipe with natural pastel colors, some are a little more unusual and some you may already have in your pantry!
The catch with natural colors is not to expect bold vibrant colors like with gel food colors. Unless you're also willing to vastly alter the flavor of your icing, that is!
Most plant-based colors come from vegetable and fruit powders, fruit concentrates, superfoods, and spices so it's best to add a little and taste-test as you go.

How to Color Icing
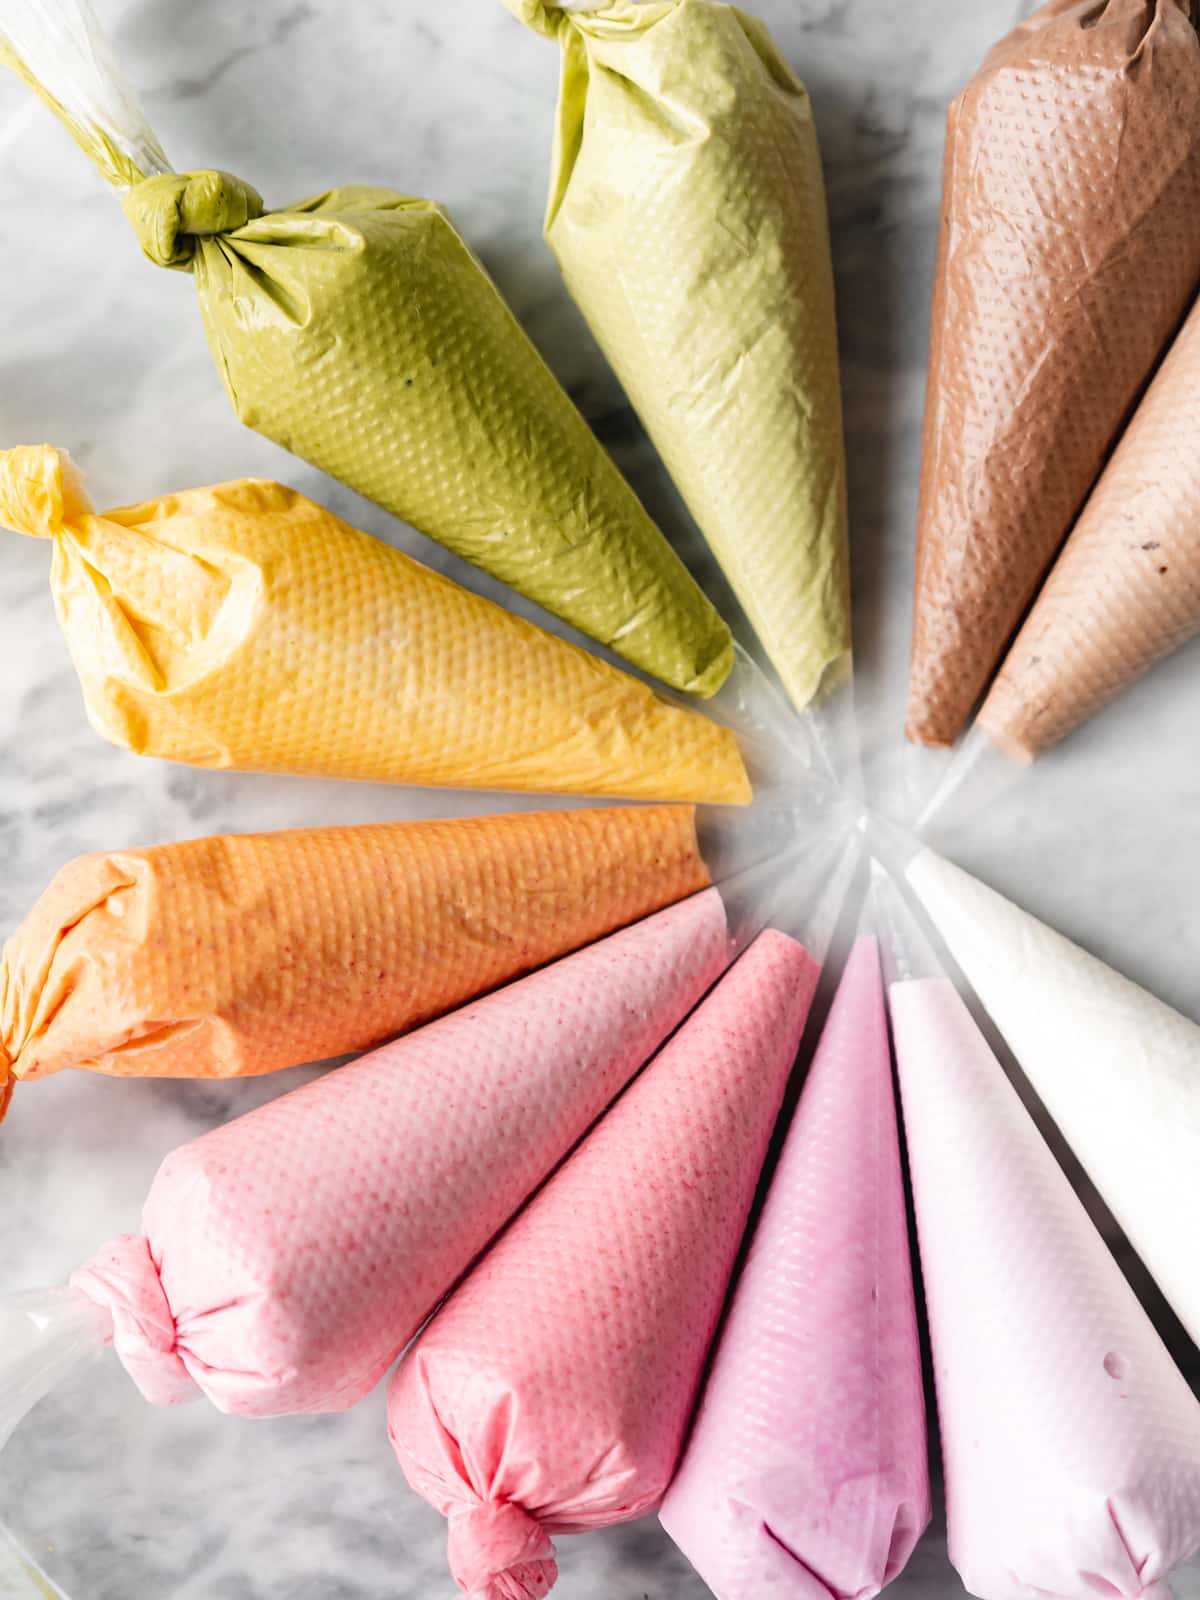
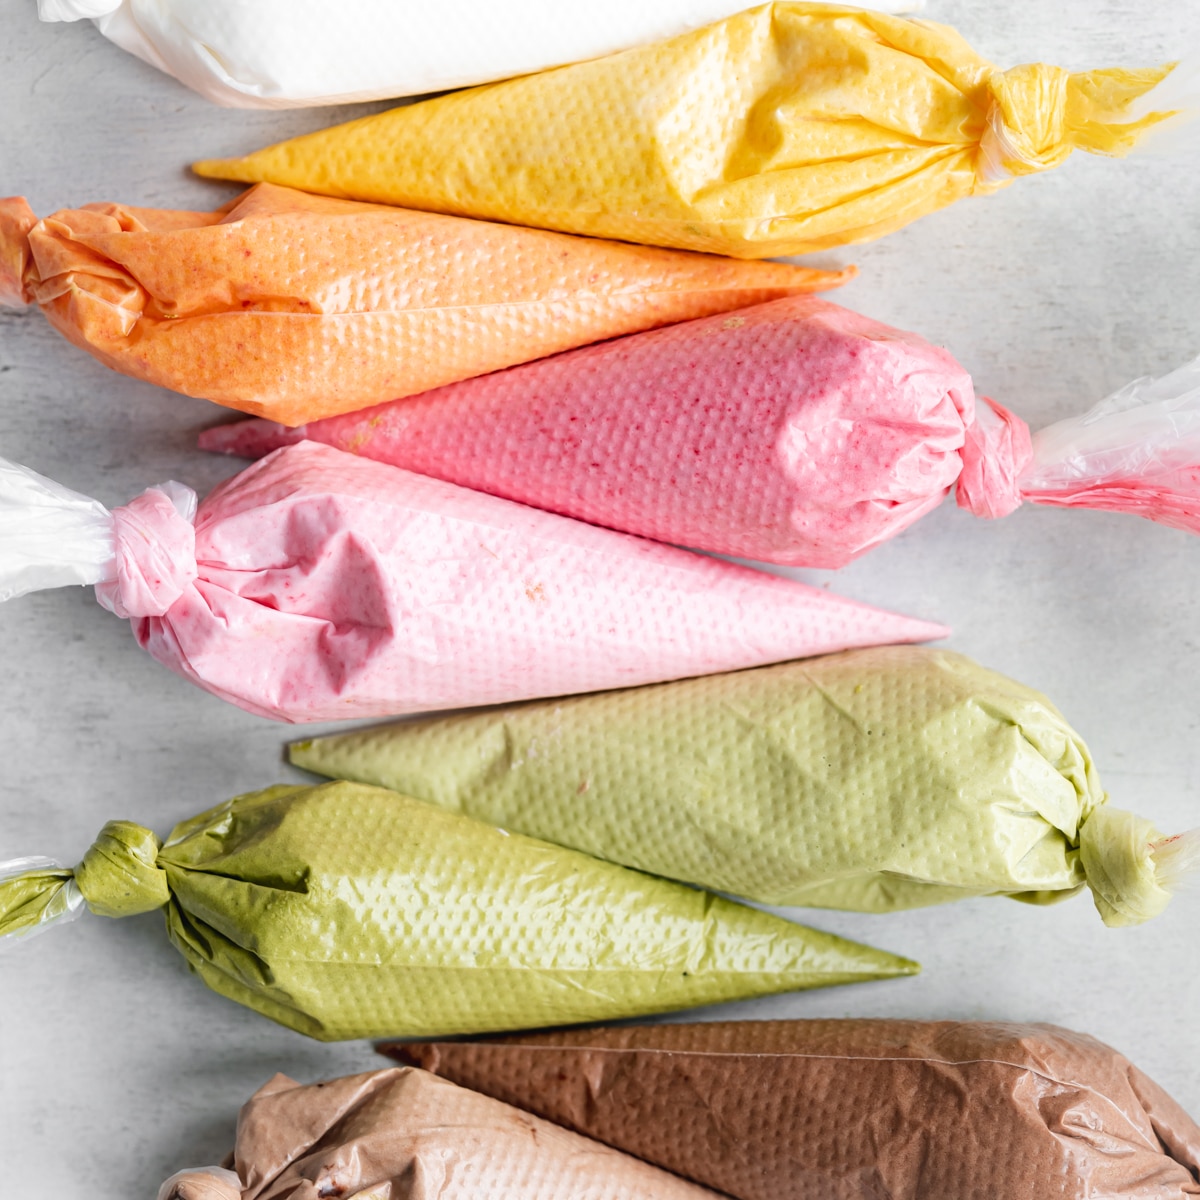
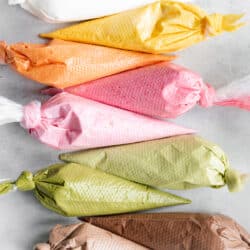
Here's how I achieved all the natural colors shown in the above image (from left to right). Mix the following ingredients for every 50g (¼ cup) of icing:
- White: This is the plain royal icing straight from the mixing bowl.
- Lilac: 1 teaspoon of blueberry or blackberry juice concentrate.
- Pastel purple: 2 teaspoons blueberry/blackberry juice concentrate.
- Pink: 2 teaspoons raspberry powder.
- Baby pink: 1 teaspoon of raspberry powder for every 50g.
- Orange: 1 teaspoon turmeric, 2 teaspoons raspberry powder for every 50g.
- Yellow: ½ teaspoon of turmeric powder (you can also use saffron).
- Pastel green: ½ teaspoon matcha powder.
- Deep green: 1 teaspoon matcha. You can go for an even darker forest green by adding more matcha, but I find it best to go light-handed on matcha as the flavor is very strong! Wheatgrass powder or spirulina also works.
- Light brown: 1 teaspoon of raw cacao or cocoa powder.
- Dark brown: 2 teaspoons cacao/cocoa powder.
Additional Colors + Flavors
You could also try activated charcoal to make black royal icing, blue spirulina for blue icing, or beetroot powder for red icing.
Additionally, you can also include a teaspoon of vanilla or almond extract or other flavorings like peppermint extract.
I would stick to neutral flavors like almond or vanilla extract if you plan on adding natural colors that are also strongly flavored.
🎨 Decorating Cookies
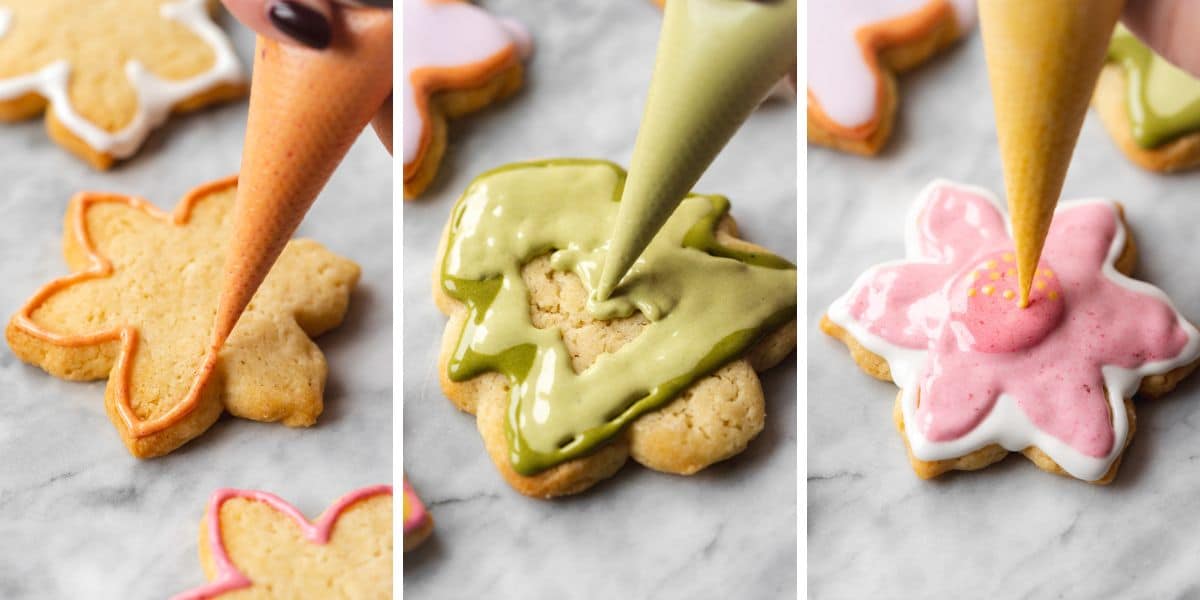
First, draw an outline of icing on the cookie, and when using a different color for the center, allow it to dry for an hour. I didn't have enough patience in the photos below and as you can see the lines are a little muddled!
You can then flood the cookies by continuing to pipe the icing inside the outlines.
Wait a couple of hours until the icing is dry to the touch before serving.
📝 Recipe Tips
Keep the piping bag sealed and in the fridge until you are ready to use it. Homemade royal icing will stay in its liquid form as long as it isn't exposed to air. Once left exposed to air, it will dry and become hard.
Sift powders like raspberry powder, matcha, or cocoa before adding them to your icing to remove any lumps or seeds.
You can make this vegan icing as thick or loose in consistency as you need, just add more sugar to thicken it or more chickpea water for a runnier viscosity.
💬 FAQs
You can refrigerate any unused icing in a sealed airtight container for up to 2 weeks.
Make sure the icing isn't exposed to air, as this will cause it to do its job and harden 🙂
As this royal icing is vegan, it's made without eggs and is therefore completely safe to eat. Unlike many standard royal icing recipes which use raw egg whites.
Once you have outlined your cookies, you can "flood" them with icing for a nice smooth finish.
This icing can be a little more watered down than the thicker icing needed to create clean outlines. So is ideal for icing colored with fruit juice, but bear in mind you can always thicken your frosting back up with more icing sugar if needed!
🥛 More Vegan Basics

Love this recipe? Please leave a 5-star ★★★★★ rating in the recipe card below and consider leaving a comment as well, thanks!
Stay in touch with me through social media @ Instagram, Pinterest, TikTok, and Facebook. And subscribe via email to get all our new recipes!
📖 Recipe
Vegan Royal Icing
Ingredients
- 60 g (¼ cup) aquafaba *see notes
- 400 g (3 ⅓ cups) powdered sugar (confectioner's/icing sugar) use organic if US based
- 1 tablespoon lemon juice or orange juice
- optional natural colors and flavors *see notes
Instructions
- Note: The recipe as is will make thick royal icing suitable for outlining cookies. You can then thin it with liquid colors or additional aquafaba for a runnier consistency to coat entire cookies. Make it as thick or loose in consistency as you need, just add more sugar to thicken it or more liquid (chickpea water or liquid colors as listed in the notes) for a runnier viscosity.When using powdered colors, you may want to compensate with additional liquid. Note that runnier icing will take substantially longer to dry.
- Whisk the aquafaba in a mixing bowl or stand mixer with a whisk attachment until foamy for about 2 minutes.
- Sift in the powdered sugar in 4 increments, whisking between each one until you have a glossy mixture. Whisk in the lemon juice.
- To outline cookies: You need quite a thick consistency that holds its shape and doesn't fall into itself.To flood cookies: By covering the entire surface with icing, you may want to thin it out with a little more liquid.
- Adding colors and flavors: Separate the icing into bowls and add any colors or flavors you need. The amounts needed to color the icing are shown in the recipe notes below.
- Decorating cookies: Snip the tip off of the icing bag so there is a small opening when you're ready to use it. The size of the opening will depend on how fine the lines you want to draw are. outline consistency or flood consistency.Draw an outline of icing on the cookie, and when using a different color for the center, allow it to dry for an hour. You can then flood the cookies by continuing to pipe the icing inside the outlines.Wait a couple of hours until the icing is dry to the touch before serving.
- Storage: Keep the piping bag sealed and in the fridge until you are ready to use it, for up to 2 weeks. It will stay in its liquid form as long as it isn't exposed to air. Once left exposed to air, it will dry and become hard.
Notes
- Aquafaba: The liquid part from tinned chickpeas.
- Sift powders like raspberry powder, matcha, or cocoa before adding them to your icing to remove any lumps or seeds.
- Lilac: 1 tsp blueberry/blackberry juice concentrate + 50g (¼ cup) icing.
- Pastel purple: 2 tsp blueberry/blackberry juice concentrate + 50g icing.
- Pink: 2 tsp raspberry powder + 50g icing.
- Baby pink: 1 tsp of raspberry powder + 50g icing.
- Orange: 1 tsp turmeric, 2 tsp raspberry powder + 50g icing.
- Yellow: ½ tsp of turmeric + 50g icing. (you can also use saffron).
- Pastel green: ½ tsp matcha + 50g icing.
- Deep green: 1 tsp matcha + 50g icing.
- Light brown: 1 tsp of raw cacao/cocoa powder + 50g icing.
- Dark brown: 2 tsp cacao/cocoa powder + 50g icing.
© addictedtodates.com. All content and images are protected by copyright. If you want to share this recipe, please do so using the share buttons provided. Do not screenshot or republish the recipe or content in full. Instead, include a link to this post for the recipe. Thank you!


The icing recipe is so easy and came out perfectly 😋 Christina, your recipes are always a hit!!! ❤️
Hi Maria,
I appreciate your lovely review, thank you so much for taking the time xx